Dehydrated Minestrone Soup
This post may contain affiliate links.
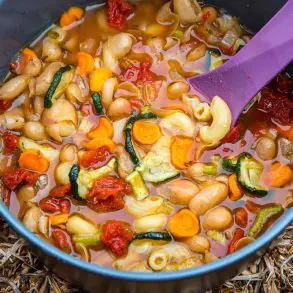
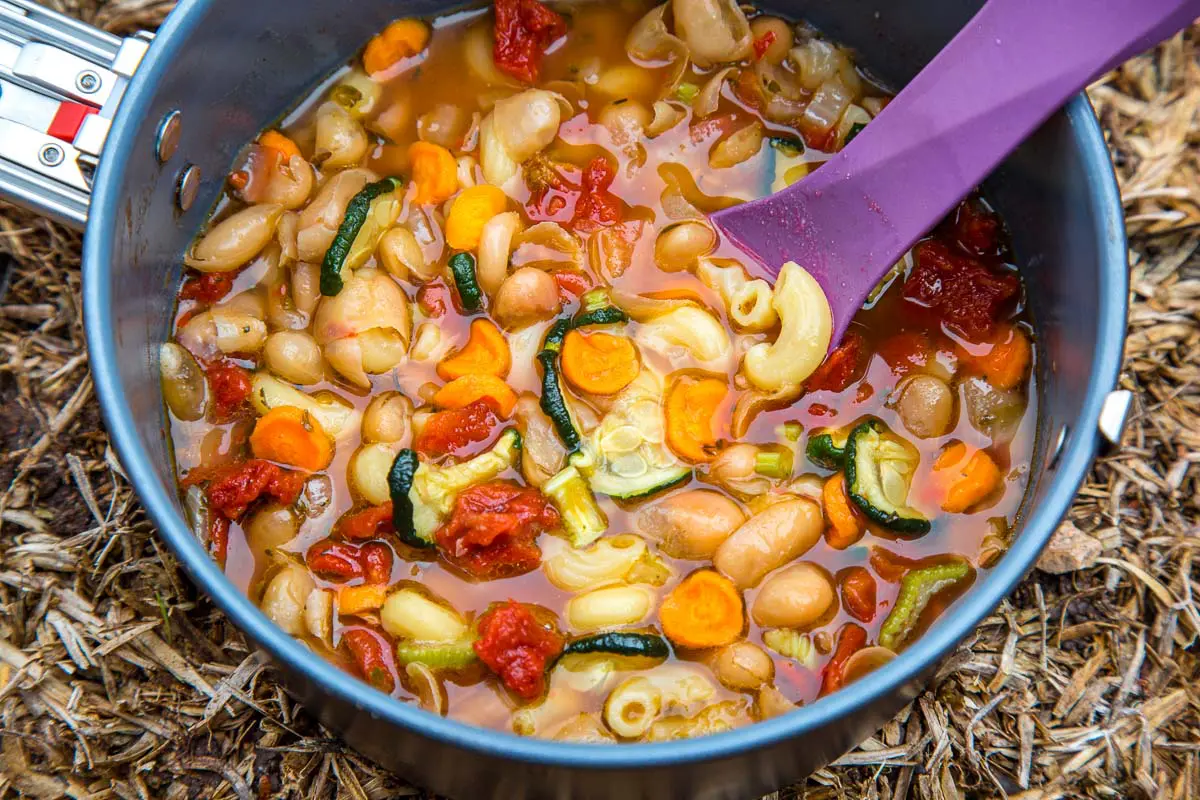
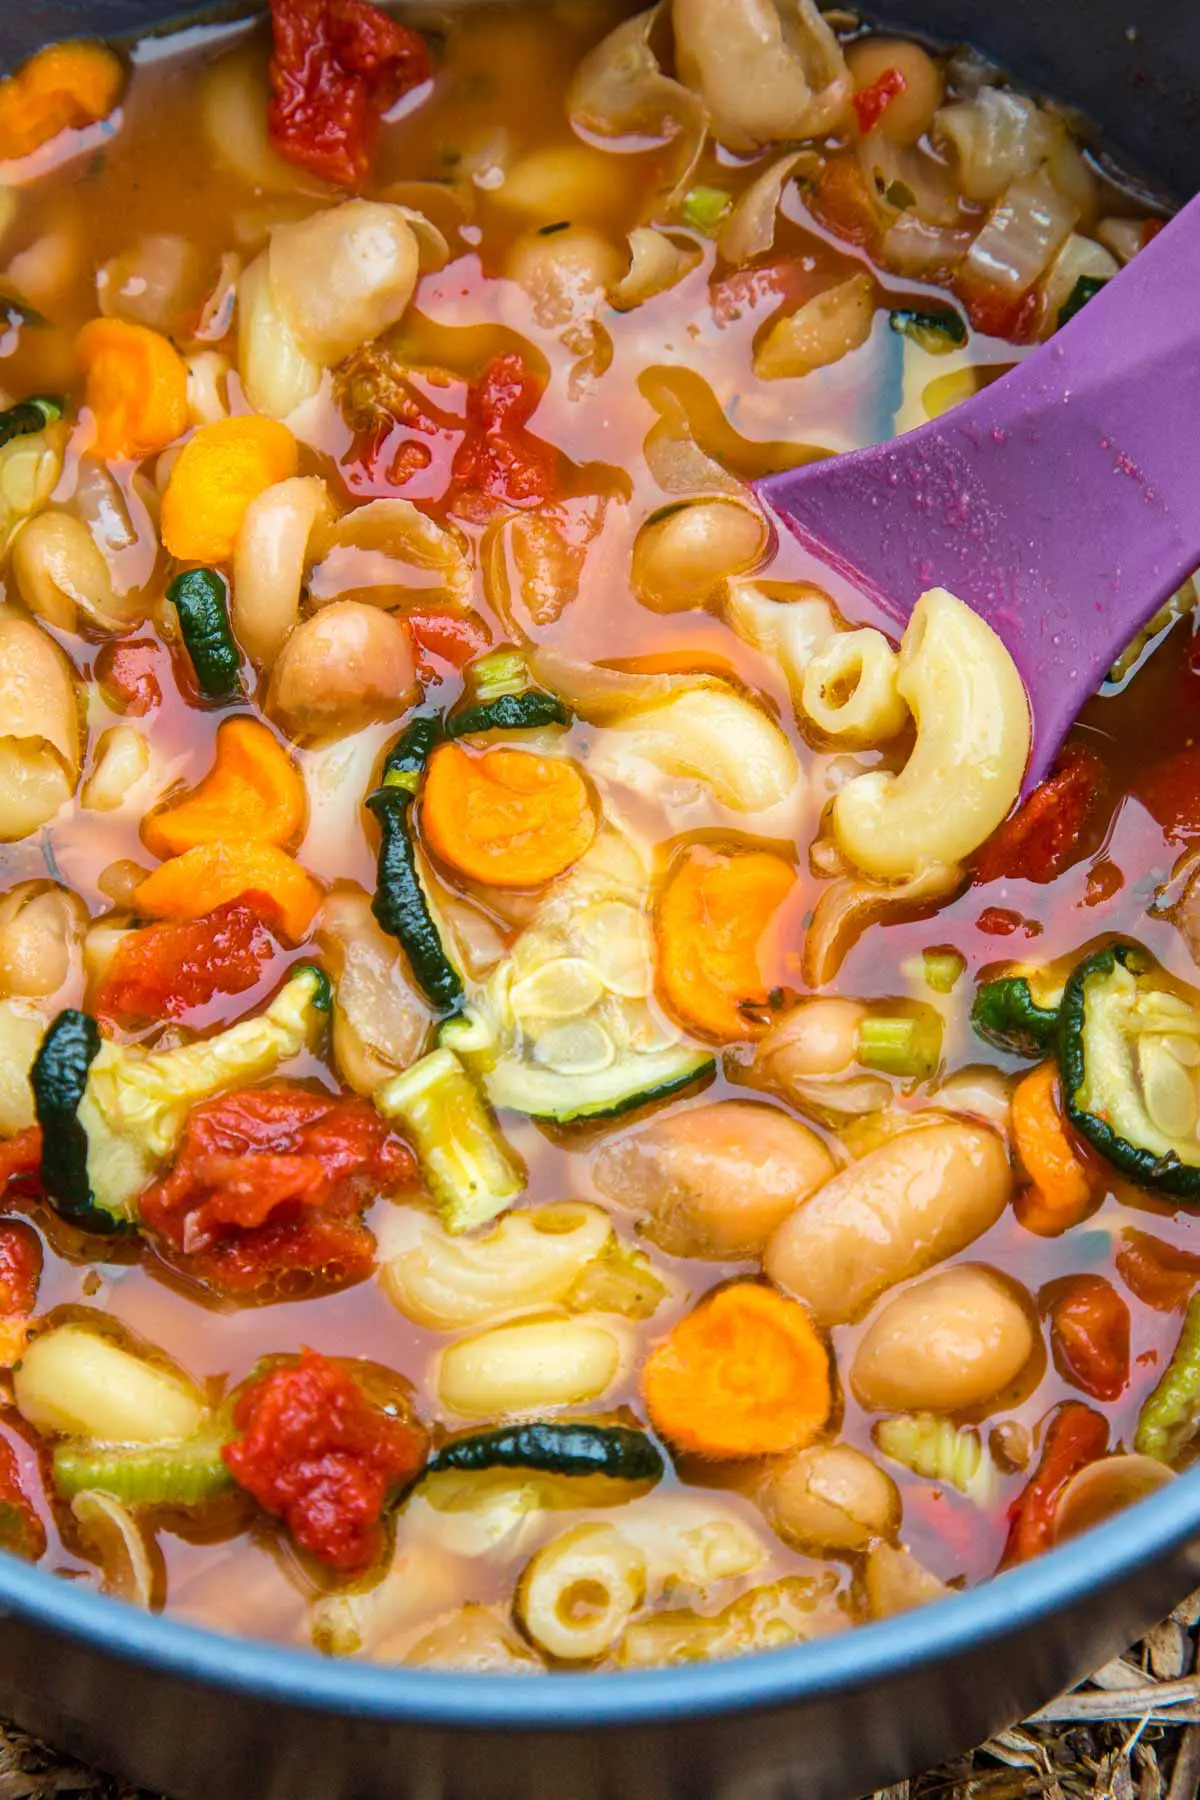
Loaded with dehydrated veggies, white beans, and elbow pasta, this hearty Italian-inspired soup is a comforting and filling backpacking meal.
The world needs more backpacking soups! Instead of trying to reconstitute something that has a distinct shape and structure (e.x. freeze-dried lasagna), why not lean into the rehydrating process and make a big hearty bowl of soup?
The catch-all ingredient list of this minestrone soup makes it perfect for backpacking. All the veggies offer a feeling of freshness, the white beans serve up the protein, and the rich vegetable broth brings it all together.
At camp, the rehydration process is also really forgiving. Unlike other dehydrated meals that require a specific water ratio, here the end product is soup, so you can make it as thick or as soupy as you want.
We love this Backpacking Minestrone because:
↠ Easy to prepare at camp because the water ratio doesn’t need to be too precise. It’s supposed to be soup after all!
↠ Despite being dehydrated, this soup tastes super fresh and fragrant
↠ Lots of diverse textures, hardy ingredients, and truly heavenly broth
If you’re looking for a hearty backpacking meal with notes of an Italian grandma’s home cooking, then this dehydrated minestrone soup is a great option for you.
How to make dehydrated minestrone
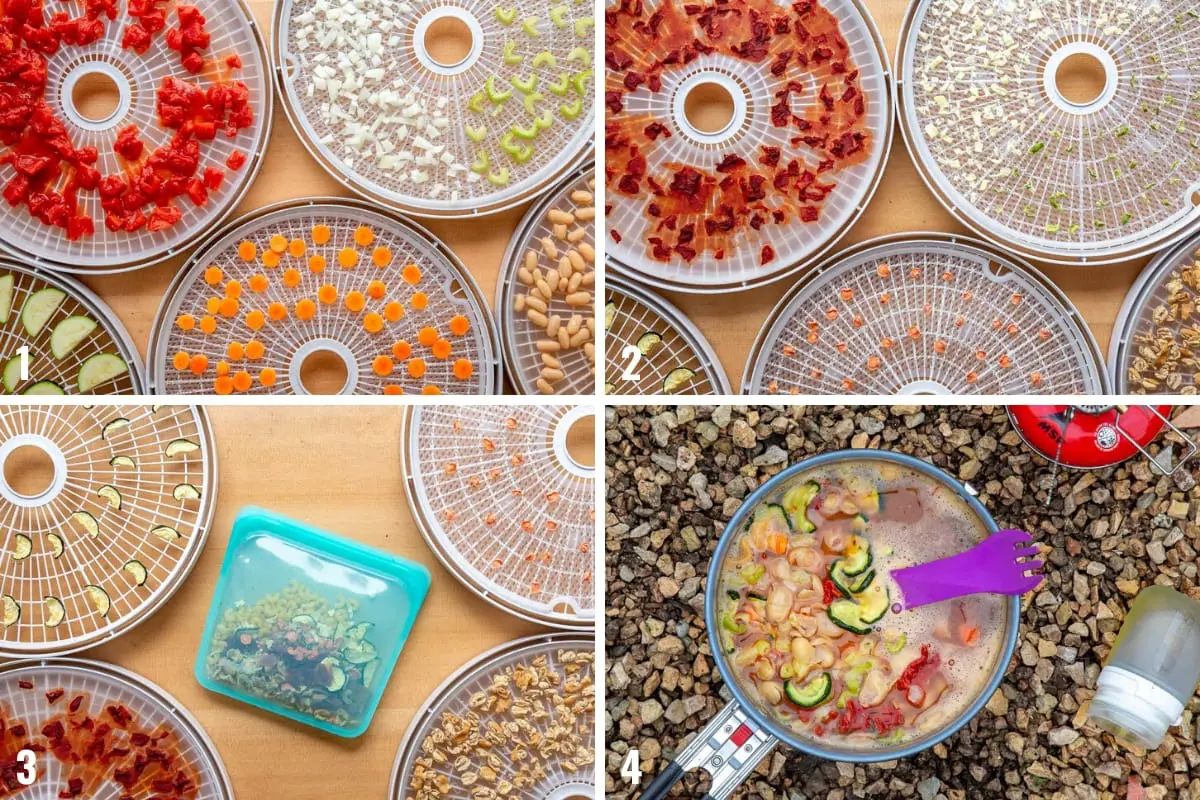
There is no “set” rule about what goes into a minestrone soup, but for this recipe, we included some of the more classic vegetables: zucchini, carrots, onions, celery, and diced tomatoes. For the carrots, the thinner you slice them, the faster they will de/rehydrate. For the tomatoes, we recommend rubbing a light coat of neutral oil on the tray to prevent their juices from sticking. In addition to the vegetables, we included white beans for protein and texture. The smaller the bean, the better.
Run the dehydrator for 8-12 hours until everything is dry. We simply let it go overnight as these ingredients can’t be over dehydrated.
When the vegetables and beans are done, divide in half and place them into separate resealable containers. Each container will be one serving. From there, add in the elbow pasta, spices, and vegetable bouillon cube. We added in a ⅛ tablespoon red pepper flakes which we felt was perfect for us, but if you’re sensitive to spice reduce down to a pinch or leave out entirely.
At the campsite, boil the mix in 2 cups of water and then simmer for roughly 8-10 minutes. If you want your minestrone a little soupier you can use more water. Or if you want it thicker you can simmer it down a little longer.
Equipment needed
↠ Dehydrator: There are a lot of options out there, but we’re currently using the Nesco Snackmaster. It’s a budget-friendly dehydrator that is good for those just getting started.
↠ Mandoline: A mandoline is an (optional) kitchen tool that will help slice your vegetables with uniform thickness, so they will all dehydrate evenly.
↠ Storage Bags: In our bid to reduce our disposable ziplock bag consumption, we’ve started exploring packing our dehydrated meals in reusable baggies. They’re great for short term storage and for trips where you’re only going out for a few nights.
↠ Humangear GoToob: We love GoToobs for carrying oils when we’re backpacking. They have a double lock feature that gives us extra confidence they won’t accidentally start leaking somewhere down in the depths of our bear canister.
Other dehydrated backpacking meals you’ll enjoy
↠ Dehydrated Tortilla Soup
↠ Dehydrated Backpacking Pasta Primavera
↠ Dehydrated Red Lentil Marinara
↠ Dehydrated Risotto with Vegetables
Ingredients
- 1 small onion
- 1 medium zucchini
- 1 celery stalk
- 1 carrot
- 1 (15oz) can cannellini beans, drained
- 1 (15oz) can diced tomatoes
- ½ cup elbow pasta shells
- ½ teaspoon garlic powder
- ½ teaspoon dried oregano
- ½ teaspoon dried thyme
- ½ teaspoon sea salt
- ¼ teaspoon red pepper flakes
- 2 vegetable bouillon cubes
- 2 tablespoons olive oil
Instructions
- Slice carrots, onions, celery, and zucchini into small, thin, uniform pieces. Place the vegetables onto dehydrator trays making sure none of the pieces overlap.
- Drain the canned beans and spread in an even layer on a dehydrator tray.
- Spread the tomatoes in an even layer on a dehydrator tray.
- Dehydrate at 135F for 10-12 hours, until the veggies are completely dried.
- Divide the dehydrated vegetables, pasta shells, garlic powder, oregano, thyme, salt, red pepper flakes between two resealable bags or containers along with 1 veggie bouillon cube per serving. Place olive oil in a small sealable container.
- In camp, add the contents of the bag to a cook pot along with 2 cups water per serving (enough to cover the pasta). Bring to a boil, then simmer for 8 minutes, or until the pasta has cooked through and the veggies have rehydrated, adding more water if necessary.


Hearty and delicious. I used beef bullion instead of vegetable bullion, and hit the finished product with a splash of Tabasco, but otherwise did this exactly as written. It was very satisfying!
This is so amazing, I just started dehydrating. This is going to be great for my family. There always skipping lunch or dinner. Thank you all so much for making my life easier,
I made this for myself and friends while we car camped and it was soooooo efffing good!!! It was my first time making my own food essentially and I impressed myself.
Would this recipe with with a pot cozy? Trying to find fuel efficient meals! 🙂
We haven’t tested all of our backpacking recipes for use with a cozy, but we are very confident this one will work out great. Add the dry ingredients and the water in your pot, bring to a boil for 1-2 minutes, then remove pot from the heat and place inside the cozy. Should work beautifully!