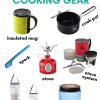
We’re sharing the best backpacking cookware today–so if you’re looking for some great upgrades (or building your backpacking kitchen from the ground up), keep scrolling and let’s dig in!
When we’re backpacking, we tend to focus on two things: the beautiful scenery, and what we’re eating for dinner!
While tents and backpacks tend to get the most attention in backpacking gear guides, seeing how much joy meal time brings us on the trail, we wanted to take a moment to shine the spotlight on our favorite backpacking cooking gear!
In this post, you’ll find our top recommendations for backpacking cooking equipment, including the items we personally carry in our packs.
Of course, we know there’s more to backpacking than the food, so be sure to check out our backpacking checklist for the rest of our gear suggestions.
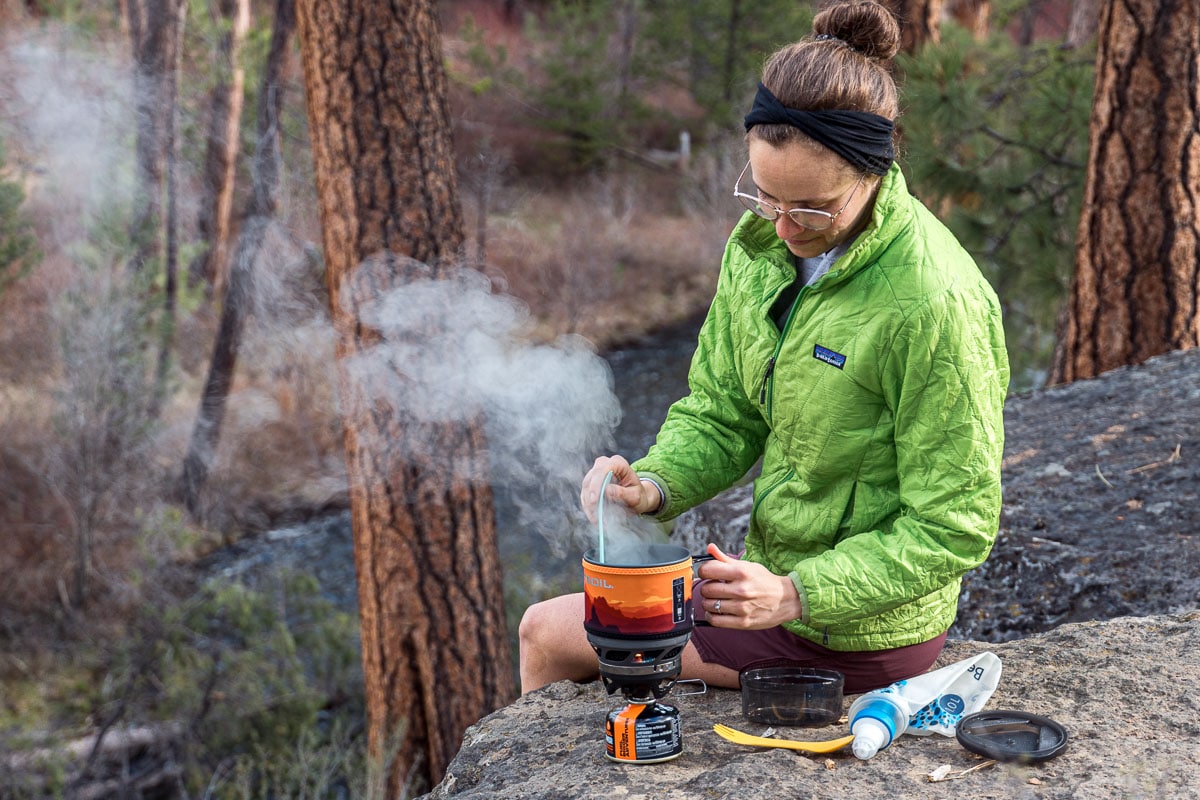
The Jetboil MiniMo is fuel efficient with great simmer control
Backpacking stoves
The cornerstone of your backpacking kitchen is a great stove! Before choosing one, think about how you like to cook on the trail: do you want to simmer and cook homemade dehydrated meals? Or are you more of the just add boiling water to a bag type?
Here are our top backpacking stove recommendations:
Soto Windmaster: This is our go-to canister stove, which we take on most of our backpacking trips! We think it definitely lives up to the hype on backpacking forums. It is very fuel efficient and has great simmer control, so it’s perfect if you want to be able to cook on trail. Compare prices:REI / Amazon
Jetboil MiniMo: After testing dozens of backpacking canister stoves, the JetBoil MiniMo integrated cook system is one of our favorites. It’s unbelievably fuel-efficient across a wide range of conditions (wind and cold temps), has excellent simmer control, and comes with a convenient piezo ignitor. It’s a great option if you want to simmer DIY dehydrated meals or just need to boil water fast. Compare prices:REI / Amazon / Backcountry
AOTU Canister Stove: If you are looking for a budget-friendly beginner stove, look no further than this stove! We tested a lot of different stoves, and this one is an incredible value. It has a very competitive performance compared to other premium brands, features four sturdy pot supports, and even comes with a piezo ignitor—all for less than $20! While it’s not the lightest option (it’s not the heaviest either), for the price it’s an absolute steal! Where to buy:Amazon
BRS Ultralight Stove: The BRS ultralight stove is by far the lightest weight canister stove on the market and comes with a very attractive price tag. It also has surprisingly competitive fuel efficiency and boil time when operated under dead calm conditions–but it struggles in the wind so you’ll need a windscreen. Where to buy:Amazon
The above-mentioned stoves are what we would recommend for the majority of recreational backpacking in North America. If you want to explore all the different backpacking stove alternatives, we cover many of them in our Best Backpacking Stovesarticle.
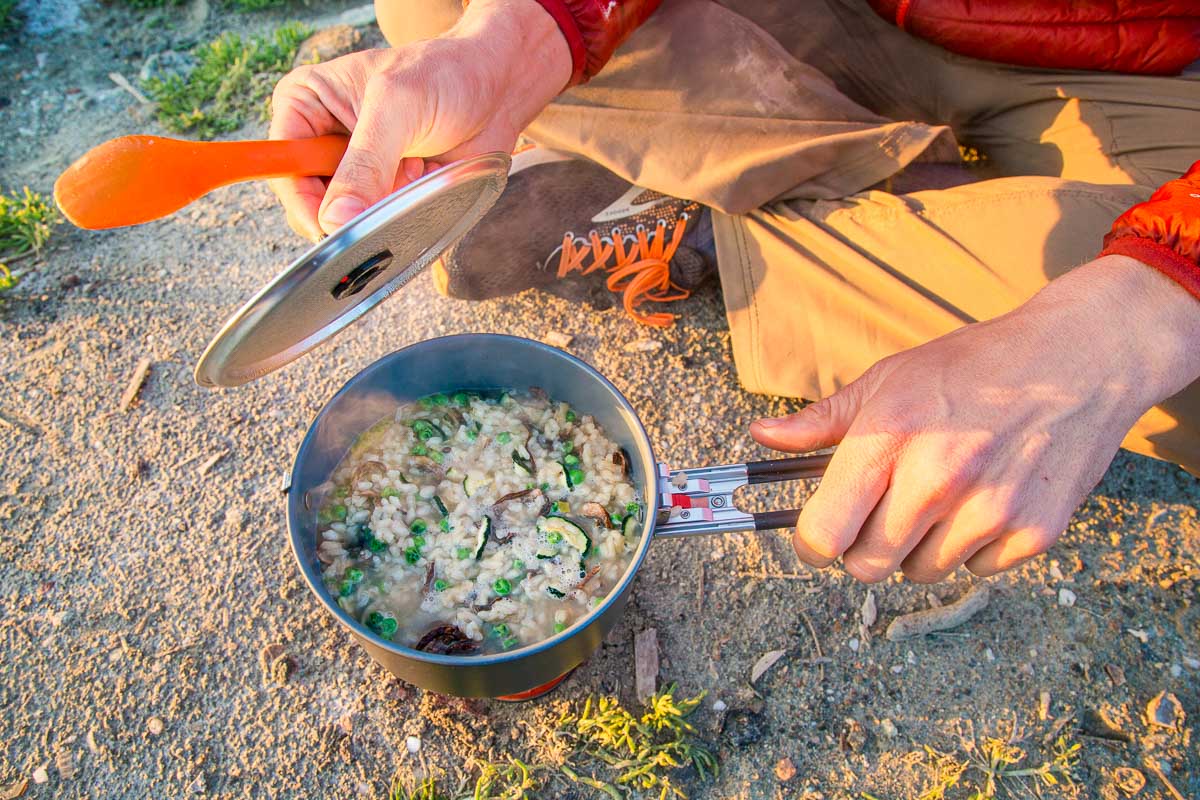
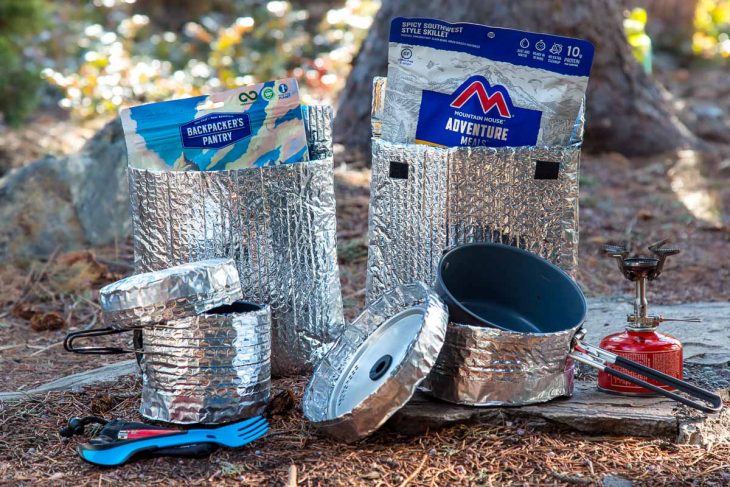
The type of backpacking cookware you need will depend on your group size and style of cooking.
In terms of pot style: Narrow-bodied pots will fit well on smaller burner stoves and are best for boiling water or rehydrating liquidy meals. Wider-bodied pots need a broader cook surface and are best for simmering dehydrated meals and can be much easier to eat out of.
In terms of sizing: If you plan on using store-bought backpacking meals that just need boiling water, you can safely assume each meal will require between 350mL-500mL of water to rehydrate. If you plan on adding homemade dehydrated meals to the pot, you will need to account for the volume of the water and the dehydrated food.
Be Aware: the stated capacity of many pots is often less than the recommended max fill!
MSR Ceramic Pot: This has been one of our go-to pots over the years. The ceramic coating makes it non-stick and easy to clean up, and the pivoting handle saves room in your pack. The 1.3L is a pretty good size for two people. Compare prices:REI / Amazon
Toaks Titanium Pots: These narrow-bodied, all-titanium backpacking pots by Toaks are some of the lightest weight options on the market. Titanium is a very conductive metal, making these pots ideal for rapidly boiling water. However, they are not very non-stick, so avoid low and slow simmers. The 650mL pot is a nice size for solo hikers, and the 1300mL pot is better for couples.
Backpacking cooking kits
If you are just getting started, you might want to consider purchasing a bundled kit that is made to nest together for compact storage.
Soto Amicus Cookset: This stove and pot cook set is a great deal at under $60 and weighs only 9oz. The Soto Amicus stove is a pretty decent performer, and the 1L pot means you’ll have plenty of room to boil water for a meal and a hot drink. Where to buy:Amazon
MSR Pocket Rocket Deluxe Cookset: This cook set bundle includes an MSR PocketRocket Deluxe (one of the best-performing canister stoves), a 1.2-liter pot, a lid lifter, and a lightweight bowl for your trail partner. It’s a great stripped-down set for two people that weighs about 13oz. Where to buy:REI
Pot Cozy
A DIY Pot Cozy is one of the cheapest and most efficient ways to increase the performance of your backpacking cookware. An insulated pot cozy will allow you to rehydrate food WITHOUT simmering. Not only does this save fuel weight, but if you only need to boil water you can buy a lightweight pot. See our step-by-step instructions to make your own.
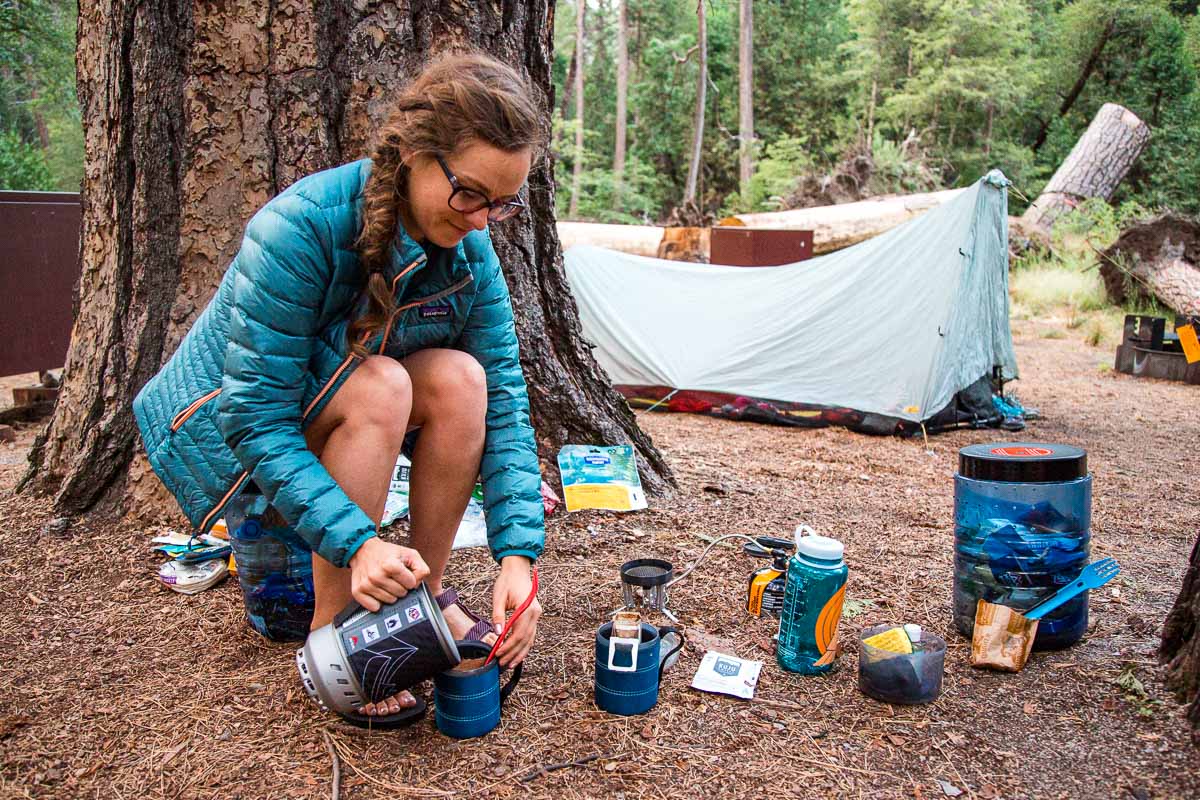
If you fall into the “ultralight” backpacking category, then you will probably forgo a dedicated mug and drink your coffee right out of your pot. We prefer to have separate mugs, so we can have our breakfast and morning coffee at the same time!
GSI Infinity Backpacker Mug: We love this mug, and it’s lasted for years. It’s lightweight and durable, and if you slip it out of the sleeve, liquid measurements are printed on the side—super handy for measuring out water for your backpacking meals!
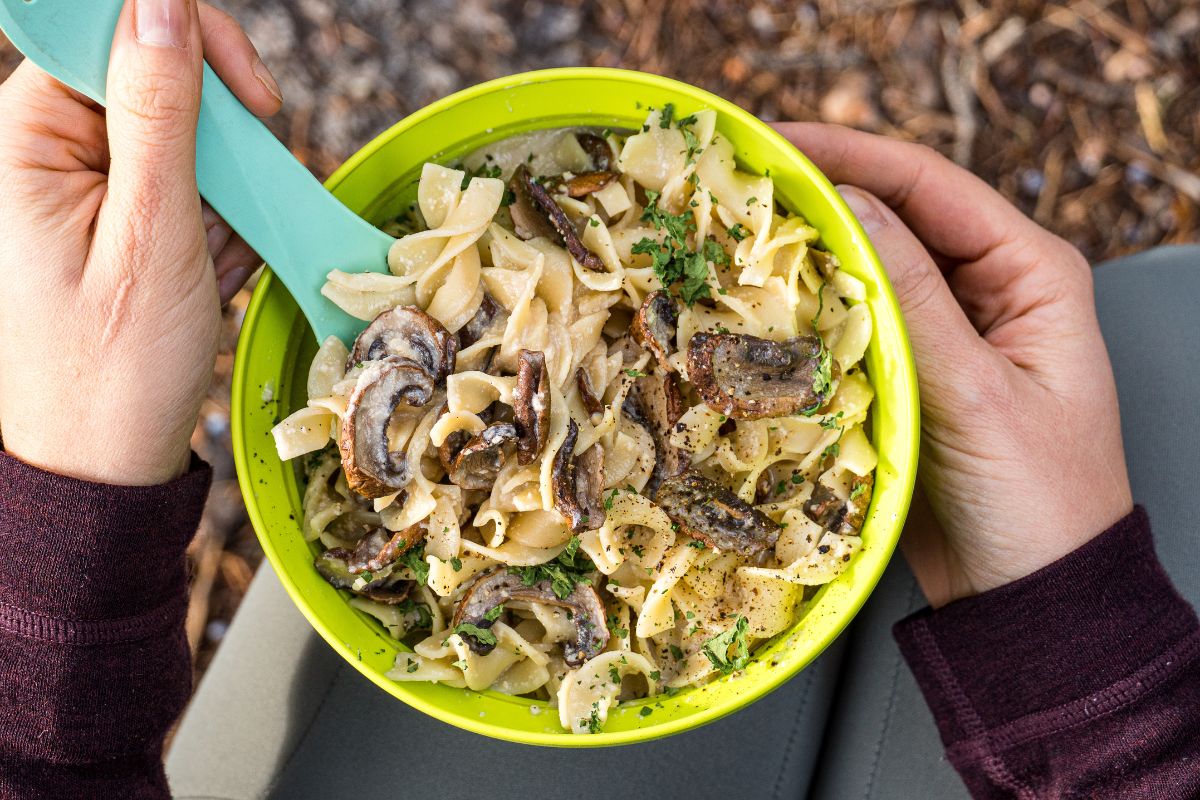
Backpacking bowl
If you’re a solo hiker, there’s no reason not to eat right out of the pot. You do not need a bowl. However, if you are hiking with a partner, and cooking both of your meals in the same pot at the same time, and your partner can’t be trusted to stay to their half of the pot, then bringing along one bowl so as to divide the food and keep the peace at mealtime might be justified… This is an entirely hypothetical scenario 😉
Sea to Summit Frontier Bowl: This clever collapsing bowl is lightweight at 2.2oz and saves room in your pack. It might even fit inside your pot for storage! Compare prices:Sea to Summit / REI
Backpacking utensils
In our experience, virtually all backpacking food can be consumed with a spoon. There is no need for a 3-in-1 spork, which only succeeds in performing all three tasks poorly. All you need is an extra-long spoon and a dedicated knife.
Humangear GoBites Spork: If it’s not “backpacking” without a spork, may we steer you in the direction of the Humangear spork? Separating the spoon and fork makes both way more functional. These are super durable and come in fun colors, too! Where to buy:REI
Opinel Knife: This is the knife we take with us on every backpacking trip. It has a decent size blade, the handle is sturdy, and we have a lot of confidence cutting with it. No, it’s not the lightest nor is it a multi-tool. But it’s a good quality, lightweight knife that we enjoy using. Compare prices:Garage Grown Gear / Amazon / REI
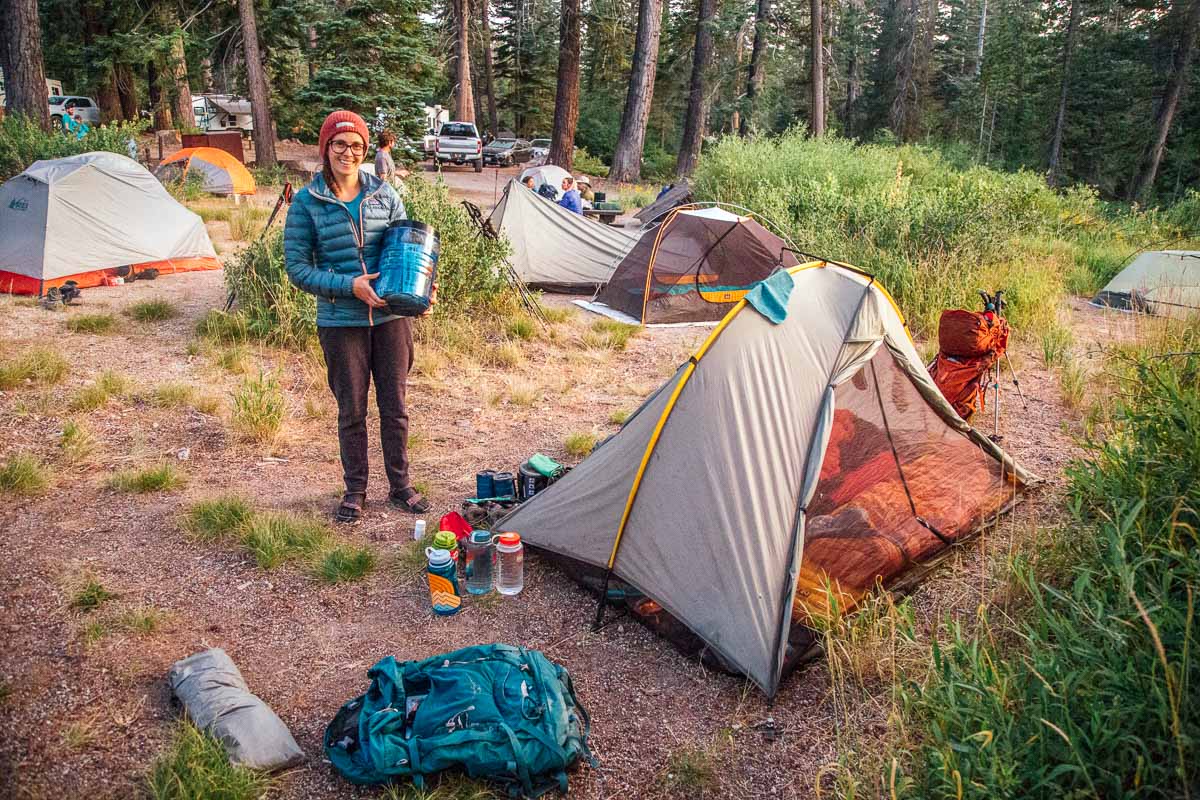
How you store your food while backpacking will often depend on where you are backpacking. Obviously, you need to keep your food protected from critters (mice, marmots, raccoons), but protection from bears is not only critically important—it’s often subject to specific regulations. Many western National Parks and the areas throughout the Rockies require them. To learn more, check out our in-depth guide about bear canisters.
BearVault Food Canister: We own these bear-proof containers and use them whenever we are backpacking in bear country. It is approved for use throughout the US (including Yosemite) and will fit inside most standard-sized backpacks. The screw-top lid is the least annoying method we’ve used so far, and the clear-sided walls allow us to locate what we need. See all sizes:BearVault / REI
Ursack:The Ursack is a lightweight, compressible, bear-resistant food bag. The Major bags are bear-resistant only, while the AllMitey bags are bear and critter-resistant. Both styles come in a variety of sizes. However, Ursacks are not approved for use everywhere (including places like Yosemite). Where to buy:REI
Humangear GoToobs: These flexible silicone squeeze bottles are a good way to transport oils and sauces into the backcountry. They have a great double-locking feature that ensures when they’re closed; they stay closed. They also come in a lot of different sizes, so you can pick the right size for your particular purpose. Where to buy:REI
Clean up and dishwashing
Depending on your method of cooking, you should have very minimal (if not zero) cleaning up to do after each meal. However, it’s still a good idea to have a few supplies on hand to make sure everything gets put away clean (and as free of food odors as possible).
Dr. Bronner’s Soap: Use a biodegradable soap (we love this unscented version!). Keep in mind that biodegradable soap needs bacteria in the soil to help it break down, which is why it should only be used over 200 feet away from a body of water and never in a body of water.
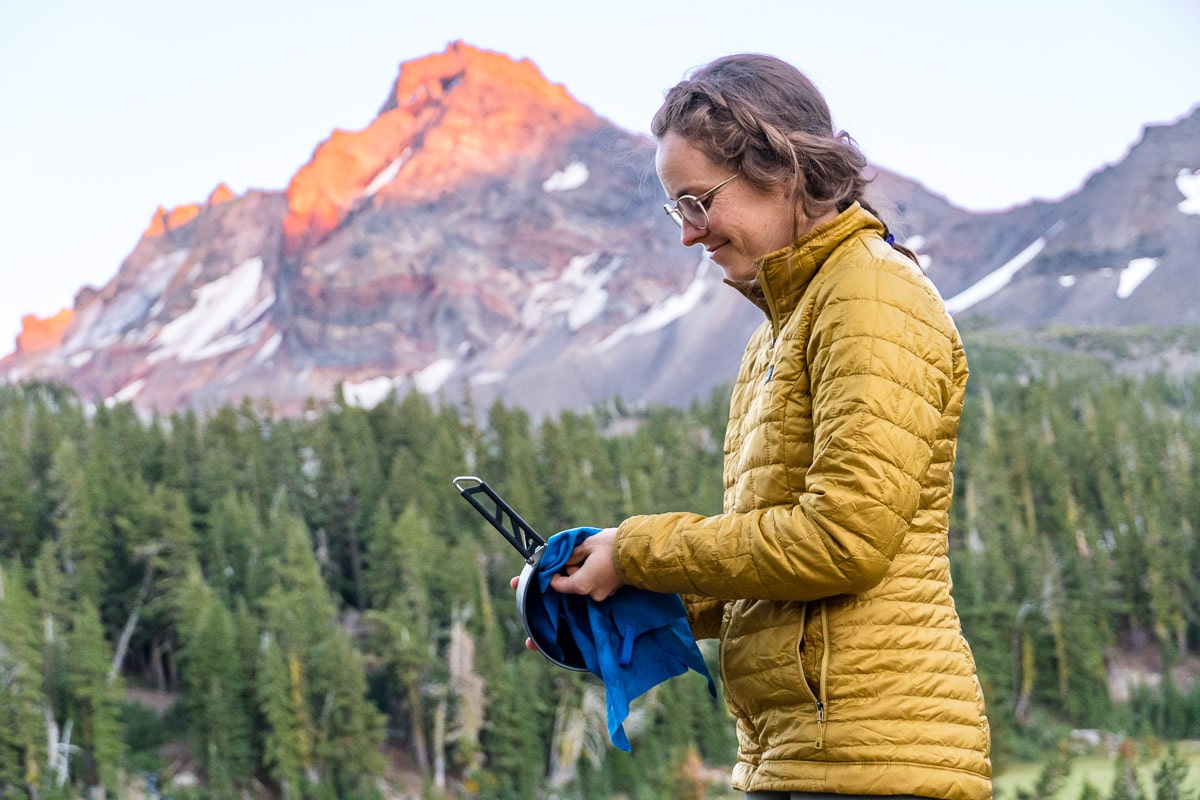
Quick Dry Towel: After washing up, we use a small quick-drying towel to dry everything off.
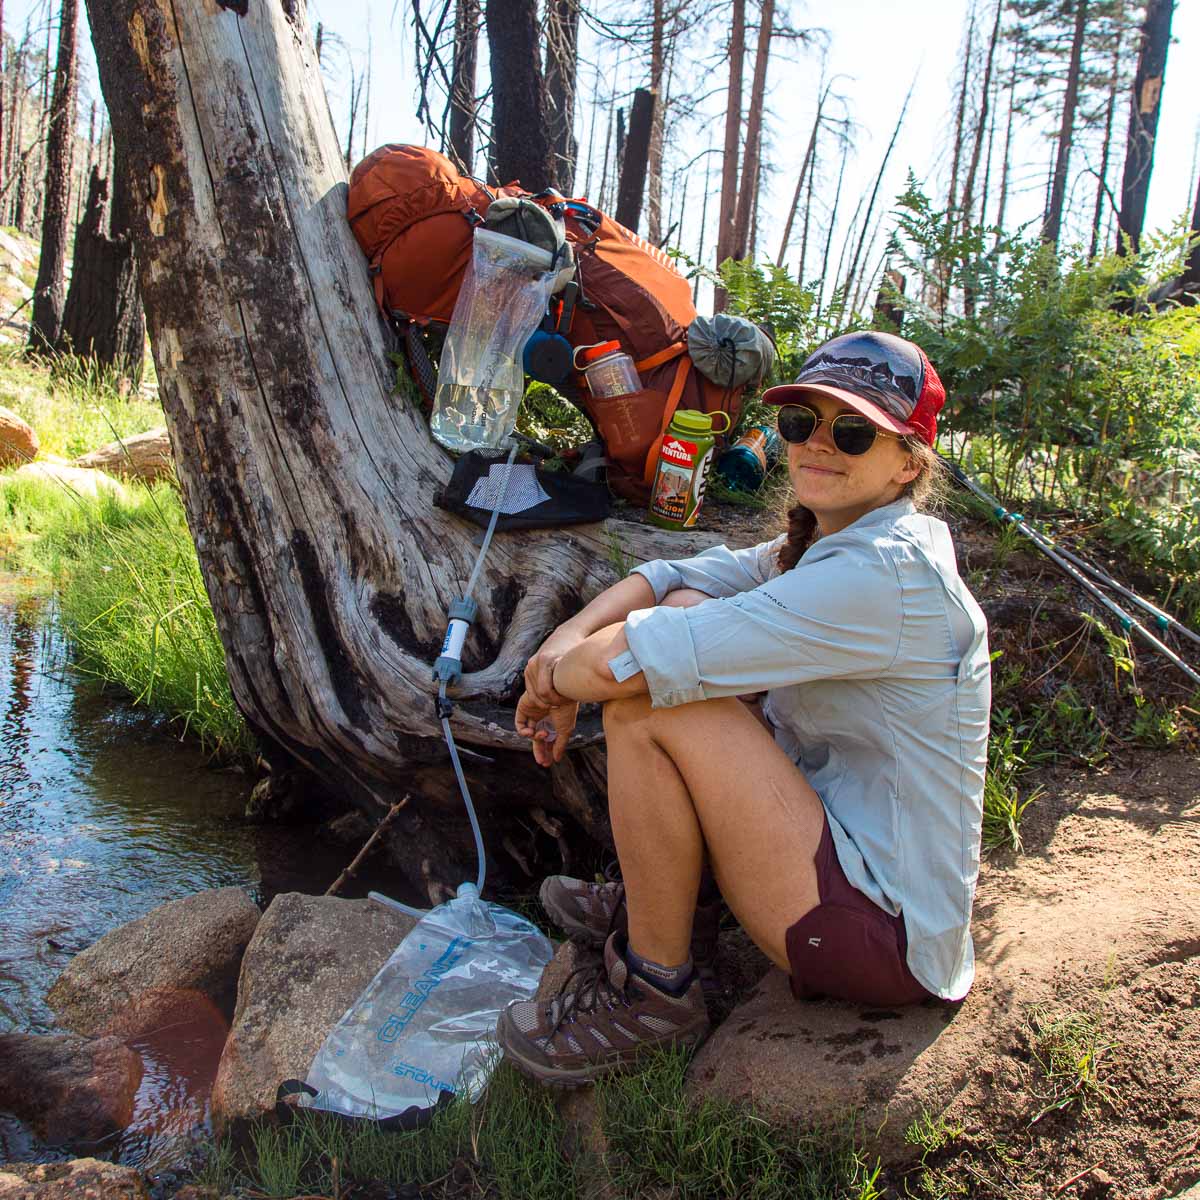
While you might not think of it as part of your backpacking cooking setup, the ability to filter water is an essential part of backpacking, too!
Katadyn BeFree: The Katadyn BeFree is an ultralight (2.7oz) water filter that connects to a soft flask. You can squeeze the water through into another water bottle, use the filter cap to drink straight from the flask, or even rig it up as a gravity filter. This is a great option for solo hikers. Compare prices:REI / Amazon
Platypus GravityWorks Filter System: We took this system with us on the JMT and really enjoyed using it. The large, zip-top bladder can be easily and quickly filled, the in-line pump is intuitive to use, and from there, gravity does all the work. While this is a “heavy” filtration system (11.5 oz), we really liked being able to fill up water once at night and have enough for dinner and breakfast the next morning without having to return to the water source. Compare prices:REI / Amazon
Wow your site has really changed, i saved your homemade raman recipe with sobe noodles. It came out good, seems to store pretty well when vacum sealed also.
My gear is always changing but more because of my fancy and not really because it needs to. I do more overland adventures these days since the kids are young.
Our gear lineup is in a constant state of flux as well. We’re constantly swapping things in and out. Right now we’re really interested in learning more about ultra-light alcohol stoves. So yeah, the search for the perfect kit continues. ????
Susan
Just discovered your web site, guides, lists, recipes, and all and am thrilled to have found you! Thank you so much for such great information presented in such a pleasing way!
Wow your site has really changed, i saved your homemade raman recipe with sobe noodles. It came out good, seems to store pretty well when vacum sealed also.
My gear is always changing but more because of my fancy and not really because it needs to. I do more overland adventures these days since the kids are young.
Thanks for sharing
Our gear lineup is in a constant state of flux as well. We’re constantly swapping things in and out. Right now we’re really interested in learning more about ultra-light alcohol stoves. So yeah, the search for the perfect kit continues. ????
Just discovered your web site, guides, lists, recipes, and all and am thrilled to have found you! Thank you so much for such great information presented in such a pleasing way!
We’re happy you found us too! Welcome!
Thank you for sharing all of your wisdom here. I particularly really like your recipes.