Complete Backpacking Checklist {Packing List & Backpacking Essentials}
This post may contain affiliate links.
What gear should you pack for a backpacking trip? We share our complete backpacking checklist with all of our lightweight backpacking essentials!
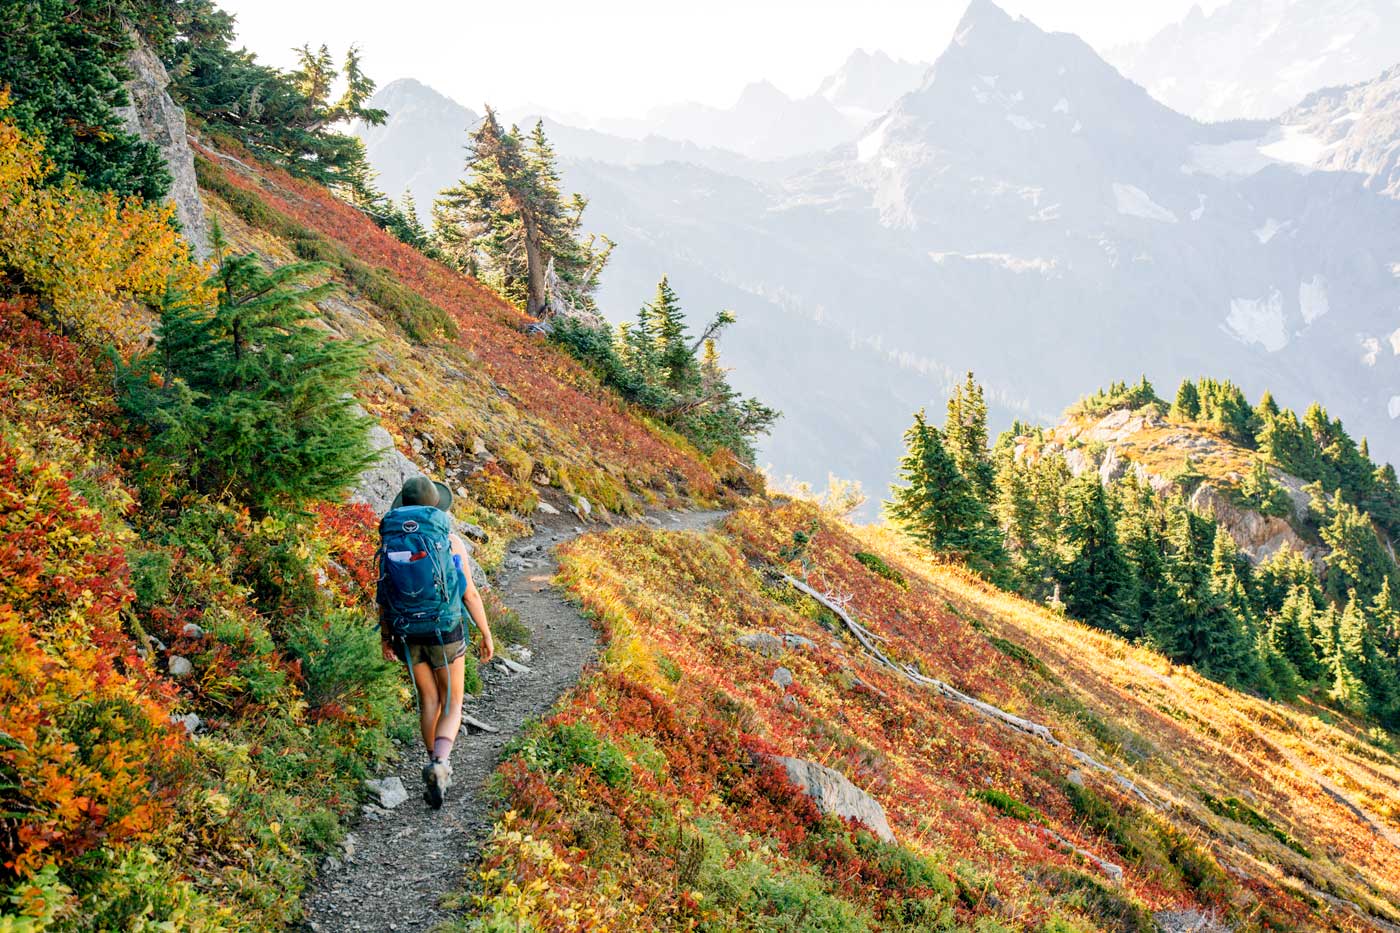
In the summer of 2007, I decided to go on my first backpacking trip. I bought a backpack in the wrong size for $20 on Craigslist, loaded it up with my camping gear (like, my car camping gear), and hiked up into the San Gabriel mountains near my home. It was a rough hike, to say the least, but I loved it. And, hey, everyone has to start somewhere, right?
Since then, I’ve made some big changes to my backpacking gear list. I hiked the John Muir Trail in 2012, and that required me to think through what I was carrying and make some investments in quality items – many of which I’m still using today!
Michael and I have been backpacking together for over a decade and even hiked the JMT for our honeymoon in 2019, so we’ve had a lot of time to work out the kinks in our backpacking checklist.
In this post, you’ll find our complete backpacking gear list. This list stays relatively the same whether we’re going on a weekend or multi-week trip, so it can apply to most backpacking trips.
Additionally, we offer suggestions for a mix of gear, including budget items, lightweight and ultralight options, and the tried-and-true gear that makes it into our own packs.
Our Backpacking Checklist
Use this backpacking packing list to help you get organized for your next trip.
Backpacking Packing List
Backpacking pack
Tent (+ stakes & ground sheet)
Sleeping bag
Sleeping pad
Cooking System
Stove
Stove fuel
Cookset / pot
Lighter
Eating utensil
Mug / cup (optional)
Biodegradable soap + small sponge (optional)
Water filter
Water bottles / reservoir
Bear canister / food bag
Plenty of food
Clothing
Hiking top non-cotton
Hiking pants or shorts
Underwear / sports bra
Hiking socks
Hiking boots or shoes
Gaiters optional
Warm base layer top
Warm base layer pants
Insulating jacket
Rain jacket + pants
Windbreaker optional
Beanie
Gloves
Sun hat
Sunglasses
Bandana or buff optional
Camp clothes / shoes optional
Extra hair ties optional
Mosquito heat net optional
Safety & Navigation
Headlamp w/ extra batteries
First aid kit
Knife / multitool
Gear repair kit
Signal mirror
Whistle
Emergency fire starter
Backup water treatment
Compass / GPS device
Printed maps
Itinerary left w/ friend or family member
Toiletries
Toothbrush + toothpaste
Lip balm
Hand sanitizer
Trowel
TP + waste bag
Wet wipes
Quick dry towel optional
Medications
Misc. / Extras
Permit if required
Photo ID, cash, credit card
Hiking poles
Cell phone
Camera, battery, memory card
Battery bank & charger cords
Solar panel optional
Backpacking pillow optional
Ear plugs / eye mask optional
Journal + pen / pencil optional
Lightweight chair / sit pad optional
Extra trash bag & ziptop baggies
Essential Backpacking Gear
This section covers the essential backpacking gear systems: hiking, shelter, and sleeping. These items tend to be the heaviest pieces of gear you’ll carry, so it’s worth considering their weight in addition to other features to keep your total pack weight as low as possible.
Backpacking Backpack
Every successful backpacking trip starts with finding the right backpack. Most backpackers find a pack in the 40-65L capacity range versatile for nearly all trips.
If possible, go to a gear store like REI, have your torso sized properly, and spend time trying on a bunch of different packs to find the right one. When I first started backpacking, I hiked too many miles with packs that were just wrong for me. Finding the right pack made a huge difference!
Here are our top picks based on our experiences:
Ultralight Pick: Zpacks Arc Series — If you’re looking for a framed ultralight pack, I recommend looking at the Zpack Arc Series backpacks. I have the women’s pack and find it perfect for my almost-ultralight kit. I love that the arc frame creates an air gap to help keep me cool.
Lightweight with high capacity: ULA Circuit or Catalyst — The Circuit and the Catalyst are two of the most popular packs among PCT thru-hikers for good reason: they are super versatile, can carry a lot of gear, and are lightweight. The Catalyst was the first lightweight pack I owned, and I hiked the JMT comfortably with it fully loaded. These packs are great if you’re working on decreasing your load but aren’t yet at an “ultralight” base weight.
Budget pick: REI Flash 55L — For under $200, the REI Flash 55L is a great pack at a budget-friendly price.
Tried & true traditional backpacking pack: Over the years, Osprey’s Anti-Gravity packs have stood out to us as solid, durable packs with great suspension and load-carrying capabilities and at a pretty reasonable price point. At the end of the day, these packs are heavier but often carry heavier loads more comfortably.
Backpacking Tent
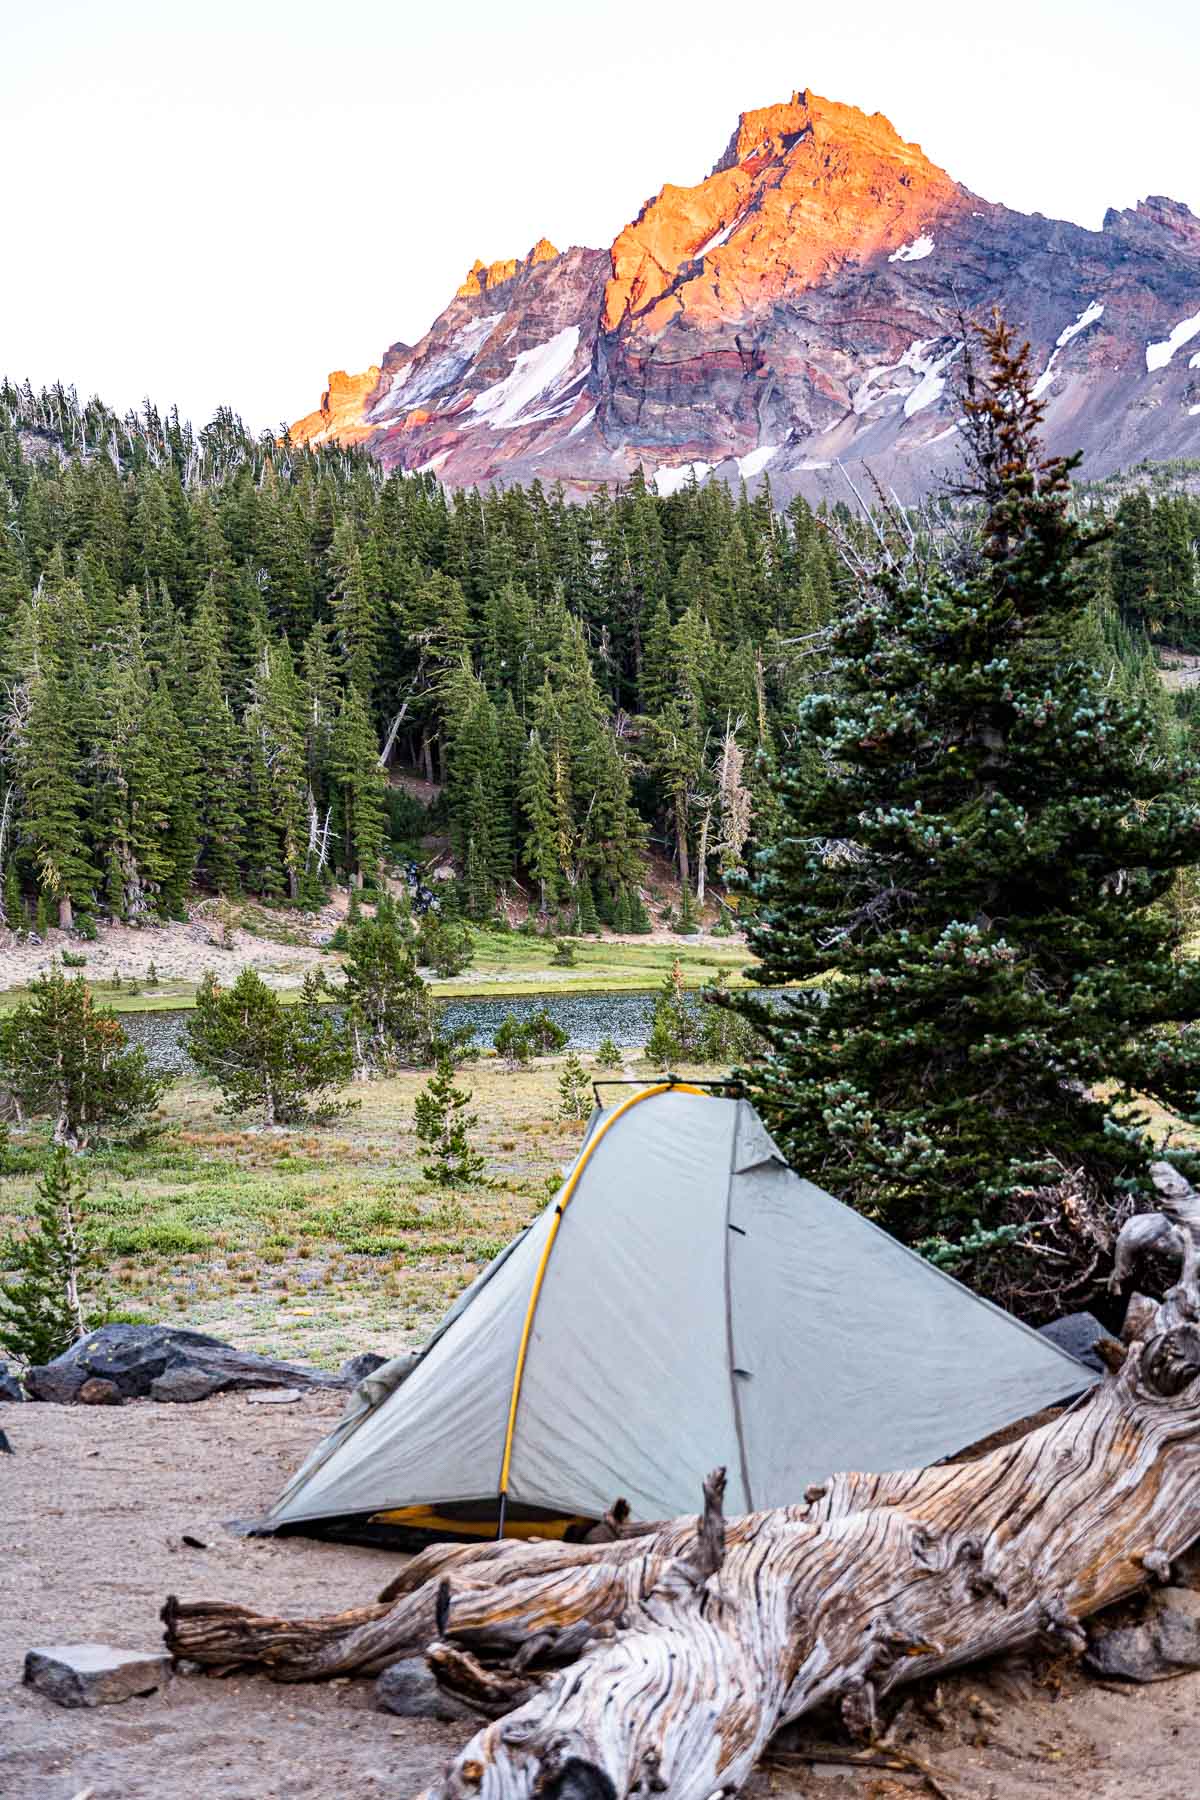
Your tent is your home away from home and there are a number of important things to keep in mind when selecting the right tent. Besides the obvious factors like floor size, weight, and price, consider ease of setup, and “liveability” (I did not fully appreciate the livability of our tent until we spent an entire week backpacking in rainy conditions on our honeymoon!)—this includes things like peak height, interior pockets, ventilation, and room for your gear.
Here are some options to consider:
In our packs—Tarptent Double Rainbow: Before becoming a family of 4, this was our tent for 10+ years (and I still use it for solo trips!). It’s semi-freestanding and single-wall, so it’s lightweight for its size, and it comes at a lower price than many of the light/ultra-light tents out there. We loved it because Michael is 6′ 5″ and fits with room to spare!
Ultralight Pick—Zpacks: These are two of the lightest tents out there (14.6oz for the solo/17.9oz for the two-person), which is probably why we saw so many of them out on the JMT! It relies on trekking poles and stakes to set up properly, but that’s how it stays so light! However, we won’t sugarcoat it—this is a pricey tent, but if you’re looking for a great ultralight option, this tent is hard to beat.
Best freestanding—Big Agnes Copper Spur UL: The Copper Spur is a freestanding tent with lots of interior space. It’s double-walled and can be set up fly first. Its freestanding nature comes at a bit of a weight cost, but it means you don’t have to deal with the sometimes finicky setup of a semi- or non-freestanding tent.
Budget Pick—REI Trailmade: At just over 4 lbs, the REI Trailmade tent isn’t exactly lightweight, but if you’re on a budget, this tent is under $200 (and includes the footprint!).
Sleeping Bag
At the end of a long hiking day, nothing beats cozying up in a warm, fluffy sleeping bag! When buying a sleeping bag, you’ll be confronted with a lot of different temperature ratings.
The rule of thumb when it comes to temperature ratings is that the listed rating is what you can survive in, but to be comfortable you’ll want to add ~15F, particularly if you’re a colder sleeper.
Another option for those looking to cut weight is a sleeping quilt or hybrid quilt/bag. This design eliminates the down on the bottom of the bag, which gets compressed under your body weight and loses a lot of its insulating property anyway.
Backpacking sleeping bags and quilts to consider:
In Megan’s Pack—REI Magma: The REI Magma is a great all-around sleeping bag that I find to be so comfy. It’s available in a variety of sizes and a 15F or 30F temperature rating.
In Michael’s Pack—Enlightened Equipment Revelation Quilt: Michael uses the Enlightened Equipment Revelation Quilt. It’s ultralight, compressible, and versatile—in warmer weather, it can unzip all the way to allow some of the heat to escape so you don’t overheat. The temperature rating is definitely on the “lower limit” end of the spectrum, so consider getting a bag at least 10F warmer than you think you need if you’re a cold sleeper.
Sleeping Pad
Your sleeping pad serves two purposes: it provides cushioning, and it insulates you from the ground. The insulating power of sleeping pads is measured in “R-Value”.
Here is a rough estimate of what R-value to look for based on nightly lows:
Down to 50F: R-2 or less
Down to 32F: R 2-4
Down to 20F: R 4-5.4
Below 20F: R 5.5+
Backpacking sleeping pads to consider:
In our packs—Nemo Tensor All-Season (R 5.4): After trying multiple sleeping pads, this is the one we keep coming back to. It’s lightweight at 14oz, super comfortable, easy to inflate, packs down small, and quiet.
Good for side sleepers—Sea to Summit Ether Light XT (R 3.2): With 4 inches of cushion, the Ether Light XT is a great pad for side sleepers. It’s lightweight at 17.3oz, compact, and quiet.
Camp Pillow [optional]
A pillow is totally optional and is entirely a personal preference. We use this lightweight Cocoon Pillow and the Sea to Summit Aeros Ultralight pillow. Or, you can just put your extra clothes in a stuff sack and call it a night!
Hiking Poles
We consider hiking poles to be part of our essential backpacking gear, but really they are optional. Poles will help you on the uphills and take the pressure off your knees on the downhills, so we think they are well worth the weight!
In Megan’s Pack—Black Diamond Trail Shock Pro: I’ve used these trekking poles for over 10 years, and they have really stood the test of time.
Budget Pick—Cascade Mountain Tech Carbon Fiber: These poles will only set you back $55-$65 (depending on color), but they are solid, lightweight (just under a pound for a set), and have cork handle grips. These are the ones Michael uses!
Backpacking Kitchen
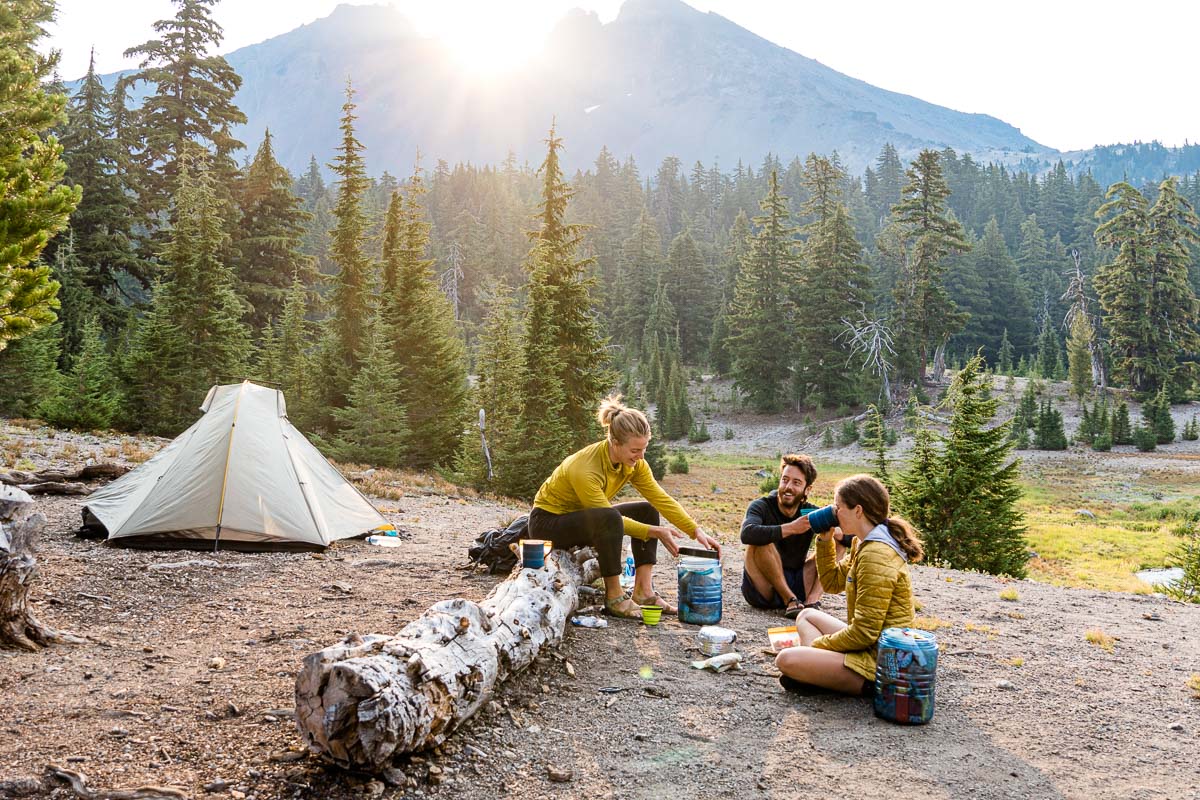
In addition to the cooking gear below, you’re obviously going to want to pack enough food! Check out some of our best backpacking meal ideas here.
Backpacking Stove
Your cooking system is going to be very dependent on your food strategy, the number of nights you’re out for, and the number of people you’re cooking for. You can read all about the best backpacking stoves here.
In our packs: Soto Windmaster — The Soto Windmaster is an efficient canister stove with a quick boil time, even in windy or colder conditions. It’s 3 oz and has a lot of deluxe features like a fuel regulator and integrated ignition.
Favorite Integrated System: JetBoil MiniMo — The JetBoil MiniMo is fuel-efficient, so we don’t have to worry about running out of fuel as quickly. It boils water lightning fast when we’re just cooking freeze-dried backpacking meals, but it also provides enough simmer control that we can cook our own dehydrated food. If you only boil water, check out the Jetboil Flash.
Budget stove: AOTU Stove — You can usually find the AOTU stove for under $15. It’s user-friendly, fairly lightweight, and has decent fuel efficiency and wind performance. This stove is a great value if you are new to backpacking or on a tight budget.
Ultralight stove: BRS-3000T — This is the lightest canister stove out there at .89oz, and it’s budget-friendly, too (not usually the case in the ultralight world!). It comes with some tradeoffs; namely, it requires a narrow pot for stability, and it’s kind of garbage in the wind, so you’ll want to bring a windscreen or be OK finding a sheltered spot in the field (we usually make one using a large rock and our bear canister).
Cooking pot
If you opt for a stove instead of an integrated system, you’ll need to pack a cook pot! For solo hikers, 650-750mL tends to be a good size, and for couples aim for a pot in the 1.2L+ range.
In our packs—MSR Ceramic 1.3L: If you like to cook on your backpacking trips, you can’t go wrong with MSR’s ceramic-coated pot. It’s light at 7.5 oz, the handle is removable for storage, and the ceramic coating makes cleanup a breeze. You’ll want to make sure you use non-metal cooking/eating utensils to protect the coating, but we’ve found it’s pretty durable, with no flaking or scratching after several years of use.
Best ultralight titanium: TOAKS Pots — It doesn’t really get lighter than titanium, and TOAKS makes pots in a variety of sizes so you can get exactly what you need and nothing more!
Fuel
Lighter
Even if your backpacking stove has an auto-ignite switch, don’t rely on it 100%. Pack a lighter in the event it craps out.
Eating Utensil
We like to use a utensil that has a true spoon shape (not a spork) because it allows us to scrape down the last bits of food from our pot, making it much easier to wash it out. These Humangear GoBites utensils have served us well over the years.
Mug [optional]
If you’re morning coffee (or tea) drinkers like us, you’ll probably want to pack a dedicated mug. We carry this GSI mug. Sure, it won’t keep your coffee hot for hours, but we find it perfect for backpacking mornings. Bonus: The cup has measures on the side, so you can use it to measure water for your breakfasts and dinners.
Knife
It’s always good to carry a small knife or multi-tool. I found that the only part of the multi-tool I ever used was the knife, so we ditched it in favor of our lighter Opinel knife.
Bear Canister
If you’re backpacking in bear country, it’s smart to use a bear canister (and in many places, it’s required!). We use the BV500 (there’s also a smaller version). I have been able to pack 6-8 days of food for myself or 3-4 days for the two of us into it.
BearVaults are super durable and approved by nearly all agencies in the US, but they are on the heavy side. If you backpack in areas that allow it, an Ursack might be a better choice (while the Interagency Grizzly Bear Committee approved the Ursack in 2014, many places still do not allow them).
You can read more about how and when to use a bear canister here.
Water Treatment
You never know what is in the water sources you come across in the backcountry, so make sure you have a reliable way to filter water.
Here are our favorite water filters:
Best Gravity Fed: GravityWorks 4L — It’s not the lightest filter at 11.5 oz but gosh it is EASY to use! The GravityWorks filters water at 1.75L/min with essentially zero effort, and it’s easy to maintain on the trail. You simply fill the bag, then hang it so the “dirty water” bag is hung above the “clean water” bag. Gravity takes care of the rest. This is a great system for small groups or for hiking in areas where you might not set up camp right by water sources.
Best Squeeze-Style: Katadyn BeFree — The Katadyn BeFree is our pick for an ultralight squeeze-style filter and is the filter we currently use on our backpacking trips. It’s simple to use: just fill the soft flask and screw on the filter. Then, you can drink right from the flask or squeeze filtered water into your pot or into another bottle.
Best UV: Steripen — The Steripen Adventurer Opti UV purifier uses a battery-powered UV lamp to kill harmful protozoa, bacteria, cysts, and viruses in your water. Simply fill your bottle and then submerge the lamp as directed. Since this isn’t a physical filter, you’ll want to pre-filter silty water with a bandana.
Water Bottle(s)
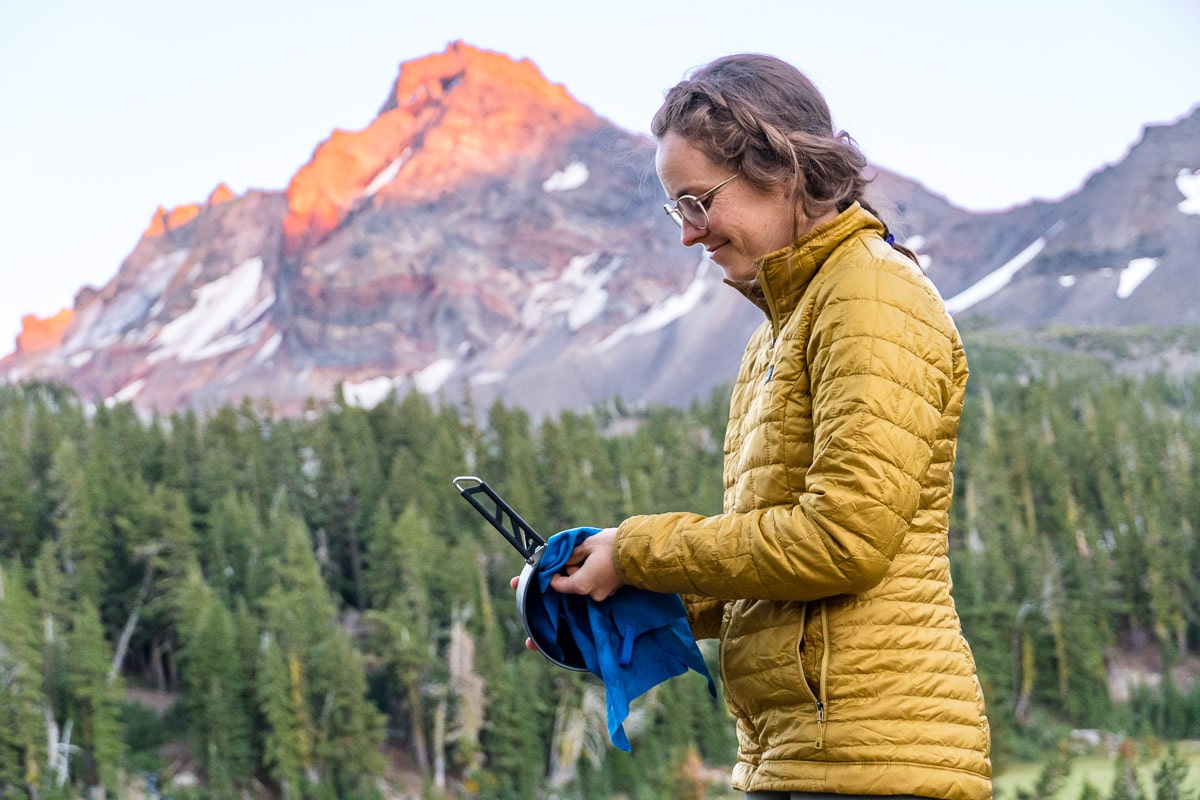
Dishwashing kit [optional]
You may want to pack a small dishwashing kit if you cook in your pot. Here is what’s in ours:
✔︎ Small Piece of Sponge
✔︎ Biodegradable Soap
We like the unscented Dr. Bronner’s biodegradable soap for washing dishes. Please read up on the proper way to use soap in the backcountry, and for the love of god don’t use it IN any water source.
✔︎ Quick-Drying Dish Towel
The REI Multi Towel Mini is super light (optional–dishes can always air dry!)
Toiletries
Toothbrush & Toothpaste
We use folding travel toothbrushes. They take up less space and guard the bristles from touching anything else in your toiletry bag.
Travel-size toothpaste tubes are perfect for backpacking trips (no point in dragging a full tube out on the trail!). Personally, we have switched to these toothpaste tablets when backpacking—they weigh next to nothing and take up almost zero space.
Sunscreen
An absolute must for faces, necks, and hands. We try to reduce the amount of sunscreen we need by covering up (long sleeves and pants), but a small travel container of sunscreen is critical.
Lip Balm
Between the sun and the wind, it’s so easy for lips to get chapped on the trail–be sure to pack some lip balm with SPF.
Hand Sanitizer
Let’s be honest: cleanliness becomes a relative term on a backpacking trip. But before we prepare our food and after we go to the bathroom, a quick spritz of hand sanitizer goes a long way to cover our bases.
Wet Wipes
We budget 2-3 of these wipes per day to clean off all the sweat and grime. These wipes’ ingredients are just water and grapefruit seed extract, so we find they don’t leave a weird residue feeling behind.
Bathroom Kit
✔︎ Trowel
This trowel is cheap, durable, light, and faster at digging a cathole than a stick. If you want to spend an extra $15 to save weight and some space, check out this ultralight trowel.
✔︎ Toilet Paper + Trash Bag
If you’re following Leave No Trace principles (and we hope you are!), you’ll know that packing out all your trash is important–and that goes for your used toilet paper, too. I use a ziplock bag that I “black out” with painter’s tape.
If you’re looking for TP alternatives, you’re in luck! There are a number of products designed with backpackers in mind that will help you cut down on the trash you have to pack out.
- Kula Cloth: This is an antimicrobial pee cloth that can be used in place of toilet paper for #1.
- Bidet: A TUSHY travel bidet is a great TP alternative for backpackers. We met a gal on the JMT who used this one and couldn’t say enough good things about the experience.
Trash Bag for Food & Misc Waste
Technically, you could have one trash bag for everything, but I like to keep opening and closing my TP bag to a minimum, so I bring a separate one for storing my used food packaging.
Health and Safety
Headlamp
The Biolite 325 headlamp has a minimalist headband design, which distributes the weight in a way that’s super comfortable. Additionally, it’s USB-charged, so there’s no battery pack, which helps make it one of the lightest headlamps we’ve found – it’s only 50 grams!
First Aid Kit
You can make a DIY first aid kit or buy a pre-packaged one like this.
Our current kit is a bit Frankensteined, but generally speaking, our basic kit includes things like band-aids of various sizes, 2nd skin/blister bandaids/moleskin, butterfly bandages/wound closure strips, gauze, tape, elastic bandage, antibiotic ointment, antiseptic towelettes, tweezers, safety pins, ibuprofen, Imodium, and antihistamine.
Backup Water Treatment
In the event our water filter fails, we keep these Micropur tablets in our first aid kit.
Gear Repair Kit
Sleeping pad patches, spare stove O-ring, duct tape, a sewing needle, nylon thread, etc.
Firestarter/Matches
Small Mirror
Whistle
Navigation
GPS
While there are plenty of expensive hand-held GPS devices out there, we have been happy over the years just using our iPhones and Gaia GPS! The premium version is well worth the cost and allows you to download maps before your backpacking trip so you can use them offline, and you can create and print paper maps for your route as well.
Paper Maps
While we usually use a GPS app on our phones for navigation while hiking, we still bring paper maps that we generate using Gaia (see above). If your phone runs out of juice, gets water damaged, or drops and the screen cracks, you don’t want to be stuck without a way to navigate. Maps are stored in a ziplock bag along with any required permits.
Compass
This Suunto A-10 Compass is a solid, lightweight option. Your map and compass will only help you if you know how to use them, so you might want to check out a navigation class at your local REI.
SOS/Satellite Device
We carry a Garmin In-Reach Mini, which works outside of cell service, meaning we can text with our family or friends via satellite (for weather updates, wildfire info, or just to say “we’re having a blast!”), call for SOS help if needed, and act as a GPS with tracking. It’s only 3.5oz, but it is a pricey item, and it requires a subscription to use all the satellite functions. However, it’s been worth it for peace of mind for us and our families.

Backpacking Clothing
Insulated Jacket
A warm, insulated jacket is essential for cool mornings and cold nights. We look for jackets that can be compressed and packed down small so they don’t take up a ton of room in our packs.
- In our packs: Patagonia Down Sweater
- Ultralight (Down): Mountain Hardwear Ghost Whisperer
- Ultralight (Synthetic): Enlightened Equipment Torrid
- Budget: REI 650 Down Jacket
Base Layer Tops & Bottoms
Base layers can help you regulate your body temperature in camp and on the trail as the temperature fluctuates throughout the day. We typically pack Patagonia Capilene base layers.
Quick Dry Shirt
Look for something that’s moisture-wicking and breathable. Avoid cotton as it holds onto moisture—opt for quick-drying material instead. Patagonia’s Capilene Cool Lightweight Shirt is a great place to start!
Long Sleeve Sun Shirt [optional]
When hiking at higher elevations and on exposed trails, we like to pack a lightweight UPF-rated long-sleeve shirt for additional sun protection.
Rain Jacket / Windbreaker
A lightweight, waterproof rain jacket will be worth its weight in gold if you encounter rain on your backpacking trip! We’ll pack these regardless of the forecast since the weather in the mountains can be unpredictable, and it doubles as a wind-resistant layer.
- In Our Packs: Columbia OutDry
- Budget: REI Rainier
- Ultralight *small biz made*: Enlightened Equipment Visp
Hiking Pants / Shorts
Look for breathable, quick-drying materials. UPF sun protection is always a big plus! Here are a few of our favorites:
- Men’s Pants: Eddie Bauer Guide Pro
- Women’s Leggings: Eddie Bauer Trail Tight
- Women’s Shorts: Vuori Clementine
Quick Dry Underwear
We each pack 2-3 pairs of breathable, quick-drying, moisture-wicking hiking underwear. These get rotated daily, and on longer trips, we’ll rinse them with water and some biodegradable soap.
Sports Bra
Hiking Socks
Investing in some quality wool hiking socks will help keep your feet happy on multi-day hikes. If you’re prone to getting blisters on or between your toes, I’d highly recommend trying Injinji socks.
Hiking Boots
Footwear might be one of the most important pieces of backpacking gear! It doesn’t matter how lightweight the rest of your gear is if your feet are in pain or covered in blisters.
Spend some time really feeling things out when selecting hiking boots or trail shoes. We recommend REI for this purchase because of their return policy. You can actually put your shoes to the test, and if it turns out they aren’t the right fit, you can return them for a refund within a year.
Hat/Beanie
A brimmed hat is nice for keeping the sun off your face during the day, and a warm beanie is a must for when the sun goes down!
Warm Gloves
Warm gloves always find their way into my pack—I like the REI Polartec Gloves. Michael finds that for most summer trips, a pair of merino wool glove liners are sufficient.
Sunglasses
Camp Clothes [optional]
One of the luxuries we bring when backpacking is a different set of clothes to wear at camp and while sleeping.
At the end of the day, we strip off all our dirty, sweaty hiking clothes, wipe ourselves down with wet wipes, and change into our clean(ish) camp clothes. We feel fresher going to bed, and since these clothes don’t carry any residual hiking sweat, we sleep warmer, too.
We each pack a shirt, bottoms, underwear, Teva camp shoes, and cushy socks.
Camera Gear and Electronics
These are optional items, but ones that always make it into our packs!
Camera
We bring a Sony a6600 mirrorless camera on our backpacking trips, which weighs just over a pound (plus lens). But we might just use our iPhones on fast and light trips!
Peak Design Camera Clip
This handy clip attaches your camera to your backpack strap so you can have your camera easily accessible on the trail.
Battery Bank
A battery bank is optional, but if you have devices that need to stay charged it might be worth the weight. This 10,000mAh pack will charge your phone two times.
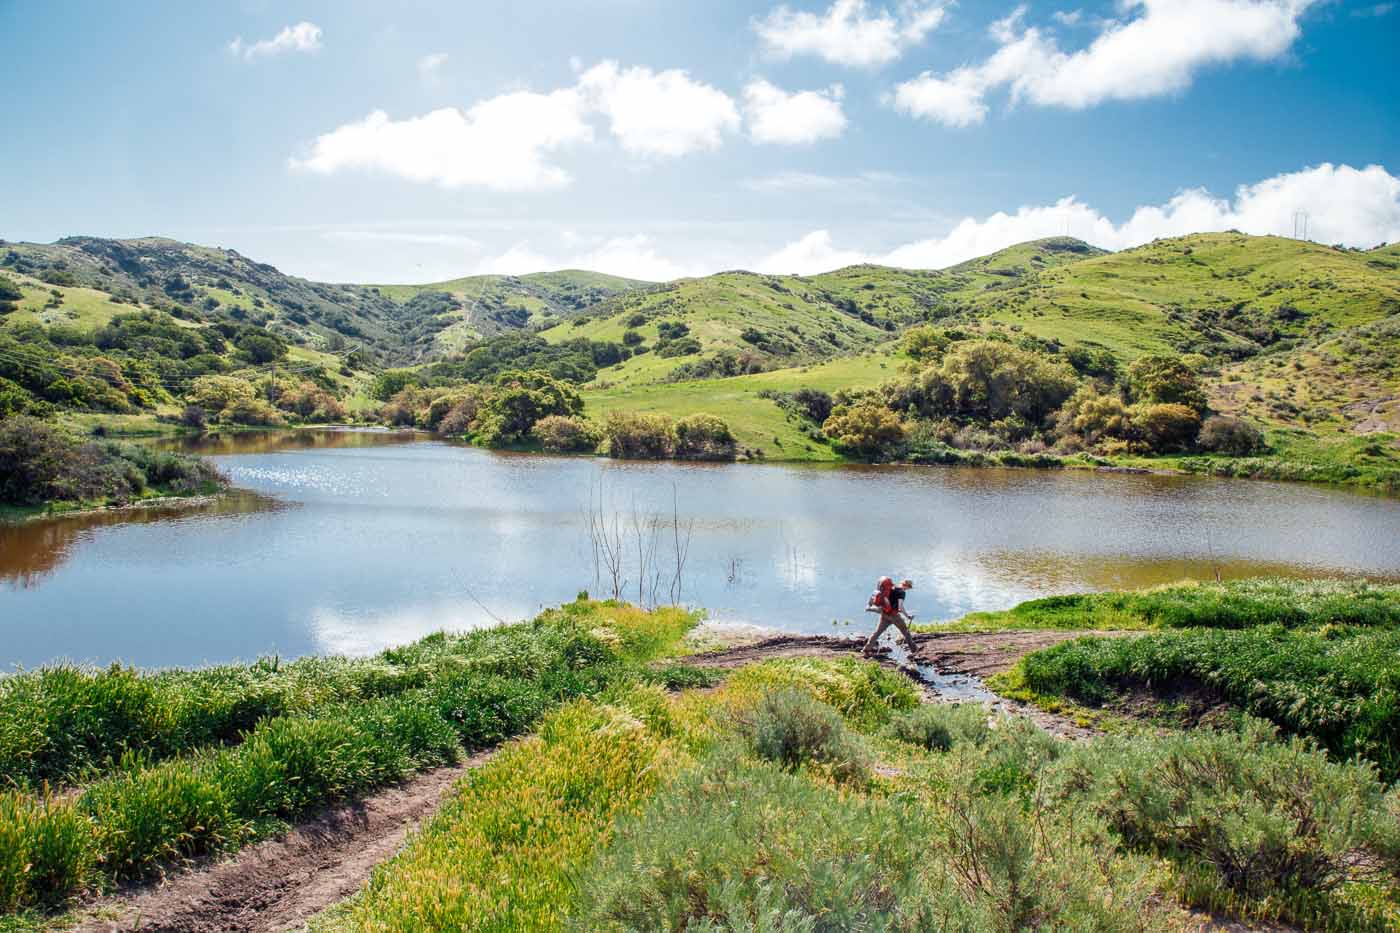
We hope this backpacking checklist will be helpful as you plan your next backpacking trip! If you want to dig deeper, we have articles about choosing a backpacking stove, details on our backpacking kitchen, dehydrating food for backpacking, and buying and packing backpacking food for your trip.

Someplace you mentioned travel bottles that can hold sunscreen (maybe they aren’t silicone?) but I can’t find it now. Can you please tell me where to find them?
Yes, humangear GoToobs! You can find them here.
Great article! Can’t wait to try this!
great information i will try this tips thanks for sharing
I really like this checklist, it’s quite comprehensive to say the least. I’d only like to add one advice: always have one more pair of socks than you calculated necessary.
Also, nowadays I also carry a pair of lightweight shoes to change into at the campsite.
I completely agree with you about packing an extra pair of socks! I have never once thought to myself “I packed too many socks” 😉
Really useful, thanks for sharing your advice and experience. It’s still too cold for me here in Ireland for camping but couple of months and I’ll be out! Great list.
Camping in Ireland sounds like a dream. Summer will be here soon enough!
Great list, but would love to see more budget friendly options. $50 for camp shoes when Crocs will do? No, thanks!
Thanks for the feedback! The Teva camp shoes we linked to do have multiple purposes – good for river crossings, and they are the sandals I wear around town in warmer weather too. I certainly wouldn’t shell out 50 bucks exclusively for camp shoes either 😉 But, we’ll work on including more budget-friendly options in these gear lists in the future!
You know that Crocs are also $50 right?
I really like this checklist, it’s quite comprehensive, to say the least. I’d only like to add one piece of advice: always have one more pair of socks than you calculated necessary.
Also, nowadays I also carry a pair of lightweight shoes to change into at the campsite. https://bagcottage.com
Absolutely agree! We carry two pairs of socks to hike in, and one pair to sleep in. Camp shoes are a must for us these days, too. I left them behind on our last backpacking trip to see if I could get away without them, and boy did I miss them at the end of the day!!