Dehydrated Chili Mac
This post may contain affiliate links.

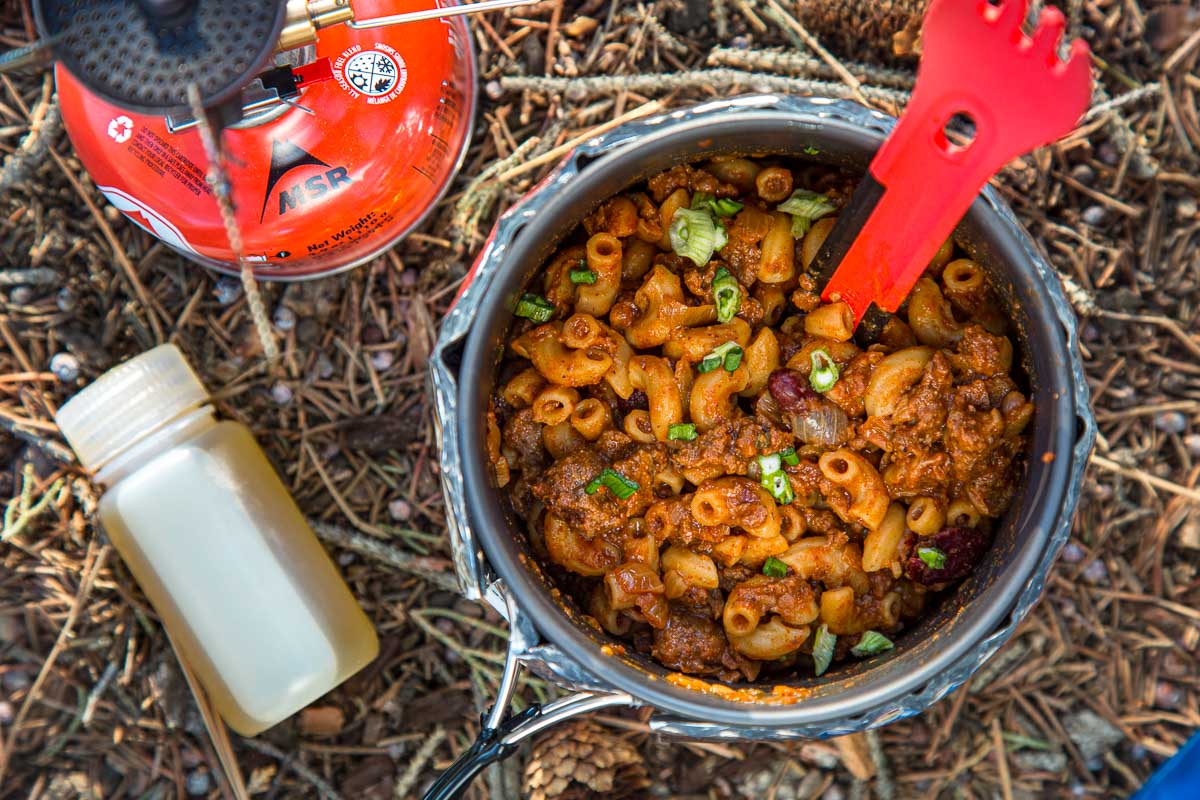
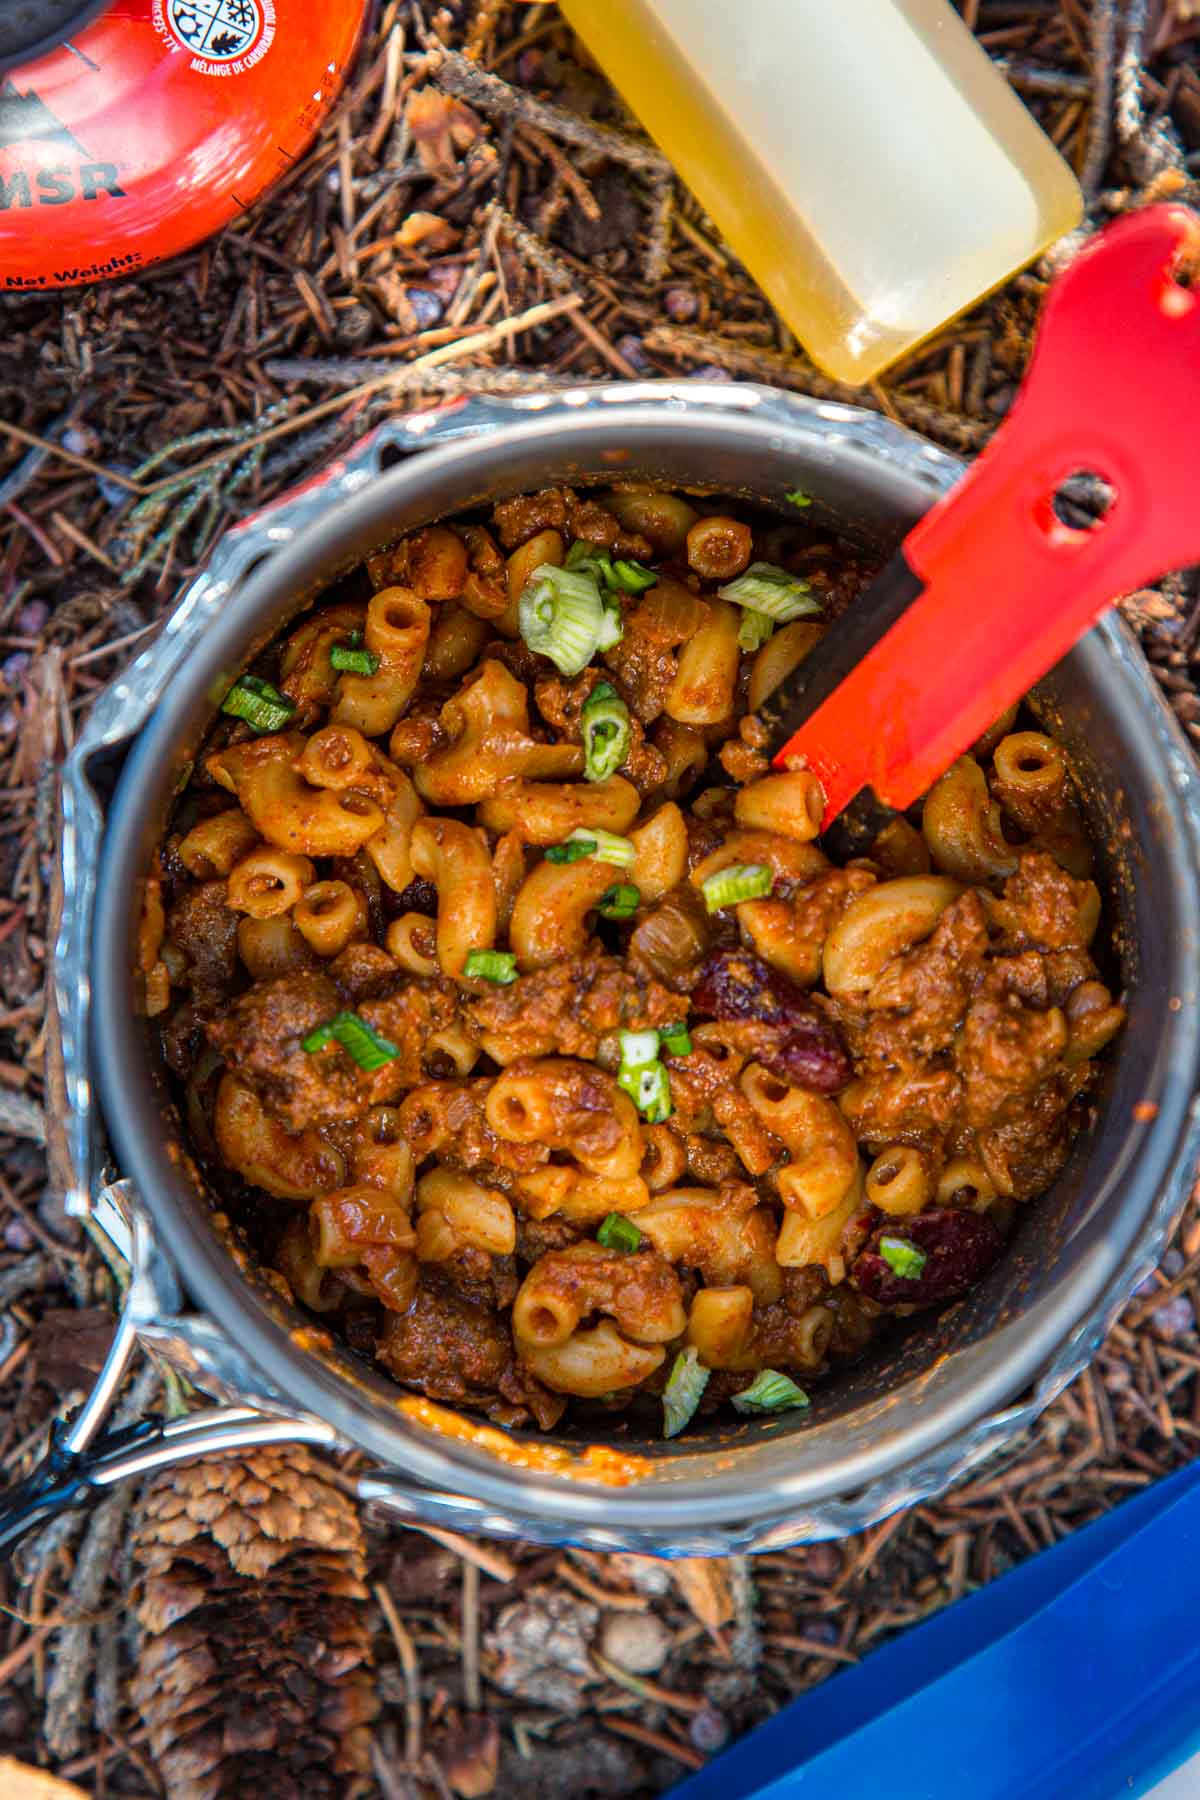
Combining savory ground beef & sauteed onions, spicy chili seasonings, and noodles, this hearty backpacking meal is perfect after a long day on the trail.
We’re big fans of Mountain House’s freeze-dried chili mac, which makes frequent guest appearances on our backpacking meal plans. To us, it’s a big bowl of comfort.
While we certainly love the convenience, at $10 a meal, the cost can add up quickly. So we decided to start making our own, budget-friendly, version of the recipe.
Home dehydrating is an entirely different process than large scale industrial freeze-drying, so we had to make a few adjustments to the recipe, but the end result is that meal that tastes every bit as good as the store-bought version (we’d say better) at a fraction of the cost per meal!
If you love the idea of chili mac on the trail and want to put your dehydrator to good use, then this is the recipe for you!
Why We Love Dehydrated Chili Mac
- Super hearty, super comforting. It’s exactly what we want at the end of a long day of hiking. Backpacking Comfort Food.
- Budget-Friendly! It’s a fraction of the cost of buying the store-bought version
- Scalable. It can easily be scaled up to accommodate larger groups of people or to make multiple meals for a long trip.
- Very customizable. Since you make the meal in full prior to dehydrating you can adjust the spices to suit your taste!
If you’re new to dehydrating, read our complete guide to dehydrating food for backpacking to learn all the ins and outs!
Equipment needed
Dehydrator: Any dehydrator that has an adjustable temperature setting will work. We own both the Nesco Snackmaster (budget-friendly) and a Cosori (more features and dries faster) and recommend both.
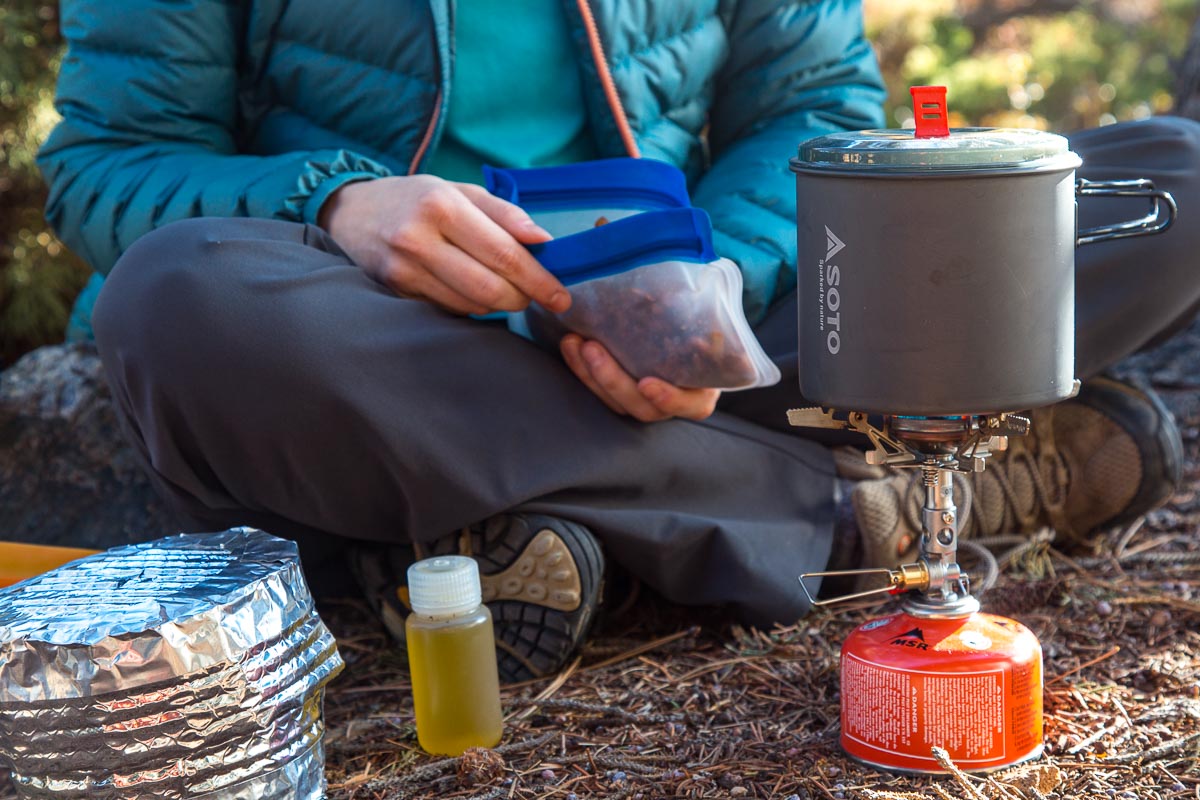
Reusable bags: In our bid to reduce our disposable ziplock bag consumption, we’ve started packing our dehydrated meals for the trail in reusable baggies. ReZip is a great option, balancing durability with weight. Most of their bags weigh between ½ – 1 oz.
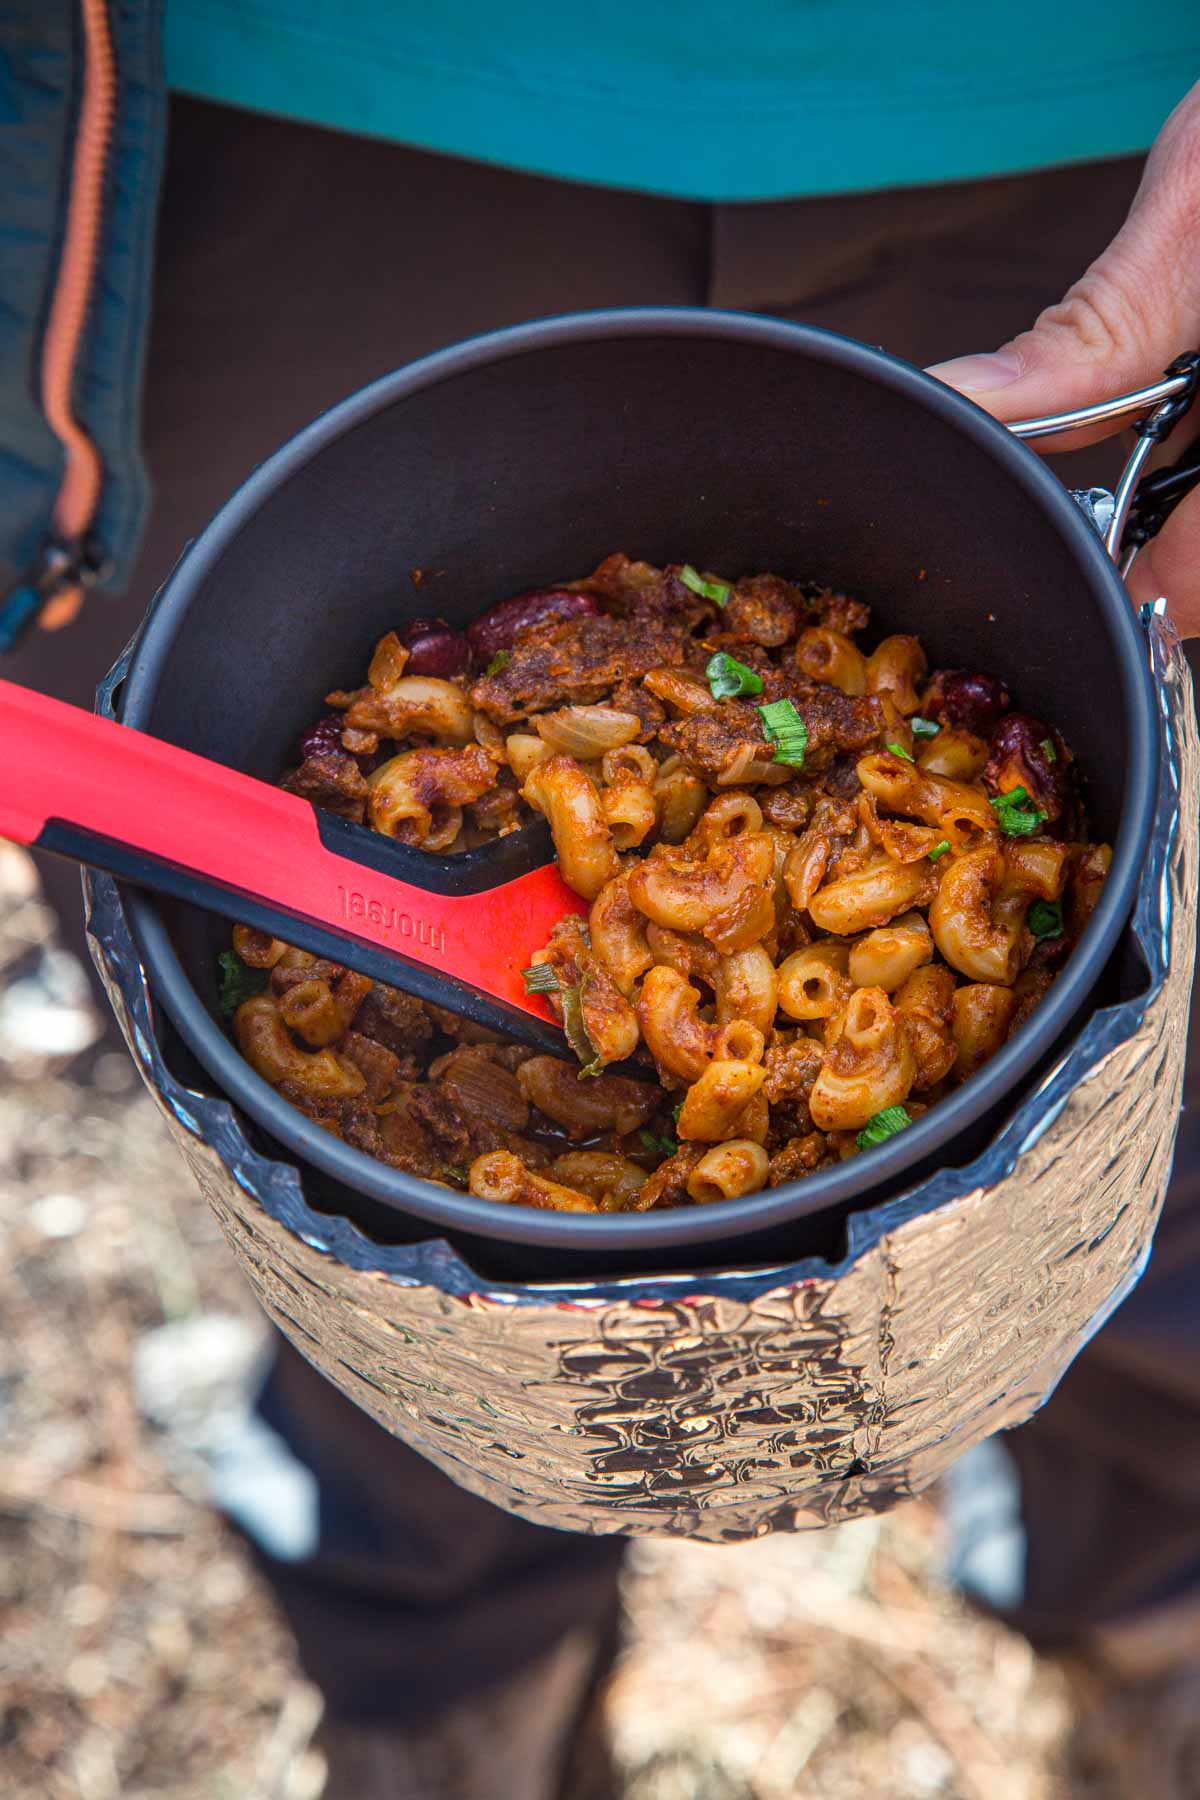
Stove, pot, and cozy: To make this recipe on the trail, you’ll need a backpacking stove, a cook pot, and a pot cozy (optional—this will help you save fuel. See our DIY pot cozy tutorial to make your own).
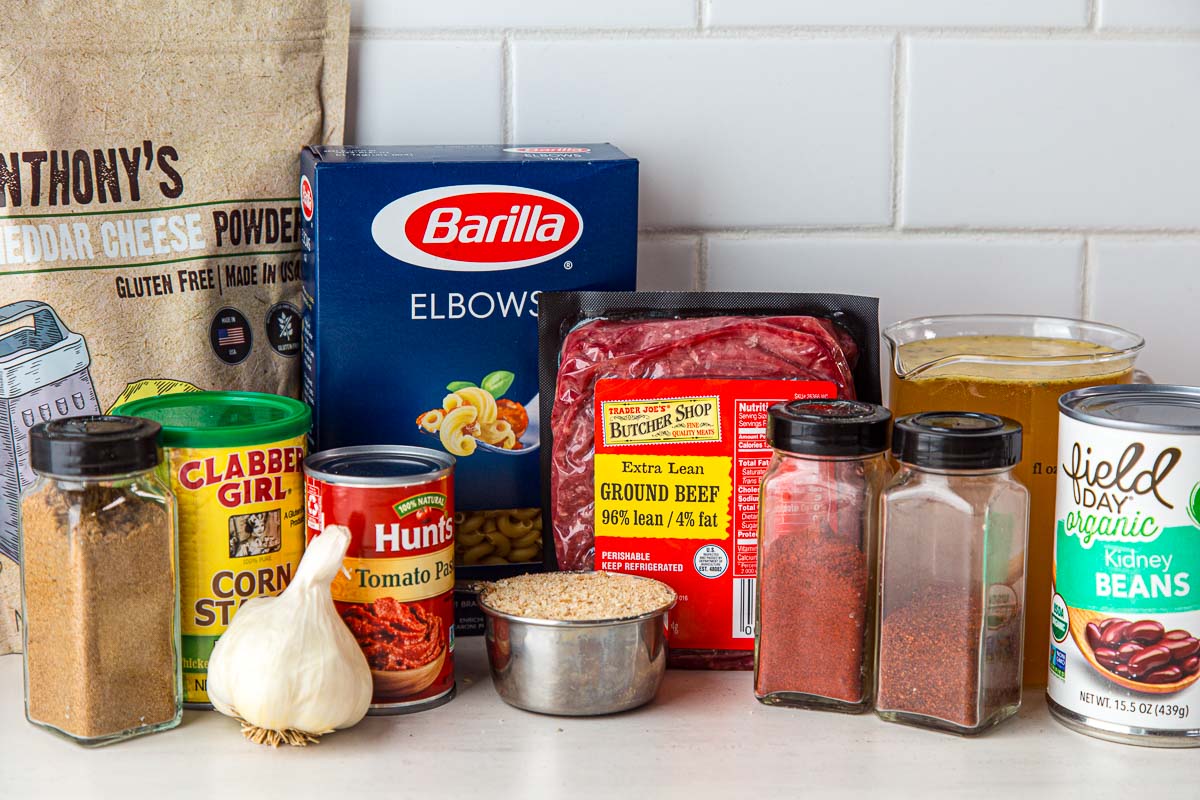
Ingredient notes
Ground beef: Use the leanest ground beef you can find—excess fat will not dehydrate and will shorten the shelf life of your meal. If you want to skip the beef, you can use TVP instead.
Breadcrumbs: A tip we picked up from Backpacking Chef is that ground beef rehydrates better when you mix breadcrumbs in with the meat (omit if using TVP instead of ground beef).
Beans: We add kidney beans as a nod to the original Mountain House recipe and to add some texture. If you are in the “BEANS DON’T BELONG IN CHILI” camp, we know you have strong opinions and we’re not here to change that. Just leave the beans out and add extra ground beef.
Pasta: Mini elbows rehydrate well and are easy to pack in zip bags.
Tomato paste: Tomato paste helps up the savory, umami flavor of the chili.
Seasonings: Seasonings can be adjusted to taste. If you want to use your favorite chili spice blend, start with about 3 tablespoons. Otherwise, use the blend as written in the recipe as a starting point.
Corn starch: A little bit of corn starch helps thicken the sauce so it clings to the other ingredients. Omit for a souper meal. We like this organic version.
Cheese powder (optional): Upgrade your meal (and add calories) and make this chili mac and cheese with cheddar cheese powder. Or, use nutritional yeast to keep this meal dairy-free.
How to make dehydrated chili mac
At home, start with clean, sanitized equipment, hands, and work area. This is super important for food safety when dehydrating, so wash up with soap and hot water! Preheat your dehydrator at 145F as you prep the chili mac.
In a bowl, mix the ground beef with the breadcrumbs until thoroughly combined. At this point, wash your hands again.

Heat a non-stick frying pan over medium heat and add the ground beef, minced onions, and minced garlic. Use your spatula to break the meat apart as you stir it around the pan.
IF needed, you can add a minimal amount of oil to saute, but we find that the fat that renders out of the beef is usually sufficient.
Cook about 10 minutes, until the ground beef has cooked all the way through and no pink spots remain and the onions are soft and translucent. If any large clumps of beef remain, break them apart.

Add the tomato paste and the spices, and stir to combine. Then add in the broth and pasta. Stir to combine and let this simmer until the pasta just begins to become tender.
Mix one tablespoon cornstarch with three tablespoons of water to create a slurry, and pour into the pan, stirring to incorporate it into the sauce. Cook about one minute more, then remove from the heat. Stir in the drained kidney beans.
Line your dehydrator trays with fruit leather liners, parchment paper paper, or silicone sheets. Spread the chili mac onto the trays, making sure not to over-pack the trays. You want to allow for good airflow between the food during the dehydration process. Place the sliced green onion on the trays (in an empty spot or scattered over the chili mac).

Dehydrate at 145F for 6-12 hours. A few times during the drying process, blot the chili mac with a paper towel to absorb any fat that has surfaced, and if using a vertical flow dehydrator, reshuffle the trays. Chili mac will be hard once completely dry and the sauce will no longer be tacky.
Remove the chili mac from the dehydrator and allow it to cool completely before storing it.
If you’ll eat this chili mac within two weeks, it can be stored in an airtight container in a cool, dark place.
If you will need to store the meal for longer than two weeks, vacuum seal the chili mac and store it in a cool, dark place for up to 1-2 months, or vacuum seal and freeze for extended storage (up to 6 months).

To pack for the trail: If needed, repackage the meal into single-portion zip top bags. You can add powdered cheese, if you want, at this time. We also recommend packing about 1 tablespoon of oil per serving in a sealed container. Alternatively, you can pack single-serve olive oil packets.
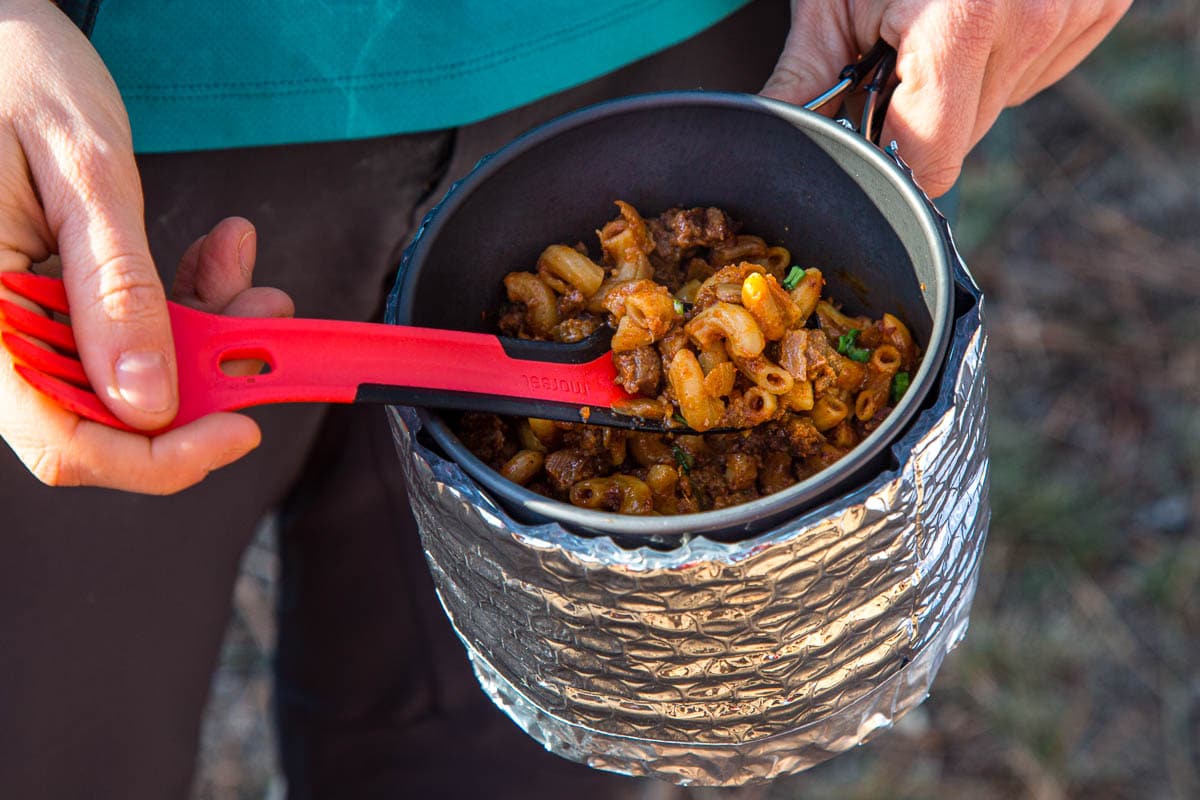
On trail, place the meal in your cook pot along with about 300mL water per serving. Cover the pot and bring to a boil, and boil for a minute. Stir, then remove from the heat and place your pot in a pot cozy for 10 minutes or until the meal has rehydrated.
If you’re not using a pot cozy, bring the meal to a boil and then reduce to a simmer until rehydrated.
Read this next: Here are dozens of lightweight backpacking recipes to try on your next backpacking trip!
Storage tips
Properly dehydrated meat lasts 1 to 2 months (source: USDA) or 6 months if vacuum sealed and frozen (source: The Dehydrator Cookbook).
Of course, some report that their dehydrated food lasts much longer than the timeframes listed above, but these are the general guidelines we follow based on the listed sources. And, some foods may not last as long due to dehydrating and storage conditions. When in doubt, discard any questionable food!
You can find more tips and information about storing backpacking meals in our dehydrating food guide.
Trail weight & nutrition
This recipe as written makes four ~150g servings (dry weight), clocking in at 130 cal/oz, assuming one tablespoon powdered cheddar cheese and one tablespoon of olive oil is added on trail per serving. Each serving provides:
- 694 calories
- 22g fat
- 85g carbohydrates (45%)
- 42g protein (20%)
Feel free to package this meal in larger or smaller portions depending on your appetite! For more information about how much food to eat while backpacking, check out our backpacking meals post.
(Disclaimer: Nutrition was calculated based on the ingredients we used, so yours may vary slightly.)
Dehydrated Chili Mac
Ingredients
- 1 lb extra lean ground beef 454g
- ½ cup bread crumbs
- 1 onion diced
- 4 cloves garlic minced
- ¼ cup tomato paste
- 3 tablespoons chili powder or adjust to taste
- 2 tablespoons cumin
- 2 teaspoons paprika
- 2 teaspoons sea salt
- 3 cups beef broth 710mL
- 8 oz elbow macaroni 224g
- 15.5 oz. can kidney beans 439g
- 1 tablespoon cornstarch
- 3 green onions sliced thin
Pack for the trail
- 4 tablespoons olive oil 60mL
- 4 tablespoons cheddar cheese powder
Instructions
At home
- Start with clean, sanitized equipment, hands, and work area. Preheat your dehydrator at 145F as you prep the chili mac.
- In a bowl, mix the ground beef with the breadcrumbs until thoroughly combined. At this point, wash your hands again.
- Heat a non-stick frying pan over medium heat and add the ground beef, minced onions, and minced garlic. Use your spatula to break the meat apart as you stir it around the pan.
- Cook about 10 minutes, until the ground beef has cooked all the way through and no pink spots remain and the onions are turning soft and translucent. If any large clumps of beef remain, break them apart.
- Add the tomato paste and the spices, and stir to combine. Add the broth and pasta. Stir to combine and let this simmer until the pasta just begins to become tender.
- Mix one tablespoon cornstarch with three tablespoons of water to create a slurry. Pour into the pan, stirring to incorporate it into the sauce. Cook one minute more, then remove from the heat. Stir in the drained kidney beans.
- Line your dehydrator trays with fruit leather liners, parchment paper paper, or silicone sheets. Spread the chili mac onto the trays in an even layer. Place the sliced green onion on the trays (in an empty spot or scattered over the chili mac).
- Dehydrate at 145F for 6-12 hours. A few times during the drying process, blot the chili mac with a paper towel to absorb any fat that has surfaced, and if using a vertical flow dehydrator, reshuffle the trays. Chili mac will be hard once completely dry and the sauce will no longer be tacky.
- Remove the chili mac from the dehydrator and allow it to cool completely before storing it (*see notes).
To pack for the trail
- If needed, repackage the meal into single-portion zip top bags. You can add powdered cheese at this time. Packing about 1 tablespoon of oil per serving in a sealed container. Alternatively, you can pack single-serve olive oil packets.
On trail
- Place the meal in your cook pot along with about 300mL water per serving. Cover the pot and bring to a boil, and boil for a minute. Stir, then remove from the heat and place your pot in a pot cozy for 10 minutes or until the meal has rehydrated.
- If you’re not using a pot cozy, bring the meal to a boil and then reduce to a simmer until rehydrated.
Hi there, this recipe looks so good. To save fuel without a pot cozy, do you think you could cold soak for an hour first?
Yes, absolutely. I would recommend waiting to add the cheese (if you’re using it) until after you reheat it–since a lot of the water will be absorbed during the soak, you’re more likely to run into issues with the cheese sticking to the bottom of the pot. Adding it in towards the end of the cooking process will help prevent that and make cleanup a bit easier. Let us know how it goes!
hello! A couple of questions . Can I store the dehydrated meal in a ziplock bag in my fridge before my trip (Less than two weeks)?
next Q – I’m planning on just adding store bought chili to the meat and macaroni of this recipe. Is the cornstarch slaw necessary in this case?
Used this recipe twice now and it works like a dream. Both times I’ve used closer to 1 cup of breadcrumbs, mixed the beans when adding the broth, and waited until the last minute to add the noodles. When reheating at camp the noodles cook even more, so make sure you cook them less than you think you need to when cooking at home.
We’ve prepared and taken this backpacking multiple times and is one of our favorites!