How to Dehydrate Apples
This post may contain affiliate links.

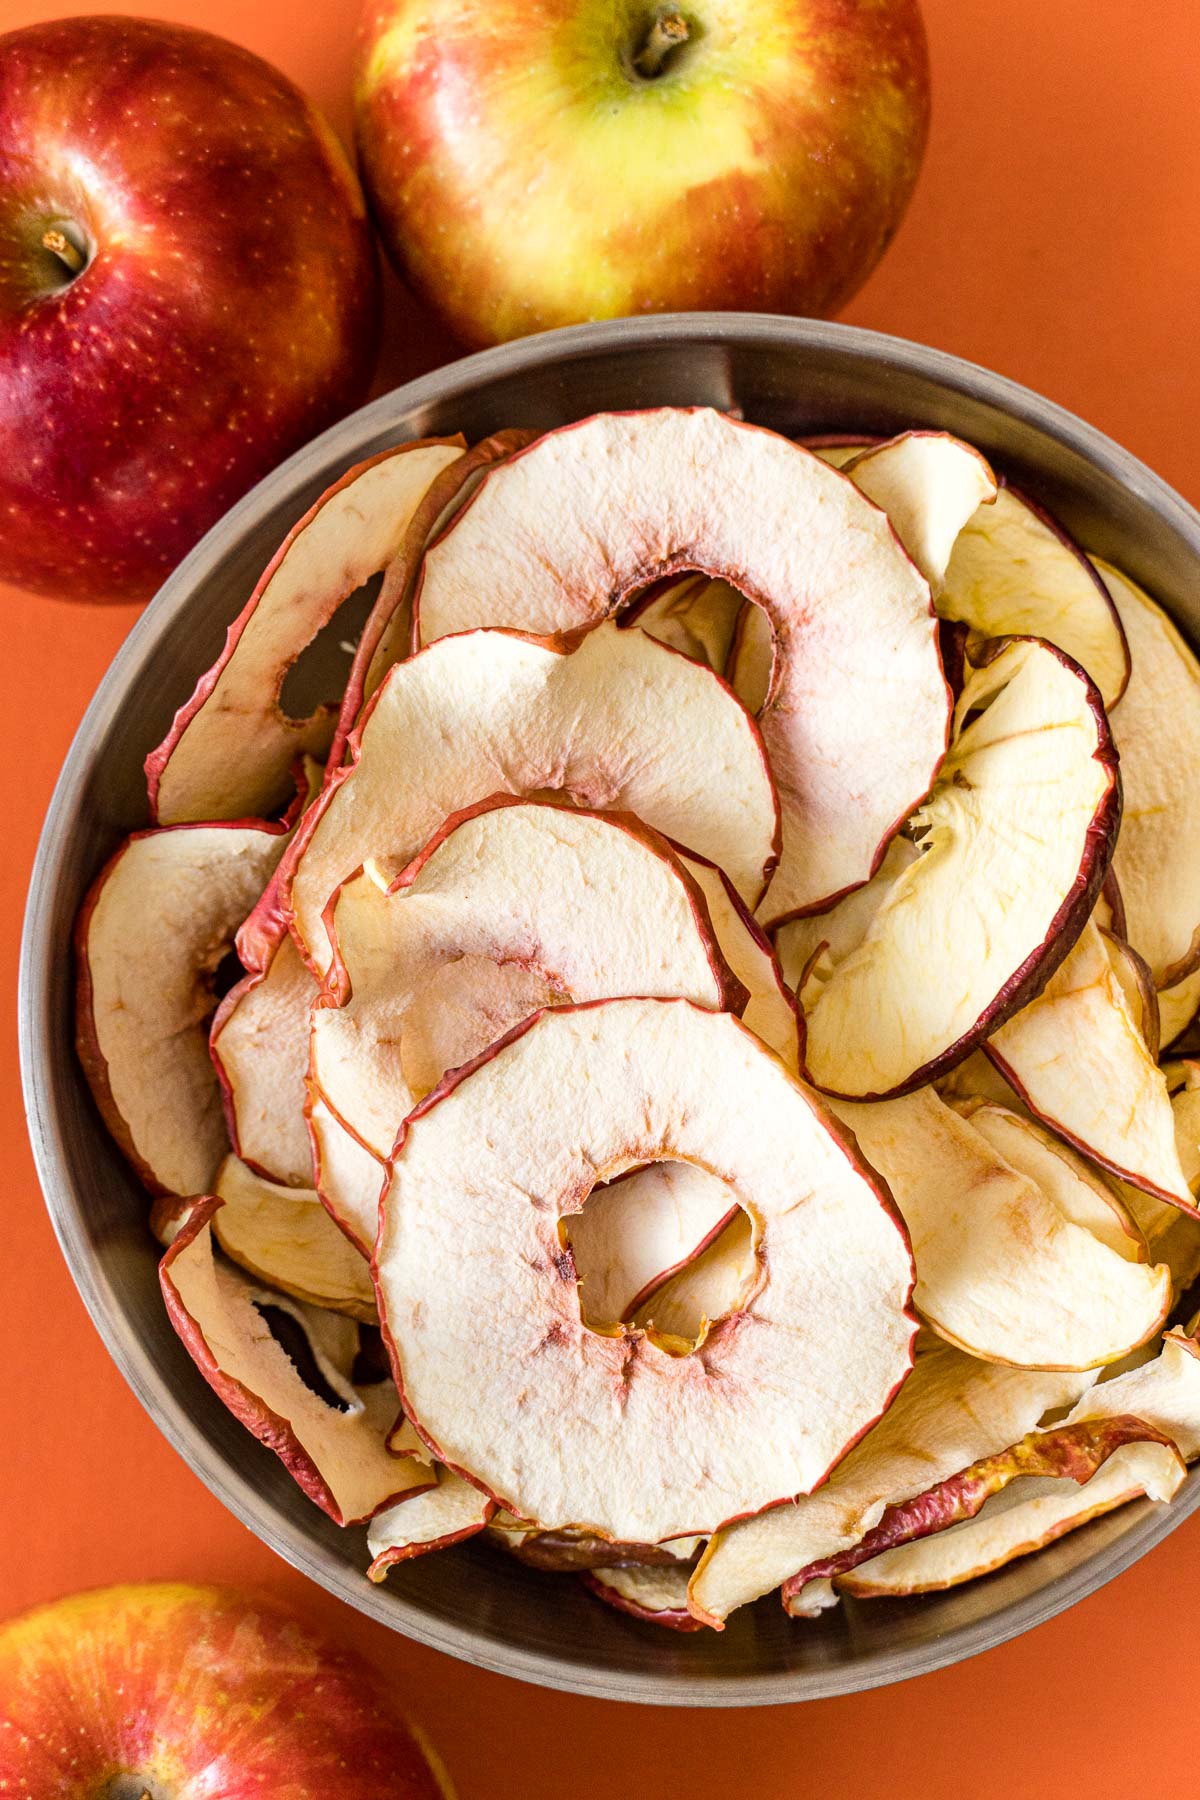
Ever wondered how to capture that perfect fall apple flavor and make it last all year? Let us introduce you to dehydrated apples—a tasty, portable snack we can’t get enough of. Dehydrating apples at home isn’t just easy; it’s a simple way to keep a stash of your favorite fruit on hand, even when apple season is long gone.
If you’re new to dehydrating, don’t worry—we’ve spent nearly a decade perfecting our dehydrating technique, so we’ve got all the tips and tricks to share!
Whether you’re looking for a healthy snack, something to add to your trail mix, or just a way to use up those extra apples, we’ve got you covered. Dehydrated apple chips are deliciously chewy, packed with concentrated apple goodness, and ready to fuel all your outdoor adventures, stock your pantry, or just have on hand for snacking.
So, why wait? Apple season is here, and there’s no better time to stock up, dehydrate, and enjoy. Follow along, and we’ll walk you through how to dehydrate apples step-by-step and help you turn fresh apples into perfectly crisp, sweet dehydrated apple chips you’ll love all winter long!
No dehydrator? Learn how to make dried apples in the oven instead!
What types of apples can be dehydrated?
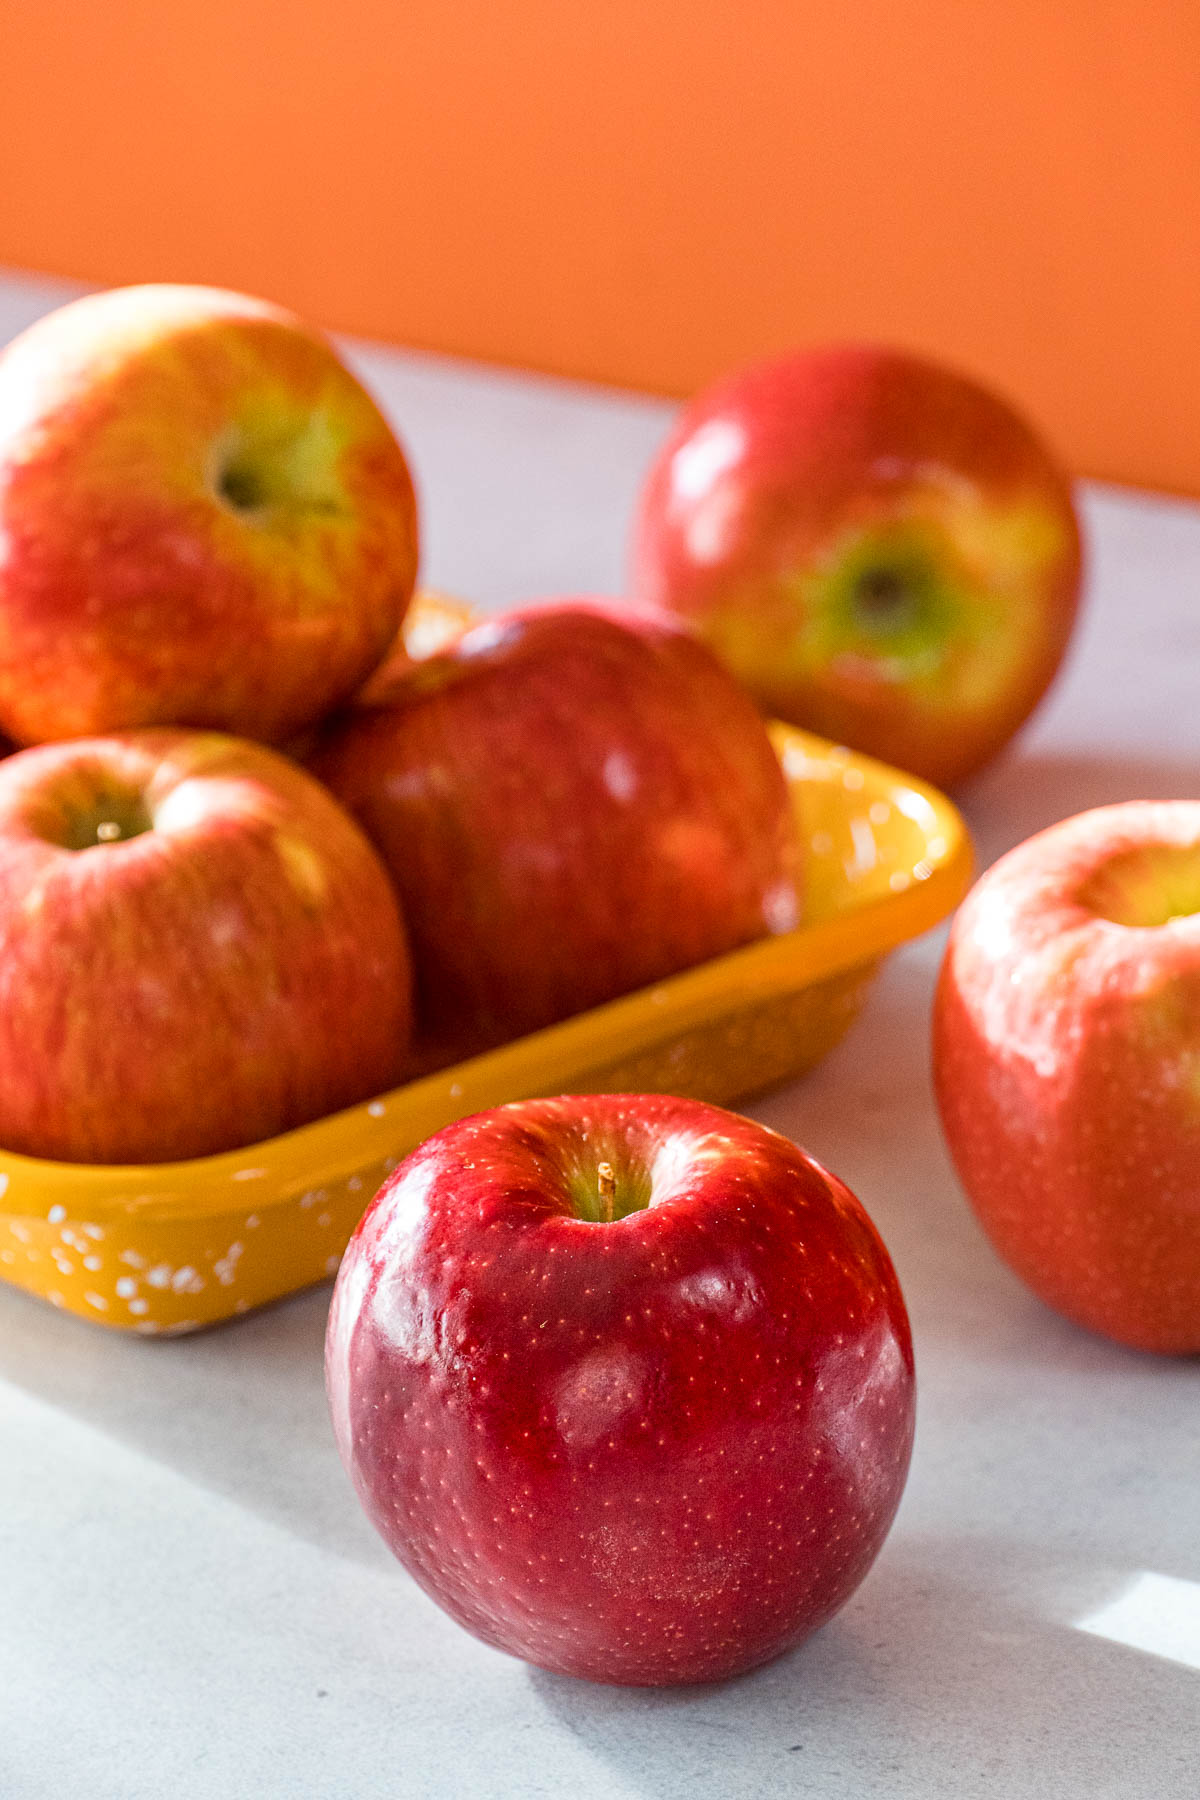
You can dehydrate any type of apple! It’s important to know that the flavor of the apple will concentrate when it’s dehydrated—so super tart or super sweet apples will be intensified.
Peak season for apples in the United States runs from late July through mid-November. Choose organic apples if possible, as apples are one of the “dirty dozen” fruits and vegetables more likely to contain pesticide residues.

Prepping & pretreating apples for dehydrating
Before you start prepping your apples, make sure your counters, equipment, and hands are clean and sanitized to prevent contamination, which can spoil your batch down the line.
Equipment Spotlight: Dehydrators
If you’re in the market for a dehydrator, we recommend buying one with an adjustable temperature. This will allow you to dial in the drying temp to give you the best results for individual ingredients. The dehydrator we recommend (and use) most often is the COSORI dehydrator. You can also check out our best dehydrators post for a comparison of all the dehydrators we’ve used and would recommend.
How to dehydrate apples
Dehydrating apples is super easy and a great beginner dehydrating project. Once your apples are prepped, set up your dehydrator and follow these steps:
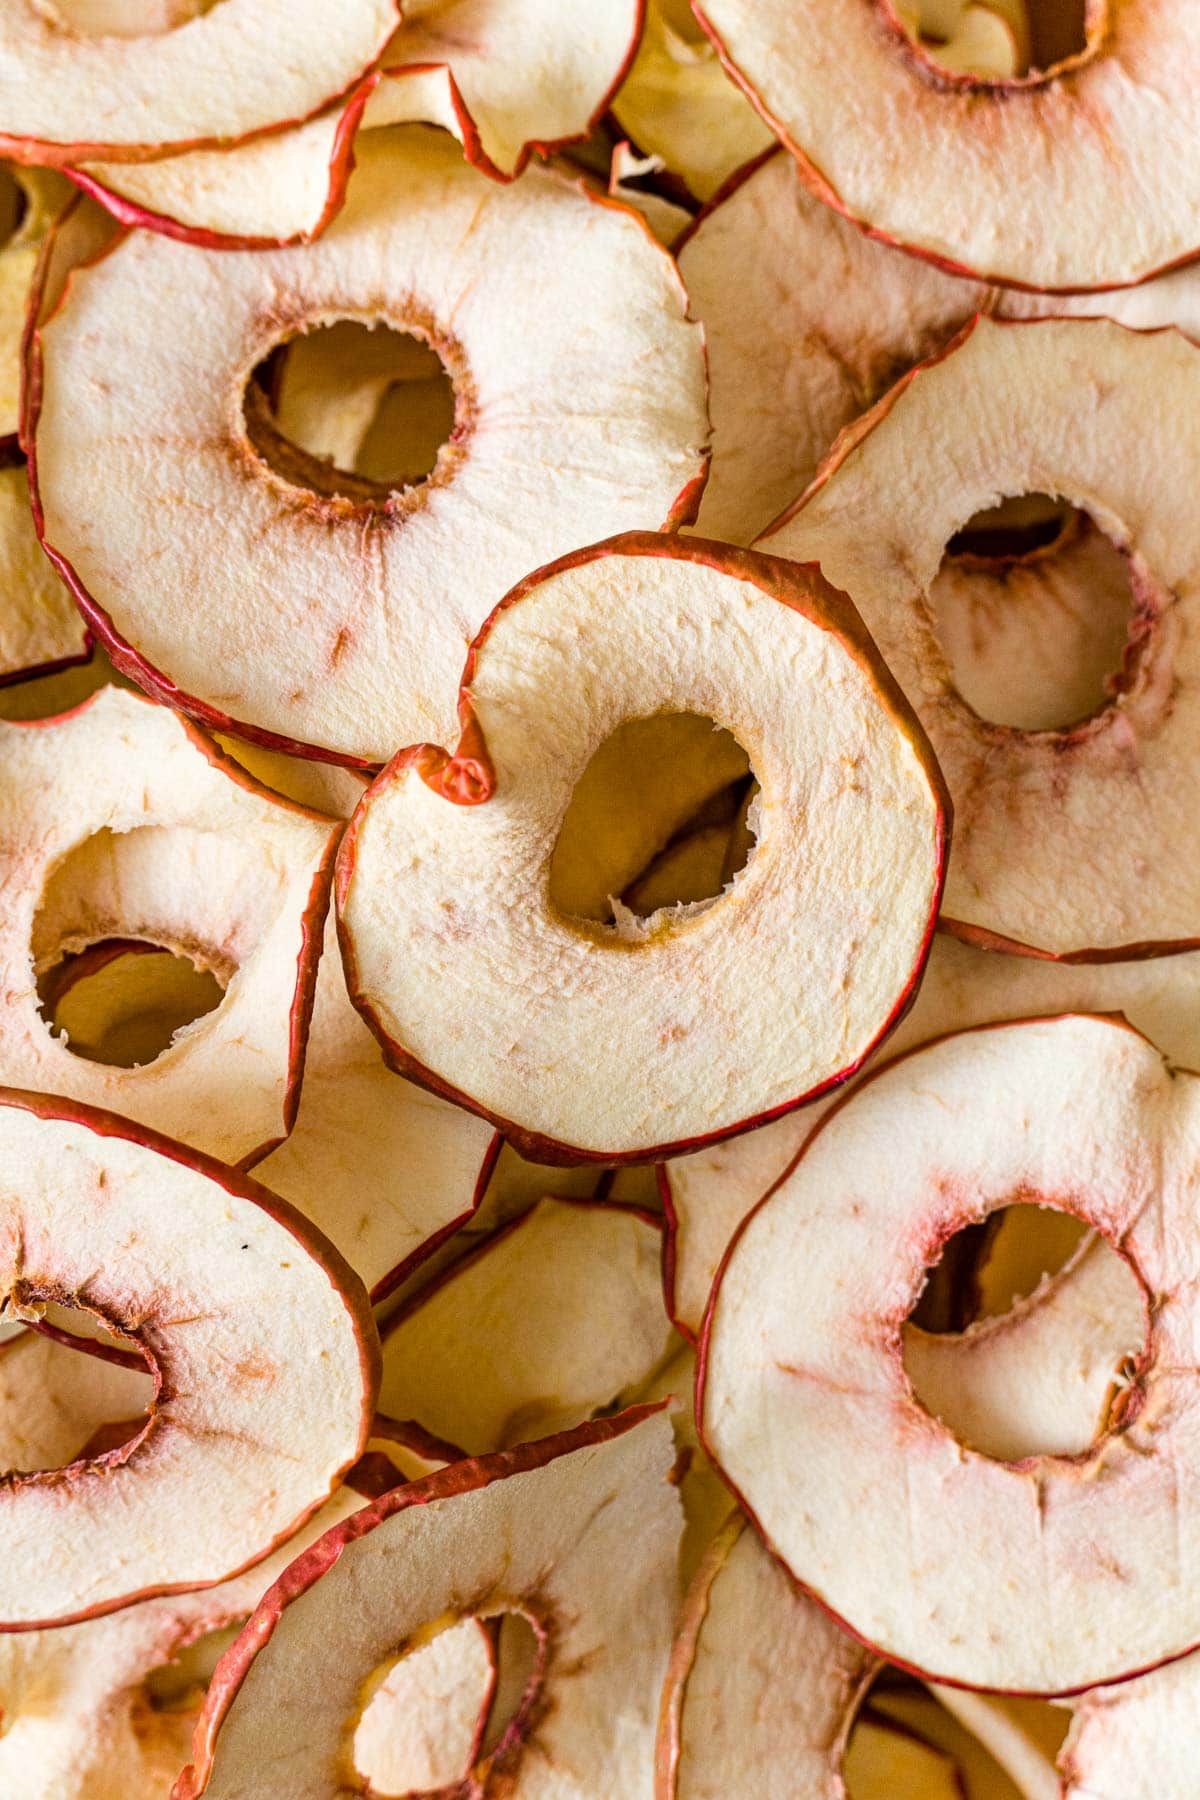
How to tell when apples are done
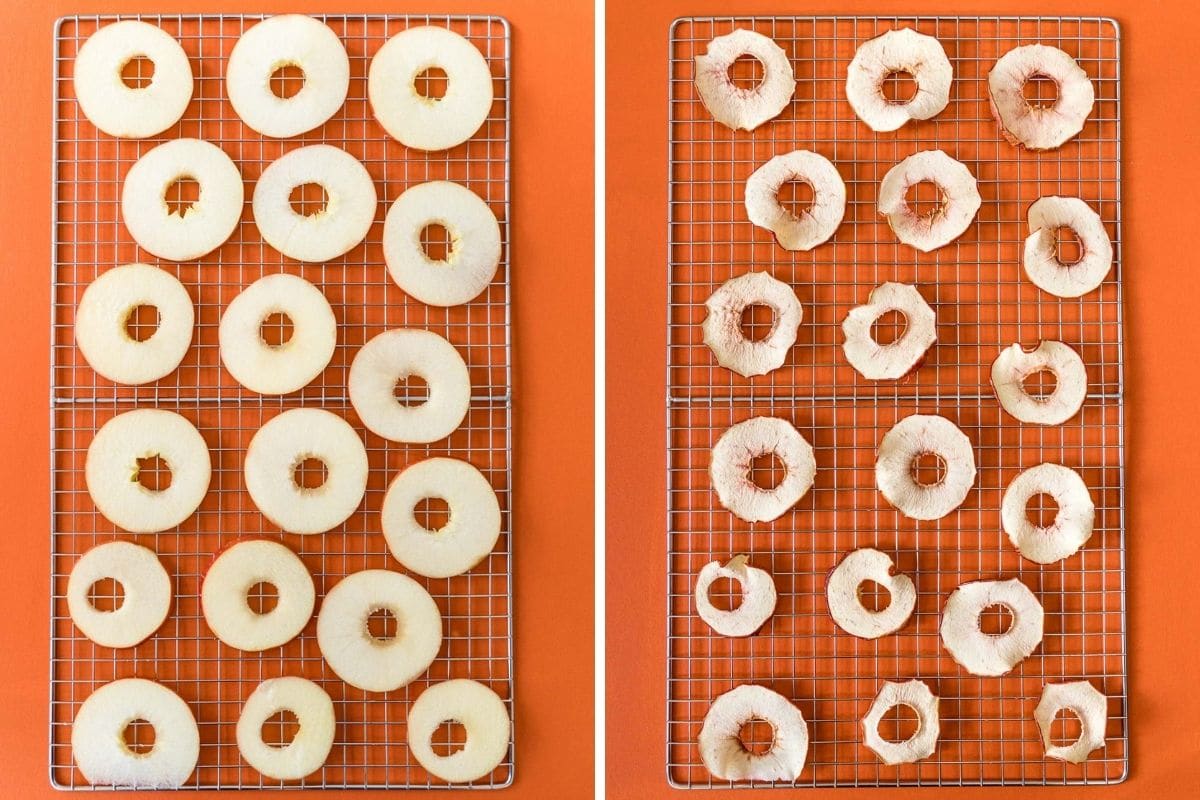
Apples should be pliable when they are completely dried but have no obvious remaining moisture. Tear one in half and squeeze—if moisture appears, dry them longer. If you sliced your apples thin for crunchier apple chips, you can dehydrate them longer until they snap when bent. Take a few pieces off and let them cool before testing.
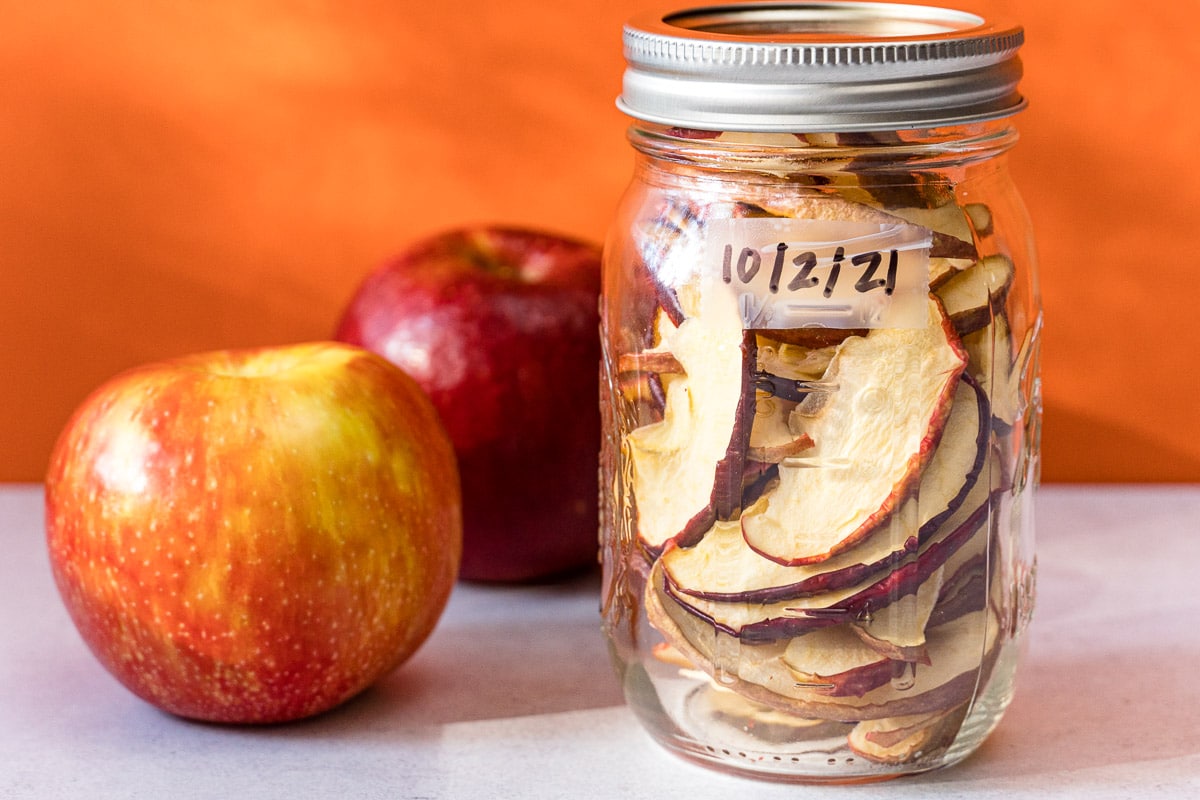
How to store
If you’re dehydrating apples for snacking and plan on eating them within a week or two, you can store them in a sealed container or zip-top bag on the counter or in your pantry. Just let them cool and place them in a sealed container.
However, if properly dried and stored, dehydrated apples can last up to a year! Here are our tips for long term storage:
Vacuum Sealing Tips
We like to store our dehydrated food in mason jars that have been vacuum-sealed using this handheld FoodSaver vacuum sealer along with these jar sealing attachments. This gives us the benefit of vacuum sealing without the waste (and expense) of plastic vacuum sealing bags. Since the jars are clear we make sure we store them in a dark spot in our pantry to keep them out of direct light.

How to use
Dehydrated apples are great to have on hand as a healthy snack, but here are more ideas on how to use them:
Fresh to dehydrated conversion
Dehydrating apples reduces their weight to 10%-15% of their original weight. One medium-sized apple will yield about 1 oz (28g) of dried apple.
Dehydrated Apples
Ingredients
- 10 apples
- 4 cups water
- 2 tablespoons ascorbic acid powder or equal parts lemon juice and water, see note 1
Equipment
Instructions
- Start with clean hands, equipment, and countertops.
- Prepare the pretreatment solution: Mix 2 tablespoons ascorbic acid powder with 4 cups of water and stir to dissolve. Alterantively, you can use equal parts lemon juice and water.
- Wash the apples, and peel if desired. Remove the seeds and core using an apple corer or paring knife.
- Slice the apples into ¼"-⅜" thick rings or slices using a mandoline or sharp knife. The thinner they are, the crispier they will become in the dehydrator. As you slice them, place the cut apples into the pretreatment solution.
- Drain the apples from the pretreatment solution and gently blot them to dry with a clean cloth or paper towel.
- Arrange apple slices in a single layer on dehydrator trays, ensuring there is space between pieces to allow airflow.
- Dehydrate at 135F/57C for 6-12 hours, until dry (see note 1).
Storage Tips
- Let the dried apples cool completely before storing.
- Short term storage: If apples will be consumed within a week or two, store in a ziptop bag or sealed container on the counter or in a pantry.
- Long-term storage: Condition by loosely packing the dried apples in a transparent, airtight container. Leave it on the counter for a week and check it daily for signs of moisture. If condensation appears, return the apples to the dehydrator (unless there are signs of mold—then, throw out the whole batch). Shake occasionally to keep the apples from sticking together.After conditioning, store in an airtight container in a cool, dark place for up to a year. Vacuum sealing will help extend the shelf life and quality of the apples.
Notes
This post was first published 12/2021 and refreshed 11/2024. The recipe and methods have remained the same!
I did not core my apples b/c I think the little star in the center looks cute! Using a mandolin sure helps get the slices uniform size!
Excellent content you provide in your blog. I appreciate your work. But you will be glad to visit.
Tried this recipe and it was delicious! I did sprinkle the apple slices with cinnamon sugar which made the chips taste a lot like apple pie. I did half a recipe, however I will be doing more batches until I’ve used up my apples. Very good snack food.
I’m just beginning to dehydrate apples and wanted to have a recipe and some understanding of how to begin. Thanks for your help