Campfire Steamed Clams
This post may contain affiliate links.

Perfect for coastal camping, these light and bright butter and white wine sauce steamed clams are always a hit.
During the summer, we often take trips out to the Oregon coast. On our way to the campground, we usually stop by the local fishmonger to see what’s fresh. Seafood isn’t something we normally pack for camping trips, but when we are this close to the source and can hear the waves crashing from our campsite, it seems only fitting! On this particular trip, the seafood store had just got a batch of littleneck clams in. We picked up two pounds and were on our way.
We love this steamed clam recipe because it is super versatile. All you need are a couple of basic ingredients to pull it off and it will work with just about any type of clam or mussel, so you don’t even have to know what you’re picking up. Just ask what’s freshest!
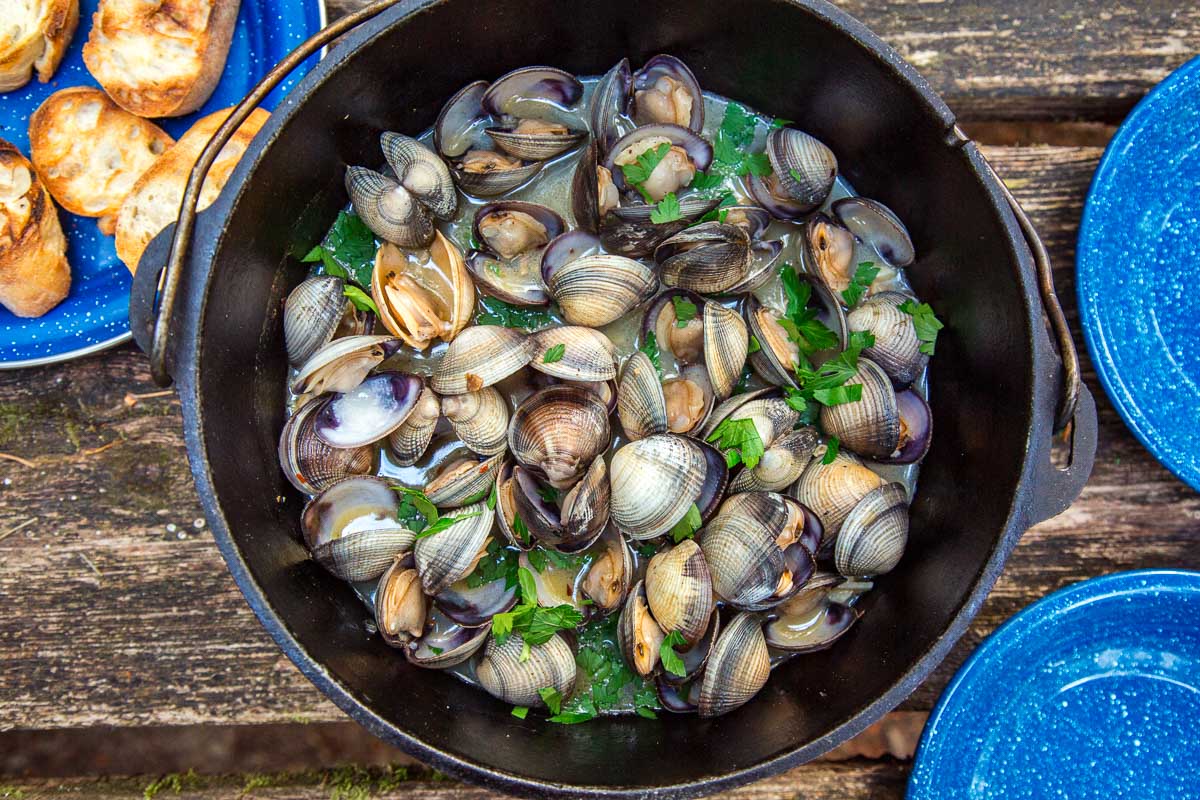
The concept is very simple: in a large Dutch oven (or pot with a tight-fitting lid) saute sliced garlic and red pepper flakes in a liberal amount of butter. Add some white wine and simmer to cook off the alcohol. Add in the clams or mussels and cover. The steam will build up and cook the clams. Once all the shells open, remove the lid, sprinkle in some finely chopped parsley, and serve. This whole process takes about 15 minutes and smells like pure heaven. Be sure to have some crusty bread on hand!

Why We Love It:
↠ Super versatile and works with most types of shellfish
↠ Eating local enhances your connection to an environment
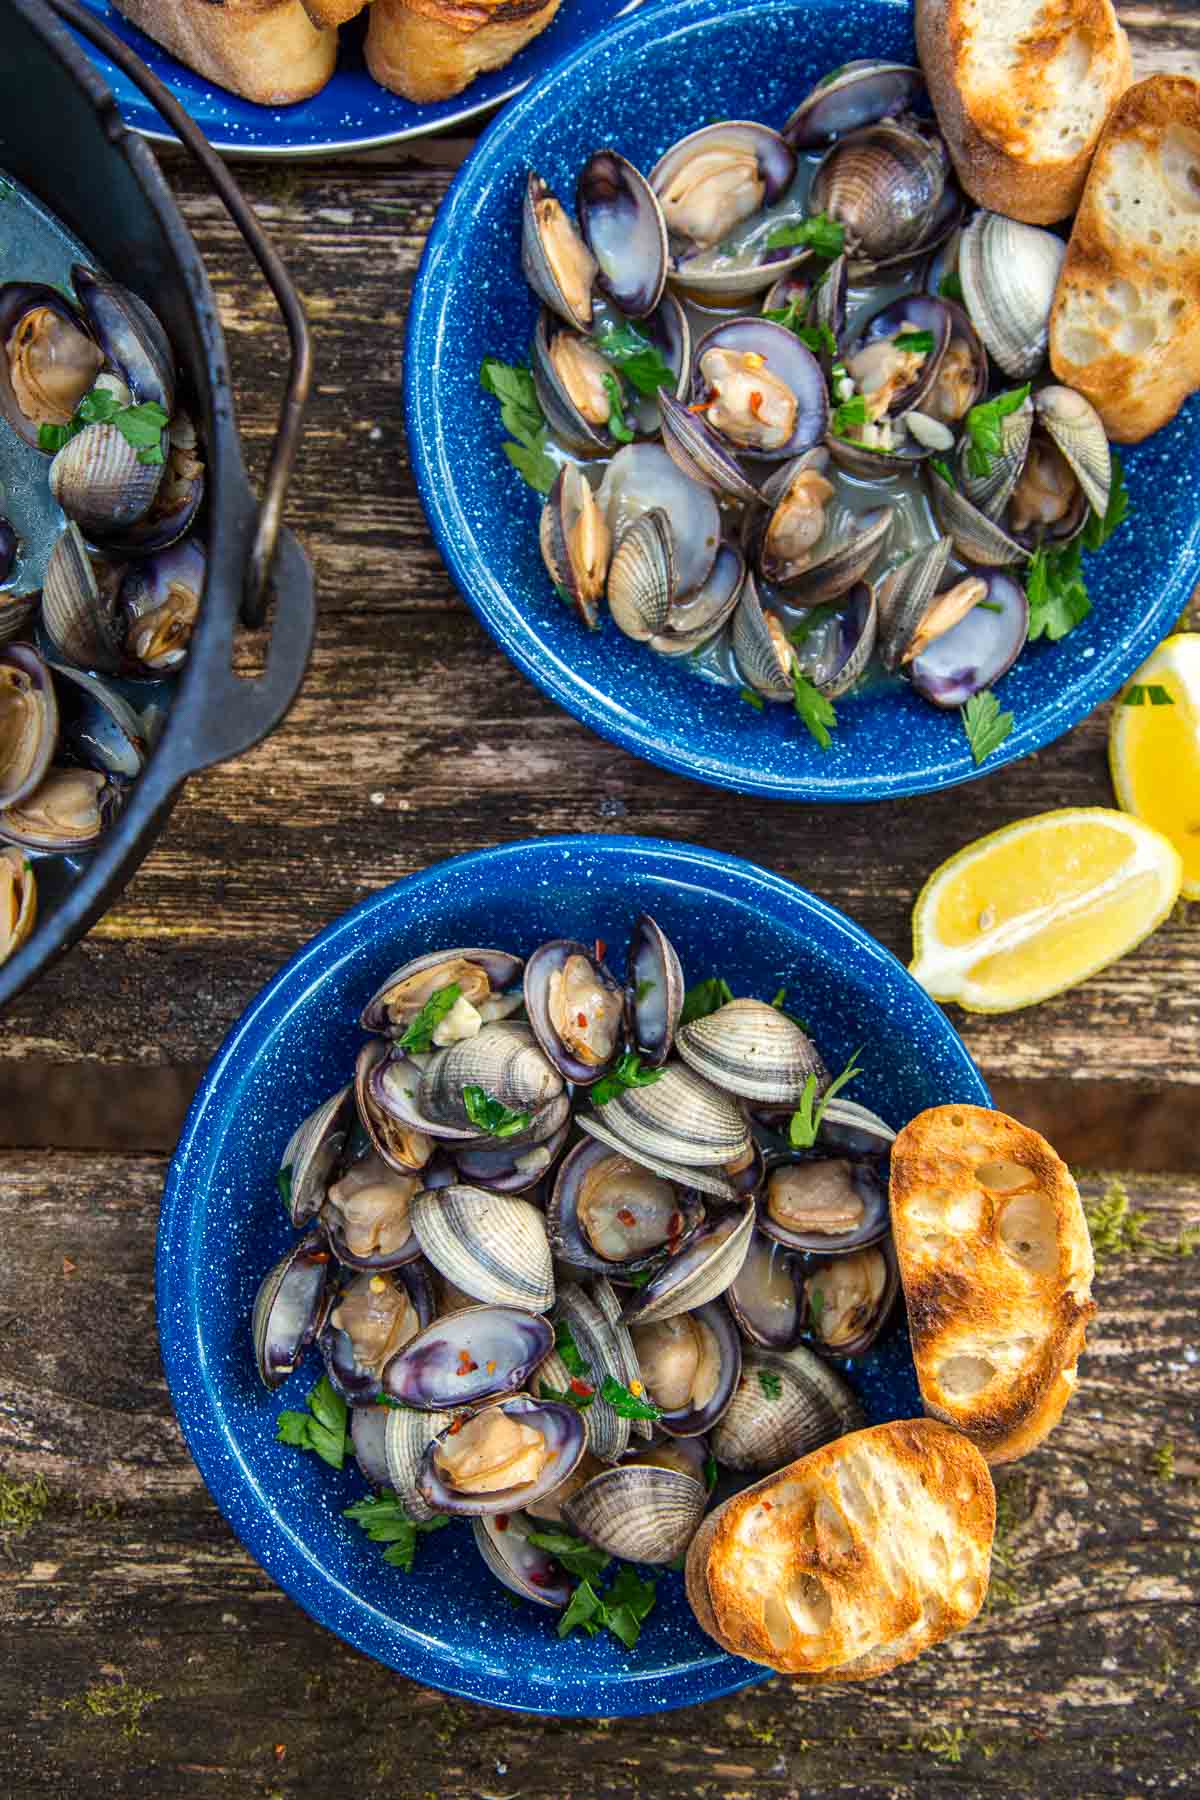
↠ Dunking the bread in the flavorful broth is half the reason we make this recipe
So if you want to embrace the coastal vibes and eat some local seafood at your campsite, this garlic-butter steamed clams recipe is one of the easiest and foolproof ways to do it.

How to transport and store shellfish when camping
Freshness is the name of the game. You want to plan on cooking your shellfish within 24 hours of picking them up. This is not the type of meal you let languish at the bottom of your cooler for the weekend. You want maximum freshness, so the sooner the better. Learn more about how to pack a cooler here.
We recommend buying your shellfish from a local seafood shop as close to where you’re camping as possible. Of course, if you’re camping in Colorado the whole idea of local seafood is sort of a moot point. But if you’re camping anywhere near the coast, try to find someplace local instead of going to the mega supermarket.
When picking up your shellfish, any good fishmonger worth their salt will check to make sure each and every shell closes – indicating that the clam is alive. If the person behind the counter is just indiscriminately grabbing handfuls and shoving them in a bag, this is a bad sign for the whole operation, and, honestly, we would probably just walk away. (Note: this has only happened to us when buying shellfish at a major grocery supermarket.) But, if the dramatic walk out isn’t your style – speak up and ask the person to check each one individually. You shouldn’t have to pay for dead shellfish, which you’ll just have to throw out anyway.
Also, if you have a good rapport going, tell them you’re camping and ask if it’s possible for them to clean (and for mussels, de-beard) them for you. It might be worth a few extra bucks to have the shellfish pre-cleaned, rather than do it yourself at the campsite. If so, then great. If not, it’s not a problem to do it yourself – but worth asking.
Shellfish should be kept cold without coming into contact with fresh water. They should also be allowed to breathe. We achieve this by putting out clams in a large enamel bowl, covering them with a damp cloth, and placing the bowl someplace secure towards the top of our cooler.
Your first night at the campsite is the best time to make these, but they will be okay the next day too.

How to check and clean your shellfish
When you’re ready to cook your clams, take them out of the cooler and check them. As noted above, when you purchased them, all the shells should have been closed. However, some might have opened during their stay in your cooler. Not to worry, yet.
For any of the clams with partially opened shells, orient them sideways, then tap them on a hard surface. If the shellfish is still alive, this stimulus should cause them to close their shell again. If a shellfish won’t close, even after a couple of taps, toss it. Expect a little bit of loss. It’s fine.
We use the scouring side of a sponge to scrub each side of the shell. You want to remove any dirt, barnacles, and any other debris. We then rinse them with cold water – either using a colander or filling the bowl with cold water and then straining.
Mussels sometimes have “beards”, little tufts of hair-like fiber that sprout from the shell. To remove, grab between your thumb and forefinger and vigorously pull towards the hinge of the shell. You can also use a knife to cut away the beard.
Once they are cleaned and all the shells are closed, you’re ready to start cooking!

How to make steamed clams in a Dutch oven
The first step is to check, clean, and rinse your shellfish. Once that is done, start warming up your Dutch oven and then melt butter. Once it stops foaming, add in the garlic and red pepper flakes and knock around until fragrant. Note the garlic amount listed here is just a starting point. Feel free to increase!

Once the garlic starts picking up the slightest pick of color, add in the white wine and simmer until the alcoholic bite has had a chance to evaporate. Then add your clams, cover, and continue to simmer. The steam will build up under the lid and evenly distribute the heat, cooking the clams. Once all the clams shells have opened (or at least the vast majority), remove the lid.
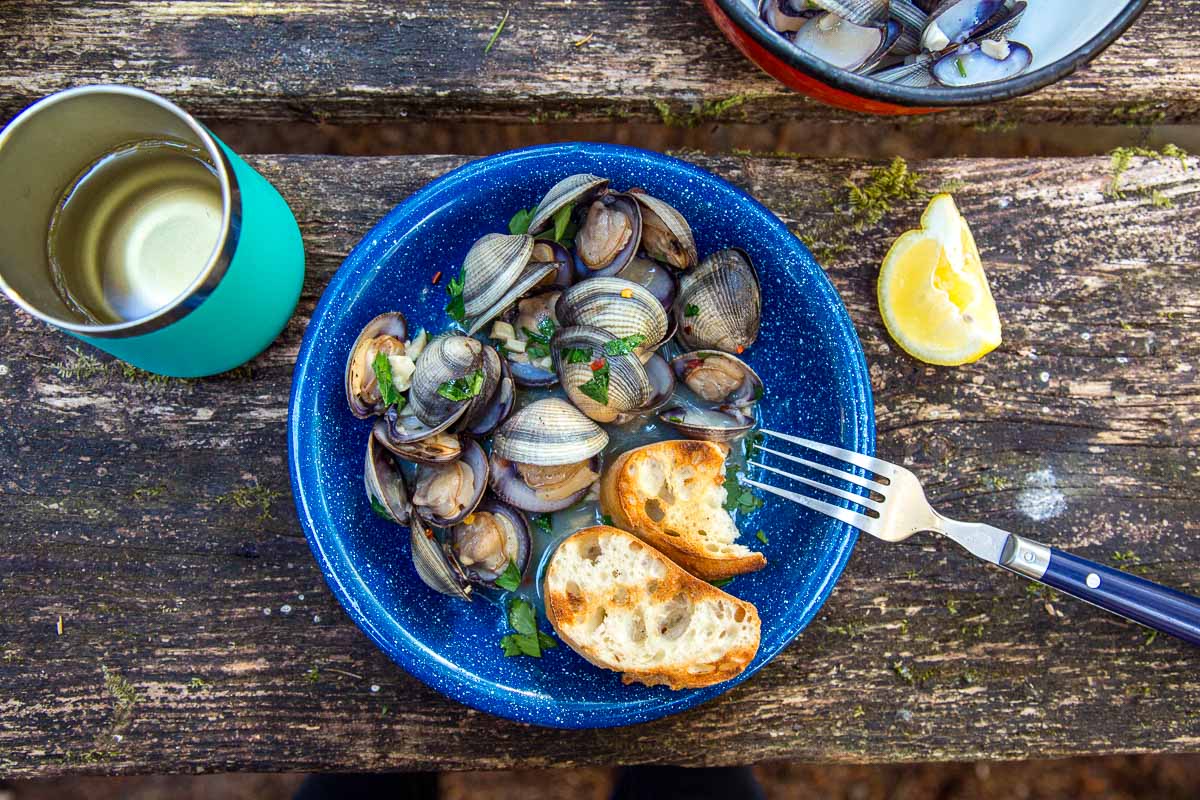
Top with some finely chopped parsley and serve with lots of grilled, crusty bread.
Essential equipment
↠ Cooler: We have a Yeti 35 cooler for car camping. When storing seafood, you want a serious cooler that will hold the cold.
↠ Dutch Oven: Any pot with a tight-fitting lid should work for this, but the weight of the Dutch oven lid really allows for the steam to build up inside. The cast iron also retains the heat really well, so we often just serve out of the Dutch oven to keep everything warm.
↠ Colander: If you are going to have access to running water at your campsite, a colander is great for rinsing your shellfish after you have scrubbed them off using the scouring side of a sponge. We have a collapsing pot with a colander lid, so it’s a multi-purpose piece of equipment.

Other camping recipes you’ll enjoy
↠ Seafood Paella
↠ Shrimp Boil Foil Packets
↠ Grilled Fish Tacos
↠ 27 Easy Camping Meals
Dutch Oven Steamed Clams
Ingredients
- 2 tablespoons butter
- 2 cloves garlic minced
- ½ teaspoon red pepper flakes
- ¾ cup white wine
- 2 pounds littleneck clams cleaned + scrubbed
- fresh parsley
- 1 lemon cut into quarters
- Crusty baguette sliced
Equipment
Instructions
- Check clams and discard any that are not closed (tap any that are open on the table; if they close within a few minutes of tapping, you can still use them). Wash and scrub the clams.
- Melt the butter in a Dutch oven (or pot with a tightly fitted lid) over medium heat. Once the foaming subsides, add the garlic and red pepper flakes and saute 2 minutes.
- Add the wine and simmer for about 30 seconds - just until the alcoholic bite burns off (there should still be liquid in the pot though!)
- Add the clams and cover the pot with a lid. Steam 5-10 minutes, or until the clams have opened. Discard any clams that are still closed.
- Top with parsley, a squeeze of lemon, and grilled bread to soak up all the sauce!
Fabulous! Can’t wait to read your other ideas!