How to Plan, Prepare, and Pack for a Hike
This post may contain affiliate links.
In this post we’re sharing everything you need to know to plan, prepare, and pack for a hike so that you can confidently hit the trail and have a great time!
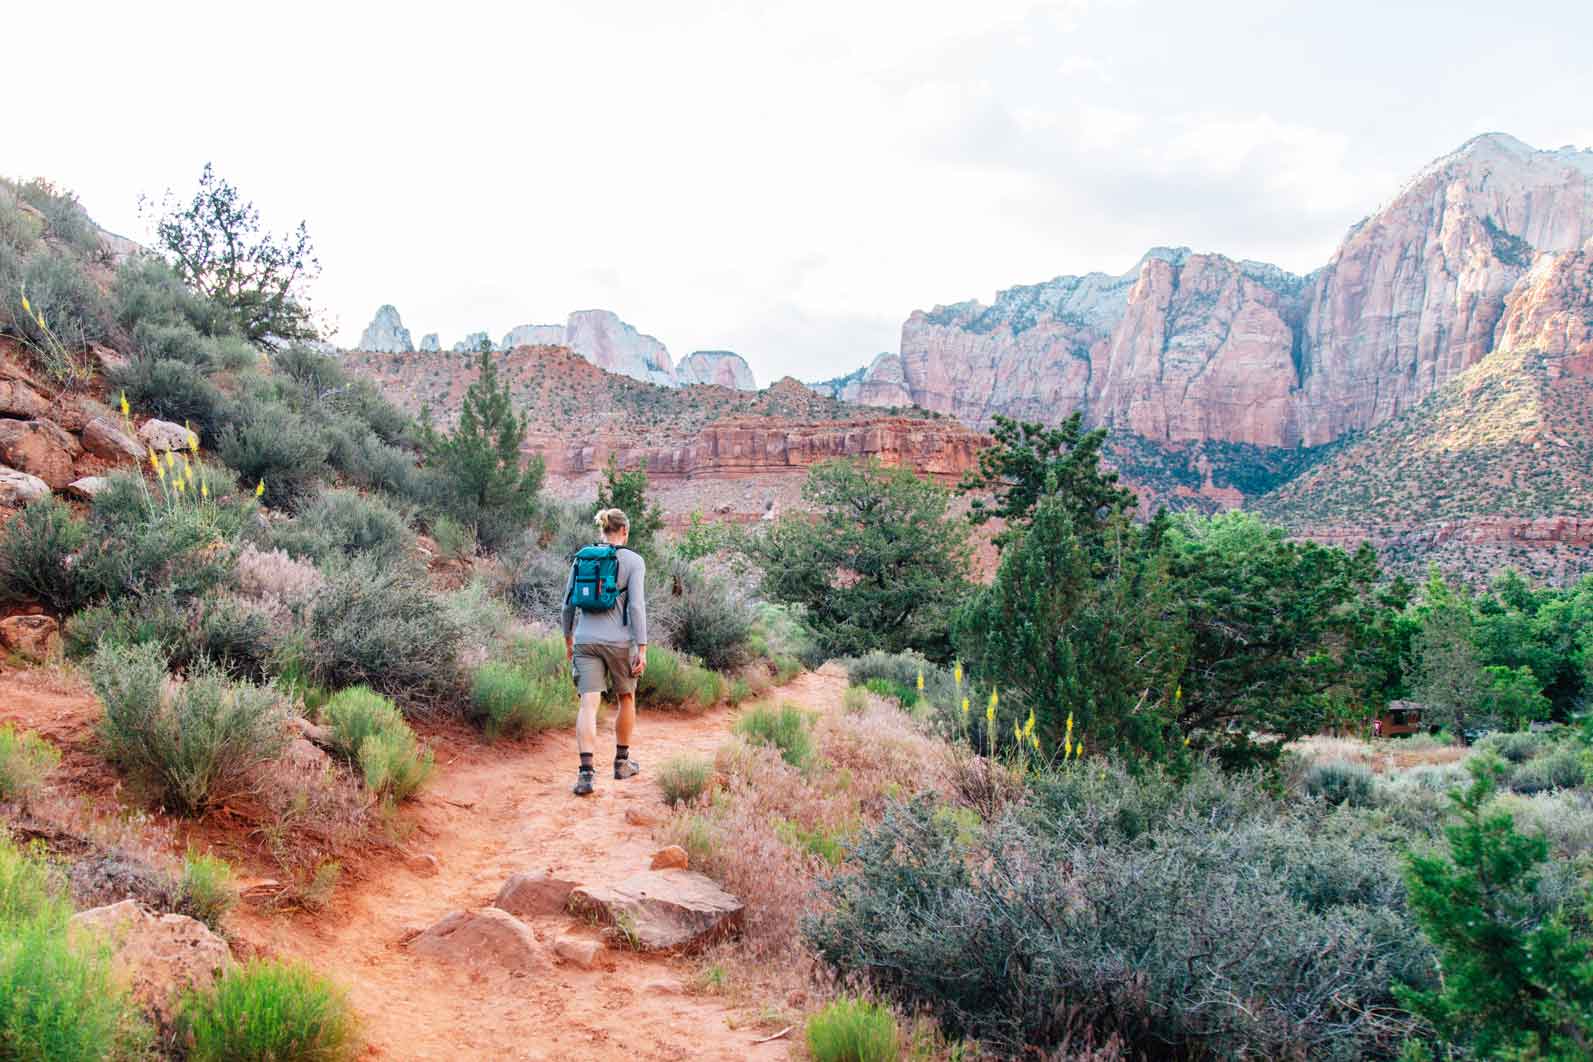
Without a doubt, hiking is one of the best ways to improve your physical health, mental well being, and strengthen your connection with the outdoors (or at least the most scenic way!).
Hiking has been shown to not only improve cardiovascular health and build strength, but it also helps reduce stress and can help manage anxiety and depression. Not to mention, it can just be a ton of fun and is a great way to spend more time in the natural world!
While in theory hiking is as simple as finding a trail and putting one foot in front of the other, there is a little more to it. Spending time to plan and prepare will help your hike go smoother and can help avoid the unexpected. And, having the right hiking gear (and knowing how to use it) will help you stay safe on the trail.
How to plan a hike
Make sure your hike goes smoothly by spending a little time planning before you head out.
Choose your hike!
First things first, pick out your hiking trail! AllTrails, GAIA, and Hiking Project are all great sites to search for hikes near you.
When searching for a trail, consider your fitness level (and of those you’re hiking with), length & total elevation gain (double check that the mileage on an out-and-back trip is round trip and not just one way!), and terrain. AllTrails lets you add a filter for “attractions,” so if you want to hike to say, a waterfall or a lake, you can filter down trails which will offer that.
You’ll also want to consider seasonality—some trails at higher elevations may not be accessible until summer due to snowpack. While others in hotter climates might be closed during the heat of summer. You may want to call the park or ranger station to double check that your chosen trail will be open.
Do you need a permit?
Some hikes in popular areas will require an advanced permit. The information on AllTrails or blogs is not always up to date, so try Googling the name of your trail + permits (e.g., “Green Lakes Trail permits”) to see if one is needed and how to get one.
How much time will you need?
Note the length of your hike and and total elevation gain to determine how much time you’ll need to complete the hike.
If you don’t know your hiking pace, consider that the average person will hike at a pace of 2.5-3 MPH and for every 1,000ft of elevation gain, you’ll want to add roughly an hour of hiking time. Of course, this will vary depending on your fitness level, pack weight, altitude, and the trail conditions. Don’t forget to account for stops!
Getting to the trailhead & parking
Get an idea of what the road out to the trailhead is like (Is it paved? If not, can your vehicle handle the road?) and what the parking situation looks like. Some trails have competitive parking or small lots, so you’ll want to factor that into your plan for the day and get there early.
Preparing for a hike (day before)
Once you have your hike picked out and know the logistics, you can start preparing yourself and your gear for the adventure ahead! Here are the steps we take before every hike to make sure we’re ready to hit the trail.
Familiarize yourself with your trail map
Before your hike, download and print a map of the trail and surrounding area. Both AllTrails Pro and GAIA GPS Premium will let you download maps for offline use and print a custom map—otherwise, search online to see if a map is available.
Take a moment to study the topo map and elevation chart of your hike so you can orient yourself on the trail and be mentally prepared for any challenging climbs and descents.
Things to look for when you’re studying the map:
- Contour lines that are close together, indicating steeper sections of trail
- Junctions with other trails to be aware of so you don’t make a wrong turn
- Water sources that are near the trail (see below) or any spots where the trail might cross a river or stream
Water
Packing enough water is a critical component of preparing for a hike. A general rule of thumb is to plan on drinking .5 liters of water (or 2 cups) per hour of hiking, per person. If you’re on a particularly challenging hike or hiking in hot weather, you might need to double that! Always pack extra water beyond what you think you’ll need.
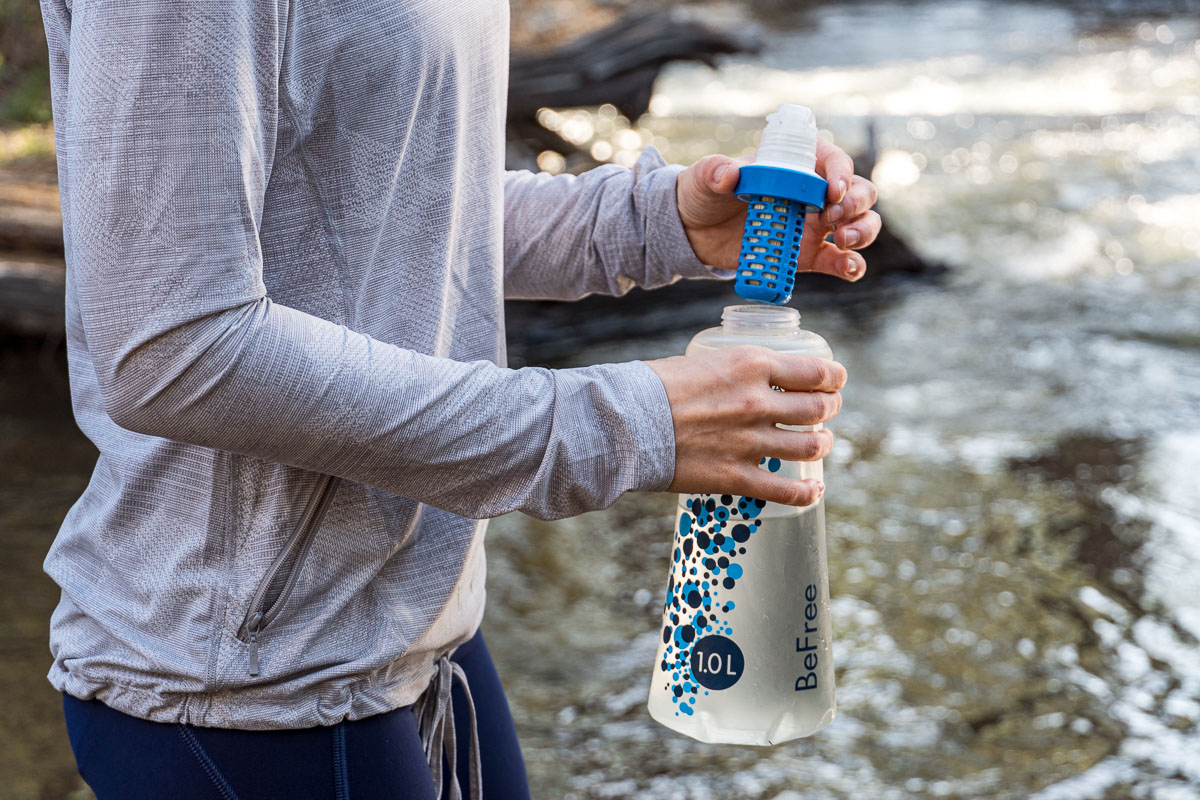
Additionally, it’s a good idea to pack a lightweight water filter. In the event that you drink more water than you thought you would, you can use this to filter from any water source on the trail.
Our favorite water filter for day hiking is the Katadyn BeFree. It’s super light and so easy to use!
Share your plans with someone
Before you leave for your hike, share your plans with a trusted person. Include information like the name of the trail you are hiking, who you’re hiking with, what time you expect to be back, and who they should contact if they don’t hear from you by a certain time.
This person doesn’t need to be local, just responsible. We frequently leave our hiking plans with our parents, even though they live hundreds of miles away.
Double check your gear
Using the hiking gear list below, double check all your gear to make sure it’s in good condition and working properly, all of your batteries are fully charged, and your first aid kit is fully stocked.
Check the weather
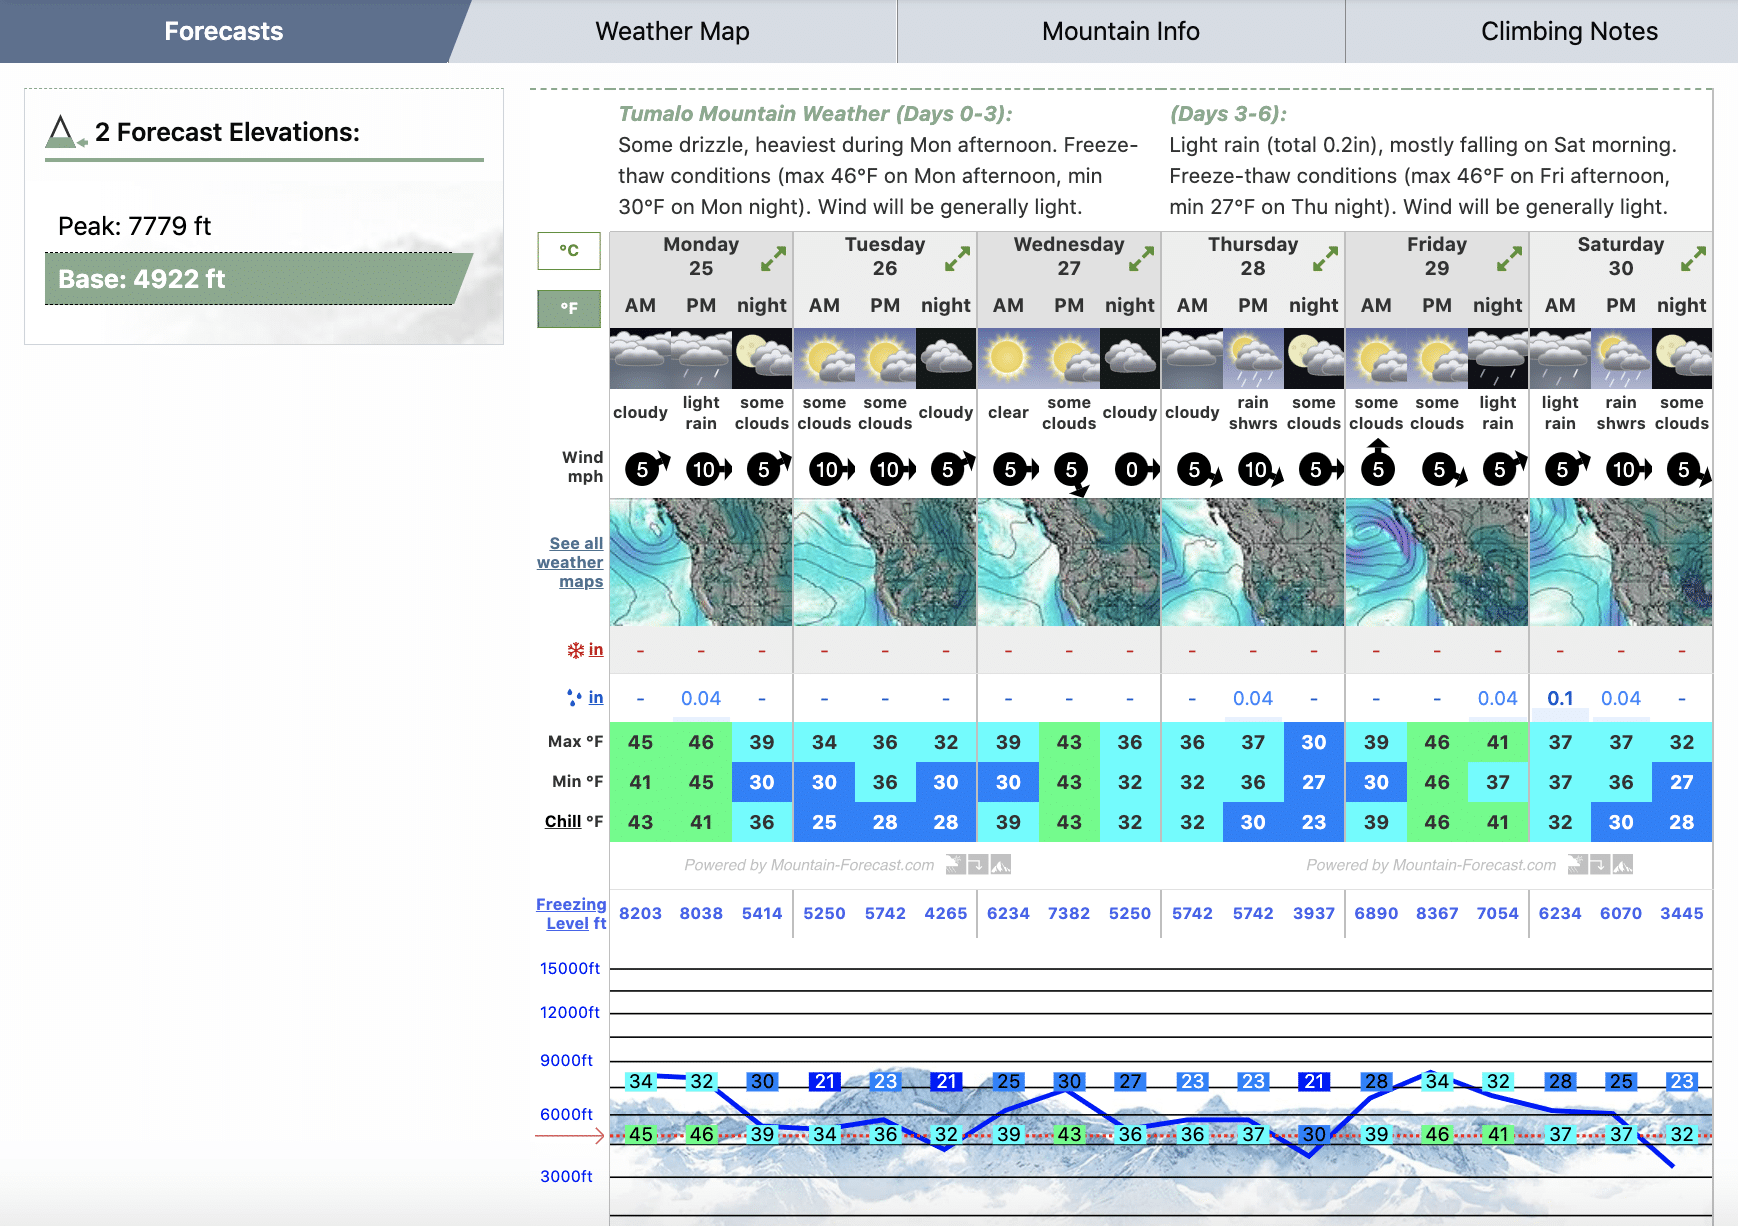
Double check the weather forecast the night before your hike and make any adjustments to your plan or gear. Here are the sites we use:
- Accuweather — This gives us the general forecast of an area and is good for lower elevation hikes
- Mountain Weather — If we’re hiking at higher elevations we’ll check this site to see more detailed weather conditions for particular mountains. This site can give you an idea of how the temperature and wind conditions (including windchill) will change as you rise in elevation, which can be very different than the forecast on Accuweather will give you!
Start hydrating
Our motto is “Tomorrow’s hydration starts today!” According to the American Hiking Society, the best way to prevent dehydration is to be properly hydrated before your hike.
Drink plenty of water the day and night before your hike, and drink at least 16 oz. of water in the hour before your hike.
What to pack for a hike
You may not need all the items on this list for every hike—your gear needs will likely be different on a short hike in a well-used park vs on a long hike in a backcountry or high elevation setting. Evaluate the conditions and risk factors on your hike and prepare for them accordingly using this day hike packing list as a starting point.
Hiking day pack
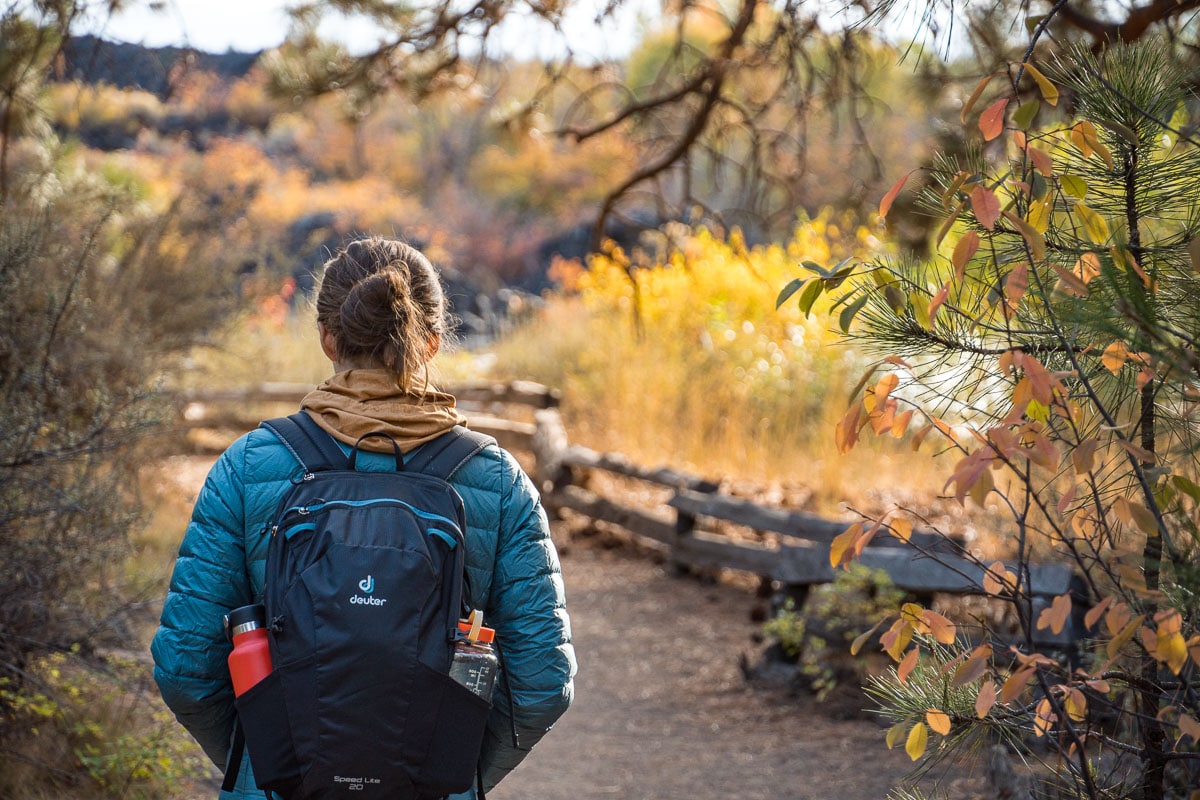
First things first, you’ll need a good hiking backpack to hold all the hiking gear listed below! Most daypacks are in the 20-30L range, which will give you enough room to stash extra clothing layers, food, water, and safety gear. Here are a few features to look out for when selecting a backpack:
- Adjustable, padded shoulder straps for comfort and so you can dial in the fit
- A hip belt, which will help transfer the load to your hips instead of carrying all the weight on your shoulders. This feature may not be necessary for smaller sized packs where you won’t carry as much gear.
- Exterior pockets to give you easy access to snack and water
- An interior pocket to hold a water bladder, as well as a port in the top to feed the drinking tube through
Here are a few packs we’ve loved over the years:
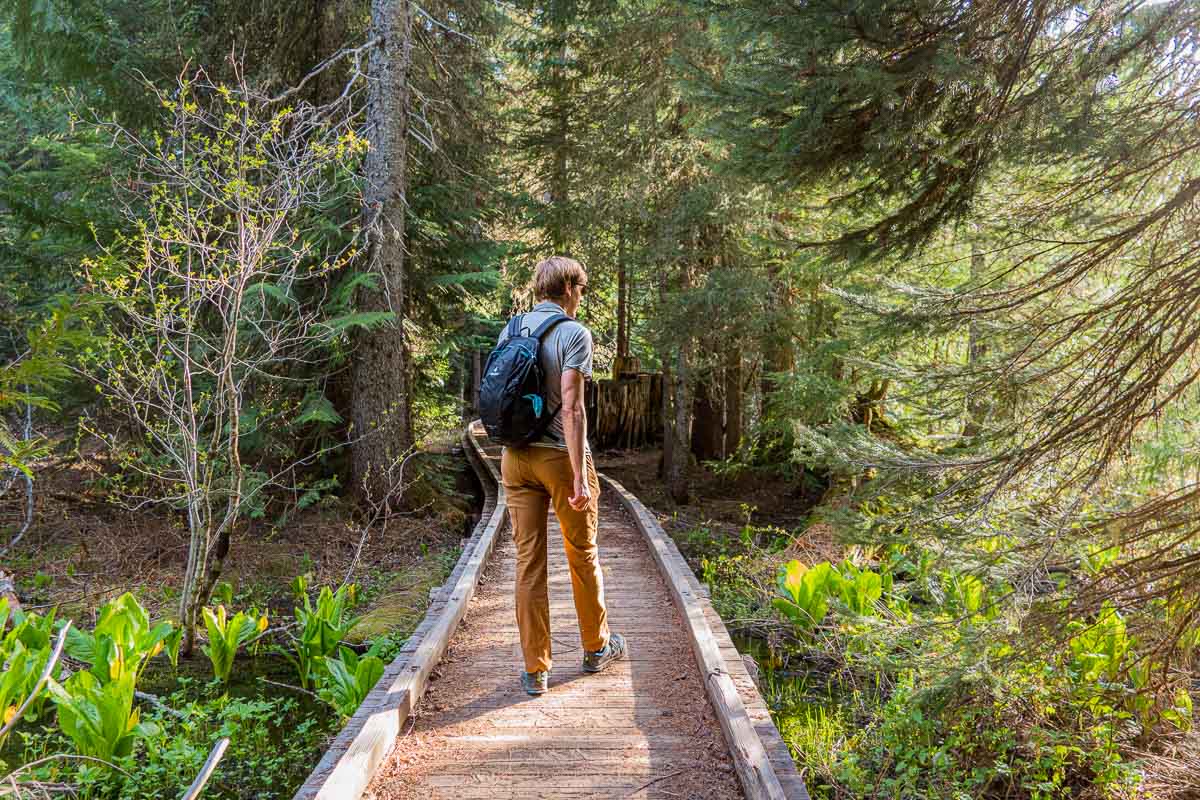
What to wear
Your hiking outfit will largely depend on the time of year and weather conditions you’ll expect. Below are the basics for summer hikes. You can check out our guides to fall hiking and what to wear for winter hiking if you’ll planning on hiking in those seasons.
Basic hiking clothes
Extra layers as needed
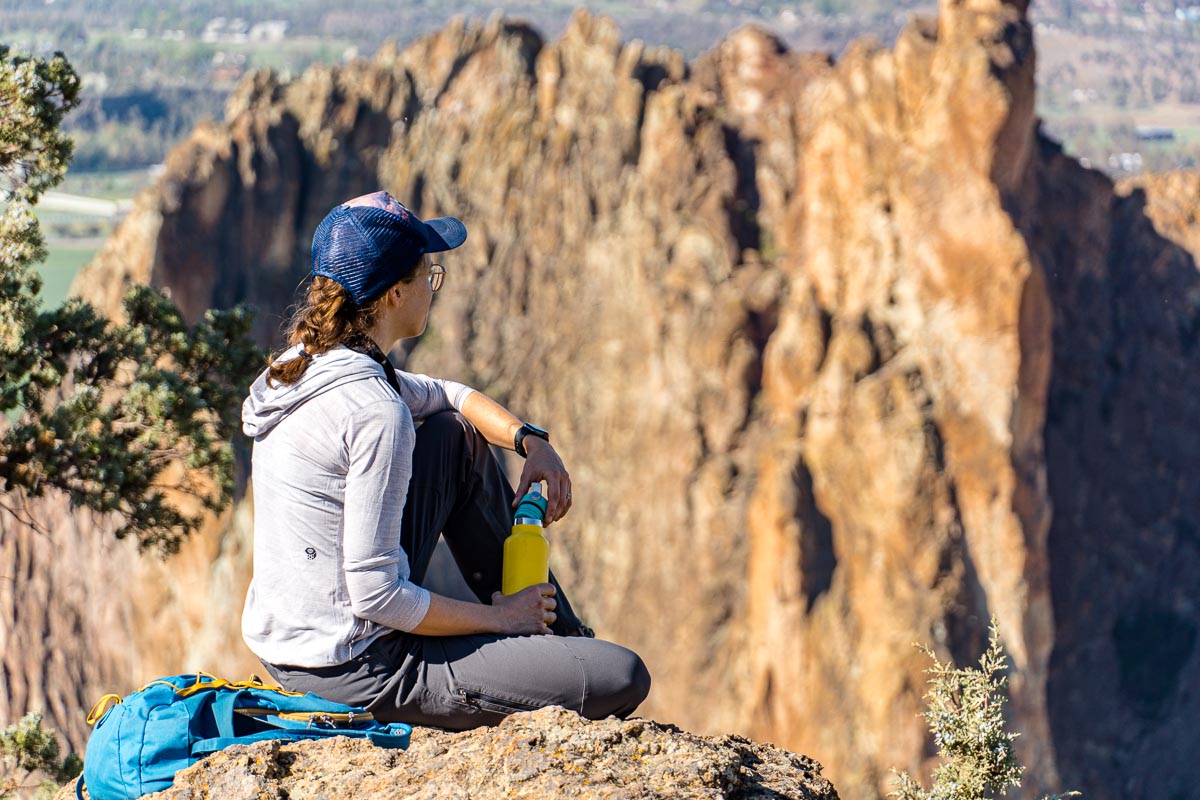
Sun protection
Protecting your exposed skin from the sun is super important when hiking, especially when you consider that UV rays intensify by up to 8-10% for each 1,000 feet of elevation you gain. Consider wearing long sleeves and pants made of UPF fabrics, and at a minimum, pack and wear:
Navigation
Having basic navigational skills and tools are essential for any hike, even one that seems straightforward. Even trails that are in local parks might have junctions or trail intersections and areas where the path isn’t obvious.
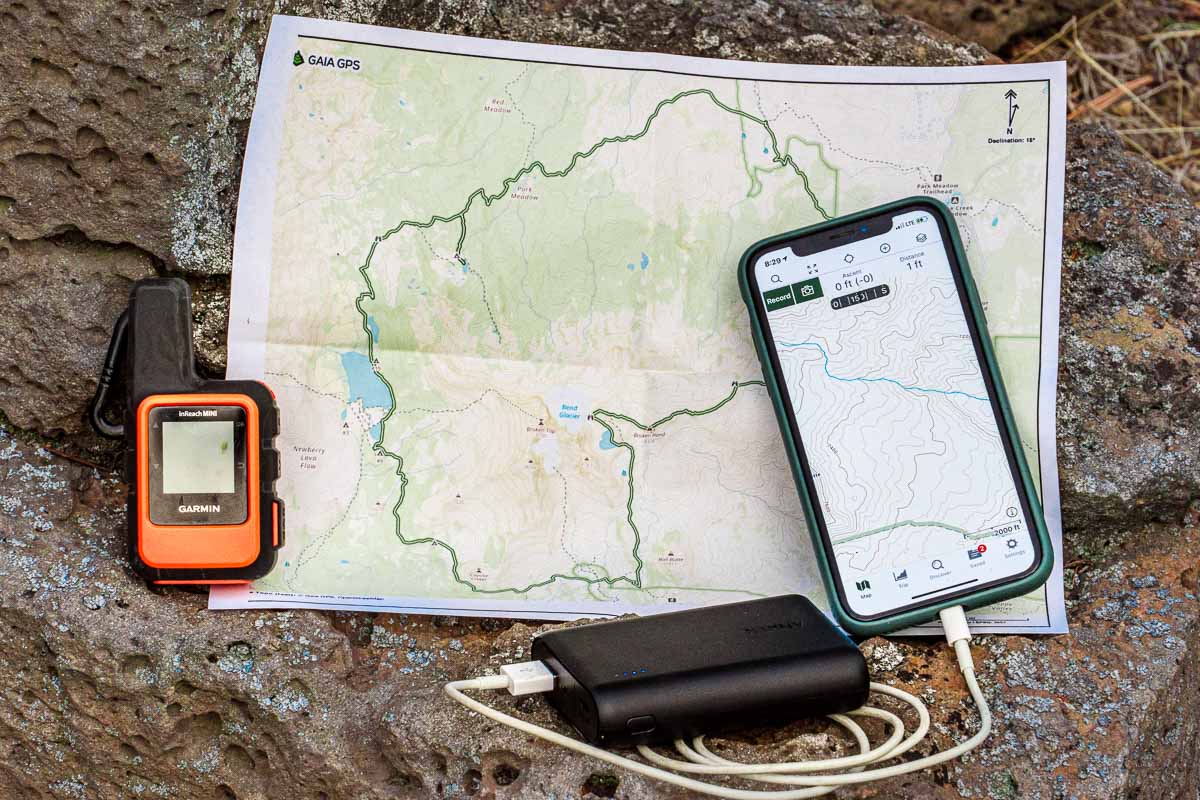
Bringing a paper map of the trail and a compass is the time-honored recommendation for good reason—they are reliable, don’t run out of batteries, and work for any type of terrain.
We will print off a map of the trail we’re hiking from the GAIA website (you can also do this with an AllTrails Pro account) and pack it in a plastic bag to keep it dry. This gets tucked away in our packs in case our primary navigation tool fails us.
99% of the time, we use GPS to navigate. There are handheld GPS units that you can buy but it’s likely you already have the base of one sitting in your pocket—your smartphone. Paired with an app like GAIA GPS, your phone can become a great way to navigate on your hike! Here are a few things to keep in mind:
- You’ll need to download the map of the area prior to your hike in order to use it without service or in airplane mode
- Double, triple check your phone is fully charged before starting your hike
- Bring a battery bank to you can recharge if your battery runs low. We carry this lightweight, inexpensive battery bank.
- Turning your phone to airplane mode will help you conserve battery life
- GPS can be unreliable in certain situations like hiking in canyons and valleys surrounded by tall mountains (this is where your paper map comes into play!)
Another tool you might want to consider is an emergency communication/SOS device, like the inReach Mini. This will allow you to contact search and rescue if things go wrong, and models like the inReach have two way messaging so you can communicate with the person you left your itinerary with if plans change. This type of device is particularly helpful if you frequently hike solo or go on longer hikes in more remote areas.
Water
Staying well hydrated is one of the best ways to ensure that you feel good throughout your hike. Dehydration can lead to headaches, dizziness, confusion and disorientation, decreased energy, and muscle cramping—none are things that you want to deal with on your hike!
Plan on packing at least .5L of water per hour (more if it’s a strenuous hike or hot day), and if you’re on a longer hike, bring along a lightweight water filter so you can refill at on-trail water sources in case you drink more than anticipated.
You can use water bottles, but if your day pack has room for a hydration bladder, we’d recommend using it. You’re more likely to keep up with water consumption if it’s easy to access with the drinking tube rather than needing to stop and fish out your water bottle.
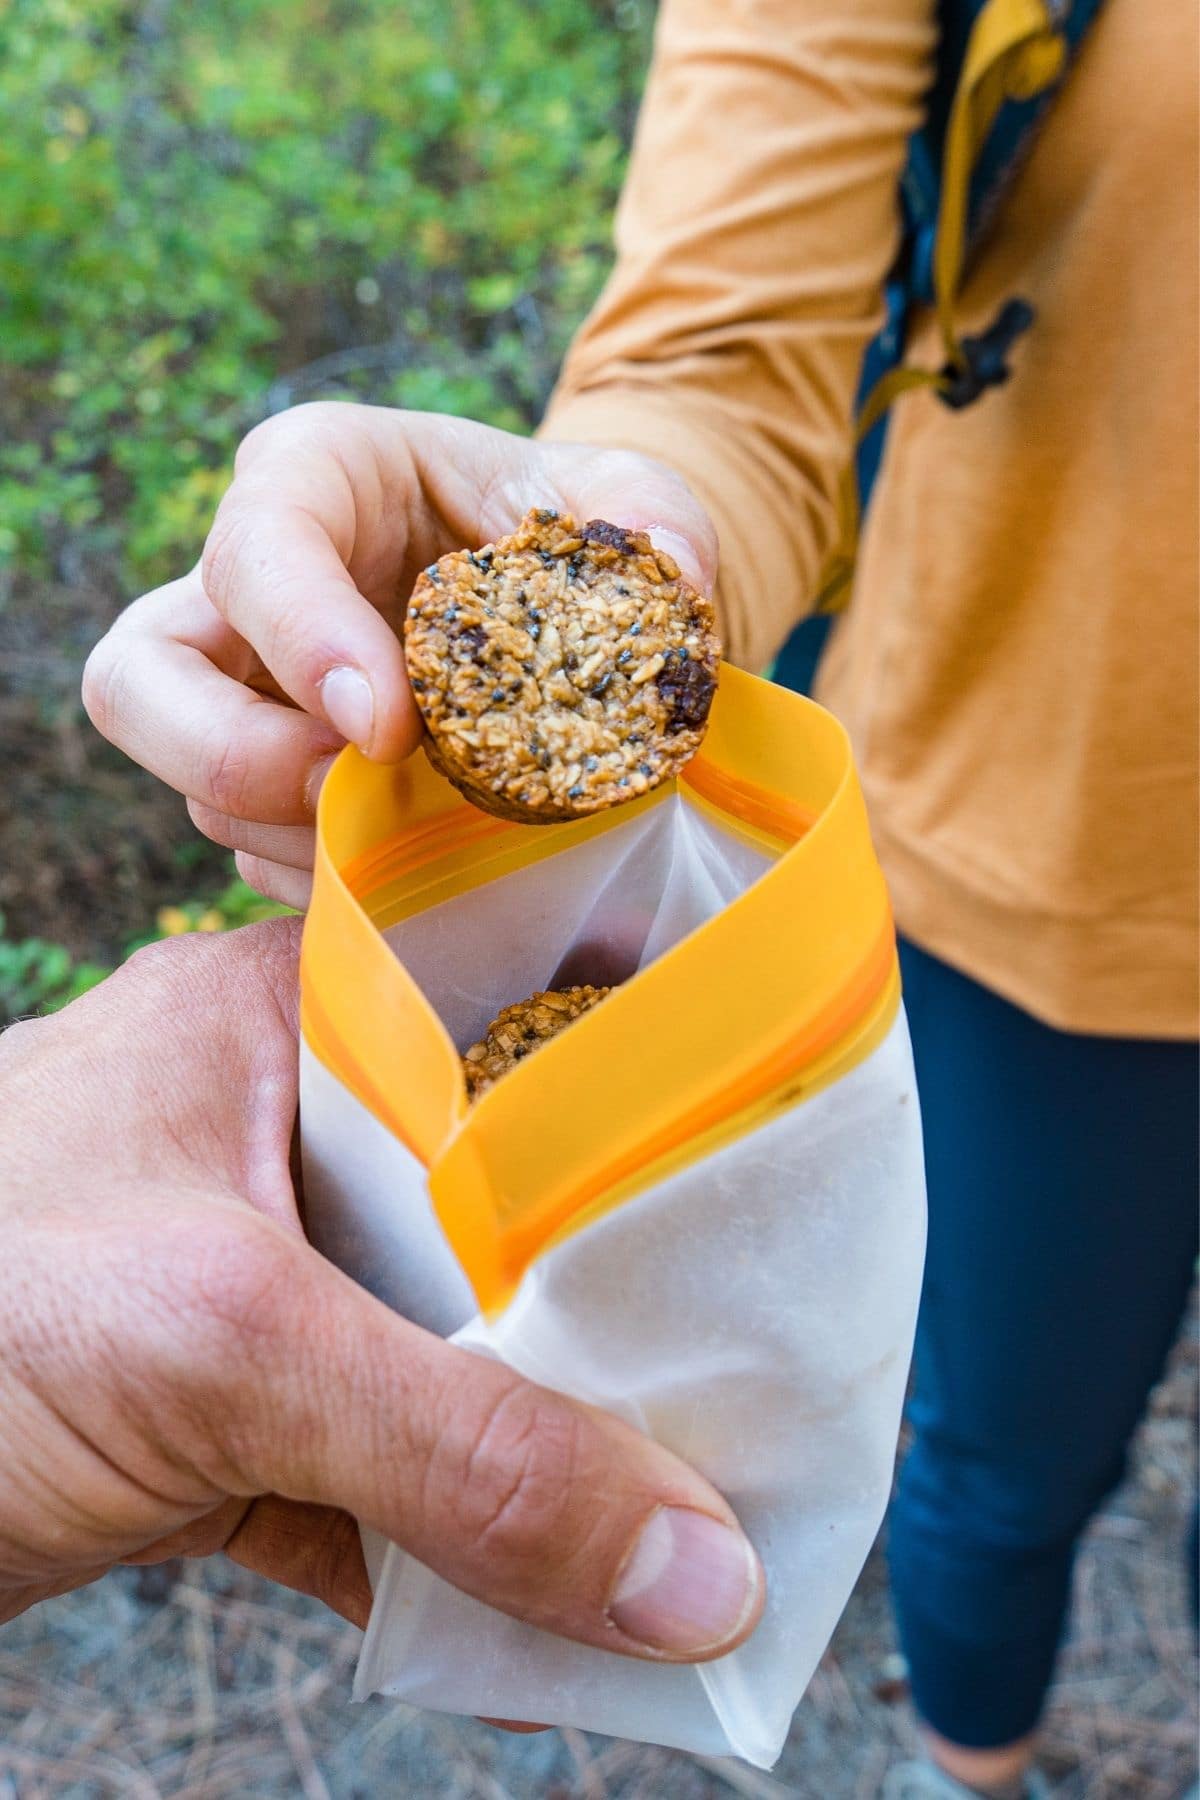
Energy-packed snacks
Avoid “hitting the wall” on your hike by packing plenty of energizing snacks. Aim to consume 30-60 grams of carbohydrates per hour, which will give your body plenty of easily-accessible energy to keep you fueled.
We personally a mix of love fresh or dried fruit, trail mix, Bobo bars, and energy chews/gummy bears, but there are tons of great hiking snacks so pack plenty of your favorites!
It’s also recommended to pack an extra day’s worth of food in case of an emergency situation where you’re stuck on the trail for longer than anticipated.
Trekking poles
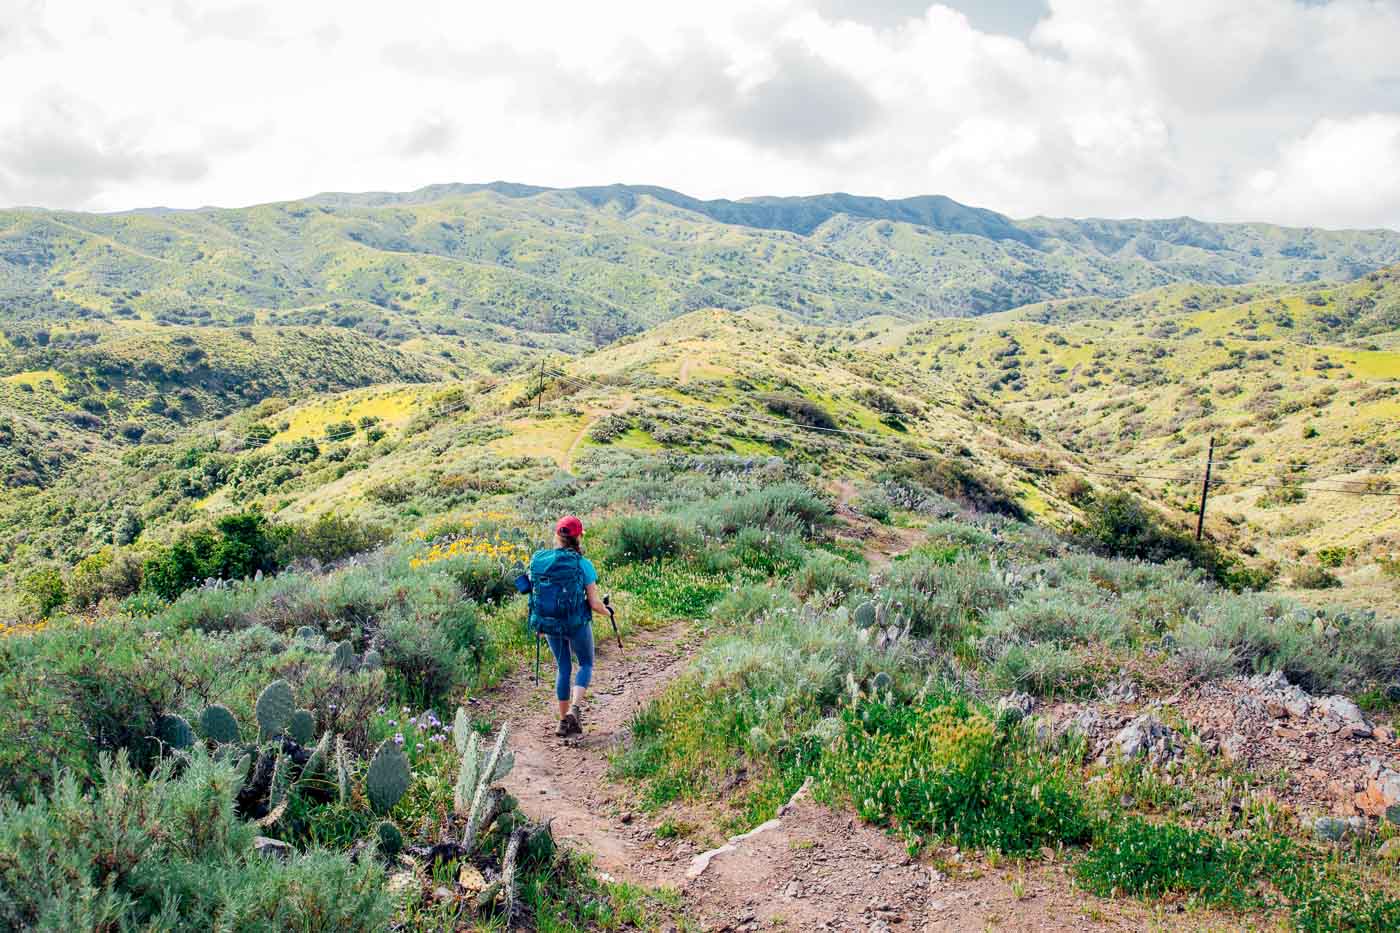
Trekking poles (aka hiking poles) aren’t necessary for every hike or every hiker, but they can be very helpful. Poles can help take pressure off your joints, can help with balance on rocky sections of trail, and help activate your core and arm muscles as you hike, so your legs don’t have to do all the work.
I’ve used these Black Diamond hiking poles for over a decade, and Michael recently picked up these budget-friendly poles.
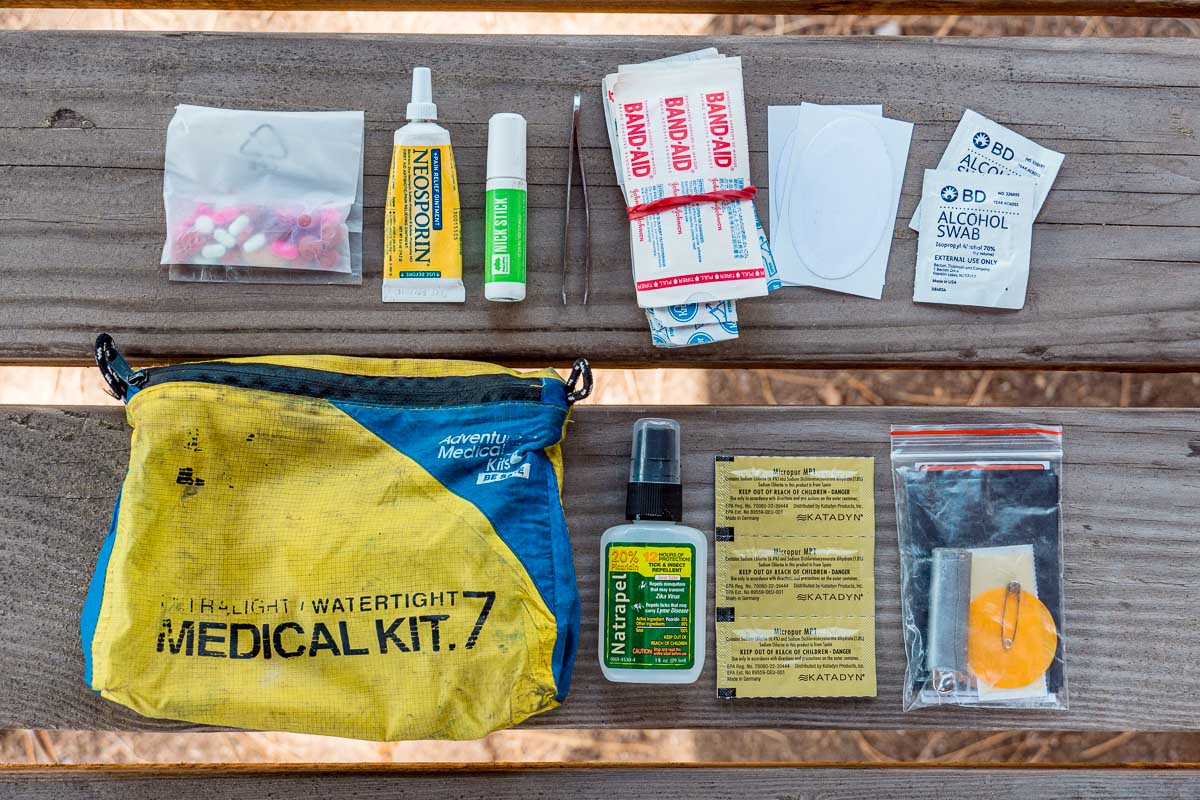
Safety supplies
What to pack if nature calls
Bringing a small “potty kit” will help you be prepared if you need to use the bathroom while you’re out on your hike. Bring some toilet paper (or these packable Stall Mates wipes) stashed in a small plastic bag, a small trash bag or plastic baggie to pack out your used TP, and a trowel to dig a cathole for #2.
Bonus: Post hike treats
Leave these items in your car. You’ll be grateful for them after a long day on the trail!
We hope that this guide helps you efficiently plan, prepare, and pack for your next hiking trip! Find more hiking resources here, and don’t forget to sign up for our newsletter to get a printable, checklist version of this post!


