Winter Hiking 101: Everything you need to know about hiking in snow
This post may contain affiliate links.
Winter hiking is a great way to reclaim the season and remain active all year long! Whether you’re planning on hiking in the snow or just braving the deep freeze, all you need is the right gear and proper planning to have a great time!
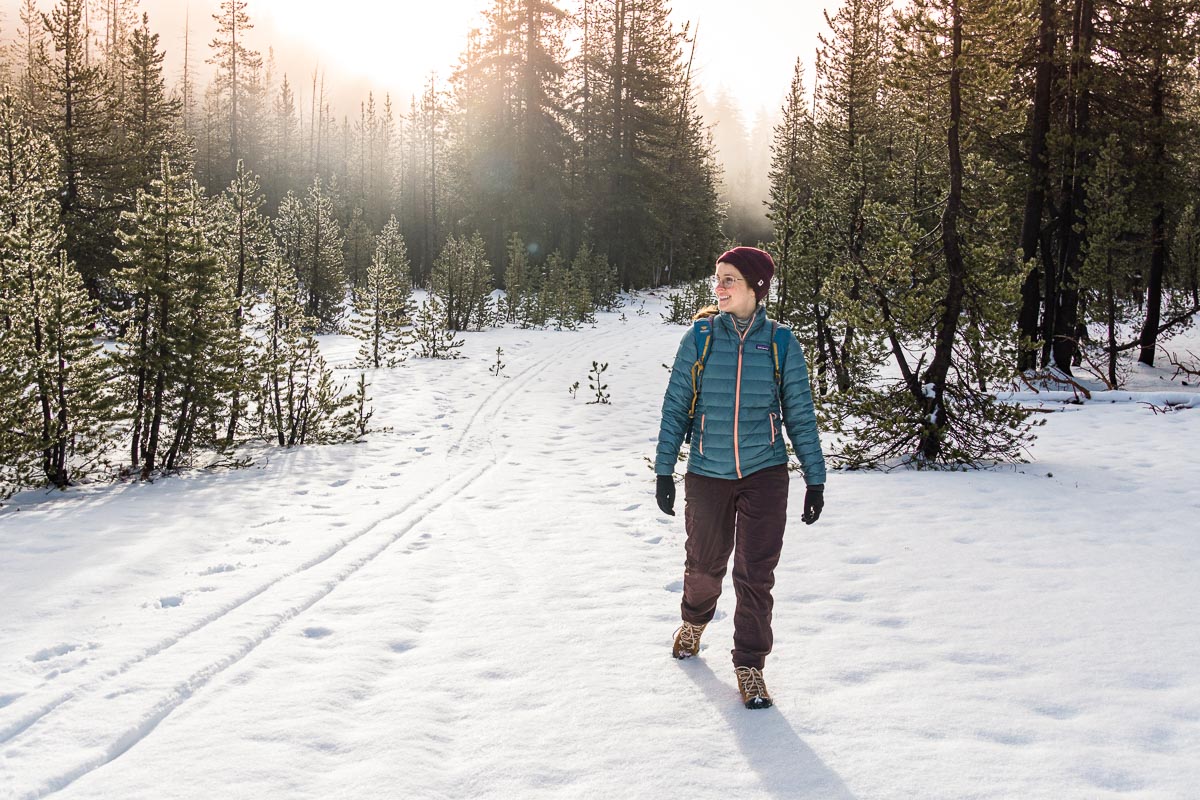
There are a lot of great reasons to give winter hiking a try: no crowds, no bugs, no wildfire smoke, and the quiet calming serenity of the winter landscape. Especially if there’s been a dusting of snow, even trails you’ve hiked a million times before can be transformed into a magical winter wonderland.
Winter hiking is also a surprisingly empowering activity. Our first reaction to the arrival of winter weather is usually to hide under a blanket, but the act of preparing for and going on a winter hike is a great way to positively assert ourselves and embrace the season. It’s now one of the highlights of the year for us!
While there’s a lot to love about hiking in the snow, some unique challenges require more gear and forethought than summer hiking. Everything from trip planning to extra layers and footwear to identifying winter hazards. There’s a lot to consider before heading out on your first winter hike.
In this article, we will walk you through everything you need to know to have a fun and safe winter hiking experience.
Winter Hiking Quick Tips
- Everything takes longer than you’d expect, so don’t try to bite off too many miles.
- Always check the weather forecast & trail conditions and plan accordingly (which might mean canceling).
- Invest in quality winter clothing and learn how to layer properly.
- Stay hydrated & snack frequently. These both play a big factor in body temperature regulation. Also, winter hiking takes more effort than summer hiking, so you’ll want to keep up on calories and stay ahead of the dehydration curve.
- Always pack microspikes just in case.
- Even for short hikes, make sure you are bringing the 10 essentials of hiking.
- It is far better to identify and AVOID the hazards of winter hiking than it is to deal with their consequences.
Keep reading to learn more about each of these in detail!
Setting Expectations
Winter hiking is about the experience, not racking up big miles. Be conservative with your mileage and liberal with your time estimates.
Everything takes longer and requires more energy when hiking in snow, so it’s important not to be overly ambitious. The “trail” conditions will be more difficult, navigation can be trickier, and you’ll need to stop more frequently to adjust layers.
As winter conditions can be variable, it’s also important to remain mentally flexible as well. If you forgot your microspikes and poles at home and the trail is covered in ice, don’t go. If you come to a section with deep powder and you don’t have snowshoes, turn back and explore somewhere else.
Remember, hiking in winter is about enjoying the splendor of the winter landscape. And you don’t need to hike 25 miles at 3.5 mph to do that.
Types of Winter Trail Conditions
Winter hiking can encompass a large range of trail conditions. What you need to pack and how you need to prepare will depend largely on these conditions, so you’ll want to do a little research before your hike.
The Snow Depth layer on Gaia GPS is a great tool, or you can call the local ranger station for current trail conditions.
No snow or ice
Often, winter hiking might just mean “cold hiking”. The trails are free of snow and ice and the path can be easily discerned. You just need to make sure you have the appropriate layers to keep yourself warm and dry. Packing microspikes in case you encounter some patches of snow or ice is still a good idea.
Partial snow and ice
We’ve done a lot of this. The trail is intermittently covered in snow and ice, but it’s still pretty easy to see where it goes. You will definitely want microspikes (hiking poles are very helpful, too). Your hiking pace will be reduced, you’ll need to stop more often, and navigation will take longer, so budget extra time.
Snow
If the snow isn’t very deep or it is heavily compacted, you might be able to get away with just microspikes. But once it gets deeper than your boot, you will want to consider using gaiters at the very least, and possibly snowshoes. In addition to having a slower pace, more time will be needed to navigate as it might become easy to lose the trail. You will also need to be cautious about hazards buried under the snow.
Planning a Winter Hike
Finding trails
If this is your first time hiking in snow, do yourself a huge favor and try doing a short, relatively simple trail you’ve hiked before. It’s much better to get to the end of the trail and wish it was longer than to be halfway through a hike and wishing it was over. Start with something easy and work up from there.
A great resource for finding winter hikes is AllTrails. Not only do we use this app/website to discover new trails, but the frequent trail updates left by users can be invaluable in determining the (relatively) current trail conditions.
Try to pick shorter trails with a mix of uphill and downhill to give you the chance to get your body warmed up.
Time & Sunlight
Not only are the days shorter, but dusk fades into night quicker than it does in the summer. So, you will want to get yourself plenty of time to complete your hike. Always, always bring a fully charged headlamp just in case!
Early mornings are often the coldest point of the day, so you’re more likely to encounter ice. Later in the afternoon, the snow might become slushy, making waterproof boots extra important.
Weather
It’s important to check the weather before any hike, but none more so than a winter hike. Take note of the highs & lows, any potential precipitation, and the expected wind and wind chill!
We like to use various weather services to try to triangulate a forecast. However, if we travel to higher elevations, we also use Mountain Forecast, which gives more localized, elevation-based forecasts for mountains.
Transportation
Getting to the trailhead for a winter hike can sometimes be a challenge all on its own. Many forest and access roads are closed during the winter, so it’s important to research online before planning your trip.
Additionally, even if the roads are plowed, the trailhead parking lot might not be. Using snow-rated tires or bringing chains along with you is not a bad idea.
Note: Here in the PNW, we find that at higher elevations where we’re more likely to encounter snow on the roads, trailheads that leave from Sno-Parks are often the easiest to get to since the lots are plowed frequently.
Float plan
This borrowed nautical term means to tell somebody (that’s not going with you) where you are going, who you’re with, when you plan to be back, and who they should contact if they don’t hear from you by a certain point in time.
This is one of the most important safety measures you can take before any hike, but particularly a winter hike. The person you give your float plan to doesn’t need to be local, just responsible. We frequently leave float plans with our parents, even though they live hundreds of miles away.
The difference between having search and rescue be notified a few hours after you were supposed to check in vs. days later is obviously immense.
Tips for Staying Warm
Layer correctly
There is a bit of an “art” to layering correctly, but once you get the hang of it, it’s the first step to staying warm and dry on the trail! We cover the basics in the how to layer section below.

Bring enough snacks
Your body’s metabolism acts as a “furnace” that will help keep you warm during your hike… but you must consume enough calories to keep it up! Plan on packing more snacks than you think you need (remember, your body is burning calories trying to stay warm in addition to your hike). Snacks you can eat as you hike are best, so you don’t have to stop for too long. Keep in mind that many bars (think Clif bars) are prone to stiffening up in the cold, so keep them in a pocket to stay warm.
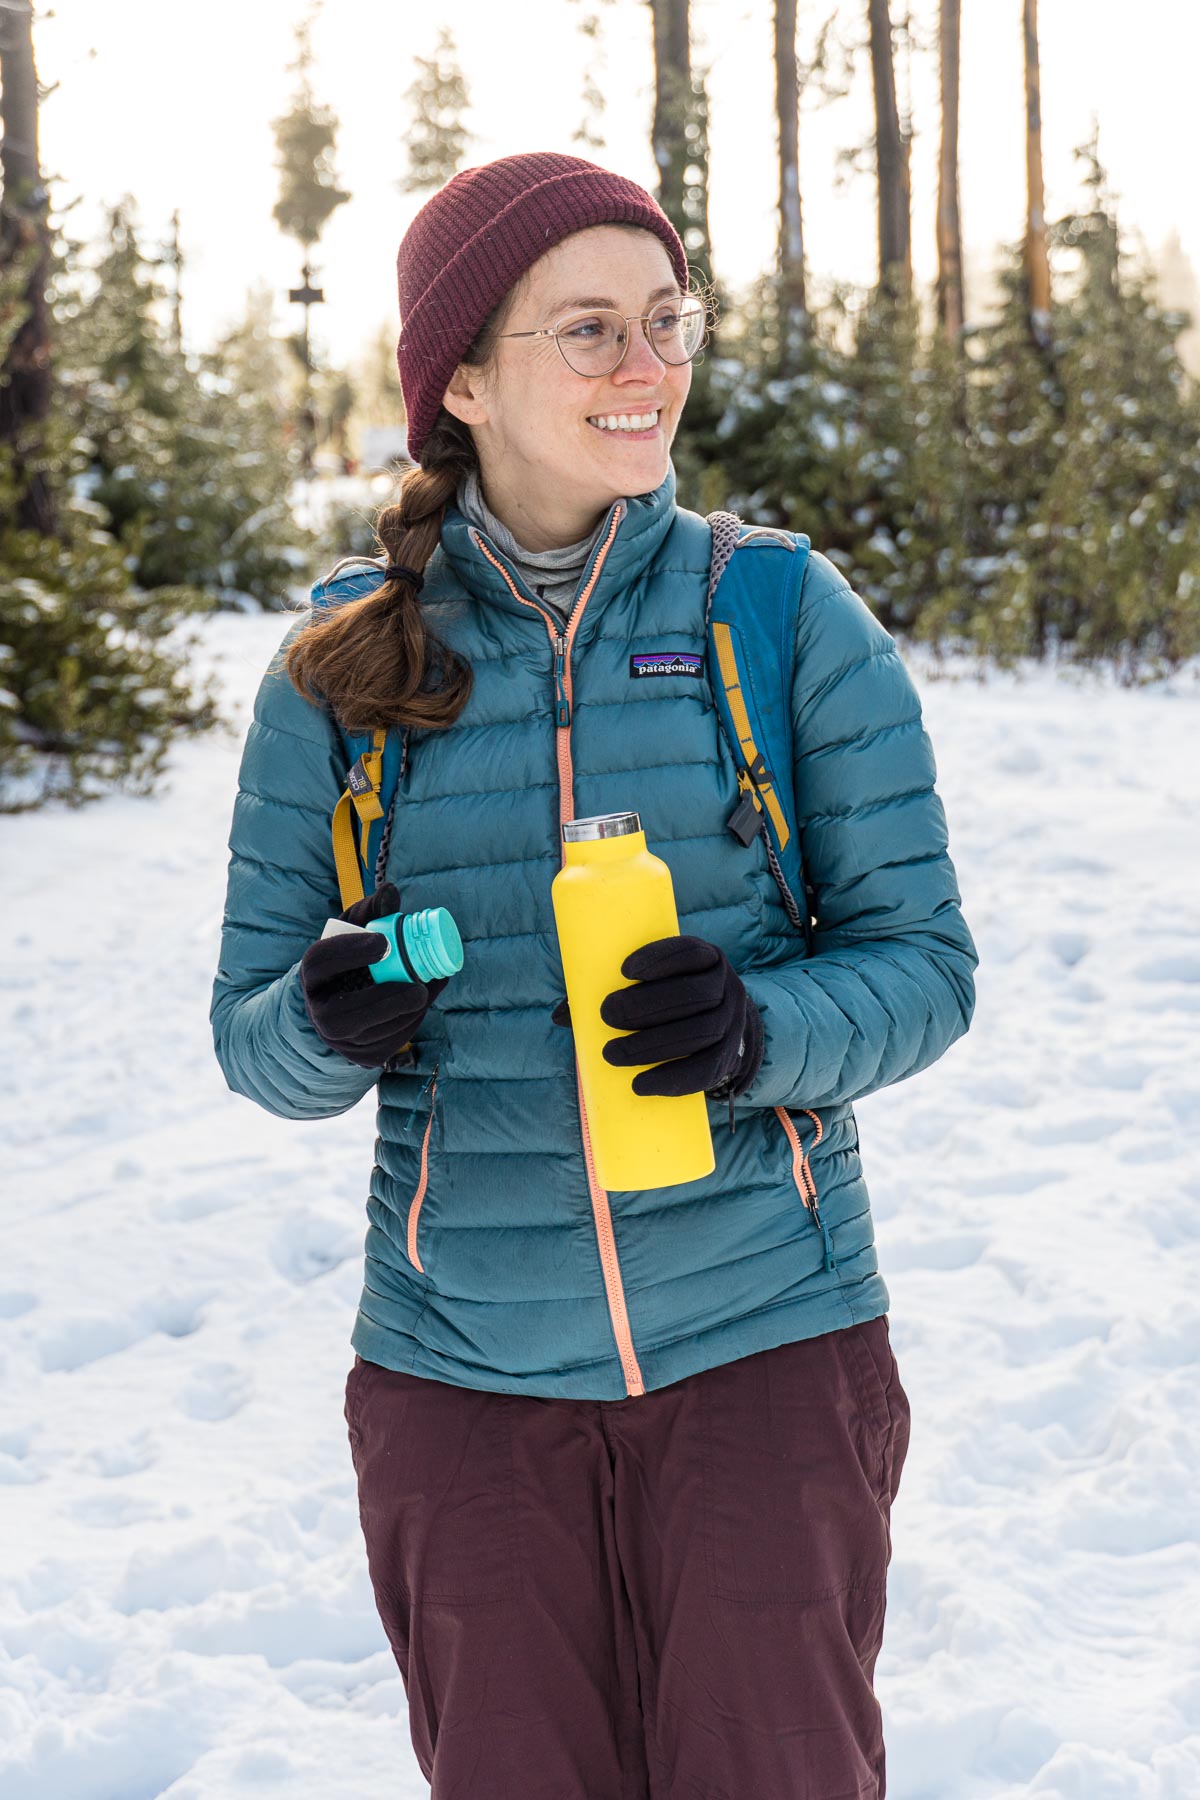
Pack a warm drink
A warm beverage carried in an insulated bottle can go a long way in keeping you warm on your hike. We love to carry hot coffee or tea in an insulated bottle, but even warm water is a welcome treat. Since it’s easy to forget to drink enough fluids when it’s cold out, something warm can help encourage you—which is super important as proper hydration is essential to your body’s ability to regulate its temperature!
Keep moving
Your muscles generate an incredible amount of heat when they are working, so one of the best ways to stay warm when hiking in winter is simply to keep moving! You’ll be amazed at just how warm you can get once your blood gets pumping. If you want to pause for a break, make sure you throw on another layer to trap in the residual body heat—it’s easier to stay warm than to get warm after your muscles have cooled down.
Keep the sun in mind
Hiking in the sun will keep you warmer than hiking in the shade. Trails along northern slopes, in valleys, or in wooded areas will reduce your sun exposure, so plan on packing a heavier insulation layer or an extra fleece if needed.
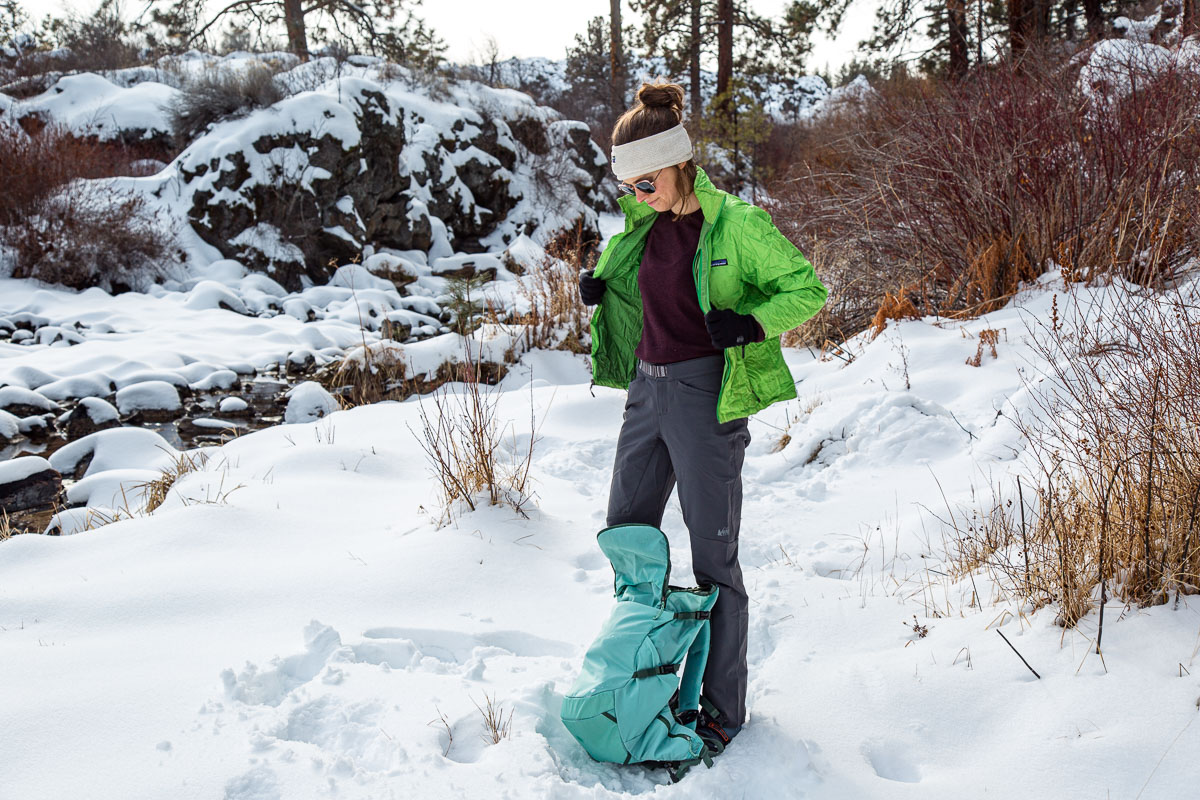
How to Layer for Winter Hiking
We go into greater depth about how to properly layer for winter hiking in our Winter Hiking Gear Guide, but here is a quick overview.
Layering is all about keeping your body warm and dry. Warm from the outside air and dry from internal sweating and external moisture.
Baselayers: Thin, breathable, moisture-wicking fabrics like merino wool or synthetics. Do not use cotton for a base layer. Our favorite base layers are Smartwool thermal base layers.
Midlayers: Insulative layer(s) that traps your body heat, like a fleece, puffy jacket, or combination of the two.
Shells: Protects against wind and external precipitation, ideally made from a waterproof fabric with seam-sealed construction.
Your only heat source is your body, which will rise and fall in temperature based on your level of physical exertion. On a steep uphill, you might need to strip off layers to prevent yourself from sweating. When stopping for a break, you will need to add layers back on before you get too cold (remember, it’s easier to stay warm than it is to get warm!).
Strip down or layer up as needed to maintain maximum warmth without sweating.
It is essential you have a backpack large enough to accommodate all your layers. On steep climbs, it’s not inconceivable you might need to strip down to your t-shirt to stay behind the sweat curve.
If you want specific recommendations, we share all of our tried and true winter hiking gear in this post.
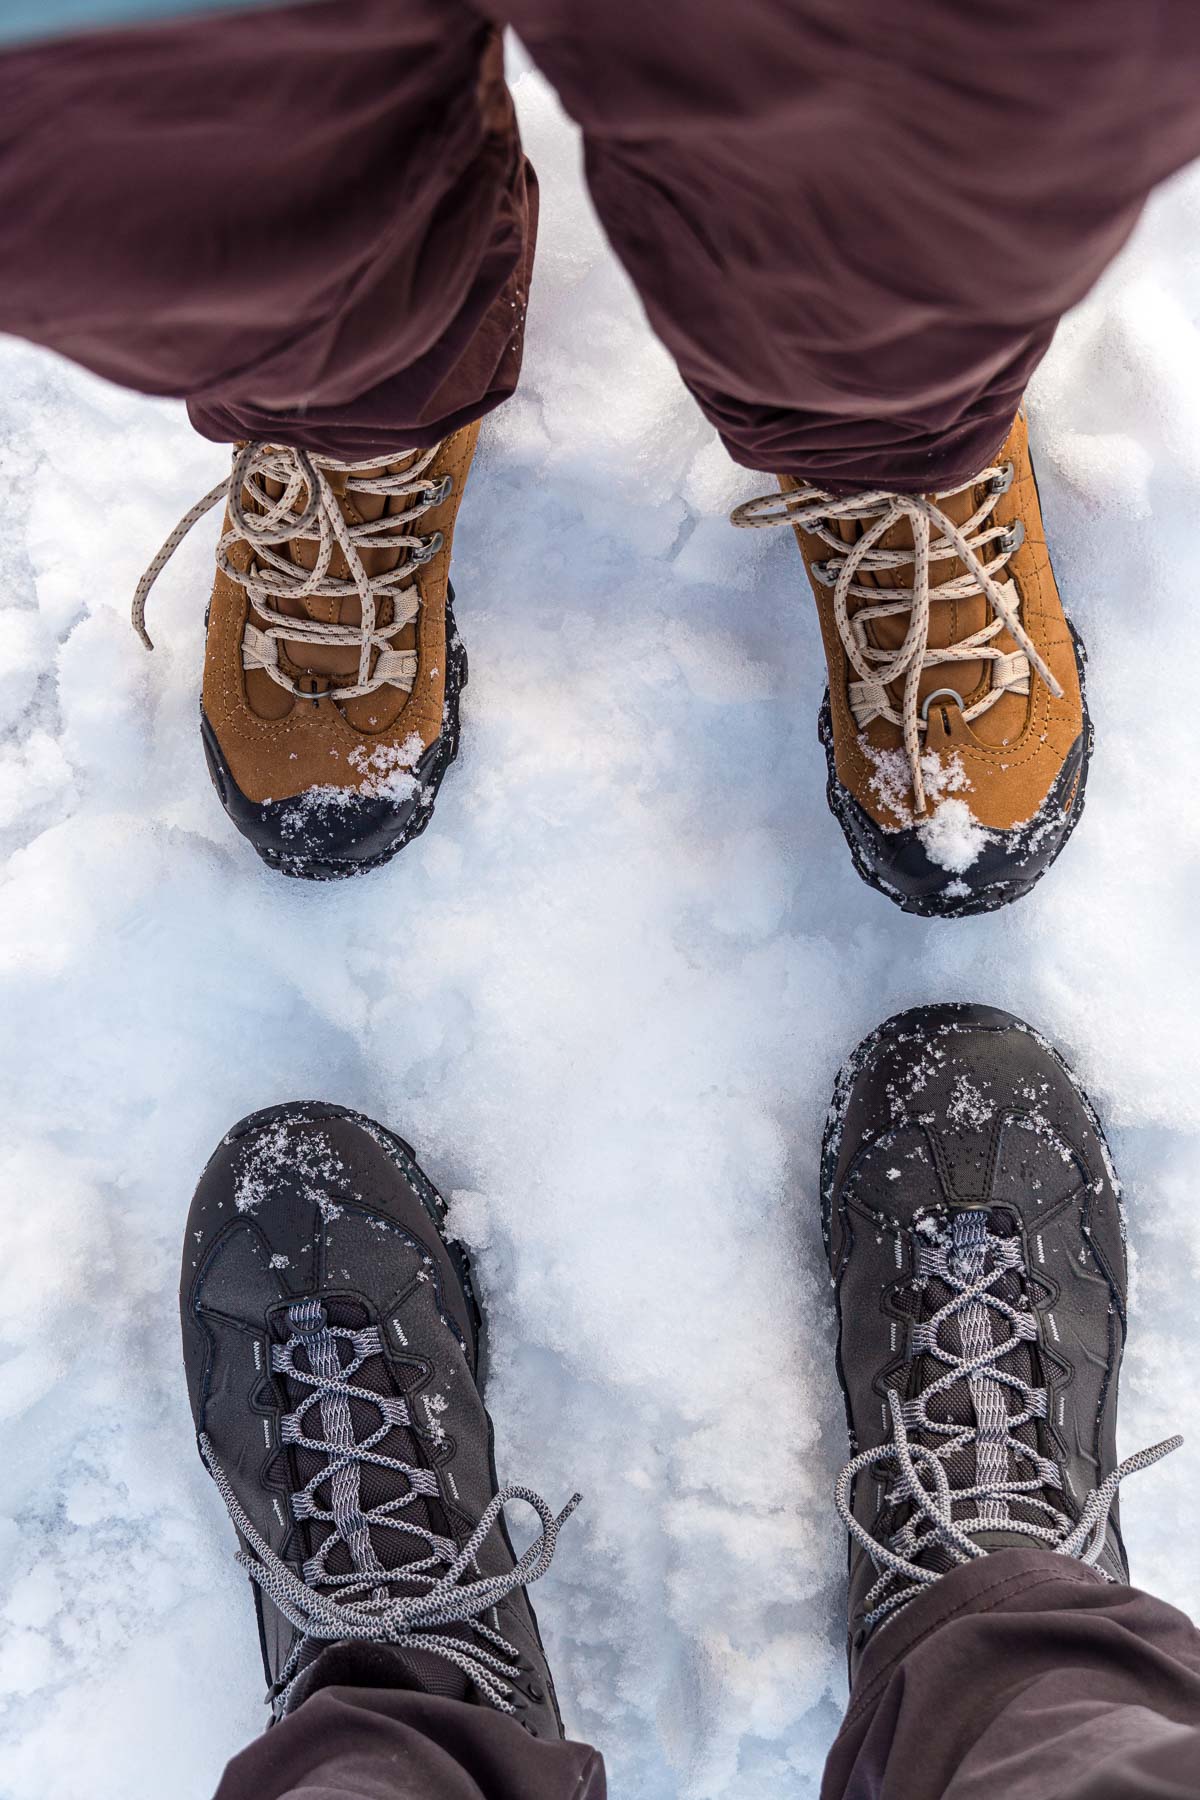
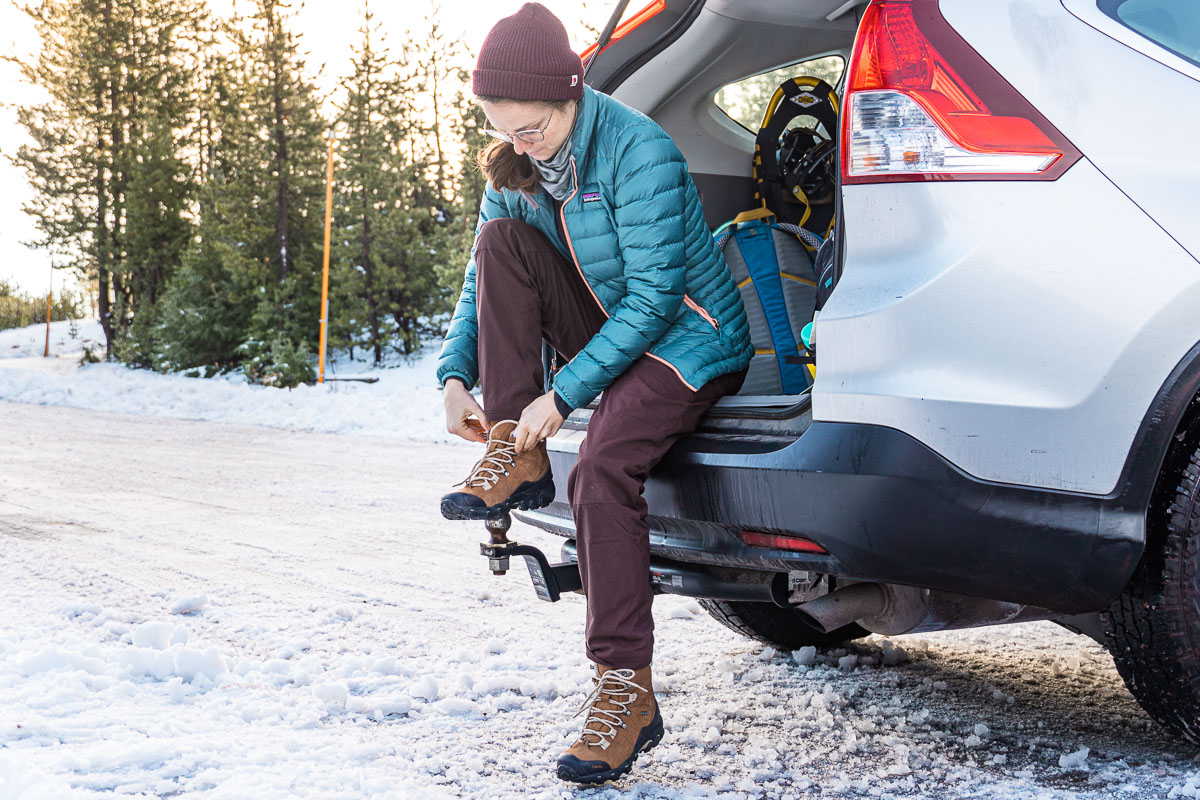
Winter Hiking Footwear
When hiking in snow or on ice, you’ll need to give your footwear more consideration than you would on a summer day hike.
Winter Hiking Boots
At a minimum, winter hiking boots should provide good traction and be waterproof. As a bonus, they should provide insulation for your feet.
Traction
Look for boots with sturdy, “grippy” soles (usually made from winterized rubber) and deep lugs for traction.
Waterproofing
The next important feature of winter hiking boots is waterproofing. As you hike in the snow, boots that lack waterproofing will start absorbing water, which can put you in danger of frostbite, or at least a miserable hike back to the car. Make sure your boots are waterproof to ensure your toes stay dry and toasty.
Insulation
Finally, the ideal boot for hiking in snow will also contain insulation. Look for boots that contain at least 200g of low-bulk insulation (such as Thinsulate).
There are a lot of aspects to finding any hiking boot that works well for your individual foot, so we recommend going to an outdoor retailer shop and trying a few on to find the right fit.
But if you need a suggestion, our favorite winter boots are the Merrell Thermo Chill and the Xero Shoes Alpine Boots.
Wool Socks
Choose warm, moisture-wicking socks—and make sure they are not cotton! Avoid the urge to wear super thick socks if it means that your boot will fit too snugly, as this can reduce circulation and make your feet feel colder. Our favorite wool socks for winter hikes are Darn Tough.
Gaiters
If you’re going to be hiking in snow, it may be wise to wear a pair of gaiters to prevent snow from finding its way down the top of your boot. Gaiters work by strapping around the sole of your boot and cinching around your calf to stay up.
These are unnecessary if you will only be hiking on packed or groomed snow—though they are light enough to carry in your pack just in case!
Traction Devices: Snowshoes vs. Microspikes vs. Crampons
In addition to packing traction devices specific to the terrain and trail conditions you’re likely to encounter, a pair of hiking poles can be super helpful when hiking in snow for balance. If you already own hiking poles, you can pick up an inexpensive set of snow baskets to keep your poles from digging in too deep.
Snowshoes: Snowshoes are broad frames that attach to your boot, which help distribute your weight over a wider surface area, helping you hike on top of deep snow instead of sinking into it. Plan on using snowshoes anytime you’ll encounter powdery snow or snow depths of more than a foot.
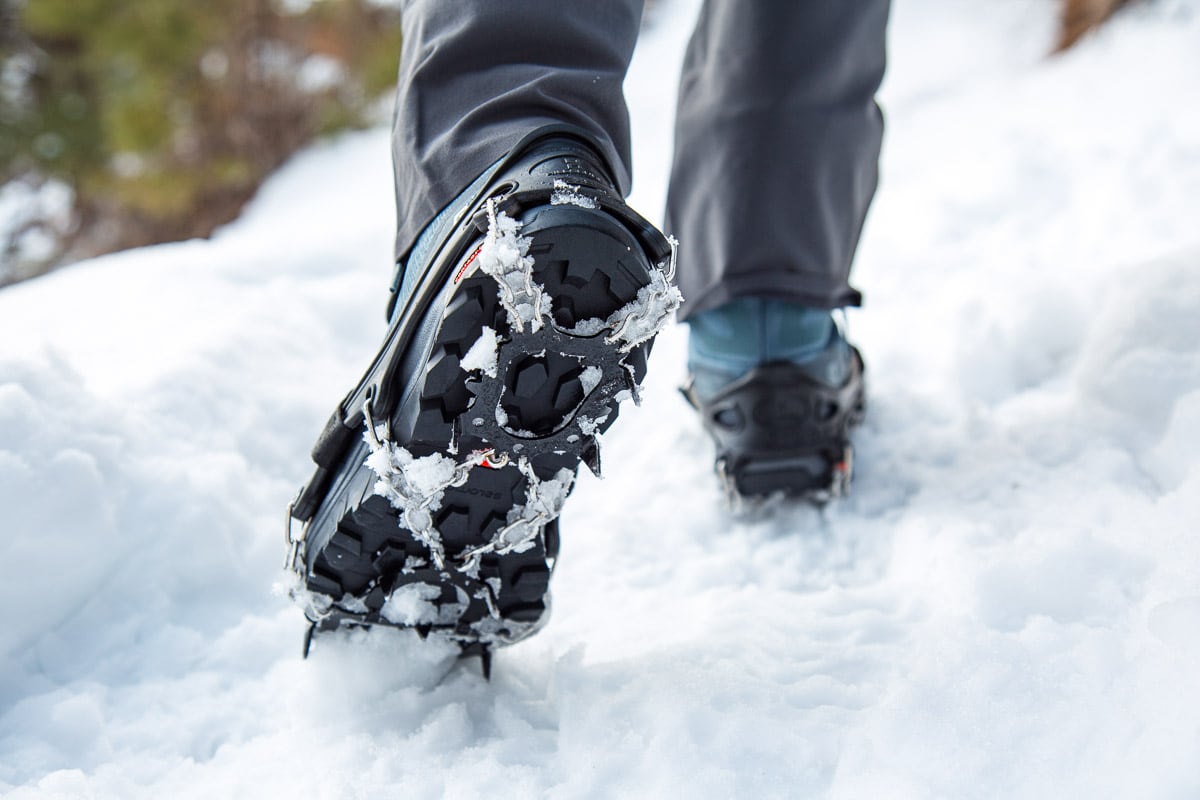
Microspikes: Microspikes are chains that strap over your boot (usually with a rubberized harness) and have ¼”-½” spikes that give you traction on ice and hard-packed snow. These are typically pretty easy to put on, so you can take them on and off as trail conditions require. Most weigh less than a pound, so they are a great piece of gear to keep in your bag during winter just in case you need them! These are the ones we bring on all of our winter hikes.
Crampons: Crampons are the mountaineering version of microspikes—the big difference is that they have a rigid frame and teeth up to 1” long. They are used when climbing ice and walking on steep icy slopes (greater than 20 degrees). The type of terrain in which you’d need crampons (along with an ice axe) is more technical and beyond the scope of this post, so we recommend checking out this article to learn more.
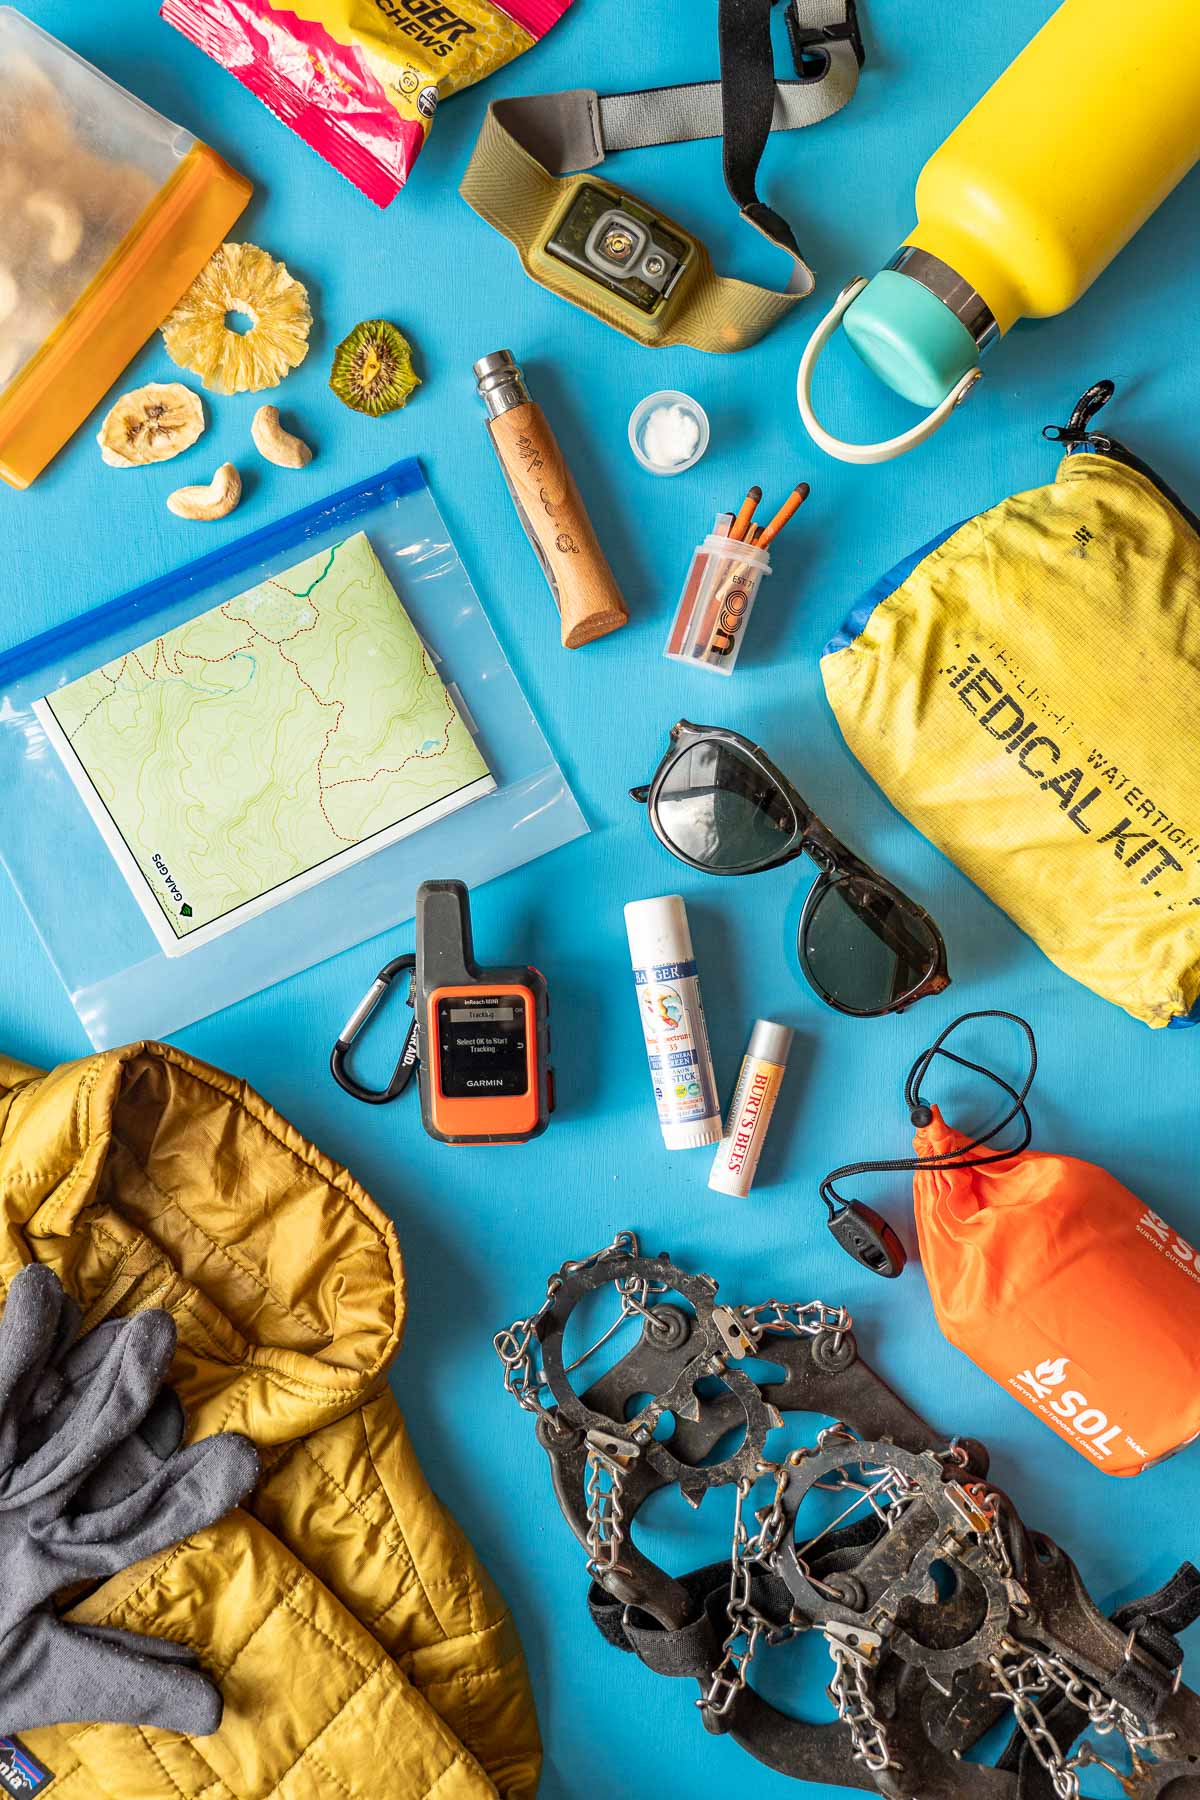
10 Essentials for Winter Hiking
The “10 Essentials” was originally coined by mountaineers to cover all the gear you need to bring on any hike to be properly prepared for the unexpected. We have an extensive article about the ten hiking essentials, but below is an overview of the same items but with a focus on winter hiking.
1. Navigation & Communication: Route finding when hiking in snow can be a real challenge, especially if the snowpack is high enough to cover signs and trail markers. Bring a navigation device you are already comfortable using—and then bring a backup! Electronic GPS devices can be super handy in helping you stay on the trail, but batteries of all kinds will drain much quicker in the cold than in the summer. Keep them in a warm pocket, and bring an extra battery bank to help keep them charged. If you’re using GPS, you should still carry a paper map & compass stored in a plastic bag to keep it dry.
You may also want to consider a 2-way satellite communicator & SOS device like the Garmin inReach Mini. With this, you can text an emergency contact even without cell service, and if things really take a turn for the worse, you’ll be able to send an SOS signal so Search & Rescue can find you.
2. Sun Protection: It’s easy to forget about sun protection in the depths of winter, but sunlight reflecting off snow can expose you to more UV than you would get on a hot summer’s day. Apply full spectrum sunscreen to all exposed skin, including your lips, under your chin, and ears! You’ll also want to pack UV protection for your eyes—either sunglasses or goggles (helpful if it’s windy to prevent your eyes from tearing up). Look for eyewear that blocks 100% UVA/UVB or 100% UV400 (it’s two ways of saying the same things).
3. Extra Clothing: We covered the basics of layering and footwear earlier in the article, but you can dive deeper into appropriate winter hiking clothes here. The important thing to remember is to pack extras of critical items, namely socks and insulation layers. If your socks or down jacket gets wet, you’ll be happy to have carried that bit of extra weight to avoid a potentially dangerous (or at least very uncomfortable) situation.
4. Water: Proper hydration helps your body regulate temperature, so it’s important to pack more than you anticipate needing. Hiking in snow is a high exertion activity, and coupled with the fact that your body is already exerting itself more to stay warm and winter air is drier, all mean that you likely need more water than on a mild summer hike! If you’re going on a long hike and don’t want to carry it all from the trailhead, you can bring a small backpacking stove or rapid water boiler like a Jetboil to melt snow along the way.
5. Food: Your body’s metabolic furnace will help keep you warm on the trail—if you properly fuel it! Pack plenty of hiking snacks for your trip (more than you think you need!). Aim for a mix of carbs for quickly accessible energy and fats for a longer burn. Protein will be helpful for recovery, so have a protein-rich snack ready for the end of your hike.
6. Headlamp: A fully charged headlamp (or one with a spare set of batteries) is critical when hiking in winter since the days are short and the hiking can be slow. It’s already difficult to navigate in the snow—imagine doing it in the dark, too! If it’s really cold out, it’s a good idea to keep it in a warm pocket to prevent the batteries from draining.
7. First Aid + Repair Kit: Everything you need to fix you and your gear. We bring the same first aid kit that we would carry in summer, but we’ll add in hand and toe warmers and a space blanket.
8. Knife (or Multi-Tool): Small utility blade or a multi-tool to assist with gear repair
9. Fire: Pack a weatherproof firestarter and dry tinder and/or a lightweight stove/Jetboil. It’s a smart idea to have redundancies for this essential in case your first one gets wet or fails. If there’s an emergency and you’re stuck out overnight, having a way to stay warm will be critical.
10. Emergency Shelter: You don’t need to pack a true tent on your day hike. But, if you unexpectedly have to stop for an extended period of time, you need to have some sort of shelter to keep wind and precipitation off of you and trap some of your body heat. For most winter hikes, we pack these thermal emergency bivvys.
Identifying & Avoiding the Dangers of Winter Hiking
While all hiking contains some amount of risk, the stakes are higher when it comes to winter hiking. However, the best way to stay safe is to be aware of the potential dangers. It’s infinitely better to avoid the following hazards altogether than it is to deal with their consequences!
Hypothermia
Hypothermia is a medical emergency that occurs when your body loses heat faster than it can produce it, causing a dangerously low body temperature. Initial signs of hypothermia include shivering, slurred speech, shallow breath, drowsiness, clumsiness, and confusion. The best way to avoid hypothermia is to pack sufficient insulating layers, consume sufficient calories, keep your body moving, and avoid becoming wet at all costs!
Read more about hypothermia and how to treat it here.
Frostbite
Frostbite is damage to the skin and underlying tissue caused by prolonged exposure to freezing temperatures and wind. Fingers, toes, nose, and ears are the most vulnerable areas to frostbite. Initial signs are prickling feeling, numbness, discoloration, and waxy skin texture. You can avoid frostbite by keeping your skin, in particular your extremities, covered and insulated. A good pair of gloves, mittens, a hat, properly sized winter boots, and insulated socks are all essential.
Read more about frostbite and how to treat it here.
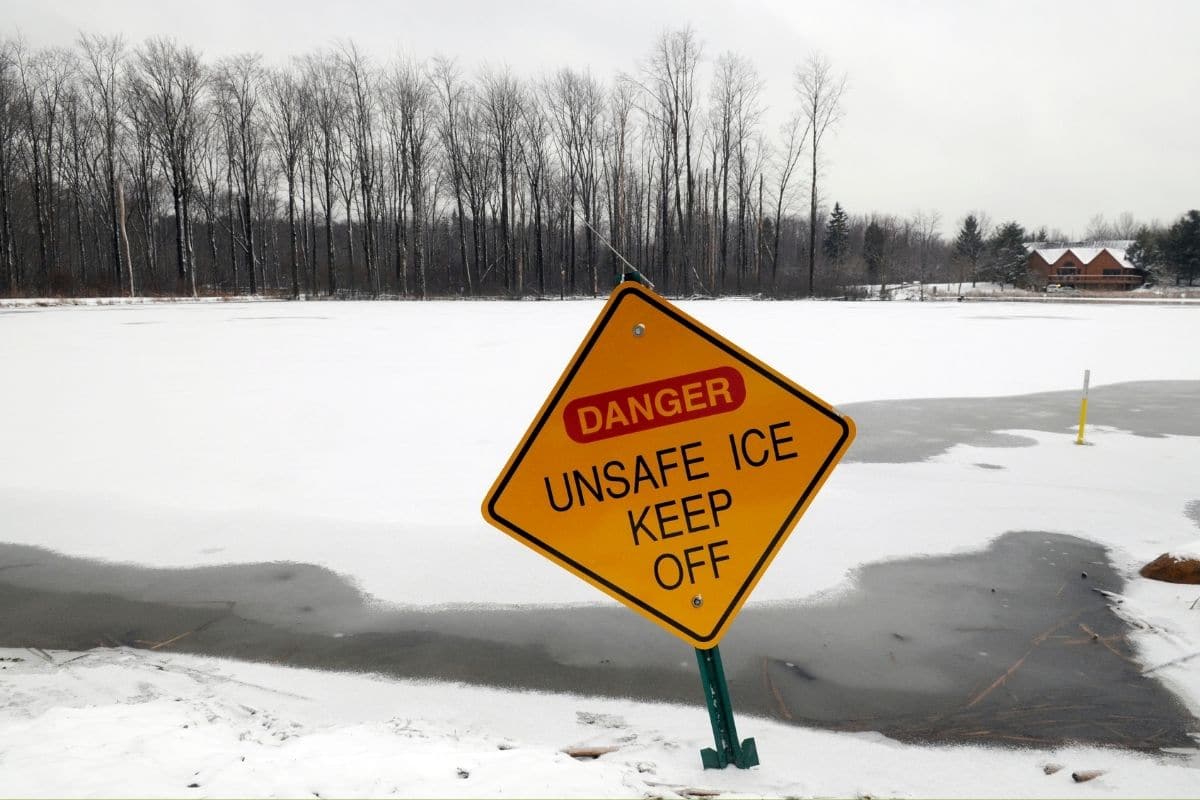
Breaking Through Ice
Accidentally breaking through thin ice can immediately put you into a life-or-death situation. That’s why it’s a good idea to avoid traversing over ice unless you are very confident about its thickness. Anything less than 4” thick is too thin to walk on safely. When in doubt, don’t risk it.
Slipping and falling on ice
This is one of the more common injuries related to winter hiking. An unexpected slip on a patch of ice can easily result in a twisted ankle, fracture, or bone break. If you’re on a slope, you could easily begin to slide downhill. The best way to avoid this is to use good winter hiking boots, microspikes, and trekking poles.
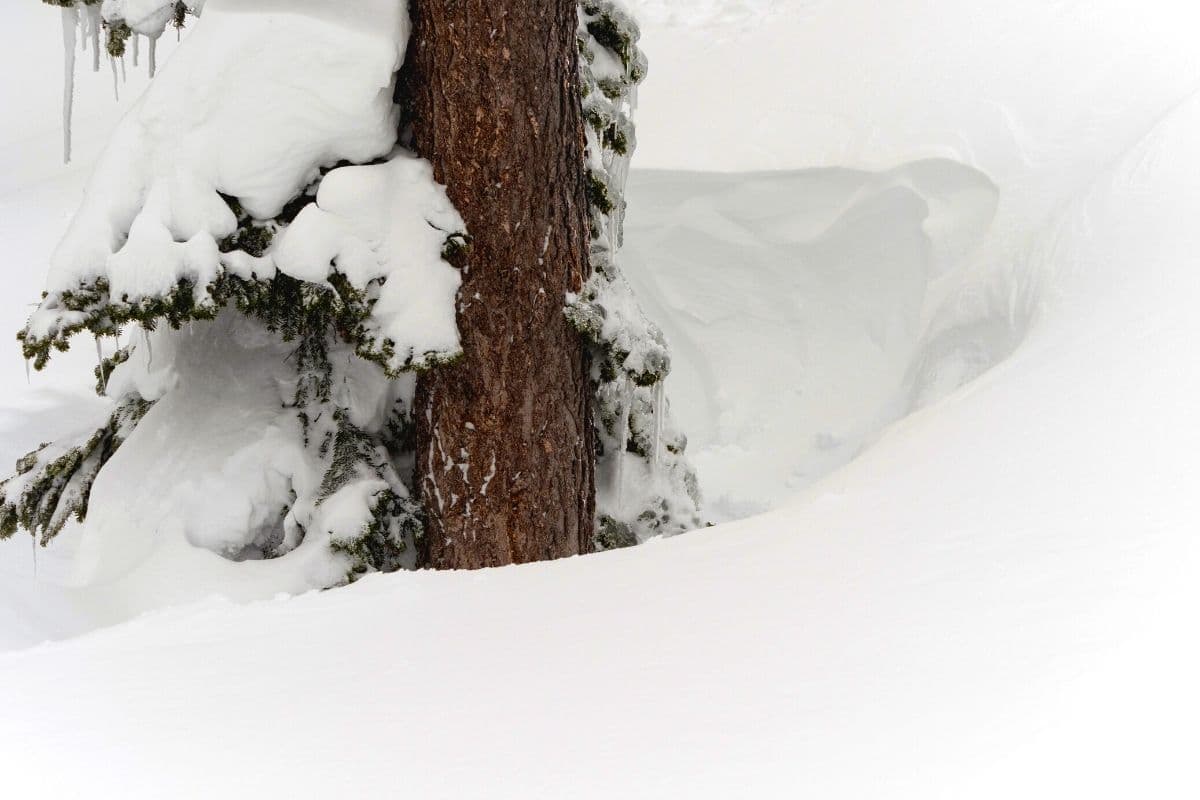
Tree wells
If you are hiking in an area that has a deep snowpack, you will want to give pine trees, particularly ones with low-lying branches, a wide berth. Their conical shape shields their base, allowing for deep holes to form that are often obscured by the branches.
Postholing
Postholing happens when your step breaks through the snow several inches… or even feet. This puts you at risk of twisting an ankle, twerking your knees, and making your hike a lot more difficult than you probably signed up for. The best way to avoid post-holing is to wear snowshoes if you’ll be hiking in powder or in snow over a foot deep, or choosing trails that have already been hard-packed down.
Cornices
Cornices are lips of hardened snow that extend over the edge of ridgelines and other mountain precipices. They can be extremely unstable and can collapse under the weight of a person.
From below and from the side, they are obvious, but when traveling along a ridgeline, it can be nearly impossible to tell if there is a cornice or not. The best advice is to stay away from edges.
Avalanches
Avalanches occur on (or below) steep slopes when a trigger causes a slab of snow to break off and slide, or when loose snow begins to slide and picks up more snow as it goes. Be aware of whether your hike will take you through avalanche-prone terrain, and know how to identify it. There is a lot of great information about how to identify and avoid avalanche terrain online that can help familiarize you with this risk factor. Here are a few articles that we found most helpful when we started winter hiking:
- Backcountry Basics: Recognizing and Assessing Avalanche Terrain
- A Beginner’s Guide to Avalanche Safety for Snowshoers
- Avalanche Safety Basics For Snowshoers: Warning Signs & Danger Zones
Additionally, check the avalanche forecast for your area before your hike. Avalanche.org complies and links to local forecasts in the US. If you’re in Canada, Avalache.ca is a good resource.
We hope that you found this post helpful and that you enjoy your time out on those snowy wonderland trails this season!