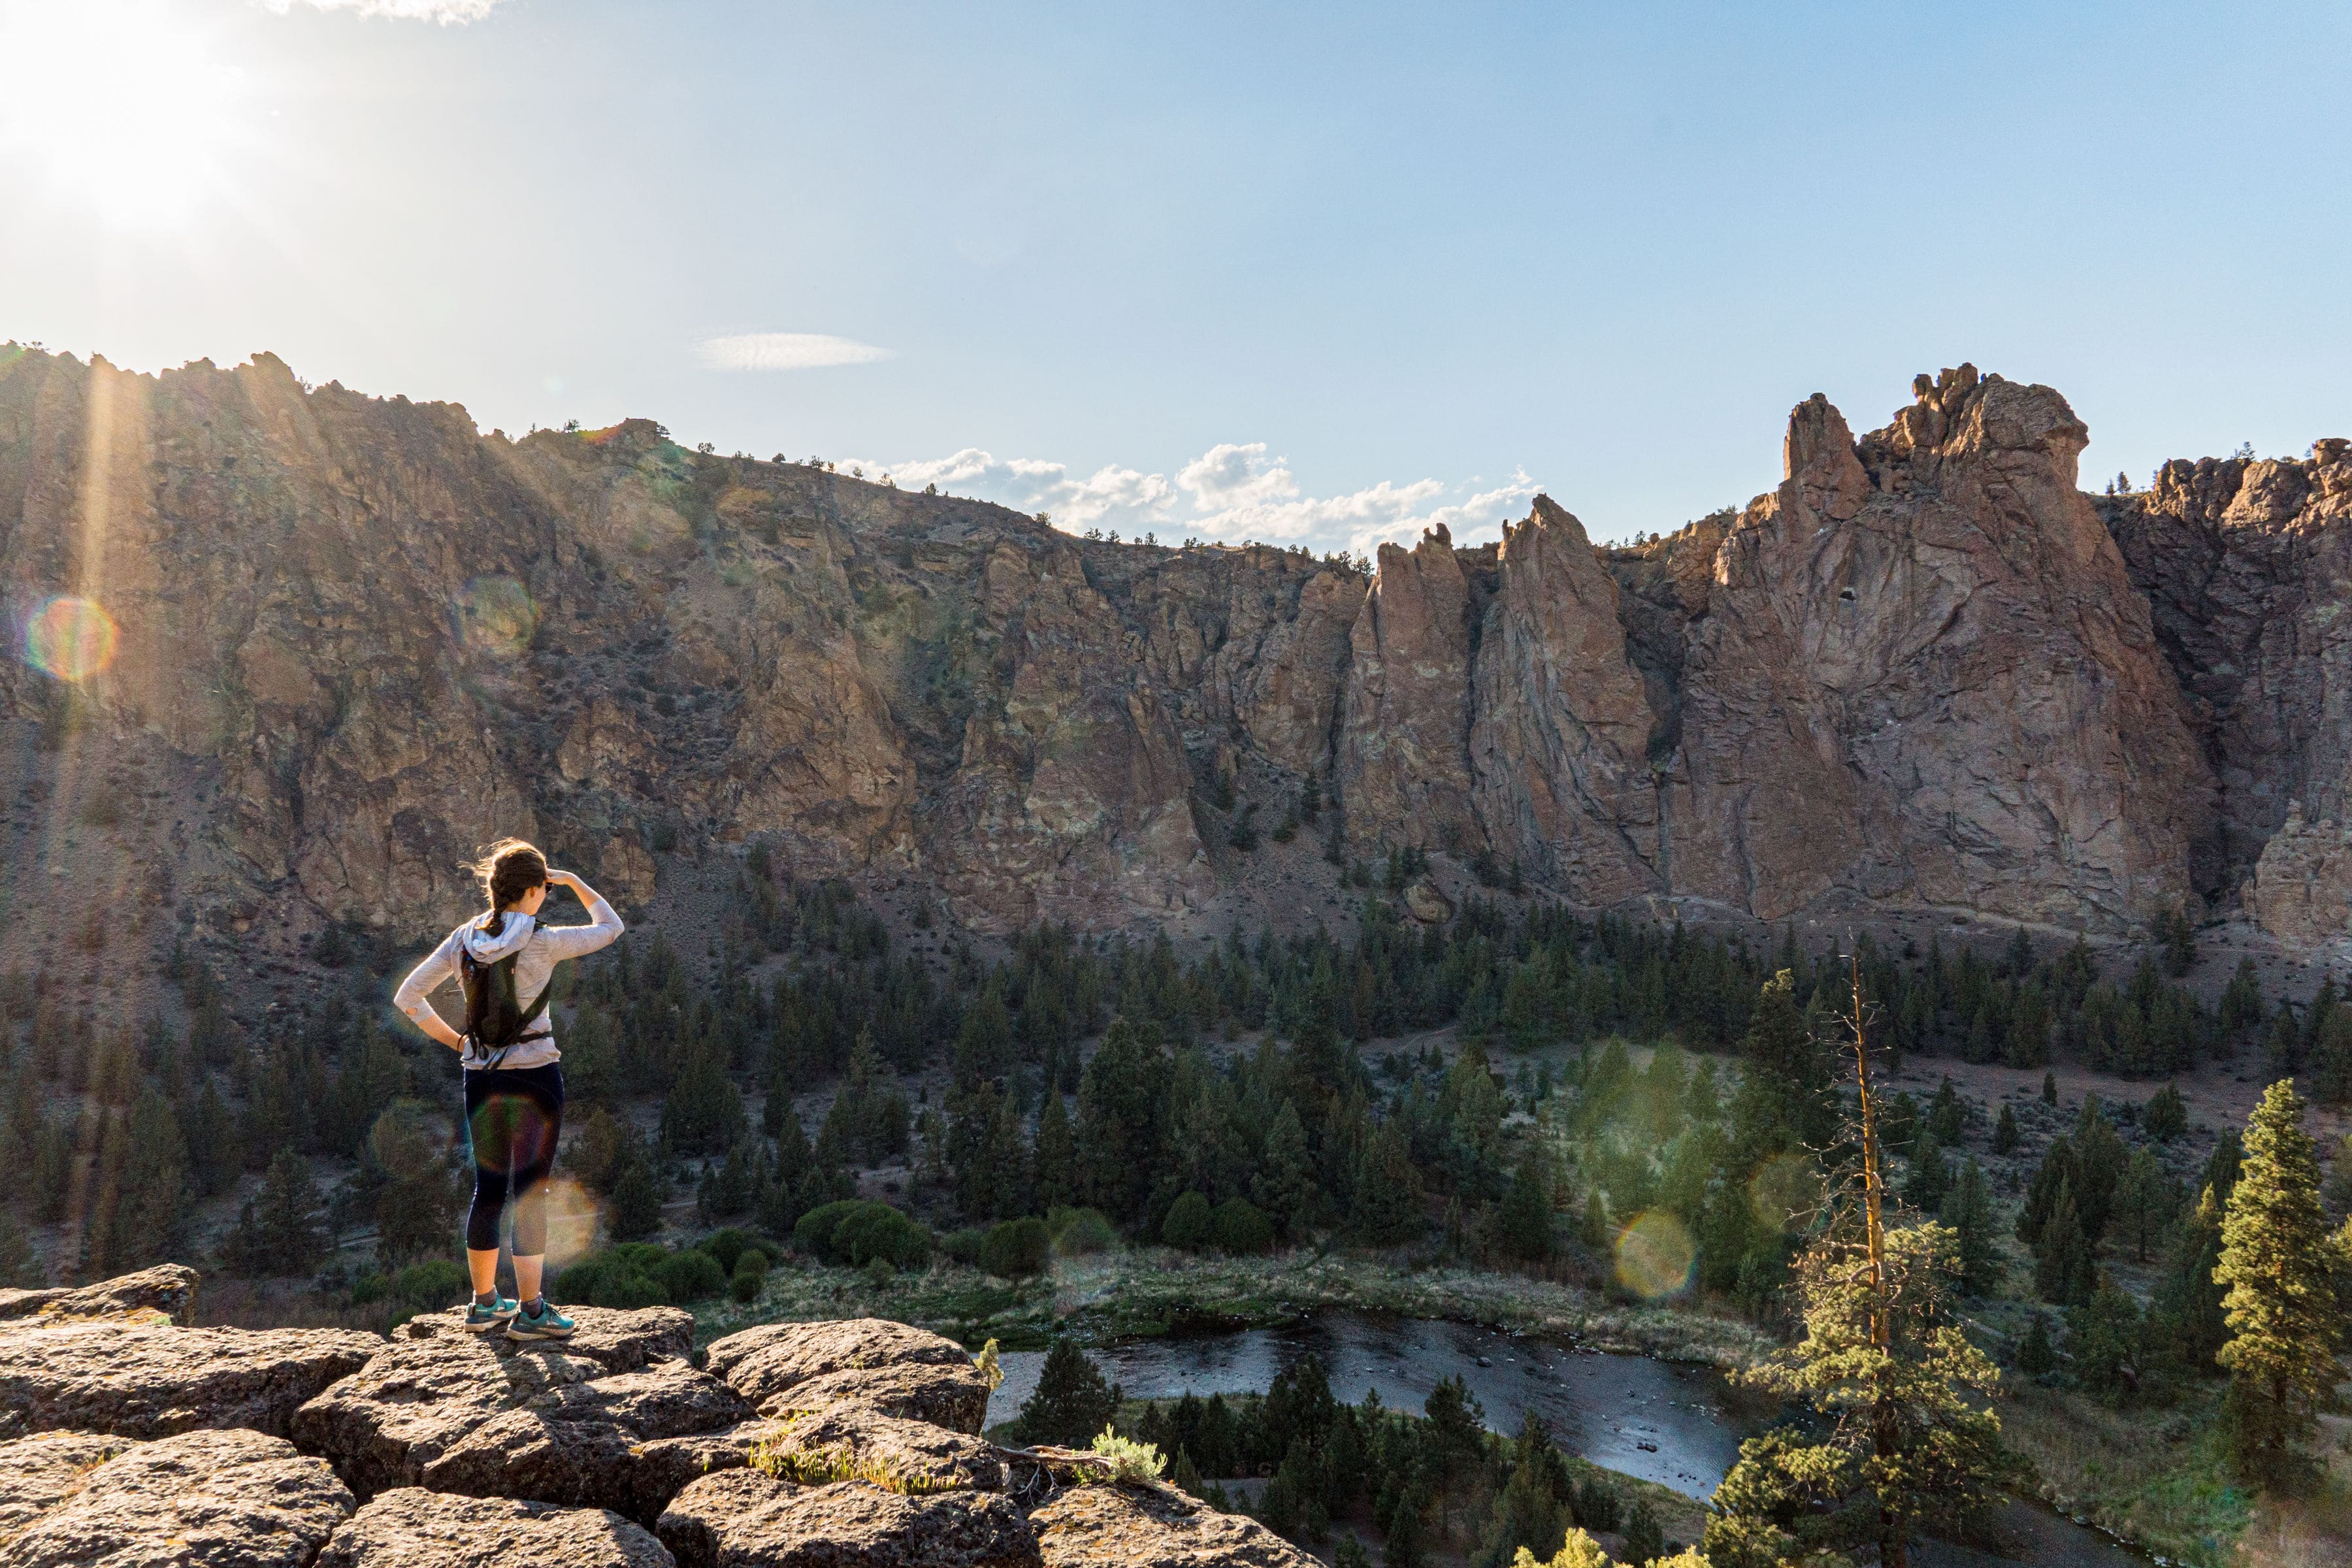
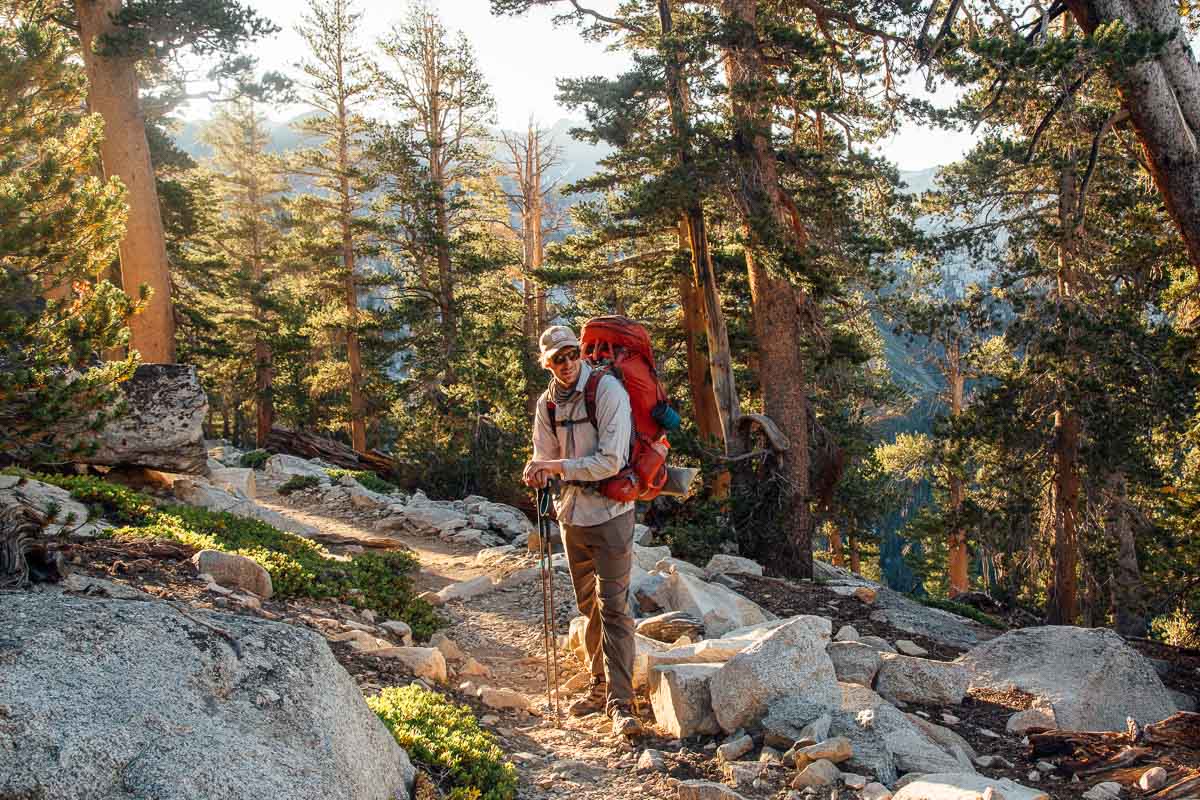
The 10 Hiking Essentials You Need to Safely Hit the Trail
This post may contain affiliate links.

The “Ten Essentials” are the gear items every hiker and backpacker should carry with them at all times when on the trail.
Whether you’re heading deep into the backcountry on a multi-day trip or going for a day hike just outside of town, the goal of the 10 Essentials is to ensure you have what you need if something unforeseen goes wrong.
While the ten essentials are designed to serve as a universal pre-trip checklist, you should select your gear based on the nature of the particular trip. Weather, relative remoteness, and particular difficulty of the terrain should all be factored in. Not all trips will require the same level of preparation.
In this article, we take a look at each of the 10 Hiking Essentials, discuss why each one is important, and make specific gear recommendations to help you check the box.
We have tailored this article to focus primarily on applying the 10 Essentials when day hiking. If you are interested in a deeper dive into backpacking, you should check out our backpacking checklist guide for the additional gear you’ll need for an overnight hike.
What are the ten essentials of hiking?
The ten essentials are designed to work together as a “total” system. So while this list is numbered, no one item is more important than the other.
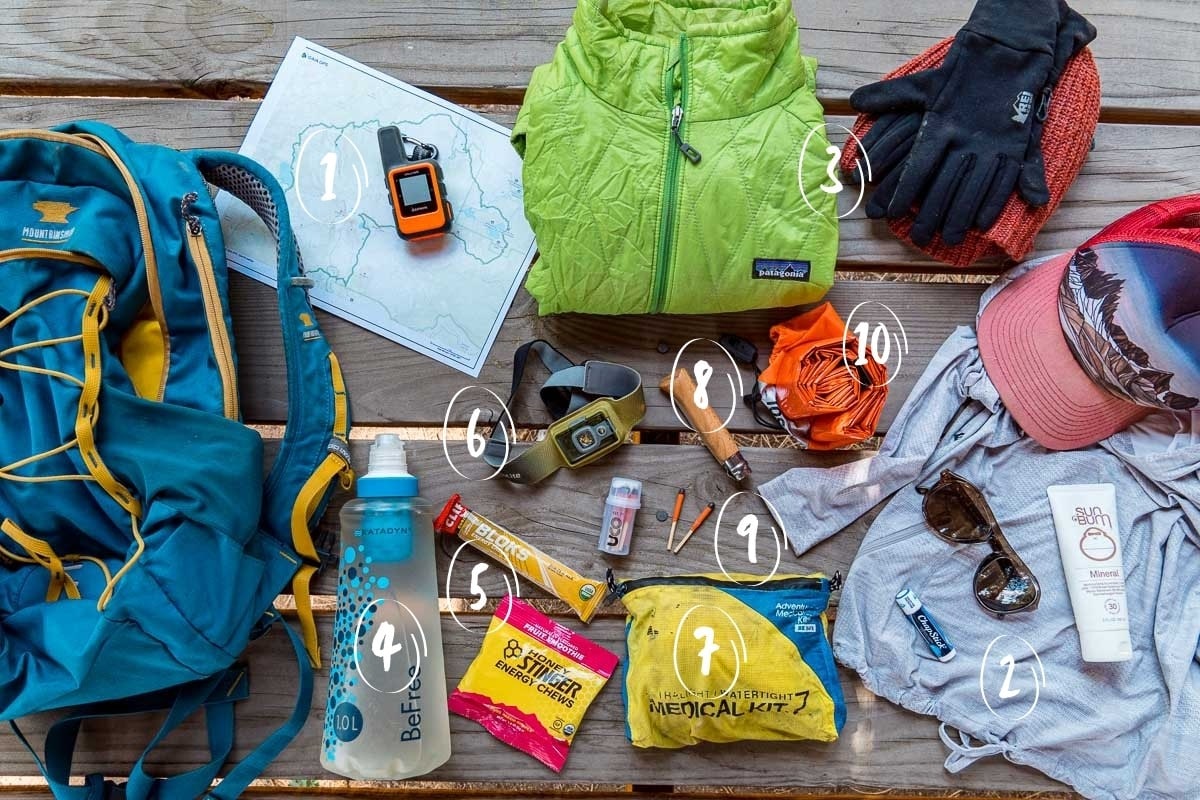
- Navigation & Communication: GPS app, Satellite messenger, paper map & compass
- Sun Protection: Broad-brimmed hat, gaiter, sunscreen, UPF clothing
- Clothing: proper footwear, rain gear, and insulated clothing
- Water: more water than you anticipate needing or a water filter
- Food: more calories than you anticipate needing
- Headlamp: fully charged and/or with a spare set of batteries
- First Aid + Repair Kit: everything you need to fix you and your gear
- Knife (or Multi-Tool): small utility blade or a multi-tool to assist with gear repair
- Fire: a weatherproof firestarter and dry tinder or possibly a lightweight stove
- Emergency Shelter: could be as lightweight as a space blanket of emergency bivy
- BONUS: Bag to pick up trash: Picking up trash you find on the trail is a great way to proactively make the world a better place.
When should I carry the 10 essentials?
Theoretically, you should carry the ten essentials for every hike. However, the list is open to modification based on various factors.
Obviously, the more difficult and remote the hike, the closer you will want to stick to the list. On the flip side, the easier and closer the hike is to civilization, the more liberty you can take with a few of the sections (although most are still very applicable).
For example, if you’re going on a day hike on a short, well-trafficked trail close to town during warm summer conditions, you might not need to bring an emergency shelter.
1. Navigation + Communication
Figuring out where you are and where you are going is good, but being able to relay that information to search & rescue in case of an emergency is critical. Navigation and communication is
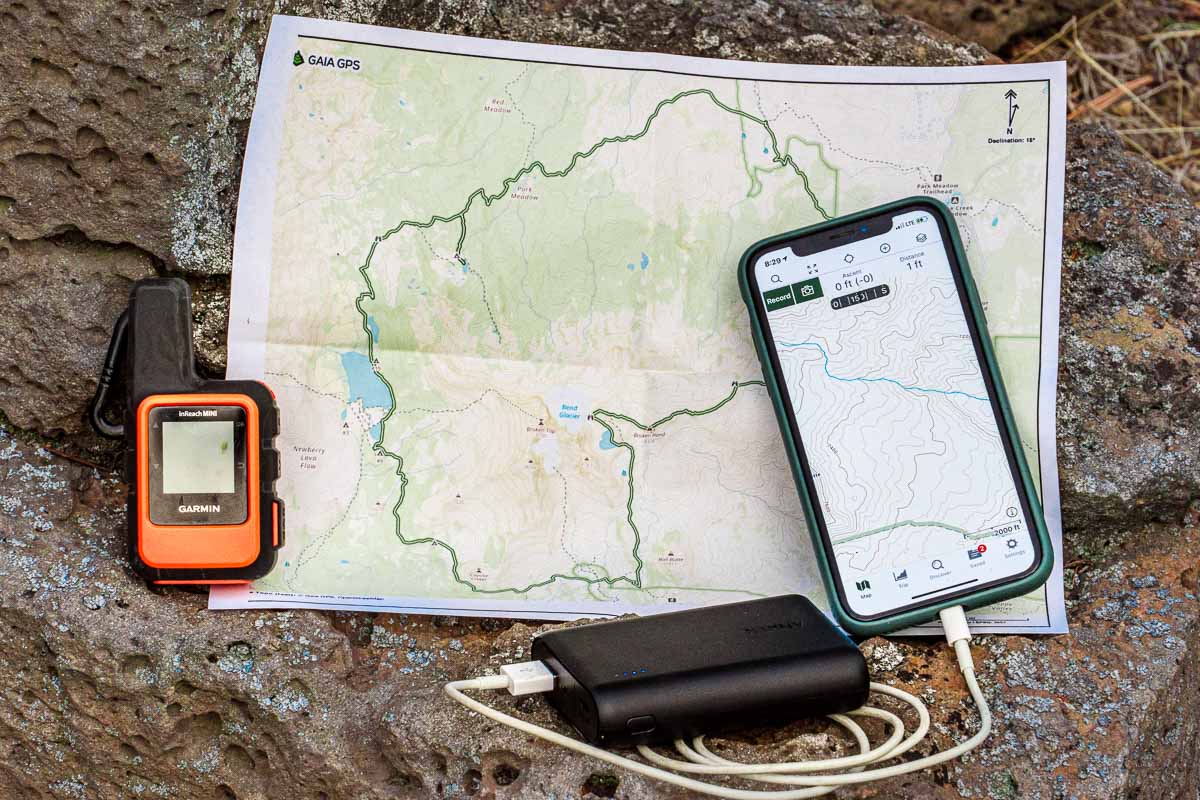
Paper Map & Compass
Every ten essentials list on the internet will tell you to navigate using a paper map and compass. But if you’re like the vast majority of recreational hikers, who have never practiced orienteering, you might as well bring an Ouiji board.
Paper maps are only useful if you know how to use them. If you’re interested in learning how to navigate with a map and compass, there are lots of great resources on the topic. This is a great primer to start with, and if you’re more of a hands-on learner, REI hosts in-person navigation classes.
One of the easiest ways to bring a paper map with you on any hike is to sign up for an AllTraills+ account. This will allow you to print maps of your hike and download your maps in the app for offline use to help with GPS navigation (see below). By printing directly from AllTrails, you don’t have to waste time looking for a printable version online or buying a map for every area you want to hike in.
GPS Device
This is how a lot of backcountry navigation is done in the 21st century. There are a variety of devices that can use GPS signals, the most obvious being the smartphone in your pocket. Many different apps use your phone’s built-in GPS function to display your current position on a map, even when you have no service.
However, GPS signals can be unreliable in certain situations, like hiking in canyons and valleys surrounded by tall mountains. Know what kind of terrain you’re hiking through before deciding to rely on GPS for navigation.
Our favorite GPS apps for backpacking & hiking:
AllTrails: We use the AllTrails app and website to help with navigating and tracking day hikes. The user-uploaded content is a great way to discover new routes.
Gaia GPS: This is a more advanced app for navigation and tracking that we like when we’re heading into the backcountry. It’s a really robust navigation system that has a great app and web interface. It’s great for creating your own routes or tying multiple trails together (something we do often for backpacking trips). With the premium version, you can download your maps for offline use.
Google Maps: Did you know you can download Google Maps for offline use? While It isn’t great for detailed navigation on trails, it is a good backup.
Always assume that you won’t have a cell signal while hiking, so you need to download the area you’ll be hiking in prior to departing. Double-check that the maps have been properly downloaded at home by putting your phone in airplane mode and checking that you still have access to them.
Our Take: We recommend downloading maps on two different apps. If one app crashes or won’t load, you will have a backup. If you are hiking with two people, make sure both people download the maps. There is no downside to having a few digital redundancies.
If you’re relying on your phone as a primary source of navigation, you need to treat it as such. Take every precaution to ensure it doesn’t:
- Run out of power
- Get wet
- Get thrown off a cliff (or otherwise damaged)
For power: Turn on Airplane mode & low power mode to conserve power. Carry an auxiliary battery bank and charge cable. We use an Anker 10000mAh bank that can fully recharge an iPhone X three times.
Most modern smartphones are water-resistant, but consider storing them in a zip-lock bag if there is a chance of rain or if you will have to navigate any stream crossings.
Better yet, purchase a waterproof & shock-resistant phone case like an Otter Box. This doesn’t need to be your daily carry, just what you put your phone in when you are out hiking.
Satellite Messenger
Figuring out where you are with your phone’s GPS is one thing, but being able to communicate that information with the outside world is another. In case of emergency, a satellite messenger can alert search and rescue and lead them straight to your location.
In recent years, two-way satellite messengers have undergone many innovations. We use a Garmin inReach Mini, which allows us to exchange text messages with any cell phone or email address while beyond cellular range. It also has an SOS button that connects us with 24/7 search and research monitoring stations.
The inReach does require a subscription, but since we do a lot of backcountry hiking it’s worth it to us. You can also start & pause a subscription if you are just planning on using it for a big trip.
Our Take: If we are going to be hiking local trails that are fairly well-trafficked, we will leave our inReach Mini at home. But if we’re going to the backcountry, we always bring it with us.
2. Sun Protection
Plan on bringing a hat, sunglasses, sunscreen, and sun-protective clothing with you.
Sun exposure can not only cause sunburns, snowblindness, and chapped lips while on the trail, but it can also lead to long-term issues like premature aging, skin cancer, and vision damage. So get into the habit of taking sun protection seriously.
Sunglasses
When selecting sunglasses, you want to find a pair that block either 100% UVA/UVB or 100% UV 400. (UVA/UVB and UV 400 are two different ways of saying the same thing.) In addition to ultraviolet protection, polarized lenses are an absolute must if you are going to hike near water or snow, as they cut down on glare.
What’s in our pack: We both wear sunglasses from Sunski, which block 100% UVA/UVB and are polarized.
Sunscreen + SPF Lip Balm
Unprotected skin can be sunburned in as little as 30 minutes, which is why it’s important to apply sunscreen before (and reapplying during) your hike. You want sunscreen marketed as broad spectrum (UVA/UVB) with a minimum of SPF 15 but preferably SPF 30. Most people get their face, arms, and back of their neck, but remember your ears, tops of your hands, chest, sides of your neck, and your feet if they are exposed.
Sun Protective Clothing
Wearing sun protective clothing is a great alternative (or supplement) to sunscreen, and can really reduce the effects of the sun’s UV rays.
Consider a broad brimmed hat or baseball cap to keep sun off of your face. A lightweight and breathable neck gaiter is a great way to keep your neck from getting burned without having to constantly reapply sunscreen.
Lightweight and breathable long sleeve shirts do a great job at keeping your arms covered, while still keeping you cool. Some even come with a hood, for even more protection.
Most regular clothes have a UPF of 5, but many outdoor companies are producing clothes with UPF 50.
Here are some UPF hiking clothes we recommend:
- Patagonia Cool Daily Shirt
- REI Sahara Shade Hoody
- Mountain Hardware Crater Lake Shirt
- Columbia Silver Ridge Lite Shirt
- prAna Halle pants (women’s)
- prAna Stretch Zion pants (men’s)
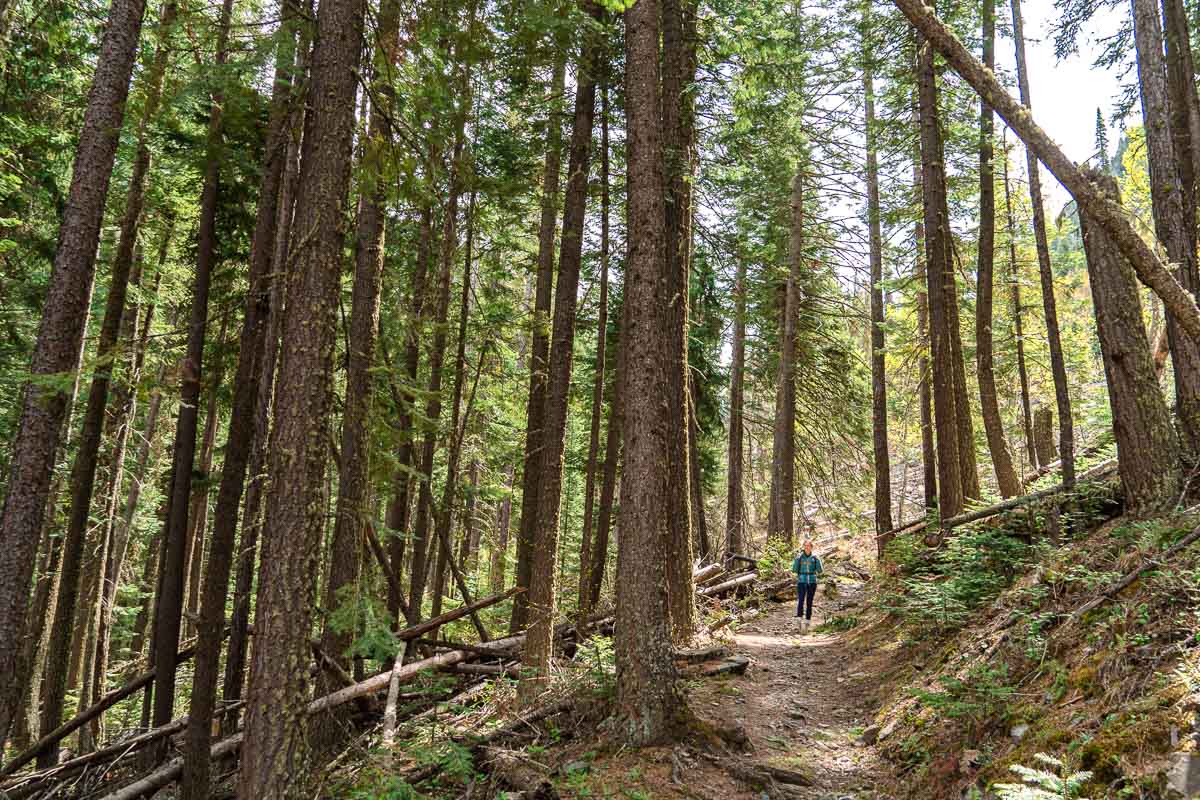
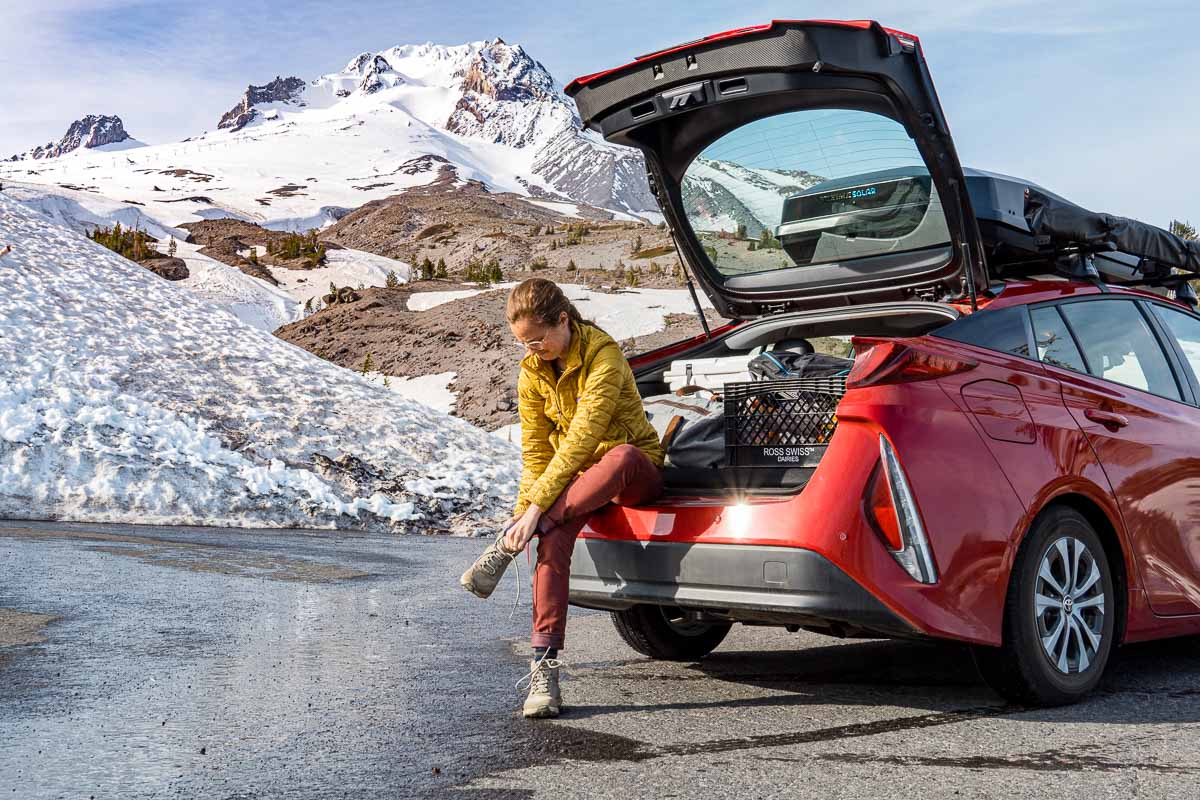
3. Proper Footwear + Extra Clothes
This is a bit of a catch-all category, but having the right clothes on a hike can make all the difference. The goal here is to anticipate and prepare for less-than-ideal conditions.
Proper Shoes
One of the most common “beginner hiker mistakes” we see is not having proper footwear. A trail might seem flat and mellow at the start, but it could become quite technical a few miles in. Trying to scramble down a rocky incline in a pair of flip-flops or flat-bottomed Vans is exactly how you get injured.
So pick up a good pair of hiking shoes and get into the habit of using them. You want shoes that have tough and grippy soles and are comfortable to walk in on rough, uneven terrain.
Extra socks
Step in a puddle? Feet getting hot & sweaty? Being able to swap out a pair of socks can make a huge difference. Hiking in damp or dirty socks can quickly lead to blisters, so be proactive and swap out your socks with a fresh pair!
Our Take: Towards the end of my JMT trip, I developed a routine of switching out my socks at lunch, so I had a pair of morning socks and a pair of afternoon socks. After having problems with blisters earlier in the trip, this kept my feet clean, cool, and happy.
Micro Spikes
If there’s a chance you might need to hike across snow (early season, high alpine), then “proper footwear” would definitely include microspikes. We both use Hillsound microspikes for all of our winter hiking adventures and can’t say enough good things about them. You don’t know the meaning of traction unless you’ve tried a pair.
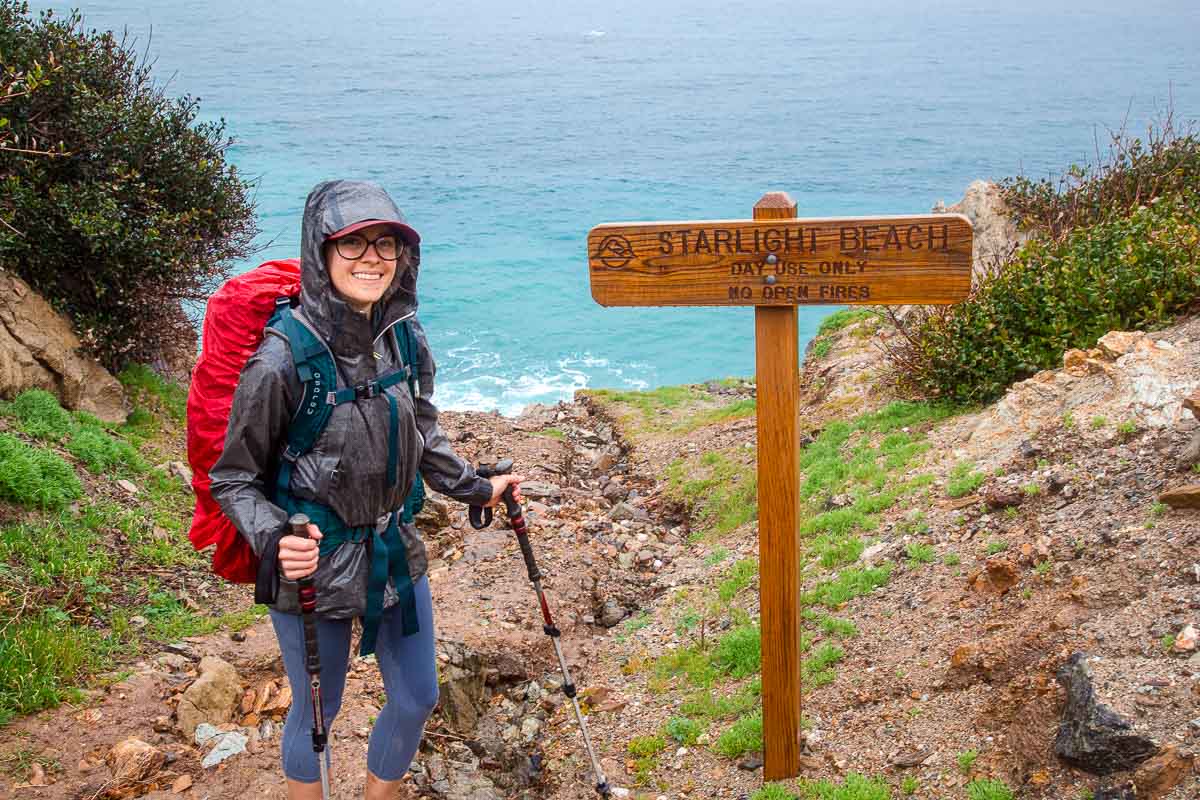
Rain Gear
You should always be prepared for the potential of rain by packing either a lightweight waterproof shell jacket or a waterproof poncho. Ideally, you want something that can be packed down, so it doesn’t take up too much space in your pack.
Insulating Layer
If the temperature unexpectedly drops or you find yourself having to stay out longer than you expected, you want to have an extra layer to keep you warm. For many hikers, this comes in the form of a puffy jacket. Made out of either down or synthetic insulation, a puffy jacket can be packed down into a small size.
Pro Tip: To ensure your insulative layer doesn’t get wet, we suggest storing it in a ziplock bag or in a waterproof dry-sack.
Hat + Gloves
Packing along a beanie and a pair of gloves is always a good idea. They don’t take up much space, and if you do find yourself having to stay out longer than expected, they will go a long way in keeping you warm.

4. Water
Of all the potential ways for your hike to go south, not having access to enough water is one of the most common. Dehydration can sneak up on you very quickly and it will continue to worsen until you are able to get more water.
A good rule of thumb to keep in mind: the average hiker will require about ½ liter of water per hour during moderate activity. If it’s hot outside and/or it’s a really strenuous hike, you may require a liter of water per hour (or more!).
For most day hikers, planning ahead means bringing all the water you will need in reusable water bottles or a refillable reservoir. But it can also mean bringing a water filter with you if you know natural water sources can be found along your route. This expands your potential water intake from whatever you can carry to near infinite.
What’s in our pack: We use a Katadyn BeFree water filter bottle on many of our day hikes to pull water from rivers, streams, and lakes.
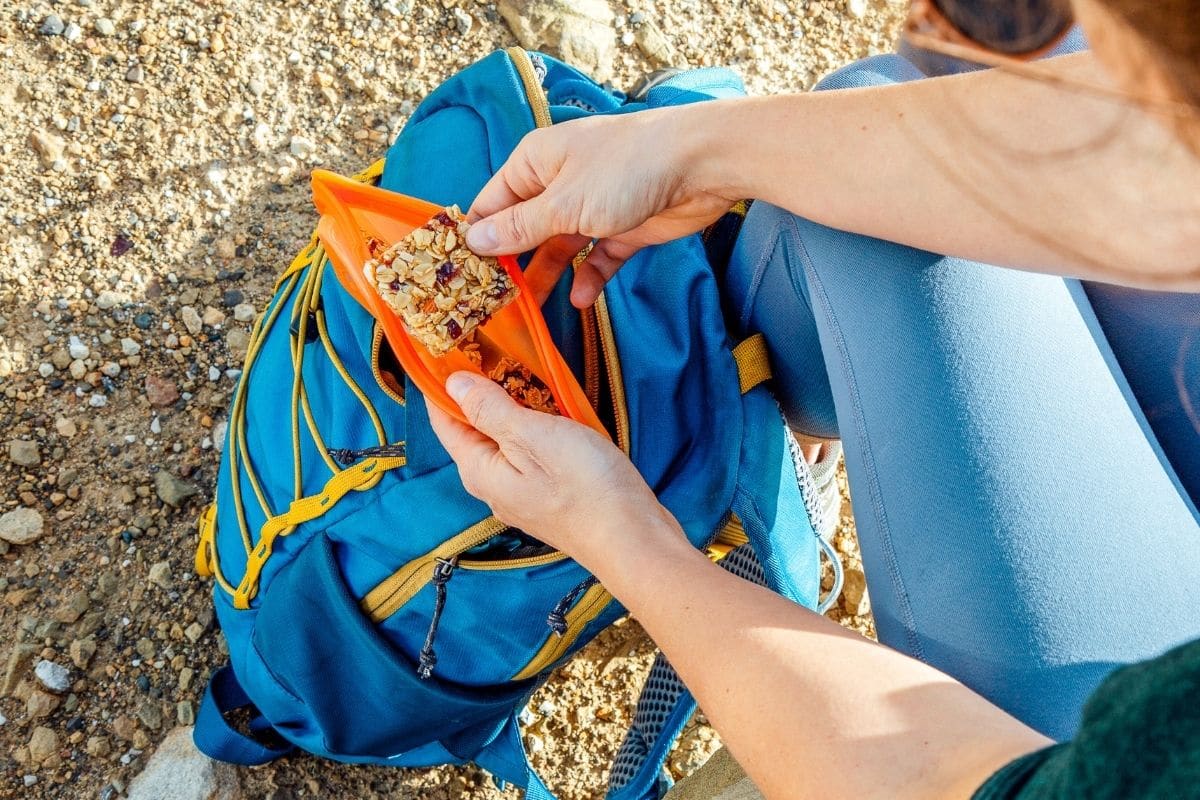
5. Extra Food
It is always a good idea to bring more food than you think you will need. For a day hike, this might mean stashing a few extra energy bars at the bottom of the pack. Perhaps a flavor you don’t particularly care for, so you’re not tempted to eat them unless you really have to!
Here are a few ways in which we carry “extra food” when hiking:
Honey Stinger Chews, Clif Shot Bloks, or even just gummy bears are a great quick-hit of glucose that your body can quickly use as energy. If you ever feel like you’re “hitting a wall” or “bonking out” energy-wise, these chews can really pick back up.
GreenBelly’s Meal2Go bars are a complete 600 calorie meal in no-cook bar form. These are great to have in your daypack even in “non-emergency” situations. Like, perhaps your hike takes longer than expected and dinner time is fast approaching.
For more ideas, check out these posts highlighting our favorite hiking snacks and the best backpacking food.
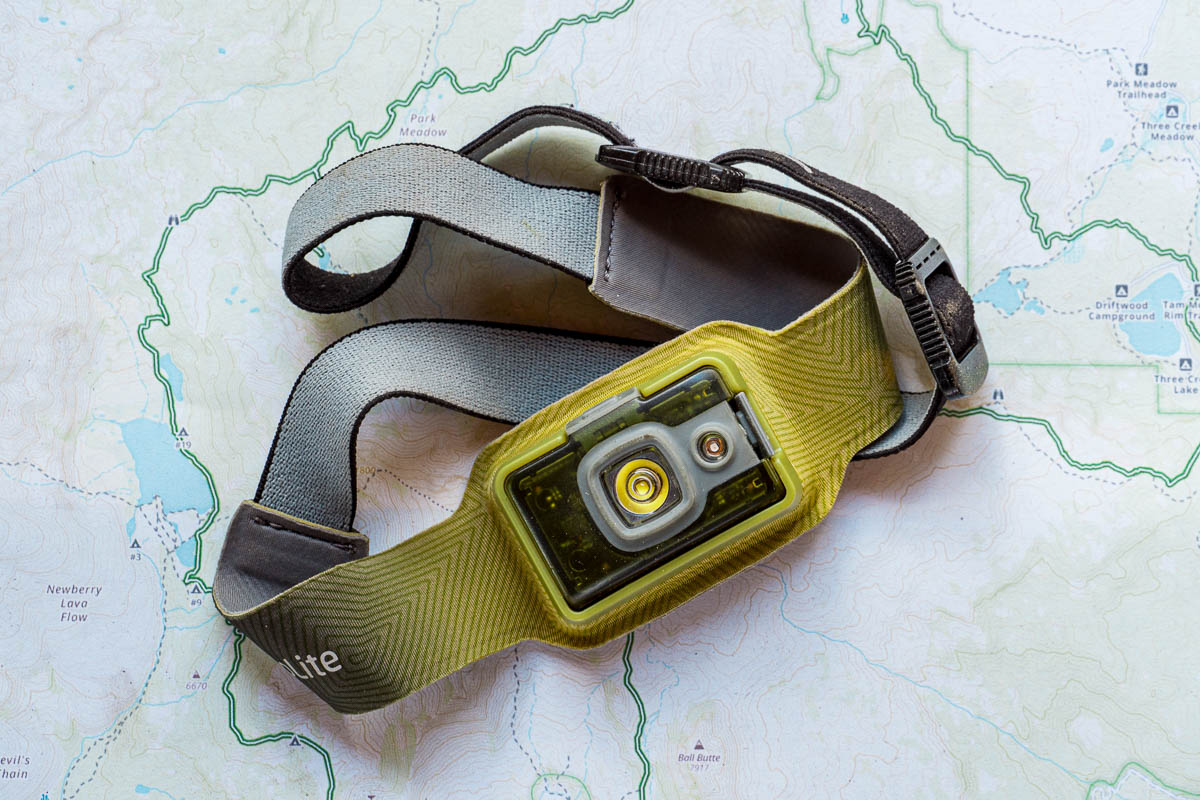
6. Headlamp
Even if you have zero intentions of being out past dark, always carry a headlamp. If you get delayed, injured, or lost, not being able to navigate in the dark can make an already bad situation worse. Additionally, having a headlamp will greatly improve your chances of being found in the dark.
Before you leave, make sure your headlamp’s batteries are fully charged. If it has a lock-out function, enable it or remove/reverse the batteries so you don’t accidentally turn your headlamp inside your pack. If it’s a rechargeable headlamp, be sure to bring your battery bank and compatible charge cable.
What’s in our pack: We use BioLite Headlamp 200, which is a rechargeable headlamp that can run for 40 hours on low or 3 hours on high.
In an absolute pinch, you can use your phone’s flashlight as a backup. But this should be done only as a last resort if your headlamp fails because your phone is likely your primary navigation device.
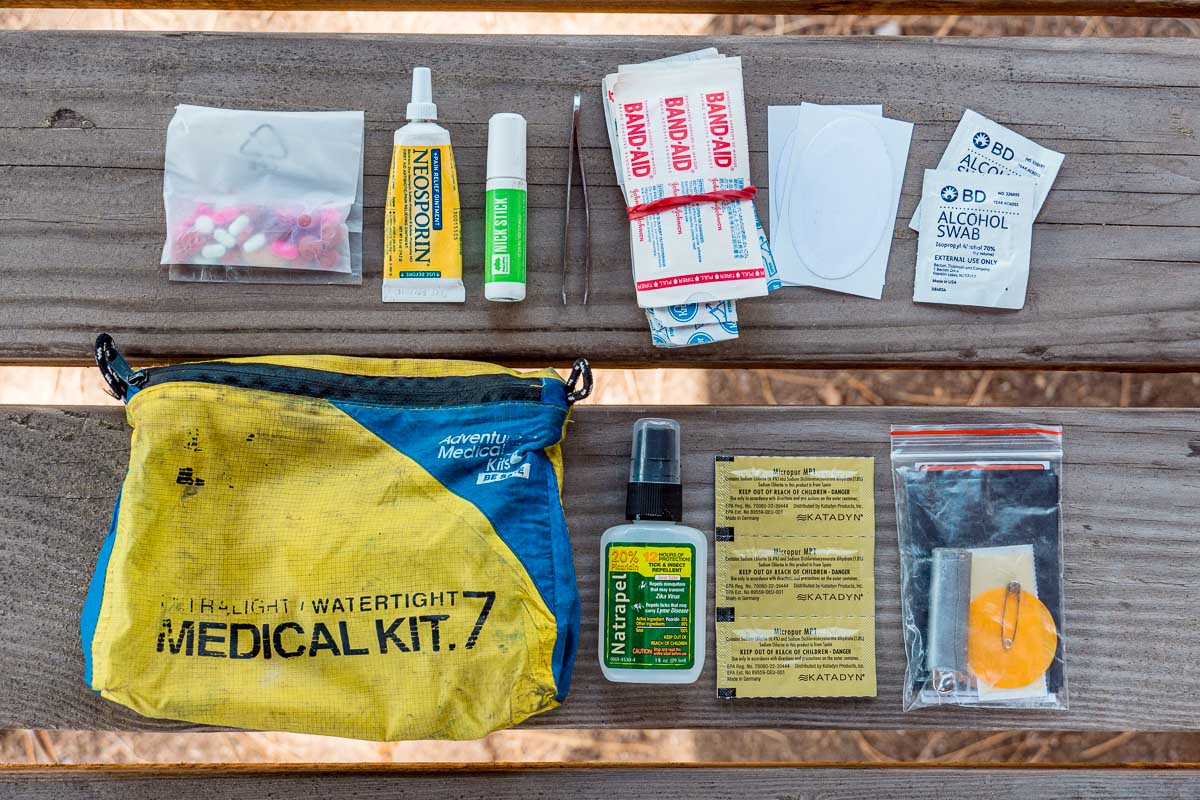
7. First Aid + Repair Kit
No matter where you go, you should always have a first aid kit. But when hiking, we like to supplement our first aid kit with a few additional gear repair items.
There are a lot of brands that sell great, compact First Aid Kits for hiking and backpacking. They usually come in waterproof pouches and contain a lot of what you need.
We recommend buying one of these all-in-one kits and using it as a starting point. Dump everything out, review each item, determine what you might need, and then add to it as necessary.
A First Aid Kit and Gear Repair Kit are only as good if you know how to use them. So it’s absolutely worth taking the time to anticipate potential problems, familiarize yourself with the contents, and learn a little about backcountry first-aid.
A few highlights from our First Aid Kit include:
- Various sized Band-Aids
- Blister band-aids
- Medical Tape / Leukotape
- Antibiotic ointment
- Ibuprofen (headache, swelling, fever, etc)
- Imodium (anti-diarrhea)
- Hydrocortisone (topical steroid)
- Benadryl (antihistamine)
- Tweezers
- Wilderness Whistle
A few highlights from our Gear Repair kit include:
- Zip ties
- Crazy glue
- Tiny roll of duct tape
- Needle & thread
- Patch kits
- Extra O-ring for our canister stove
- Mini Bic emergency lighter
Here are some great resources to get you started with backcountry first aid:
- Wilderness First Aid Basics
- How to Prevent & Treat Blisters
- How to Treat Cuts & Scrapes in the Backcountry
- How to Treat a Sprained Ankle
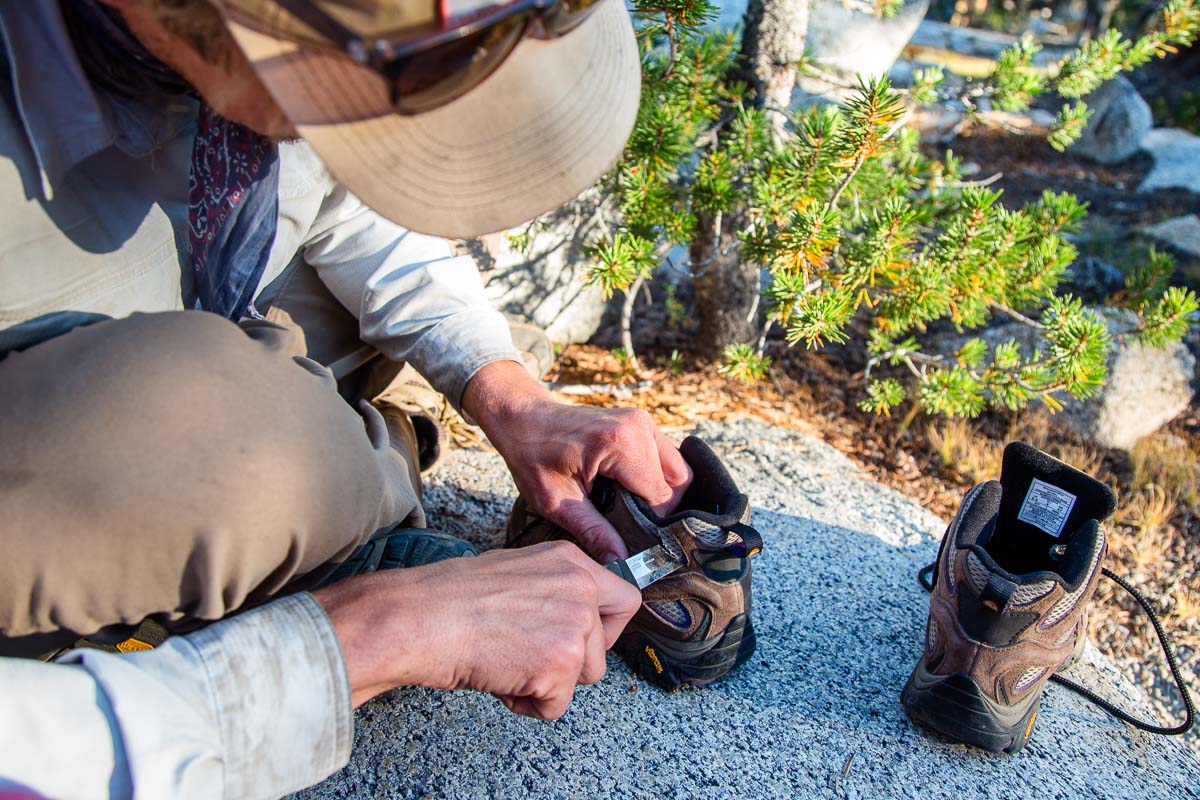
8. Knife / Multi-tool
There is no knowing when having a good knife or multi-tool will come in handy.
We carry an Opinel Knife with us for most day hikes. And if we’re going out for a multi-day hike, we may consider bringing a multi-tool to assist with any gear repair.
Our Take: Midway through the JMT, a pressure point on Megan’s boots started to inflame her Achilles tendon. This worsened day by day, ultimately making it impossible for her to walk without pain. Using our knife, I performed an emergency “shoe alteration” that transformed her high-tops into low-tops. This relieved the pressure and allowed her to continue.

9. Fire
In an emergency situation, the ability to start and maintain a fire is critical. Not only can making a fire provide warmth, but it can also be a signal to help guide search and rescue efforts.
For many people (ourselves included) this often looks like a Bic lighter. These work well in most situations. But in variable weather, waterproof survival matches are a better option. They are easier to light when wet, won’t get blown out by the wind, and are easier to light when your hands are cold.
You will also want to carry some easily combustible tinder. This might be an old Altoid tin with petroleum jelly saturated cotton balls, tea candle, or resin soaked firestarter.
If you are going to be above treeline, where it is unlikely you will be able to find burnable wood, it is recommended that you carry a backpacking stove for emergency heat.
What’s in our pack: We keep a UCO Stormproof Match kit in our bags, and will refill them with matches as needed (haven’t had to, yet!).
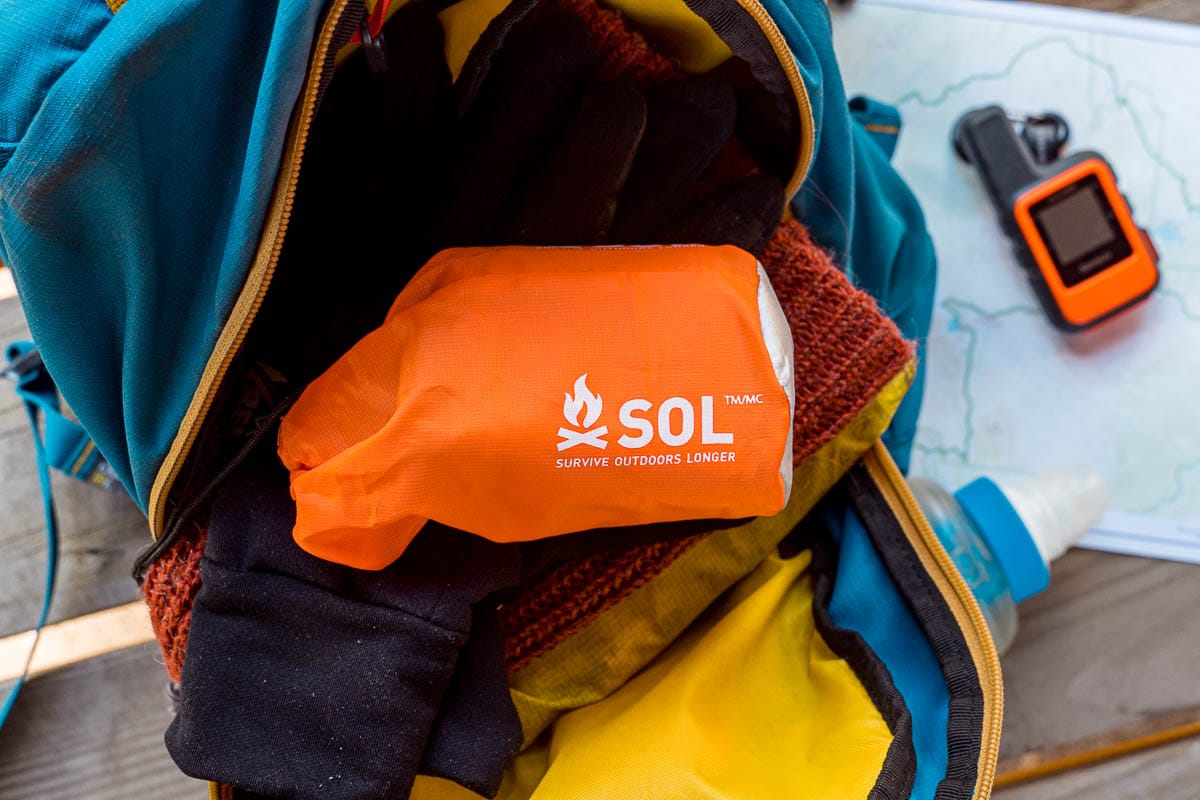
10. Emergency Shelter
On a multi-day backpacking trip, you will likely be carrying a tent already, thus checking the box of shelter. But what about day hikes? Do you really need to bring a tent?
Thankfully, no. There’s a difference between shelter and emergency shelter. For a day hike, a space blanket or a foil emergency bivvy would absolutely count as emergency shelters. They are both incredibly lightweight, compact, and relatively inexpensive. If you found yourself in a situation in which you had to spend the night outside, these would allow you to survive.
What’s in our pack: We each carry a SOL Emergency Bivvy when day hiking. While we haven’t had to use them yet, they are light enough that we don’t mind carrying them, especially on longer hikes where we wouldn’t be able to reach a trailhead quickly if something were to go wrong, or on winter hikes.
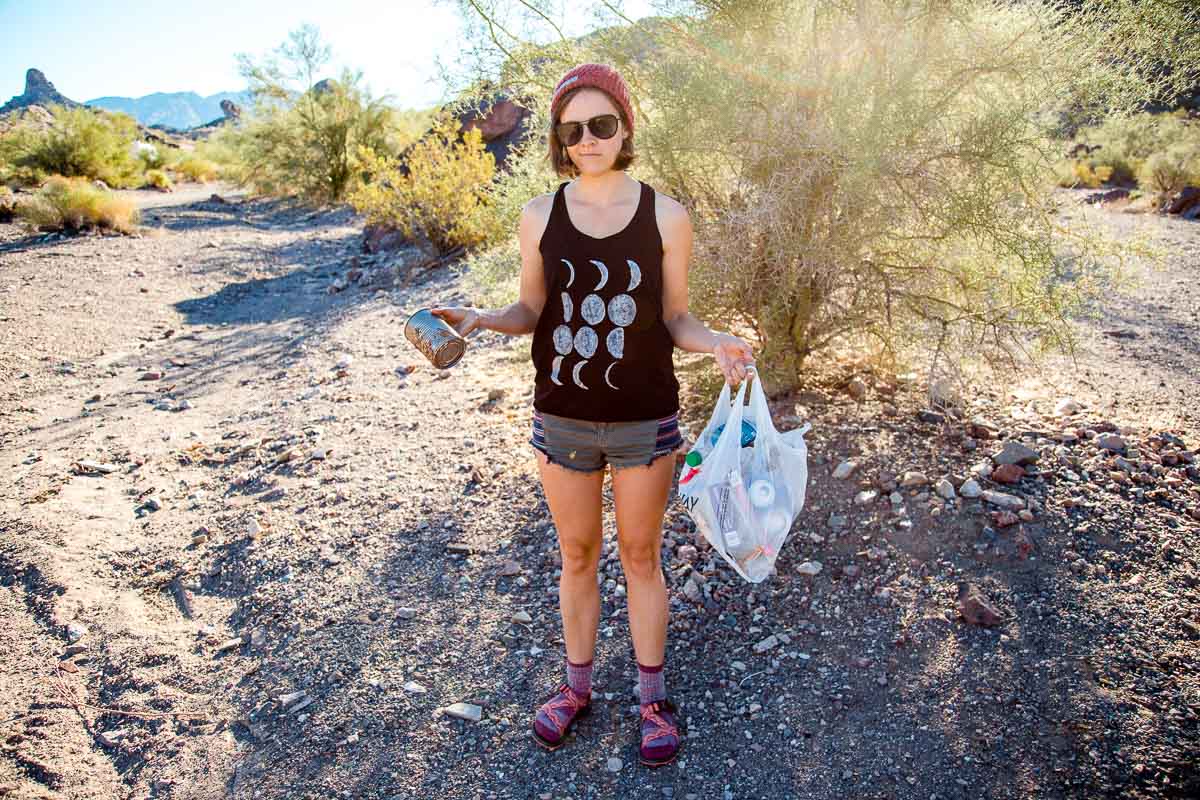
11. Trash Bag
The Leave No Trace principles of “pack it in, pack it out” should be followed by anybody stepping foot on a trail. That goes for backcountry wilderness as well as your neighborhood park. However, a disturbing number of individuals decide to discard their trash along the side of the trail.
A mix of frustration and sadness washes over us every time we see a food wrapper or plastic water bottle on the trail. One way we’ve found to channel this depressing reality into something proactive is to pick it up. While we shouldn’t have to be responsible for other people’s poor behavior, at least we can try to make things better.
A ziplock baggie is lightweight, compact (if not needed), and sealable. So if you do need to pick up anything, at least it’s sealed off from the rest of your pack.
Most trail trash is relatively benign, like food wrappers. But if you are suspicious of anything from a sanitation standpoint, consider using a pair of chopsticks or plastic tweezers to pick it up. They’re lightweight and compact and can be used to safely pick up most anything.
Additional Nice-to-Have Hiking Items
None of these are part of the 10 hiking essentials, but over our years of hiking, there a few items that are really nice to have during or after your hike:
- A fresh pair of socks and comfy shoes, or a pair of sandals, left in the car to change into for the drive home. If our shoes get wet or muddy, or if our feet are a little swollen after a hike, being able to change out of our hiking shoes when we get off the trail can be a real treat.
- An insulated bottle of ice water left in the car to enjoy at the end of the hike.
- Extra snacks left in the car in case we’re super hungry at the end of our hike.
- A lightweight pack towel or a full-sized quick-dry towel, for sweaty hikes or drying off if we find an irresistible lake to jump into.
Sun protective clothing, extra snacks and water waiting back in the car, and printed maps — more important than some realize! This is a great list for hikers of all abilities striving to be prepared for everything. We also always carry a headlamp (or two! in case one doesn’t work — with extra batteries) just in case we are stuck on the trail after dark.
Trekking poles!
Thanks for this helpful article! We recently got caught out in a morning lightning storm while hiking, and realised we need an emergency shelter in our pack. Its an item easily overlooked.