Homemade Apple Cider
This post may contain affiliate links.

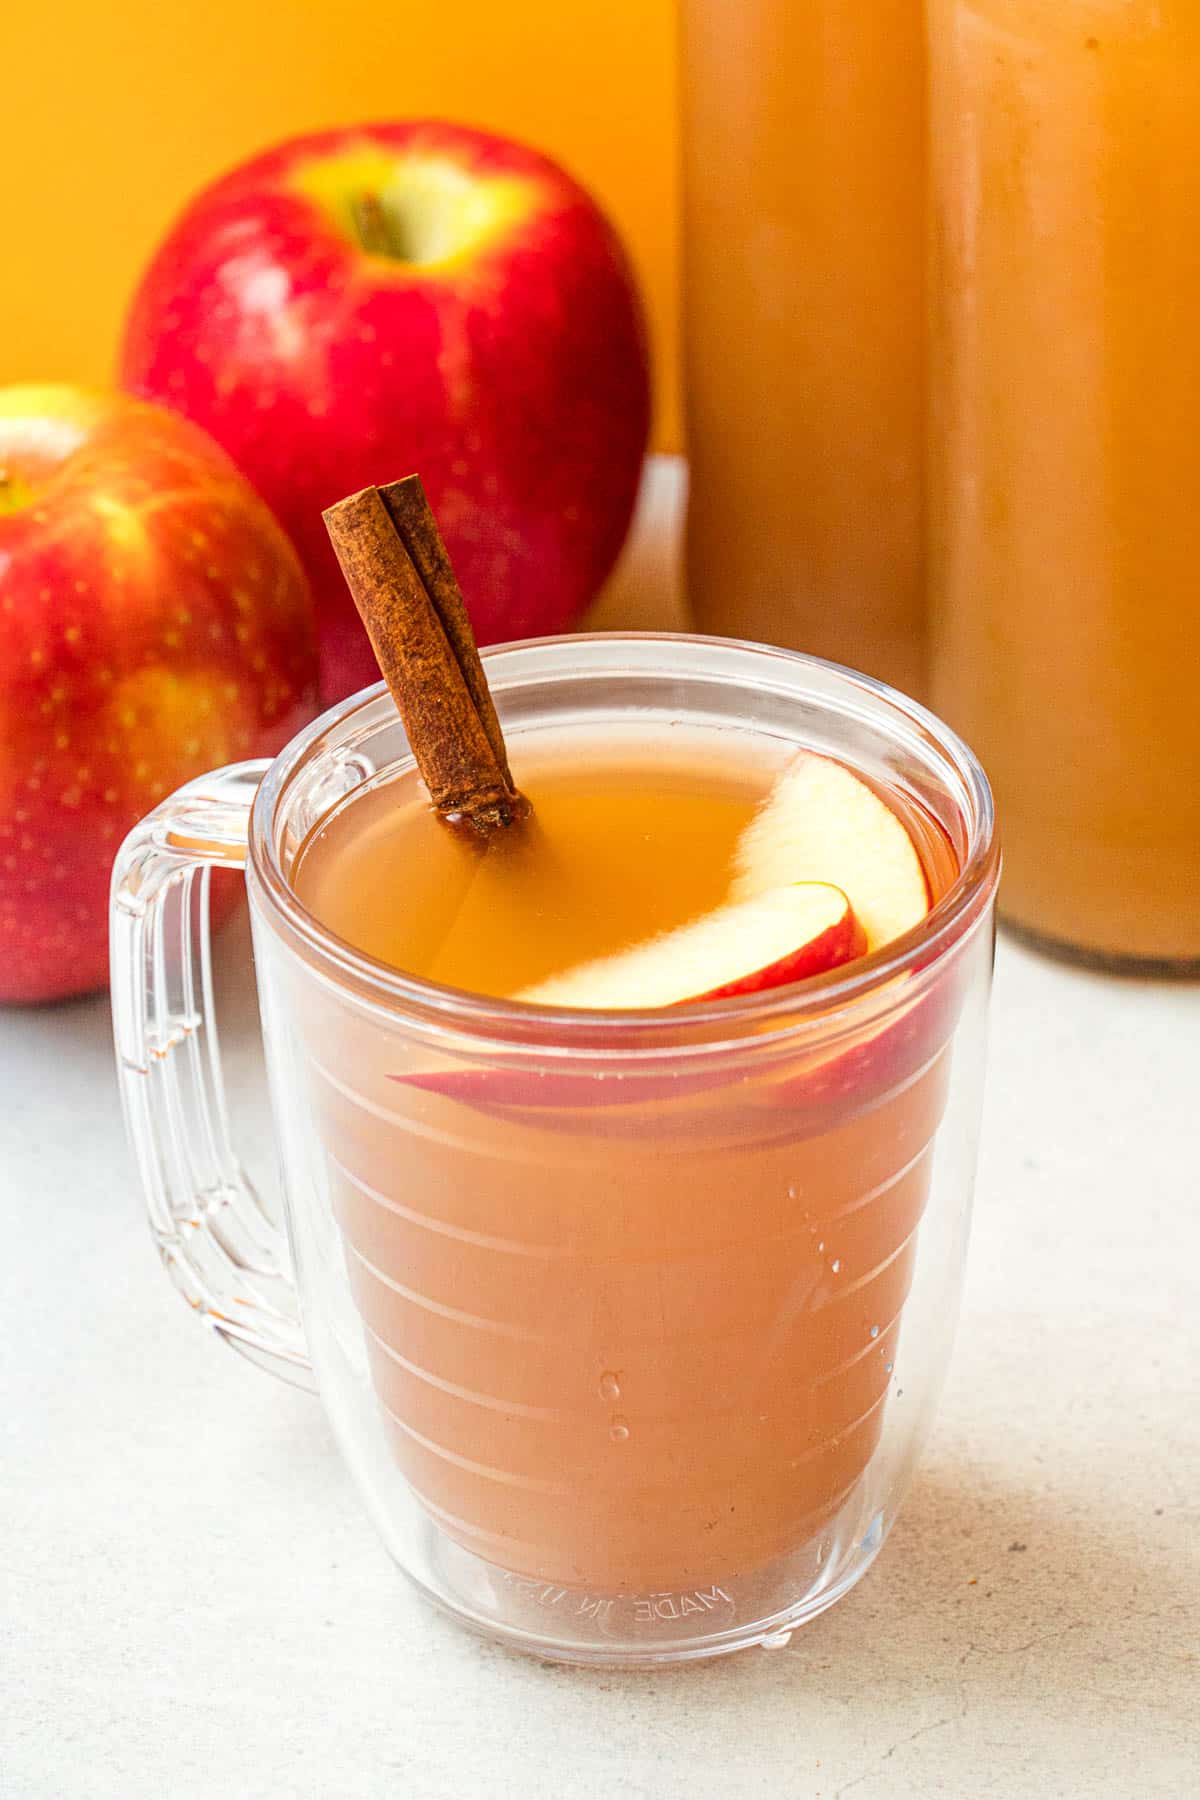
Making your own Homemade Apple Cider is a great way to celebrate the arrival of fall and take advantage of the abundance of in-season apples! Enjoy warm or cold, on its own, or enhanced with a few splashes of bourbon!
Fall is in the air, which means apple season is here! And one of the best ways to embrace the season is to make your own apple cider. Seriously, making homemade apple cider is the easiest way to take the fall cozy vibes up to eleven! Slowly simmering a big stock pot of sliced apples, ginger, cinnamon, and cloves will fill your home with an amazing aroma of autumn. There isn’t a scented candle that can compare!
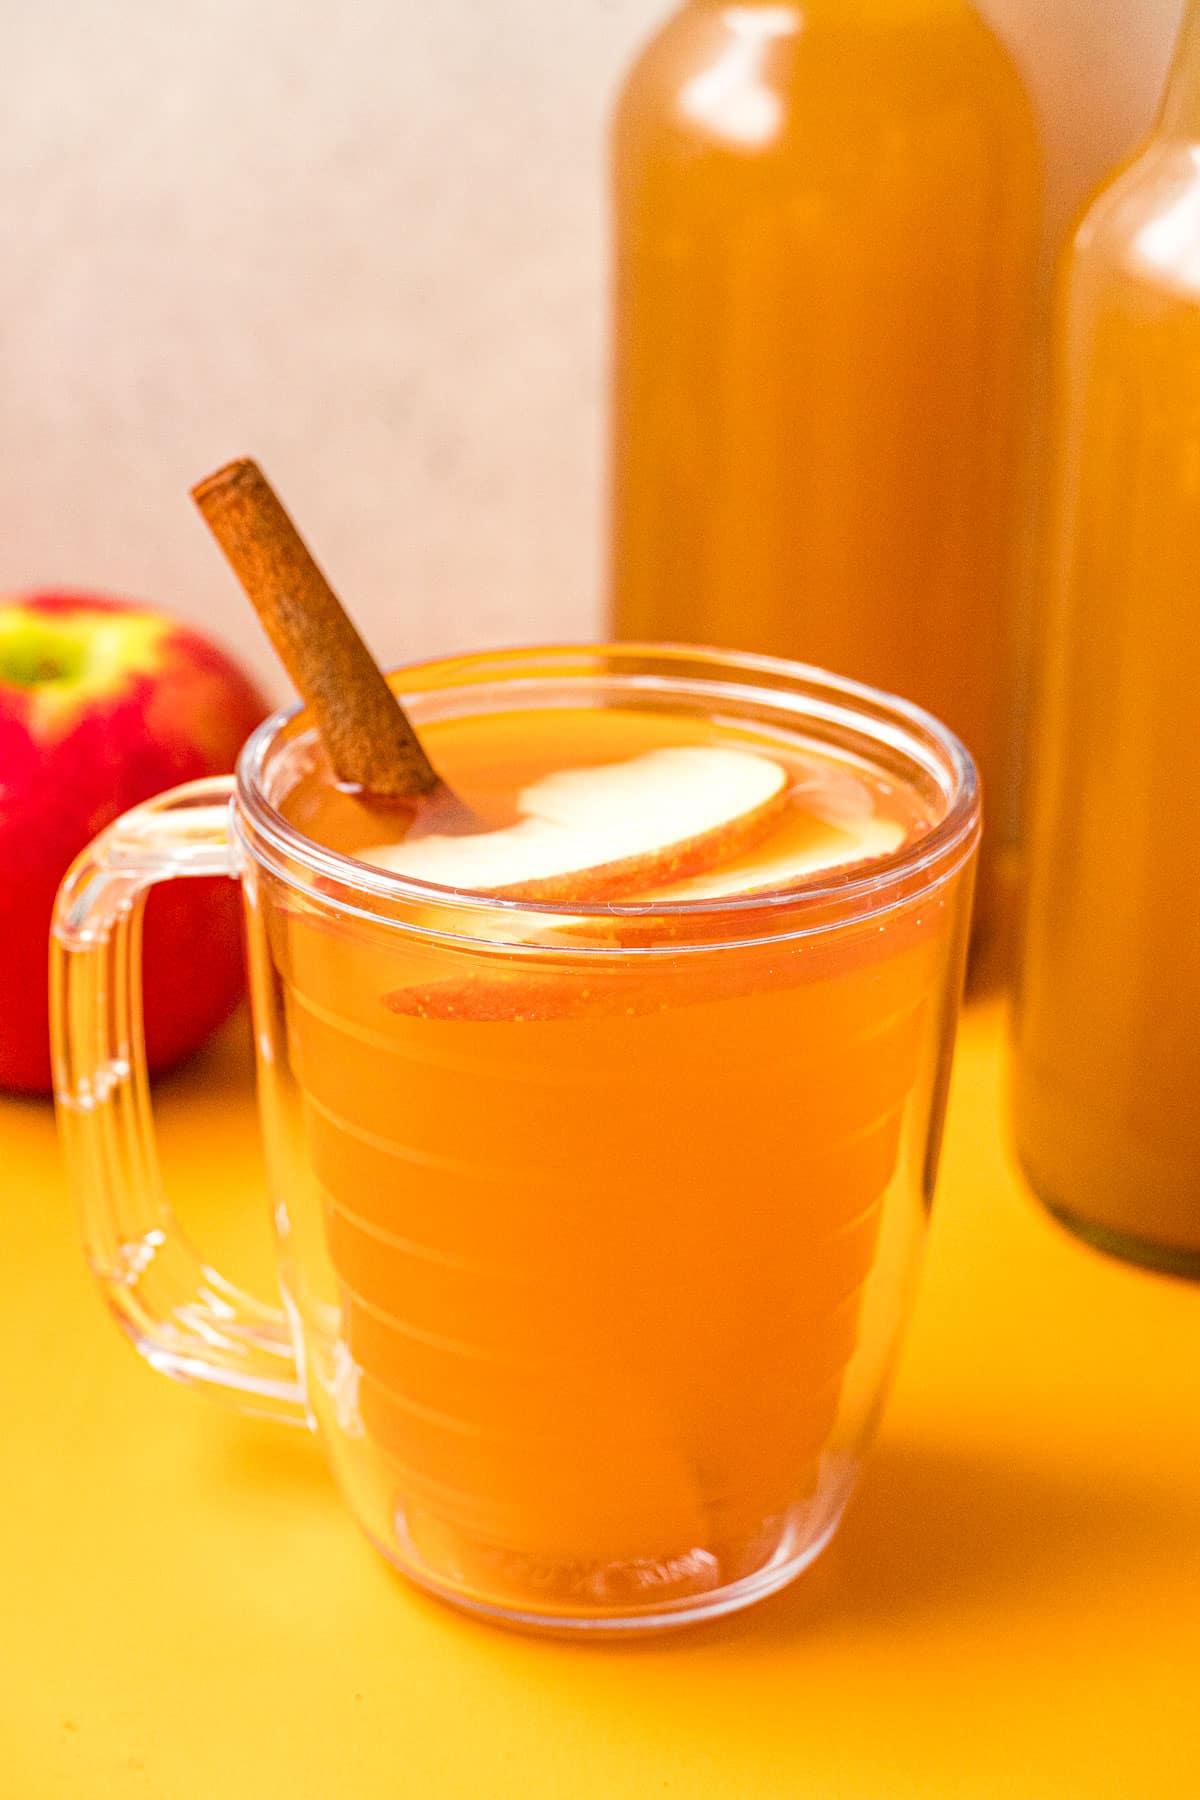
Homemade apple cider can be enjoyed cold or warm; served on its own or mixed into a cocktail. It can also be used to add some special fall flavor to things like apple pancakes and pumpkin butter.
Additionally, if you go apple picking and find yourself with an abundance of apples, making apple cider can be a great way to use up some of the more “visually distressed” apples. Core, chop, and toss them into the pot!
So let’s make some apple cider!
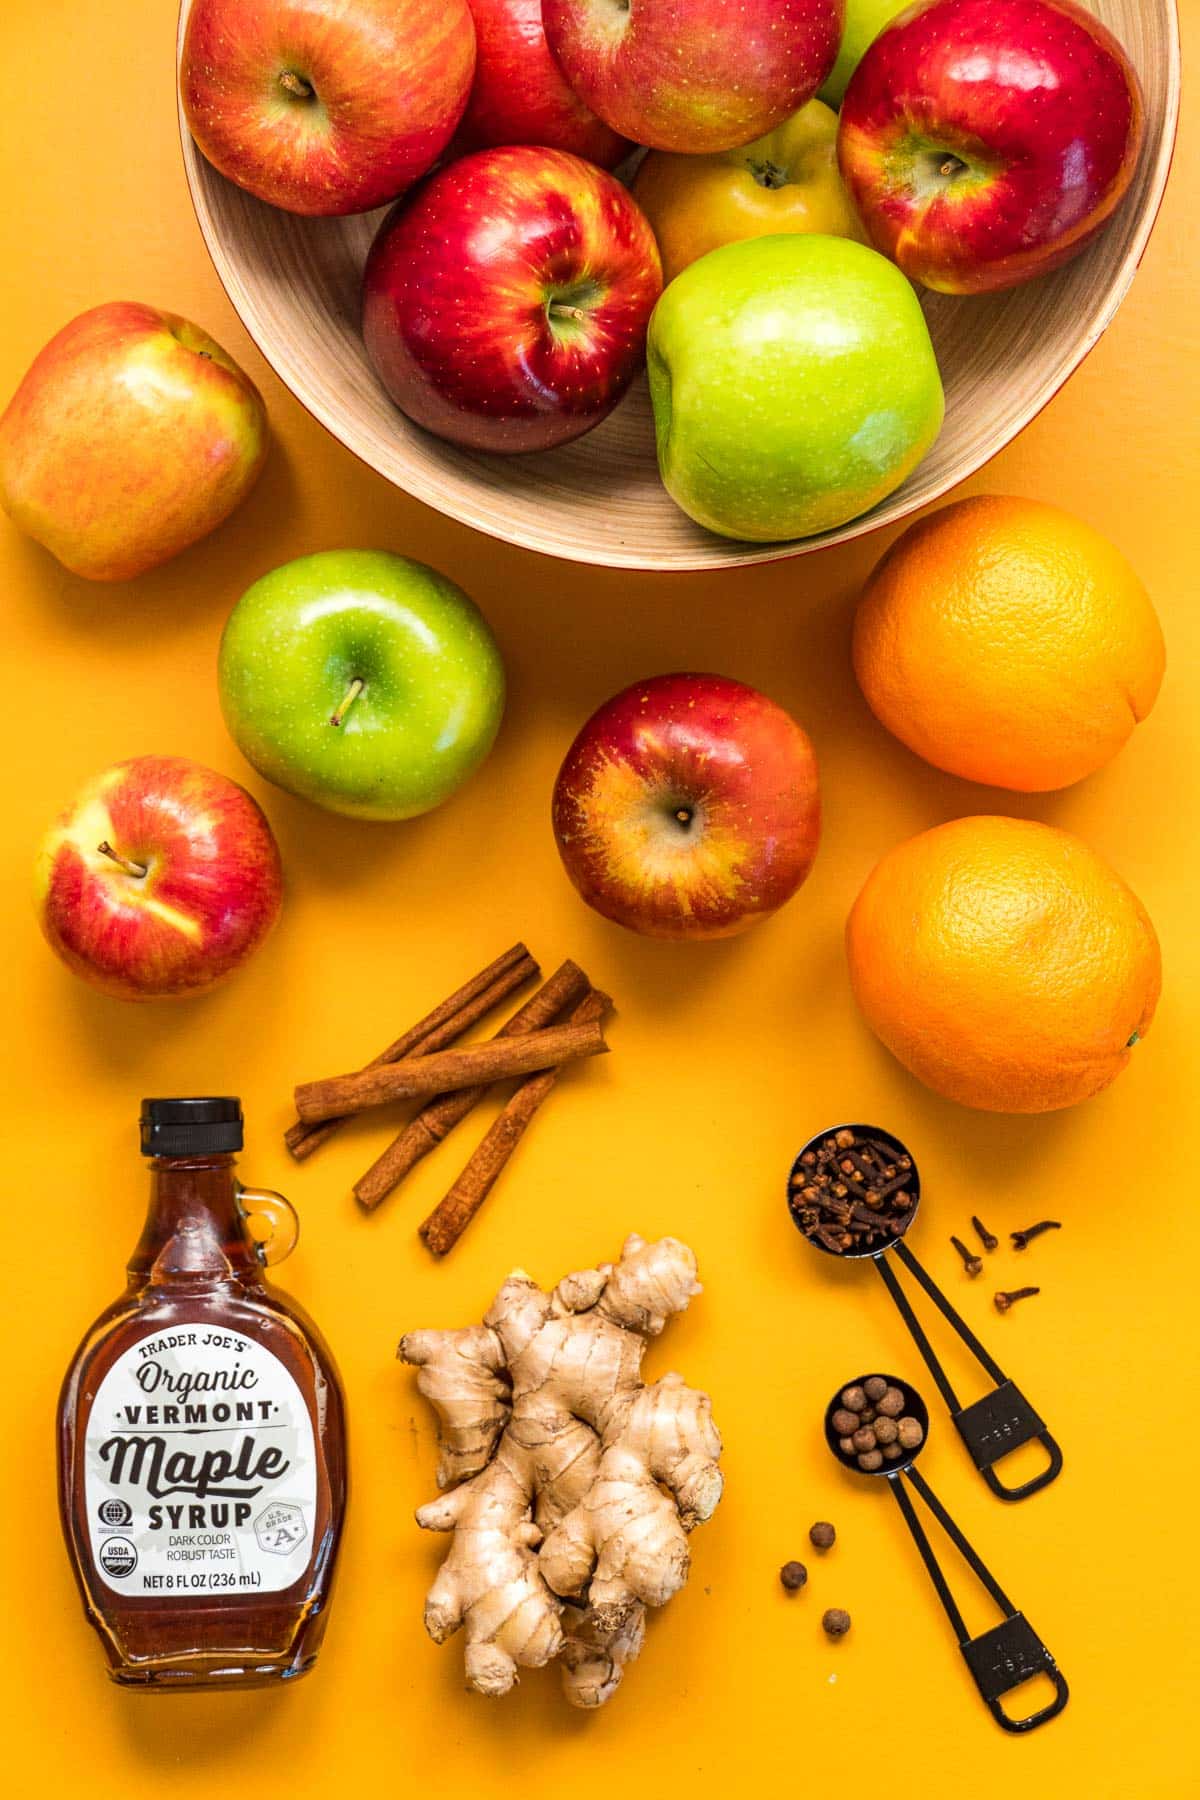
Ingredients
Apples: Any apples you have available will work, although if possible, we suggest using a few different varietals to mix things up. For this recipe, we blend the tartness of Granny Smiths and Pink Ladies with the sweetness of Honeycrisps and Fujis.
Oranges: Citrus acidity is an essential element in cider that brightens it up and really makes all the other flavors “pop.” If you prefer your cider to be a little less tart, you can scale back the oranges.
Maple Syrup: While lots of ciders are sweetened with sugar, we like using maple syrup instead because it adds a unique flavor in addition to sweetness.
Cinnamon Sticks: Whole cinnamon sticks offer a slower and more controlled cinnamon flavor to infuse into the cider, versus ground cinnamon, which can quickly overpower.
Ginger: That slight warming sensation you get when drinking good apple cider comes from the “spice” of ginger. Depending on your personal preference, you can either scale this ingredient up or scale it back.
Whole cloves & allspice: These can be somewhat divisive flavors, so feel free to scale up or scale back based on your personal preference.
Equipment
Large Stock Pot: Making apple cider is very similar to making stock, just with different ingredients. So you will want to use a tall stock pot, something large enough to hold all the ingredients plus enough water to cover—ours was 12 quarts and we had more than enough room.
Fine Mesh Strainer: You will need to strain all the solids out at the end, so using a fine mesh wire strainer can be very helpful.
Funnel: If you are planning on bottling your cider afterwards, it’s a good idea to pick up a small funnel. You don’t want to loose any of that long-simmer cider due to spillage.
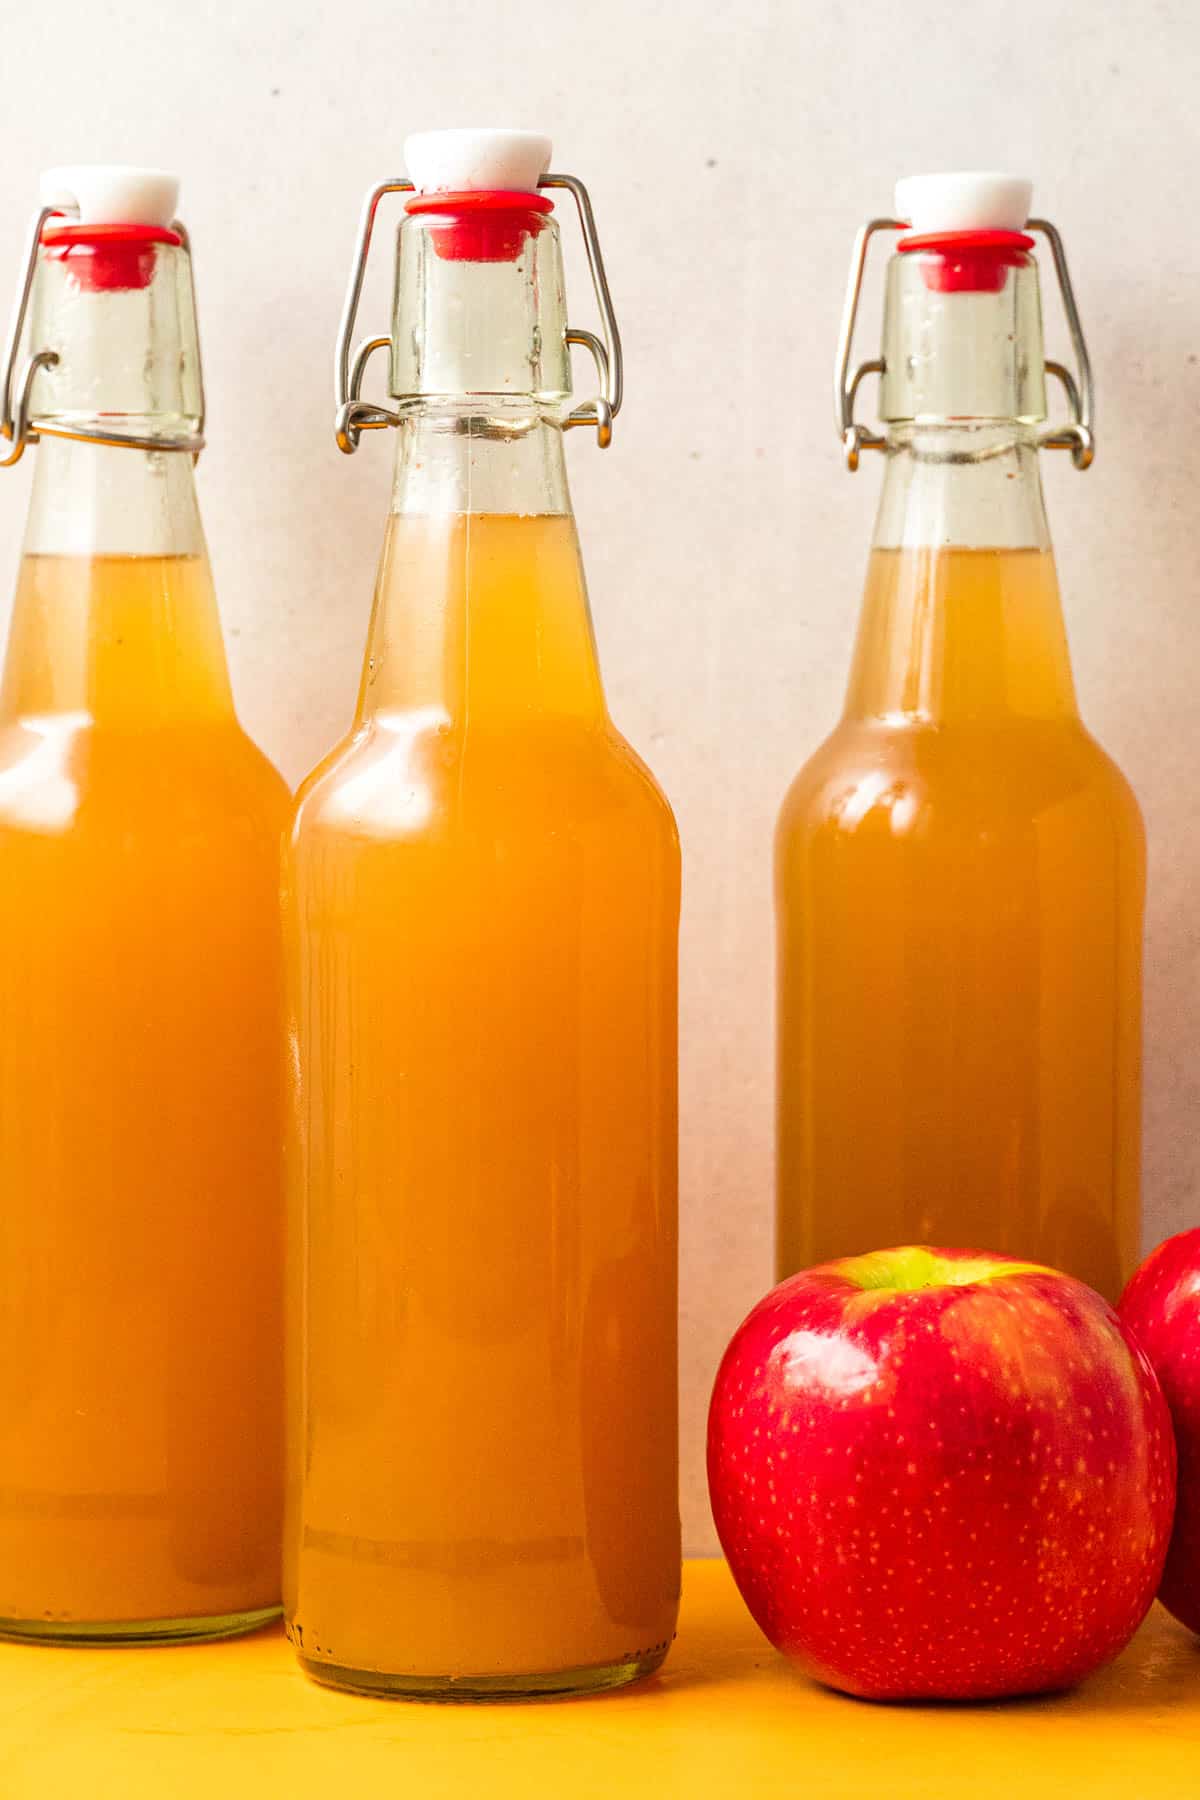
Sealable Glass Jars or Bottles: Either large sealable Mason Jars or sealable swing-top bottles (pictured) will work great for storing the cider.
How to Make Apple Cider
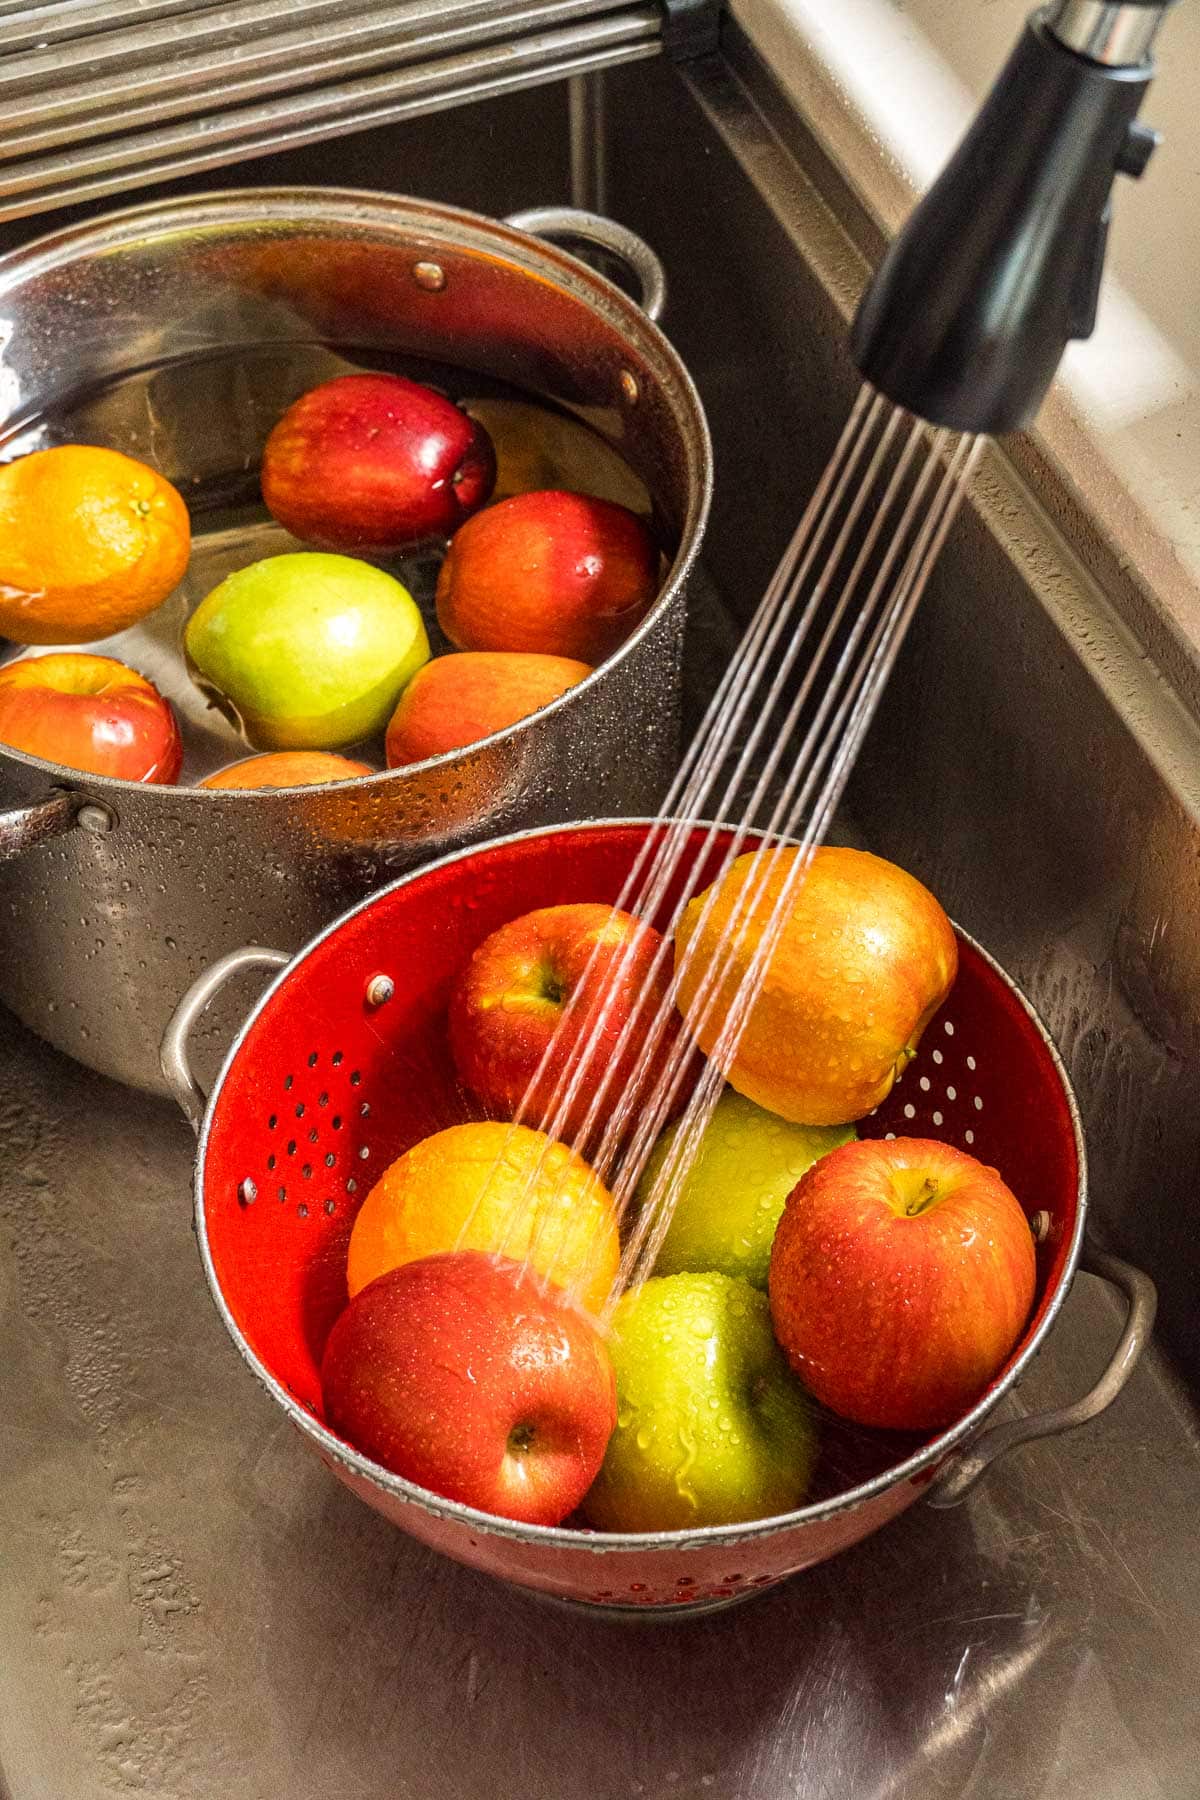
Wash Your Apples & Oranges
Since we are going to be simmering and reducing the apples and oranges with their skins on, it’s a good idea to wash everything. The best way to do this is fill up a large bowl with water, stir in some baking soda, and then submerge the fruit (using a bowl or other weight). Let them soak for 10 minutes, and then thoroughly rinse them with fresh water.
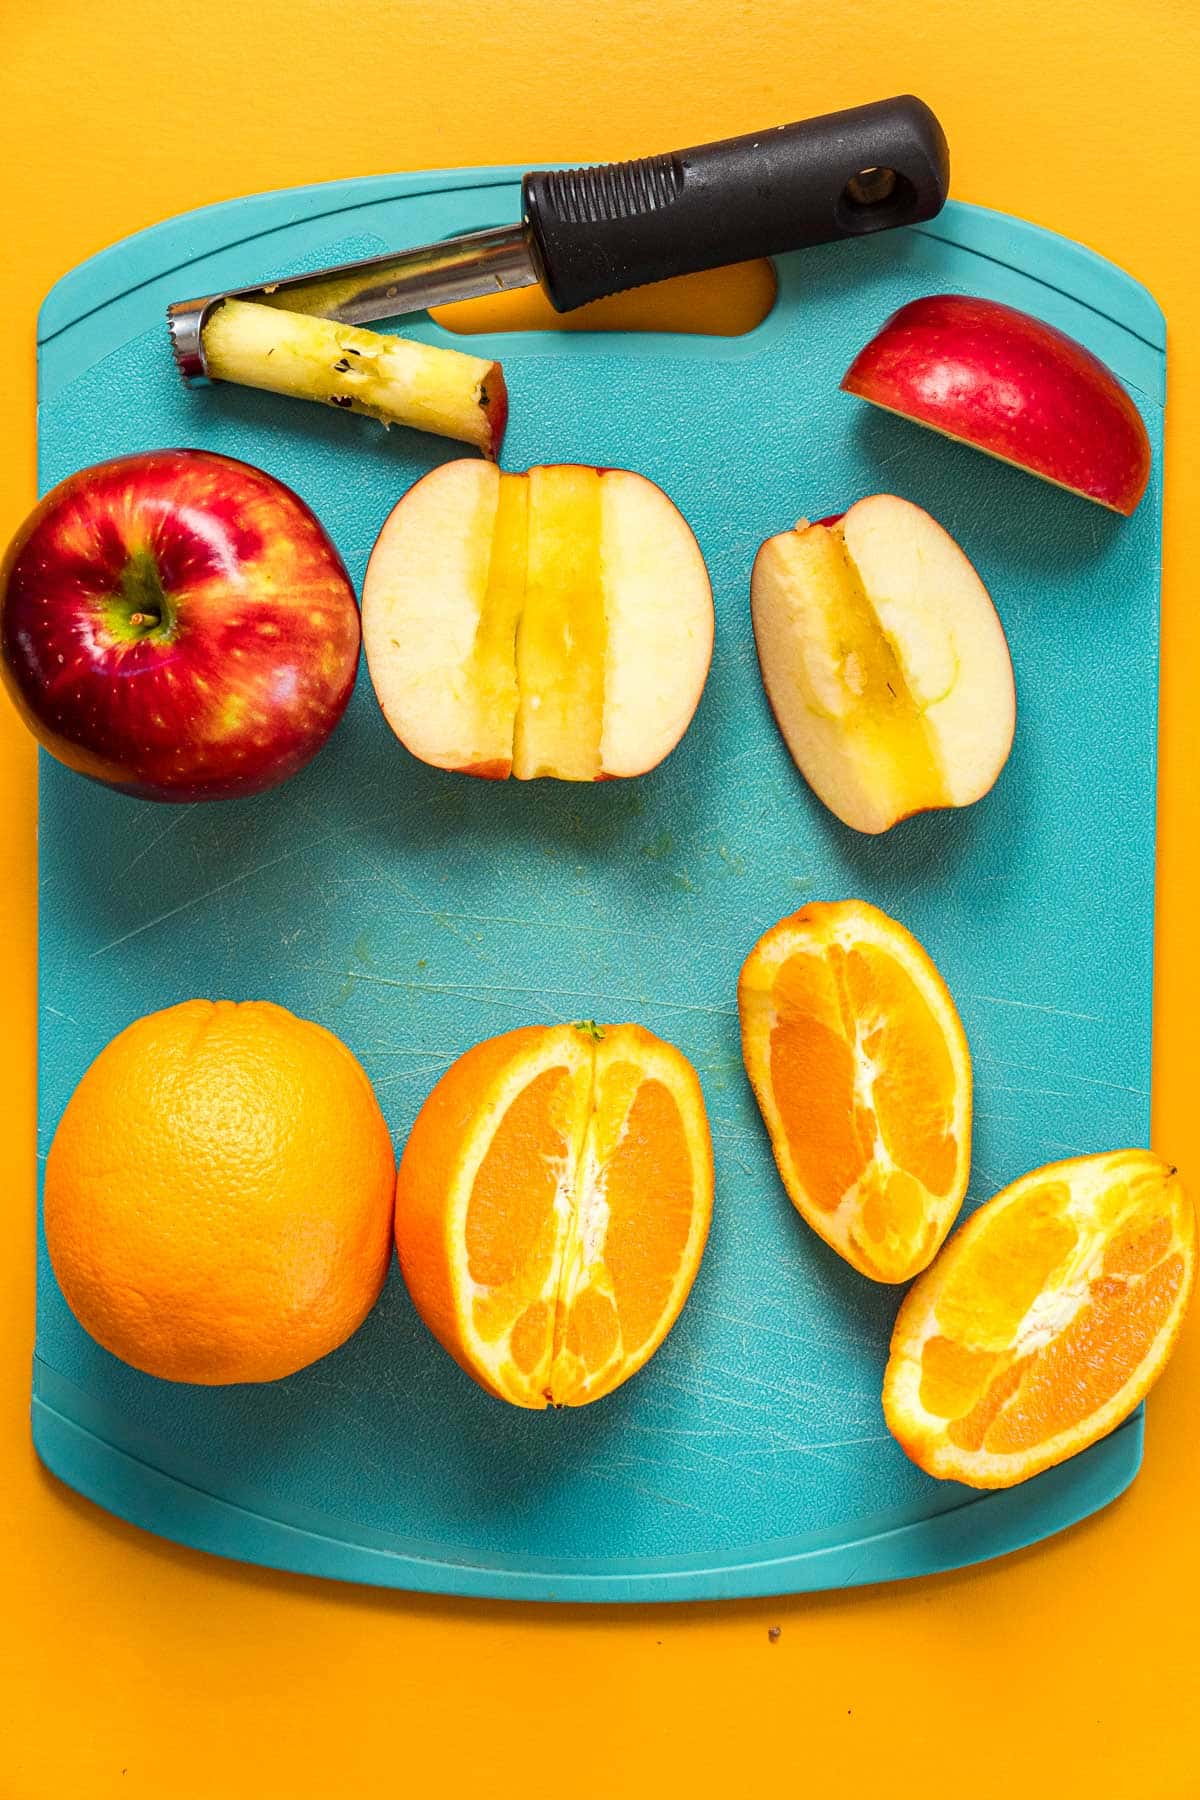
Preparing the Apples & Oranges
After washing the fruit, it’s time to start preparing them for the stock pot. Core the apples and cut into quarters (you don’t need to worry about peeling). Next, slice the oranges into quarters. You don’t need to worry about removing the orange seeds.
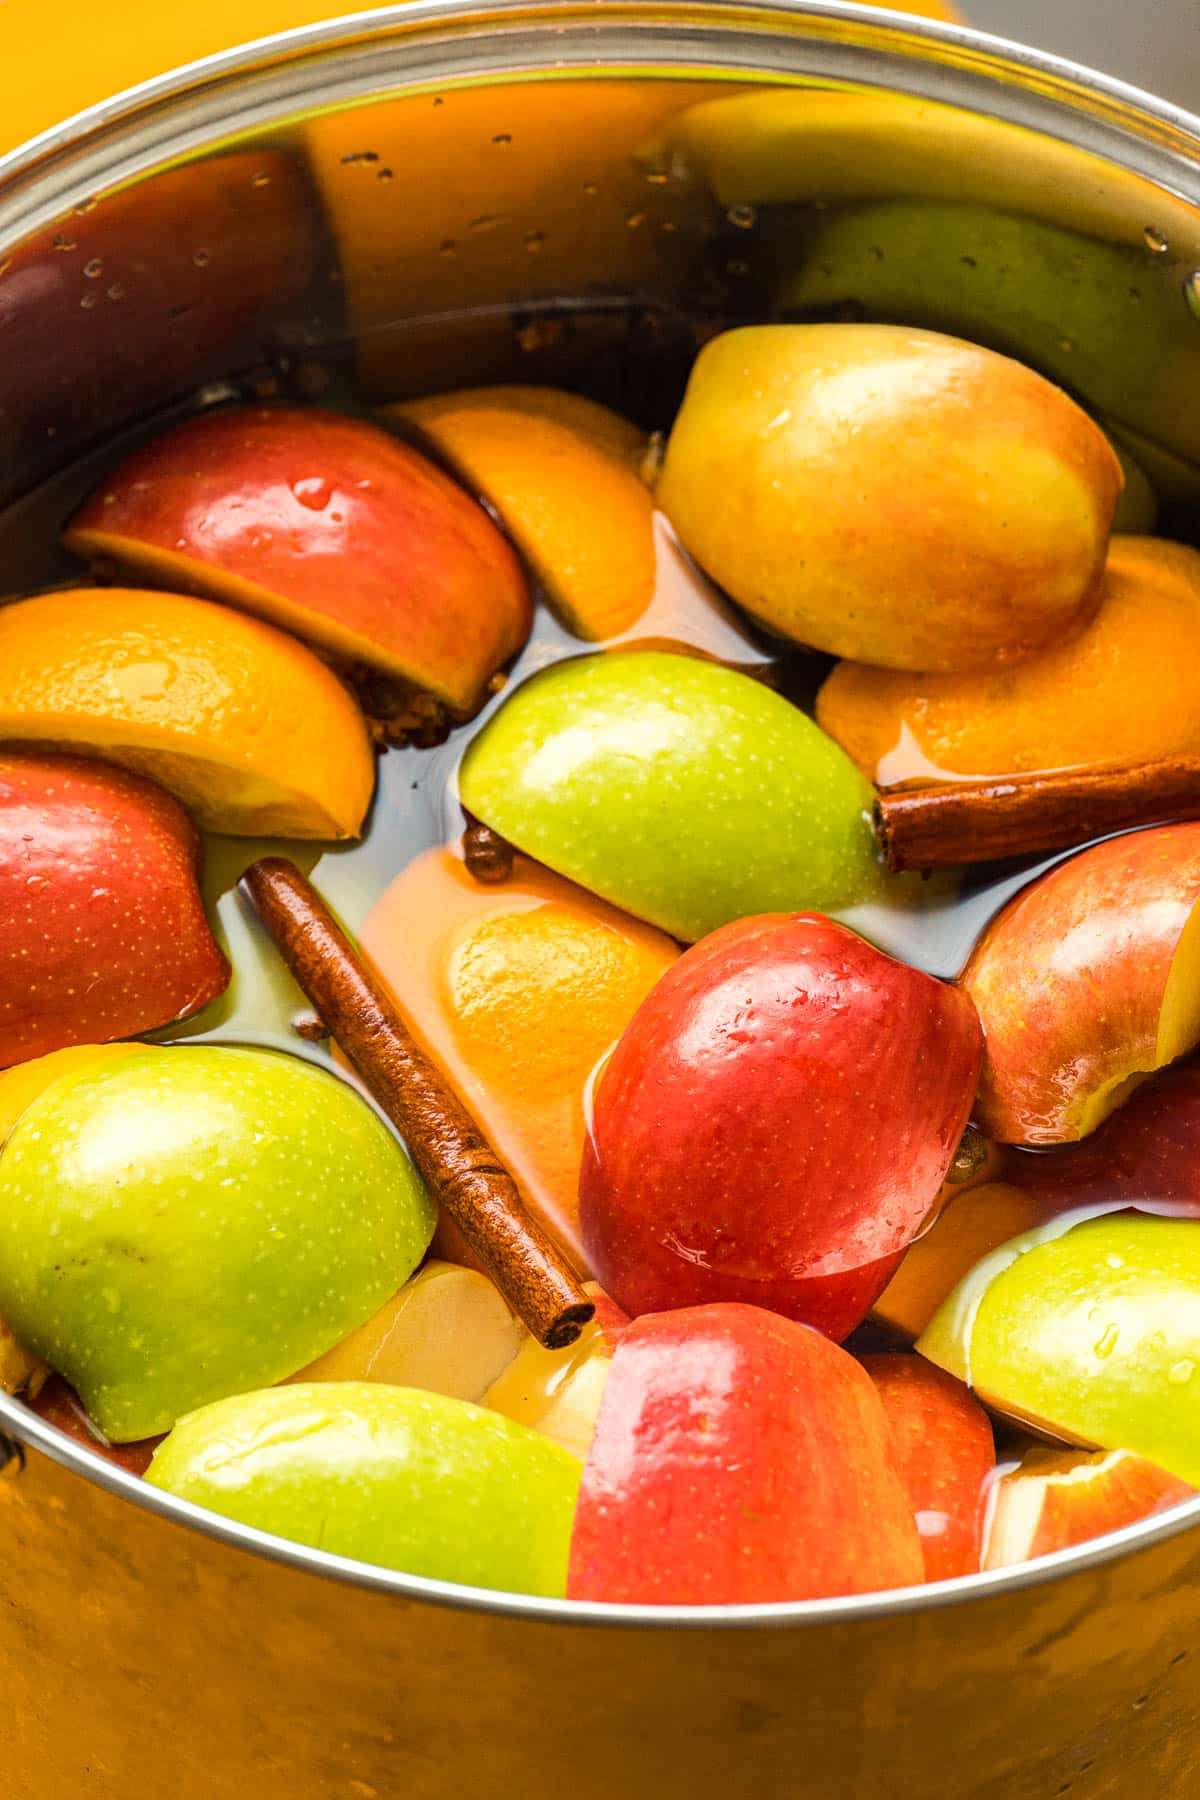
Add Everything to a Stock Pot
In a large stock pot (we used a 12qt), add all your apples, oranges, sliced ginger, cinnamon, and other spices. Start adding water until water starts to reach the top of the ingredients—roughly 20 cups of water. It’s OK if you need to use less water due the the size of your stock pot (you’ll just end up with less cider but it will still taste great!).
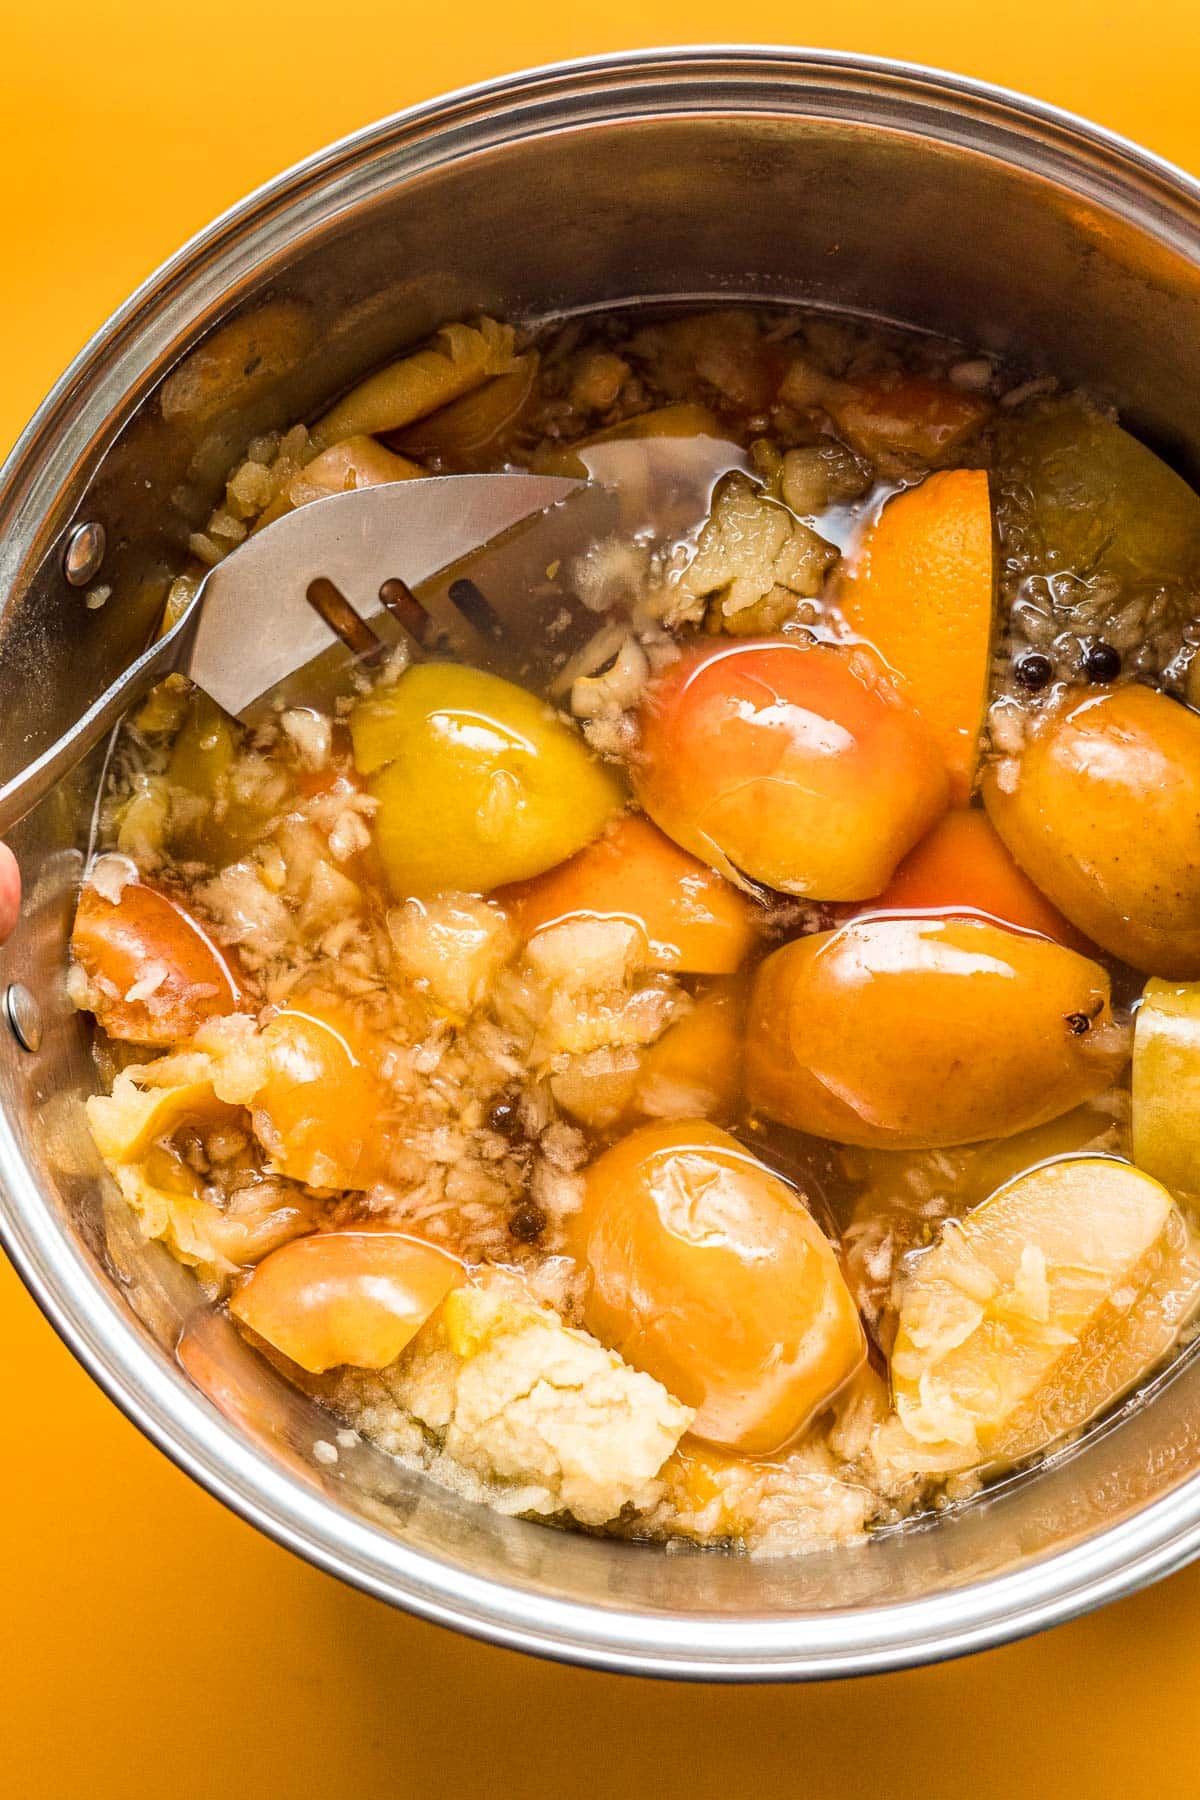
Simmer & Mash
Place the stock pot over the high heat until it begins to boil, and then cover and reduce the heat to a simmer. Allow all the ingredients to slowly simmer for about 2 hours, or until the apples becomes extremely soft and tender.
Using a large wooden spoon, mash the apples against the side of the pot. This will break them down even further, allowing for even more flavor to be extracted. Afterwards, continue simmering for another 30 minutes.
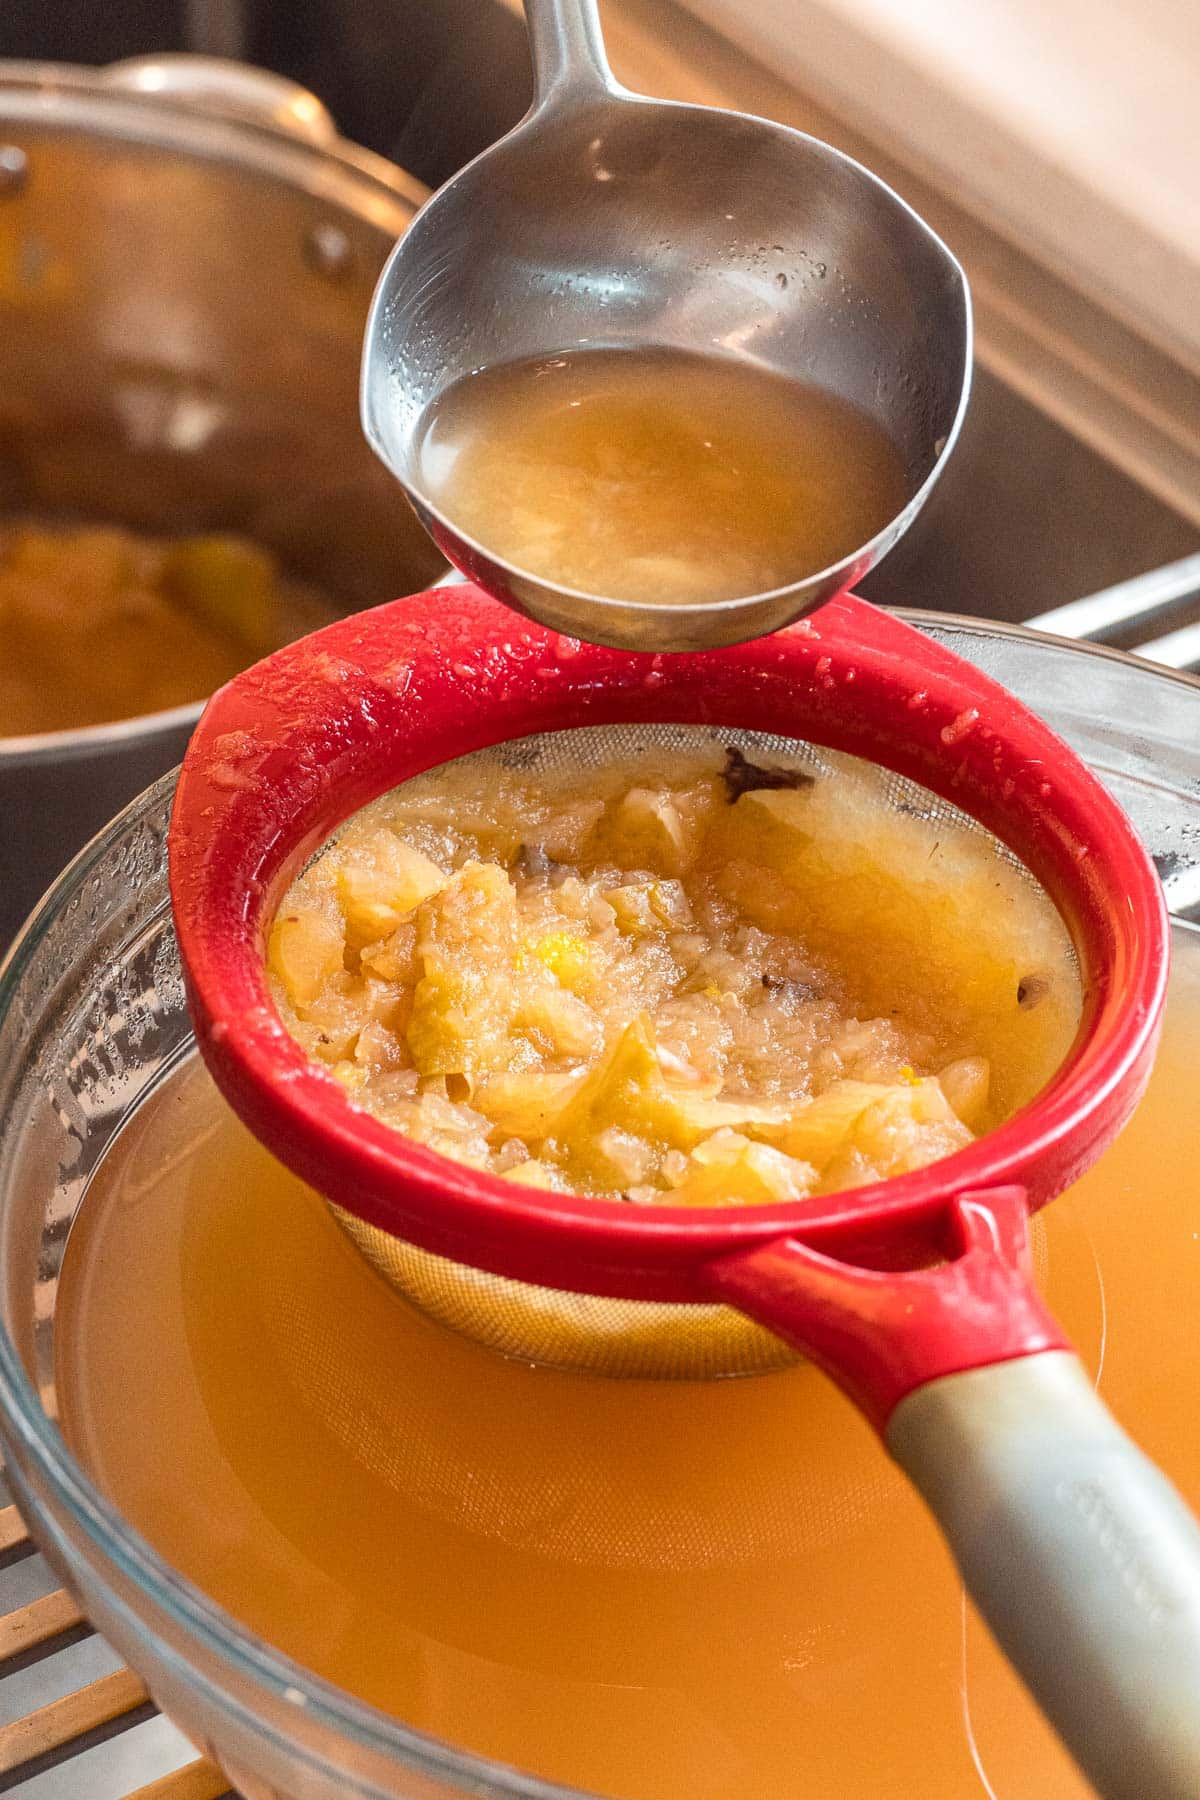
Strain
At this point, the water will have fully saturated the apples. Now it’s time to strain the solids from the liquid. Using a fine mesh strainer or cheesecloth over a large pot or bowl, ladle out the mushy apples, oranges, and spices into the strainer and press to release all their liquid. All of the solids can be discarded (or used for compost).
Add Sweetener
At this point, you should have a large pot unsweetened cider. This is the best time add your sweetener, so you can test as you go. Since we’re using maple syrup (vs sugar), it should mix right into the warm cider. Sweetened to your preferred taste.
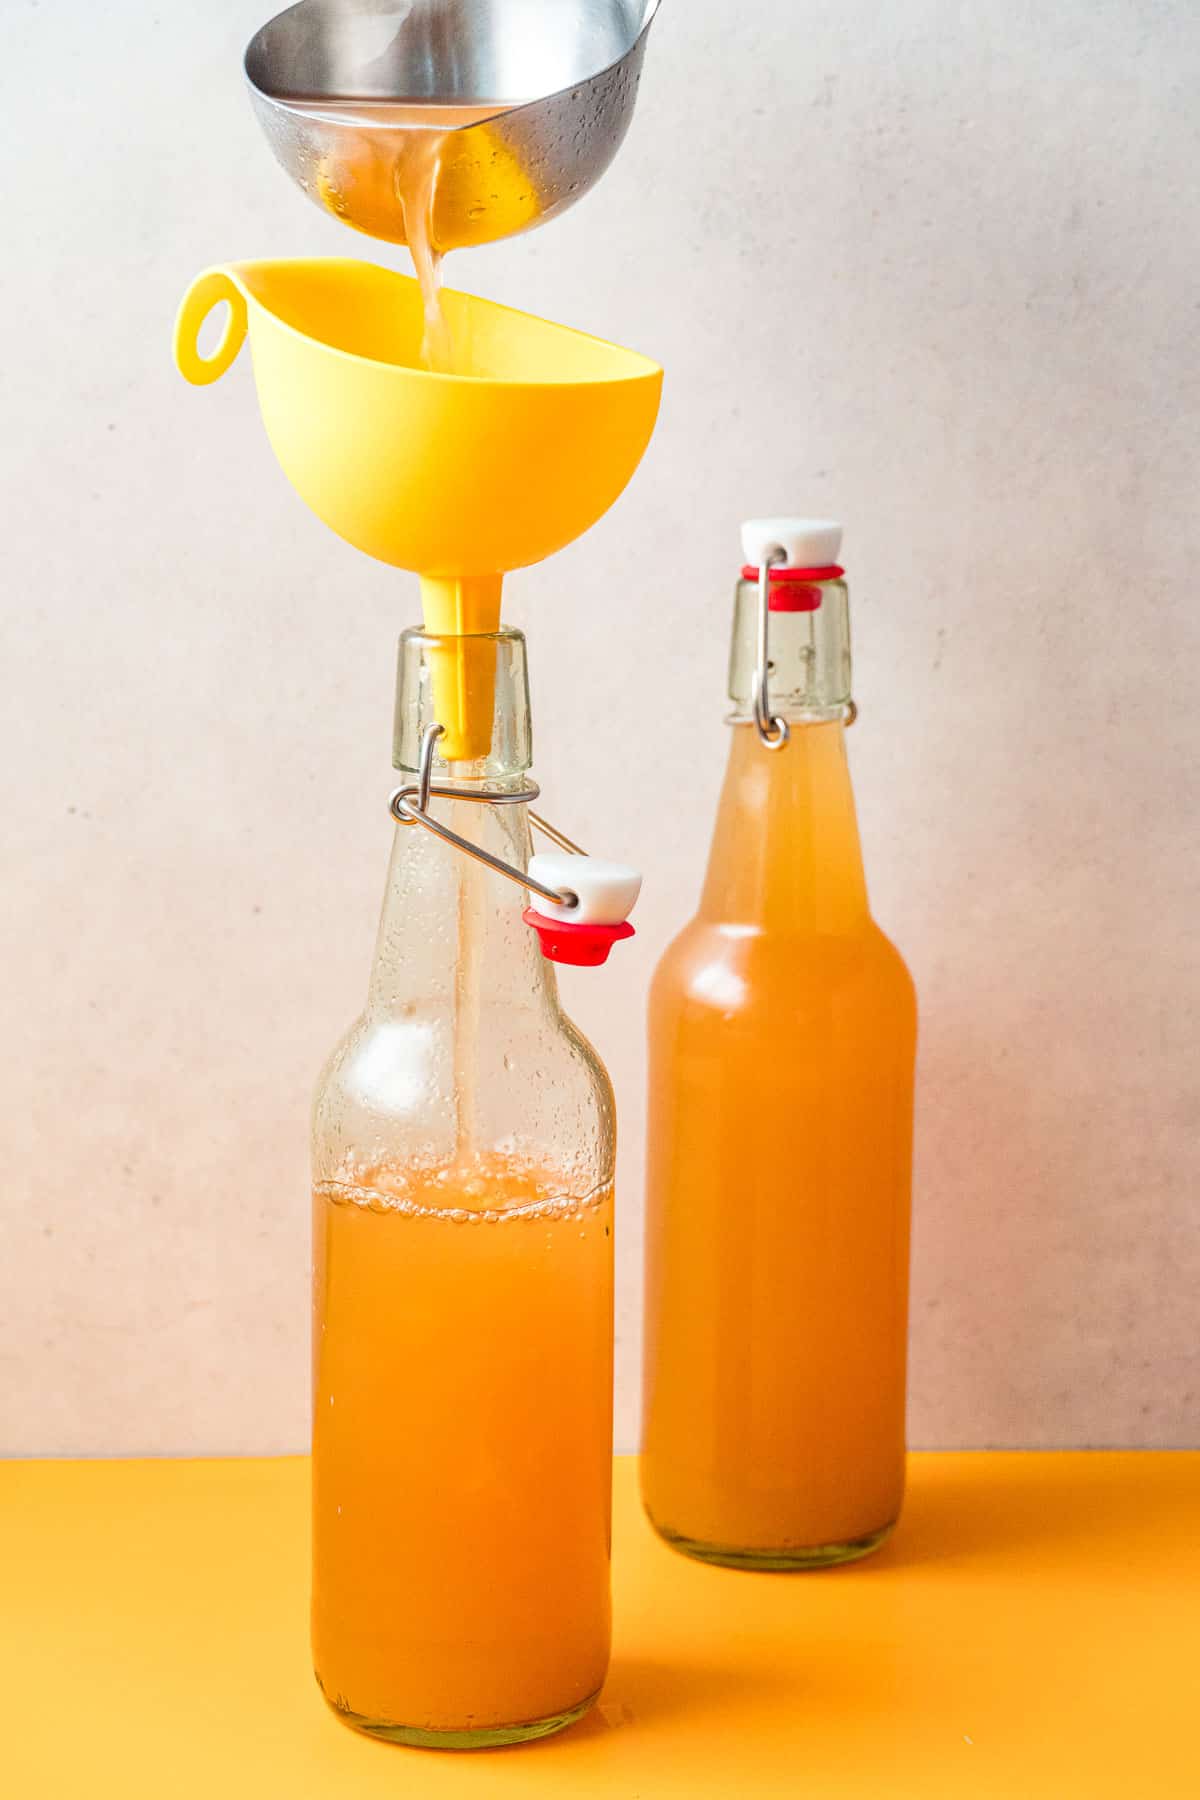
How to Store Apple Cider
The best way to store apples cider is inside a clean, sealable glass jar or bottle. Large mason jars would work well or glass bottles with a sealable swing top—like the ones shown above.
When kept sealed in the refrigerator, the cider should last up to a week. If you want to enjoy it warm, open a bottle and heat it back up in a saucepan over the stovetop. It’s a great base for all kinds of hot drinks!
Homemade Apple Cider
Ingredients
- 12 apples a mix of sweet & tart is ideal, see note*
- 2 oranges
- 1 inch piece fresh ginger sliced into 1/4” rounds
- 4 cinnamon sticks
- 1 tablespoon whole cloves optional
- 1 teaspoon whole allspice optional
- 20 cups water less is OK to accommodate smaller pot size
- ¼-½ cup maple syrup or to taste
Instructions
- Wash produce: Soak the apples and oranges for 10 minutes in water mixed with some baking soda or fruit & vegetable rinse, and then thoroughly rinse them with fresh water.
- Prep the fruit: Core the apples and cut into quarters (leaving the skin on is OK). Slice the oranges into quarters.
- Add everything to stock pot: In a large stock pot, add all the apples, oranges, sliced ginger, cinnamon sticks, and other spices. Start adding water until water starts to reach the top of the ingredients—roughly 20 cups of water. It’s OK if you need to use less water due the the size of your stock pot.
- Simmer: Place the stock pot over the high heat until it begins to boil, then cover and reduce the heat to a simmer for about 2 hours, or until the apples becomes extremely soft and tender.Using a large wooden spoon, mash the apples against the side of the pot, then continue simmering for another 30 minutes.
- Strain: Working in batches and using a fine mesh strainer or cheesecloth over a large pot or bowl, ladle out the apples, oranges, and spices into the strainer and press to release all their liquid. Discard solids.
- Sweeten: Stir the maple syrup into the cider until the sweetness suits your taste. Start with ¼ cup and increase from there.
- Bottle or serve: The cider can be served warm immediately, or transfered to bottles/jars to store in the fridge. Homemade apple cider will keep in the fridge for about a week, and enjoyed cold or reheated on the stove in a small pot.
Should I peel the oranges before? Or just leave the rind on? I don’t know if the rind would make it bitter? Sounds delicious though 🙂
You could peel the oranges beforehand, but we didn’t find them to add any noticeable bitterness.