Dutch Oven Mac & Cheese
This post may contain affiliate links.
Quick, easy, and super cheesy, this Dutch Oven Mac & Cheese is a great way to make this comfort food classic when camping.
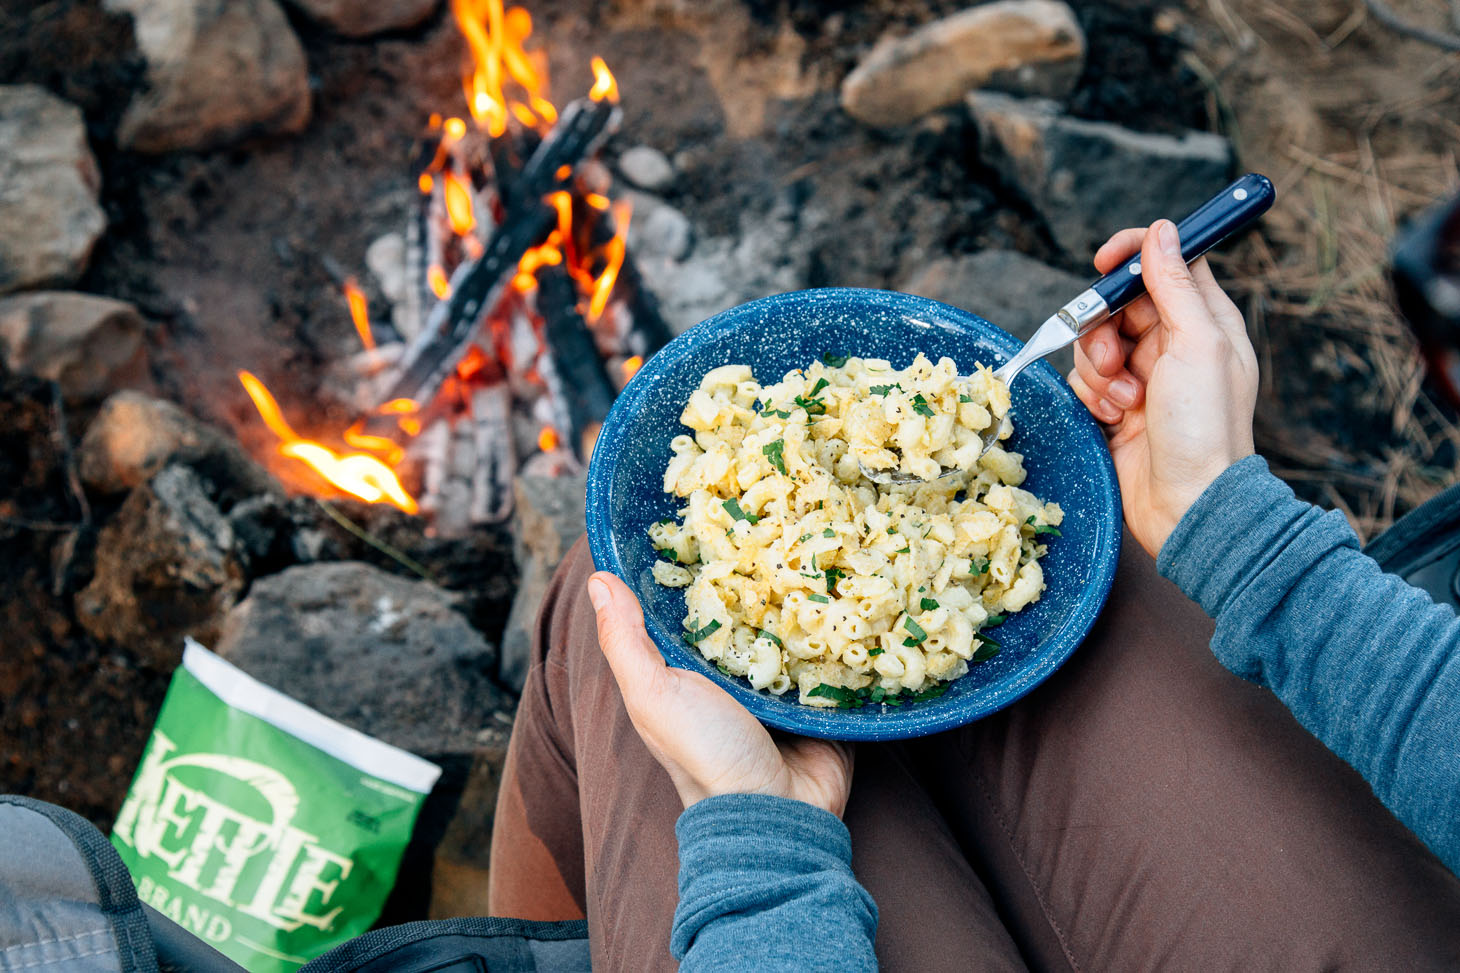
Loaded with creamy, buttery, cheesy goodness, mac & cheese can really hit the spot when we’re out camping. Especially when the evening air begins to cool, there’s nothing more satisfying than tucking into a bowl of heart-warming, stomach-filling Mac & Cheese. It’s our happy place.

Chances are you’ve made mac & cheese at home before. It’s a pretty straightforward procedure: boil water, add pasta, impatiently hover over it, strain, etc etc.
So why make mac & cheese in a Dutch oven? We’re so very glad you asked…
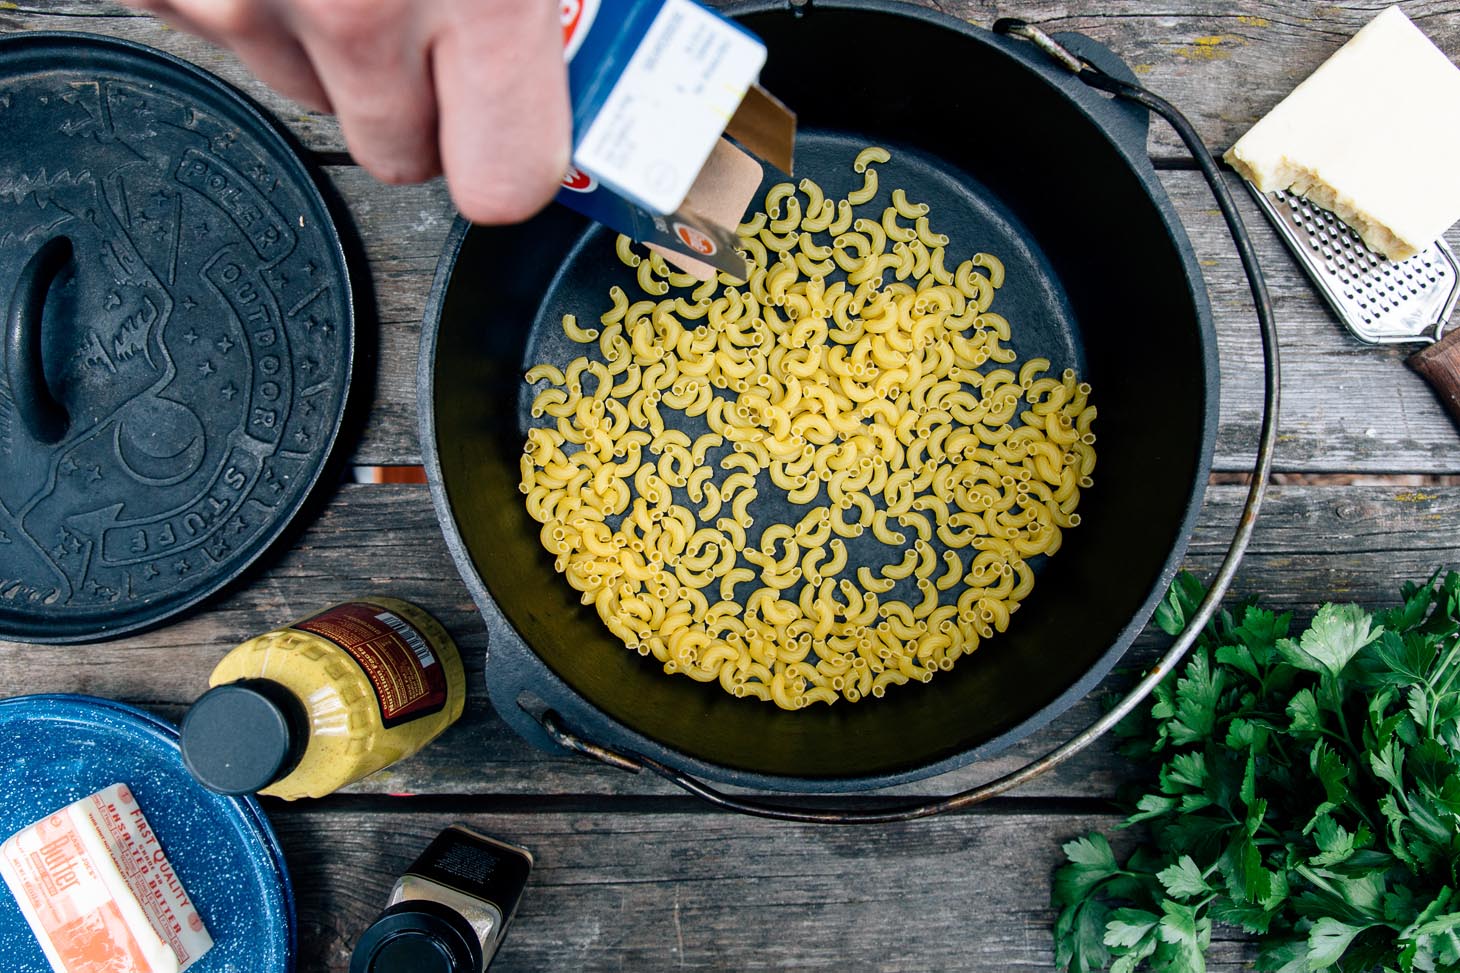
The key benefit of using a Dutch oven is being able to apply heat from the bottom and the top.
This radiant heat allows you to steam the pasta instead of boiling it, thus cutting down on the amount of water you need to use. Steaming the pasta also eliminates the need to strain it at the end.
The little water that remains just becomes the sauce. Because who brings a colander with them camping? (Not us!)
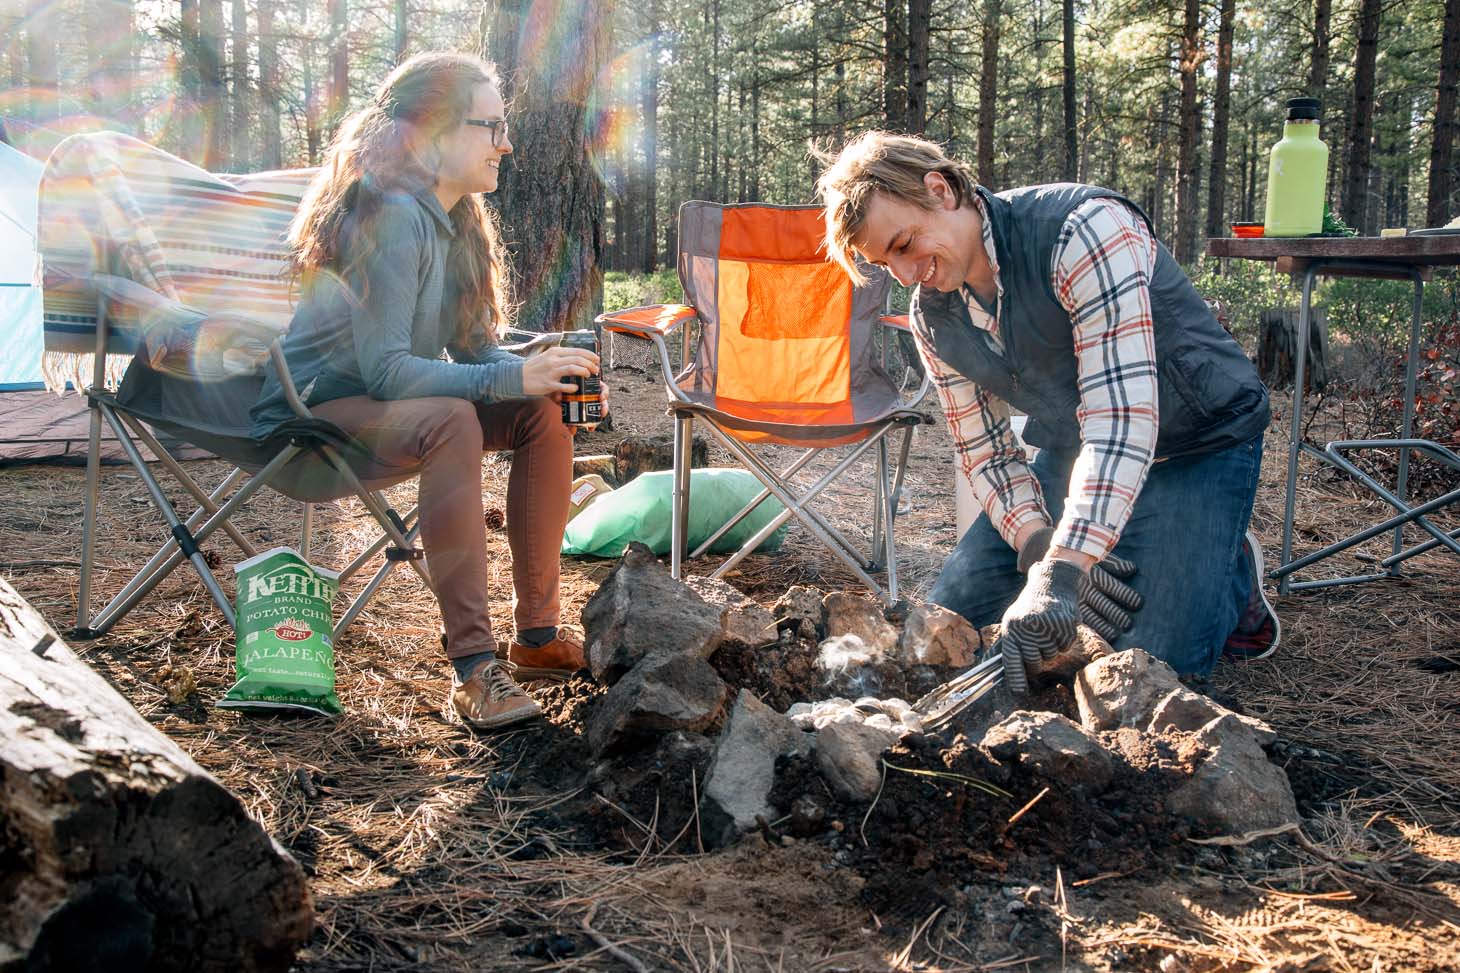
And finally, using a Dutch oven allows you to make A LOT of mac & cheese at once without a lot of hassle, making it a great option if you’re cooking for a family or a group of friends. Just set it up, place some coals on it, and let it do its thing.
Learn everything you need to know about cooking with a camping Dutch oven!
We have the full ingredient list in the recipe below, but here are a few notes about what we used:
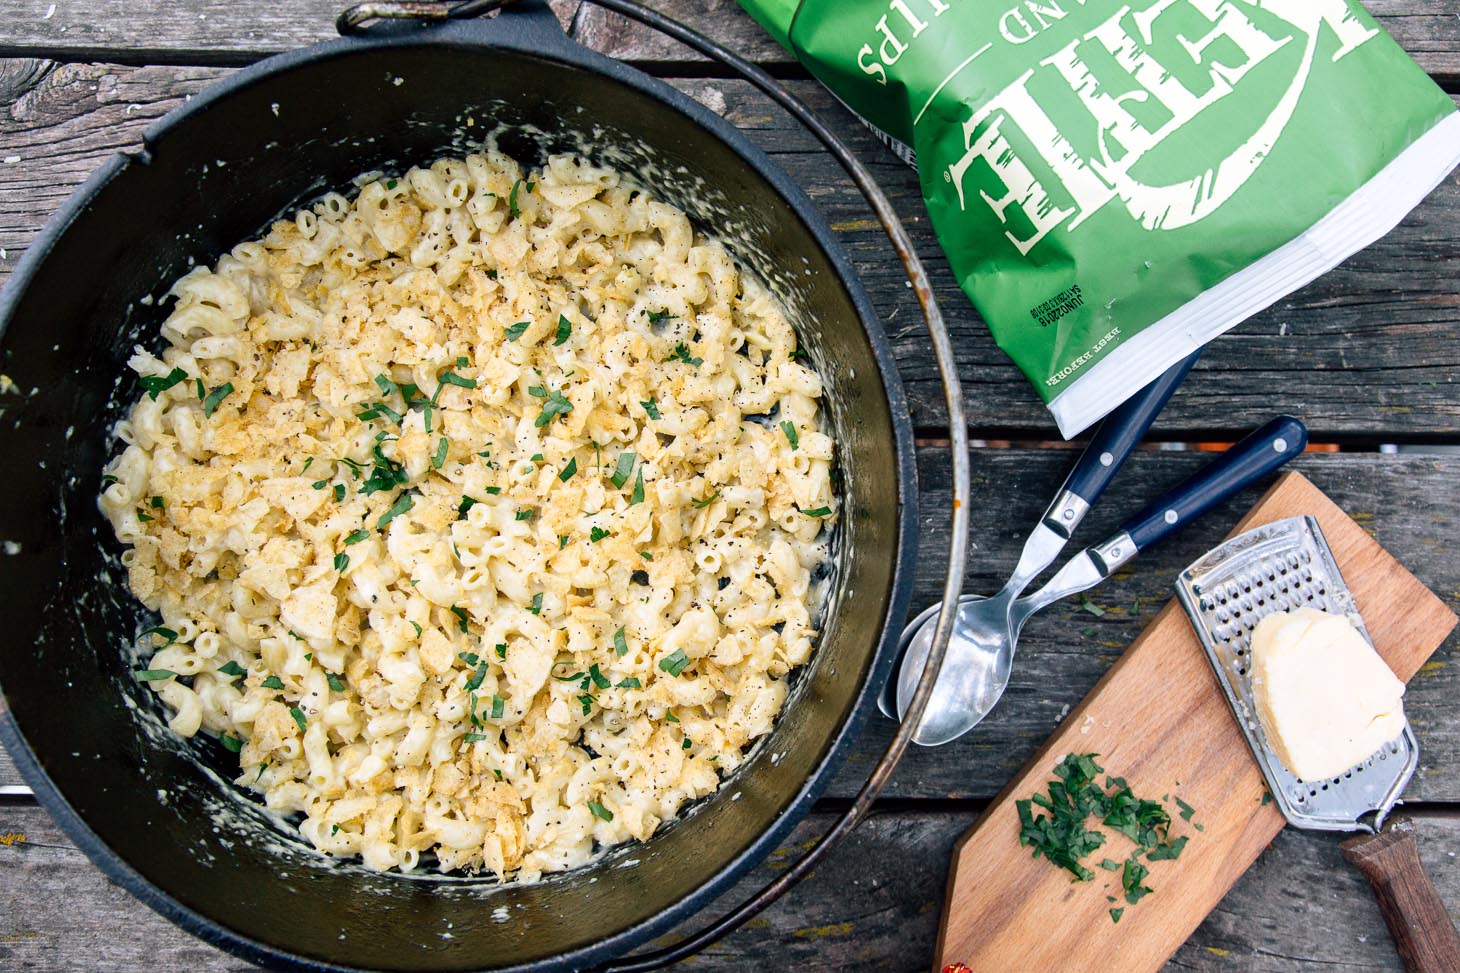
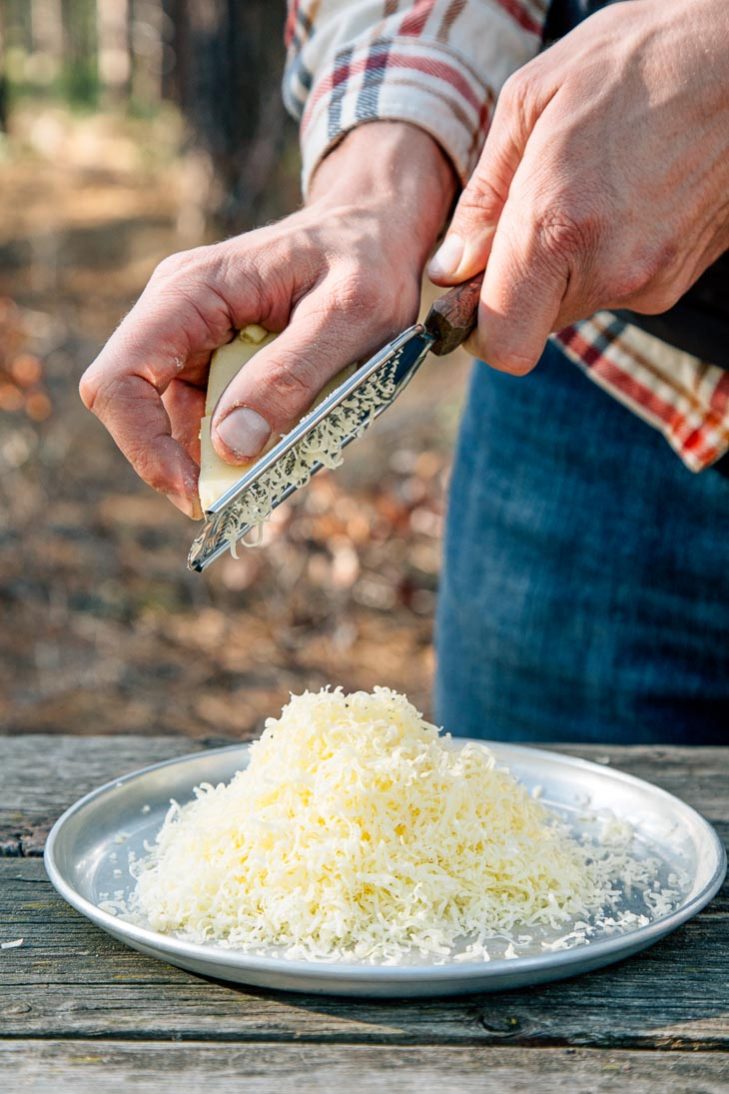
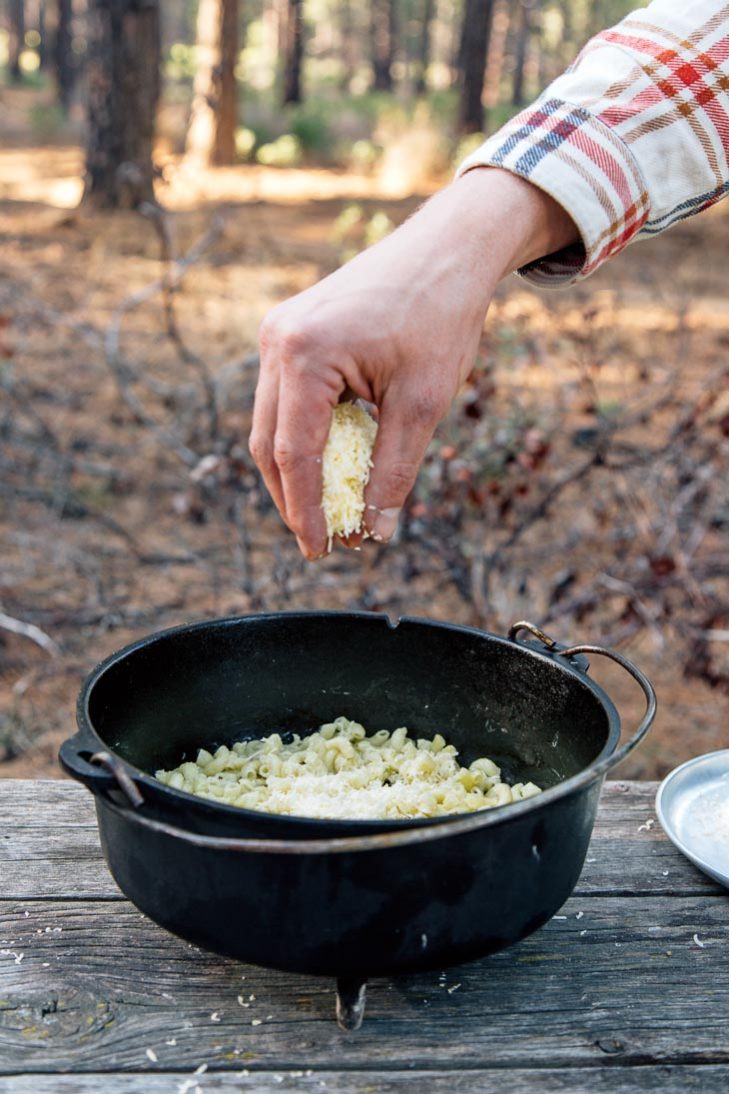
While you can use any cheese you like (we used an aged white cheddar), we do recommend grating it yourself if possible. Pre-shredded cheeses are covered in an anti-caking coating, which we’d prefer to avoid altogether (and it will impede the cheese’s ability to melt into a creamy sauce). And our golden rule is you want a 2:1 cheese to pasta ratio. If you’re putting 1 cup of pasta in, then it needs 2 cups of freshly grated cheese.
A few other key additions: garlic powder and a little bit of mustard. There is something about this flavor combination that really amplifies the flavor of the mac & cheese and gives it an appealing golden color.
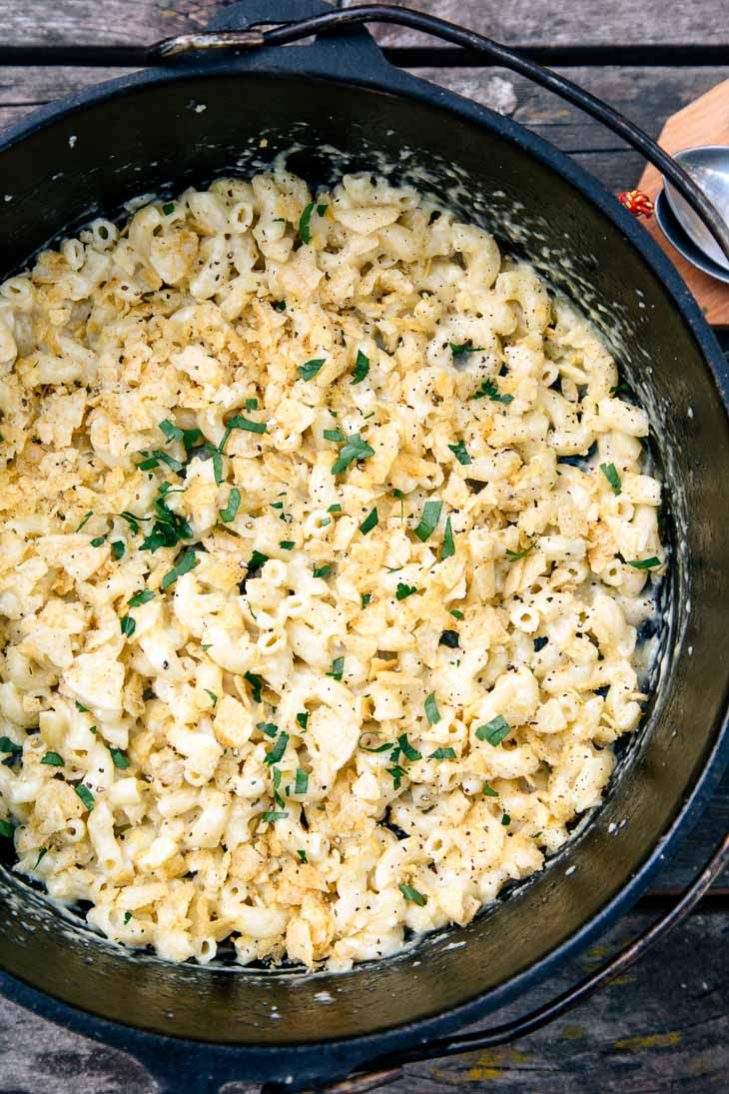
But what really takes this Mac & Cheese to the next level is the crumbled potato chip topping! Not only does it add a little textured crunch, they also allow you to introduce a new set of flavors to the party.
We developed this recipe in partnership with Kettle Brand, which is a great, because we’ve been obsessed with their chips for years now.
For this Dutch oven mac & cheese, we opted for their spicy jalapeño flavor, which gave the whole meal a great kick. But they’ve got a ton of flavors to choose from, so you can customize your own!
So if you’re in the mood for something cheesy and delicious on your next camping trip, give this Dutch Oven Mac & Cheese a try. And if you want some crunch while you munch, pick up a bag of Kettle Brand Chips.
More Dutch oven meals
↠ Chili Mac
↠ Dutch Oven Enchiladas
↠ Campfire Nachos
↠ other great Dutch oven recipes
Dutch Oven Mac & Cheese
Ingredients
- 2 cups elbow macaroni
- 2 cups water
- 2 tablespoons butter
- ¼ teaspoon salt
- 4 cups cheddar cheese shredded
- 1-2 tablespoons mustard
- ¼ teaspoon garlic powder
- 5 oz bag Kettle Brand Jalapeño chips
Equipment
Instructions
- Prepare your coals or campfire.
- Add the elbow macaroni, water, butter, and salt to a 4-qt Dutch oven. Cover and place on top of a small bed of coals or embers. Place 10-15 coals on top of the Dutch oven. Cook for about 10 minutes, until the pasta is tender and most (but not all) of the liquid has been absorbed.
- Carefully remove the Dutch oven from the campfire and set aside the lid.
- Stir in the shredded cheese, mustard, and garlic powder and add more salt if needed.
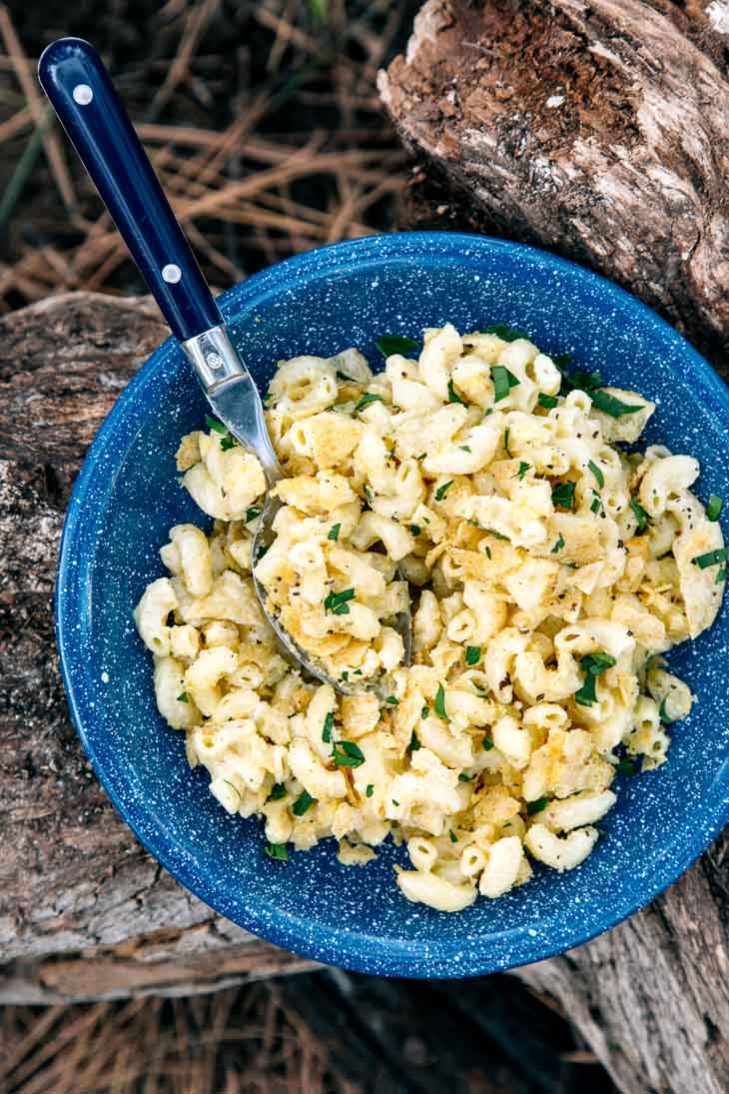
- Serve in bowls or on a plate, and top with crushed jalapeño Kettle Brand chips. Enjoy!
Video
This recipe looks killer! I made mac and cheese with potato chips for the first time this year, and it was awesome. I need to try it with those spicy jalapeno chips – I love anything spicy! 🙂
The chips definitely take this thing to whole new level.
Could you please do a follow up post to this with a vegan Dutch oven Mac n cheese recipie? I’m dying to upgrade mine, and I love your content!!
I also highly recommend the dill chip flavor as a Mac n cheese topper. It’s unbelievably good!
We should! A long time ago we did a vegan mac and cheese for backpacking https://www.freshoffthegrid.com/vegetarian-weekend-backpacking-menu/ and it was pretty good. Shouldn’t be too hard to adapt for a Dutch oven!
I’d love to start cooking on a campfire instead of always using my camp stove but whenever I’ve tried, the outside of the pot ends up filthy black, and even after washing it gets the rest of my gear dirty. How do you deal with this?
We struggle with this too, especially on our cast irons. We’ve heard all sorts of alleged remedies, but haven’t found anything that actually worked. We will keep exploring options though!
But for now, the solution we have (not ideal by any means) we just have a dedicated campfire cast iron that we keep in a plastic grocery bag for storage. Lodge makes some super affordable skillets and we’ve found it to just be easier to have a dedicated campfire skillet.
Before you start cooking, try coating the outside of the pots/pans with plain bar soap – rub it all over the bottom and as far up the sides as you expect to get soot. It should wash off much easier (at least it always did in my youth). Wash all of your other utensils, plates and such before washing the sooty pots/pans, and scrape/wash the inside of them as much as possible before washing the outside. That way they are the last things getting done, and soapy soot won’t be in the washpan or bucket when you are washing anything else. Any soot that might get on the inside of those pots/pans should then rinse off easily.
looks very tasty… would try same process..
Two things:
1. Where did you get that cool pot?
2. Any ideas of how to substitute this as a backpacking recipe? Perhaps powdered butter? But what kind of cheese?
1. It’s Dutch oven from the now out-of-business camping brand Poler Stuff. It’s basically just a Lodge 10″ Dutch oven with a fancy-pants lid.
2. This particular recipe isn’t going to translate to backpacking easily, but you’re on the right track. Powdered butter and powdered cheese (some type of cheddar would be great). We’re planning on publishing a backpacking tuna mac and cheese recipe later this year, which might be good to riff off of.
Question: Did you shred your cheese from a block? It would be so much easier to bring pre-shredded cheese, but the coating can sometimes interfere with the melting/ binding process.
Yes, we grated this cheese from a block. You are correct: coating on pre-shredded cheese can interfere with melting/binding. But you can also “pre-shred” at home yourself, if you don’t want to take the whole block with you.
Made this, the Shrimp Boil Foil Packets [1] and the Stuffed French Toast [2] on our trip this past weekend. This Mac ‘n Cheese is only slightly harder than mac ‘n cheese from a box and 1000x more delicious. Even if you’re home, skip the boxed stuff and whip this up. You won’t regret it.
Note, we just brought a block of cheese and shredded at camp. We didn’t measure it exactly but it seems that an 8 oz. block of cheese is about 3.5-4 cups for reference, obviously depending on how fine you shred it.
This can easily be done on a camp stove too. Due to some wet wood, our building hunger outpaced our build up of hot coals so we pivoted and used the stove. Ended up just boiling the pasta since we had plenty of water and I was weary of steaming it.
Also, the chips added a nice texture so they’re definitely worth giving a try!
[1]: https://www.freshoffthegrid.com/shrimp-boil-foil-packets/
[2]: https://www.freshoffthegrid.com/stuffed-french-toast/