Dutch Oven Banana Bread
This post may contain affiliate links.
Want to enjoy freshly baked banana bread on your next camping trip? All you need is a Dutch oven! Imagine enjoying a warm slice of banana bread with a mug of campfire coffee. What could be better?!
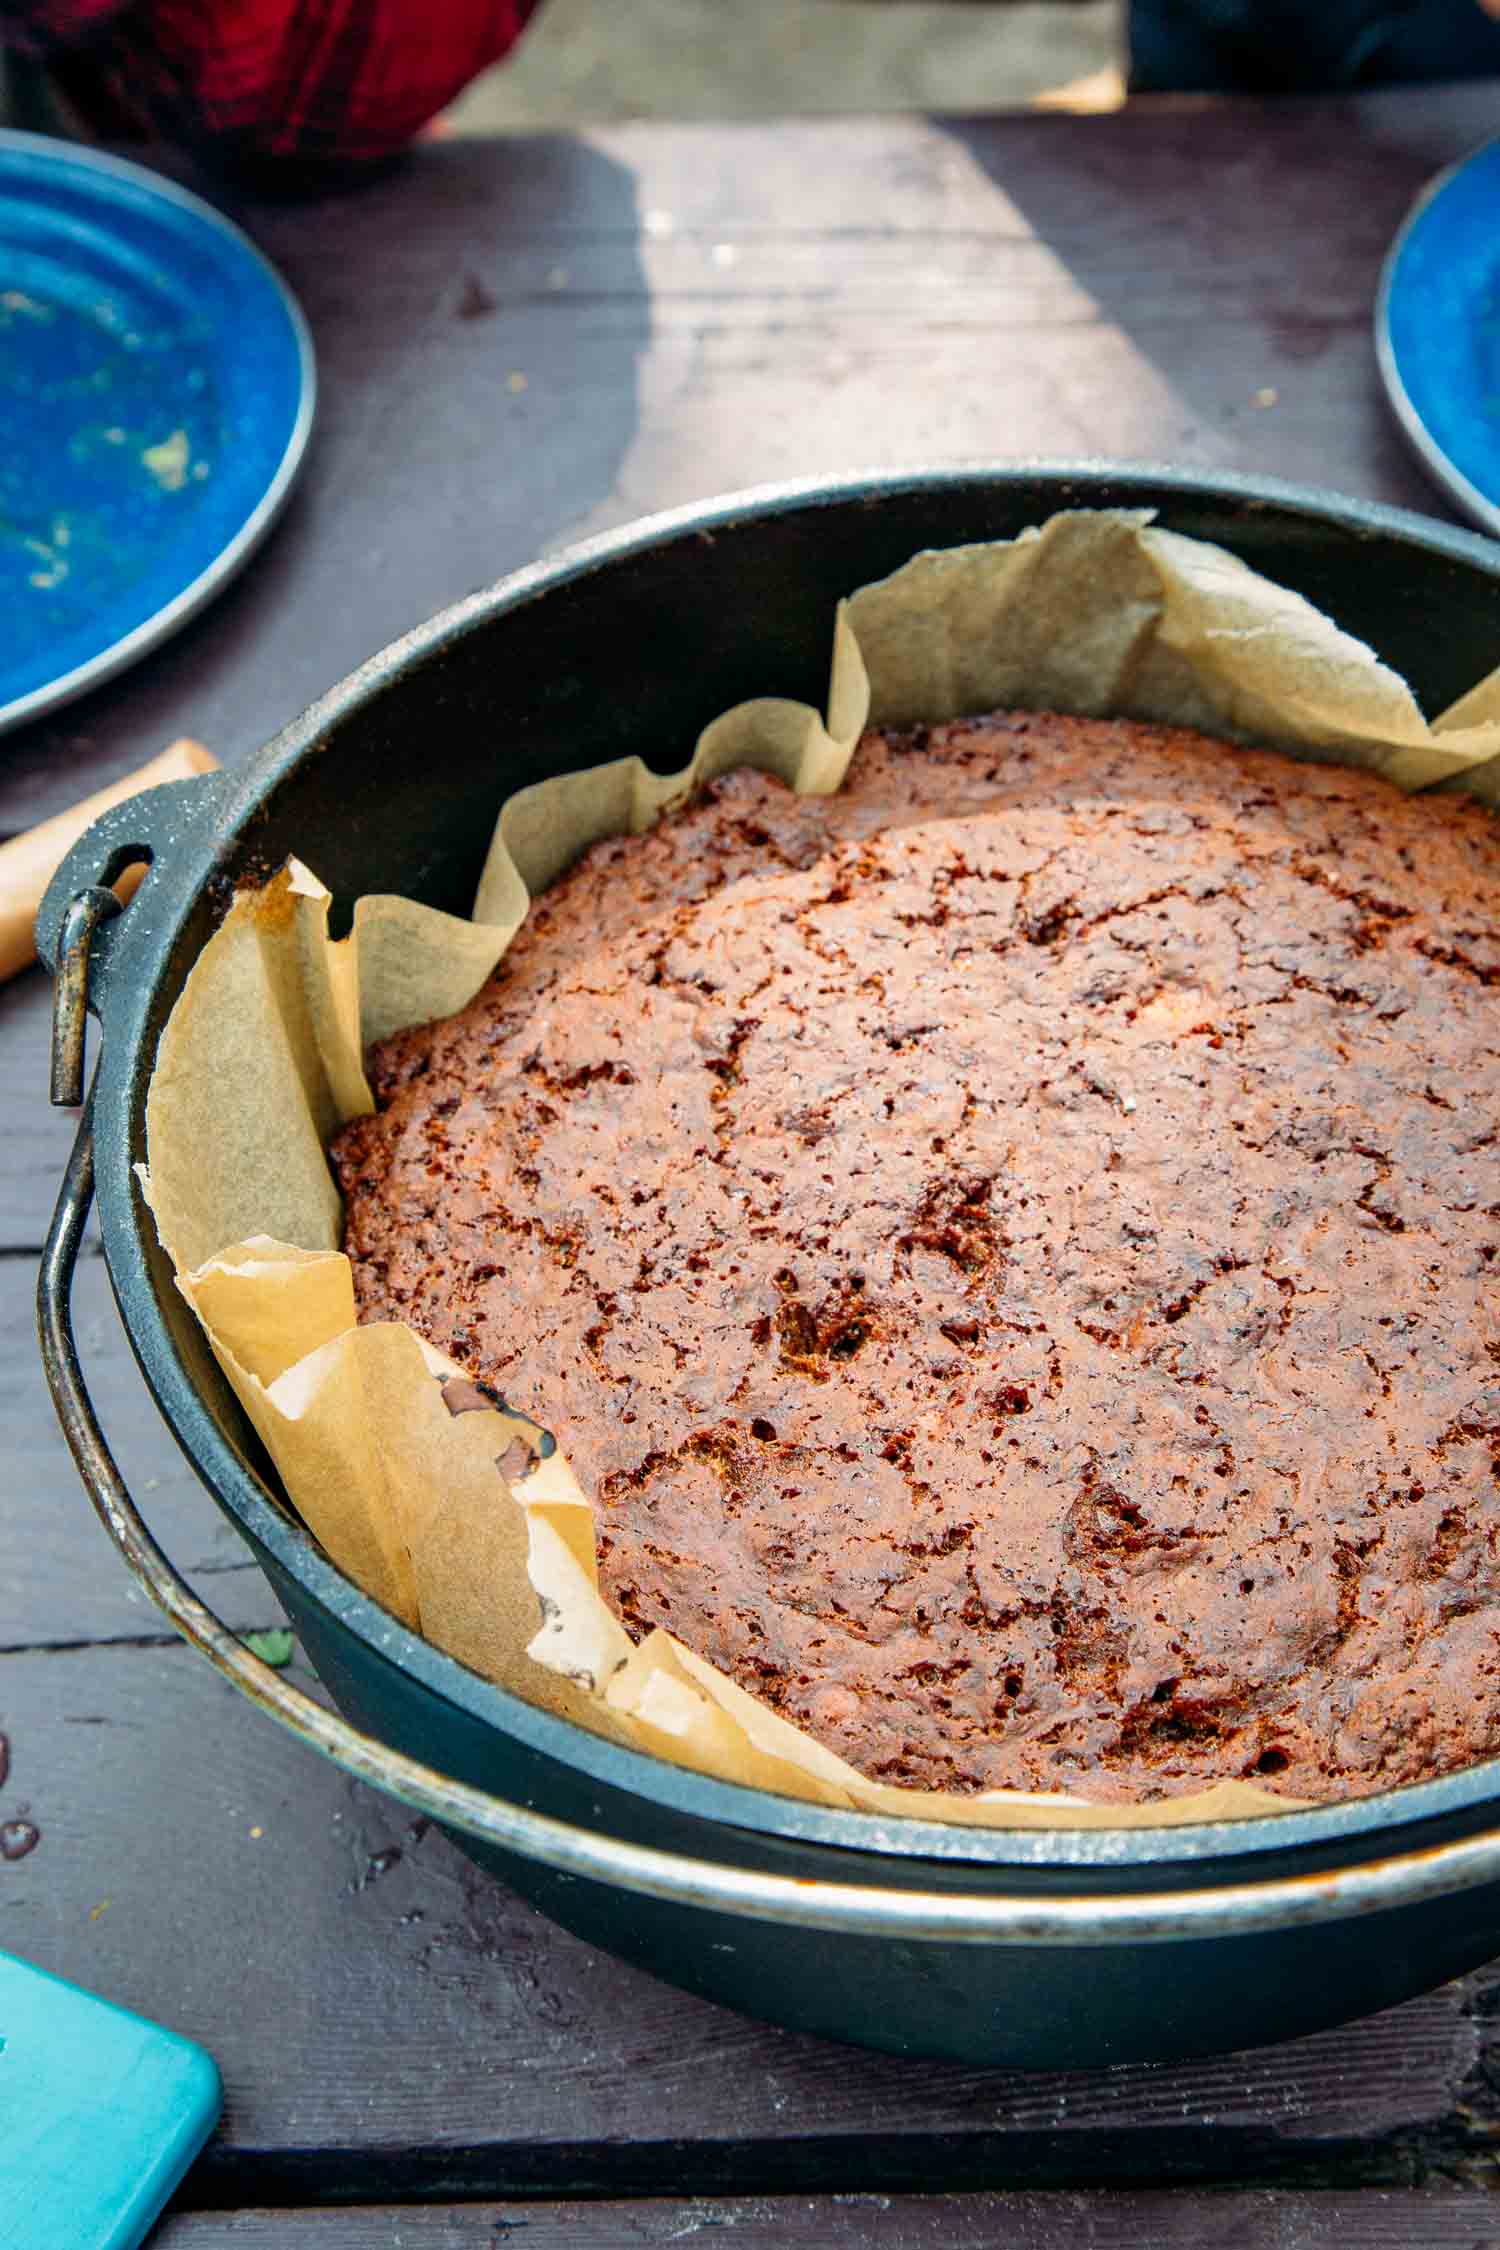
Baking banana bread while camping might seem like a challenge on the surface, but it’s a lot simpler than you might think.
Quick & Easy Camping Meals
Save time at the campsite and get our best menu ideas for your next campout (without the fuss)!
Banana bread is a “quick bread” which means it uses baking soda as a leavening agent rather than yeast. This makes the process a lot easier and puts the difficulty level on par with pancakes.
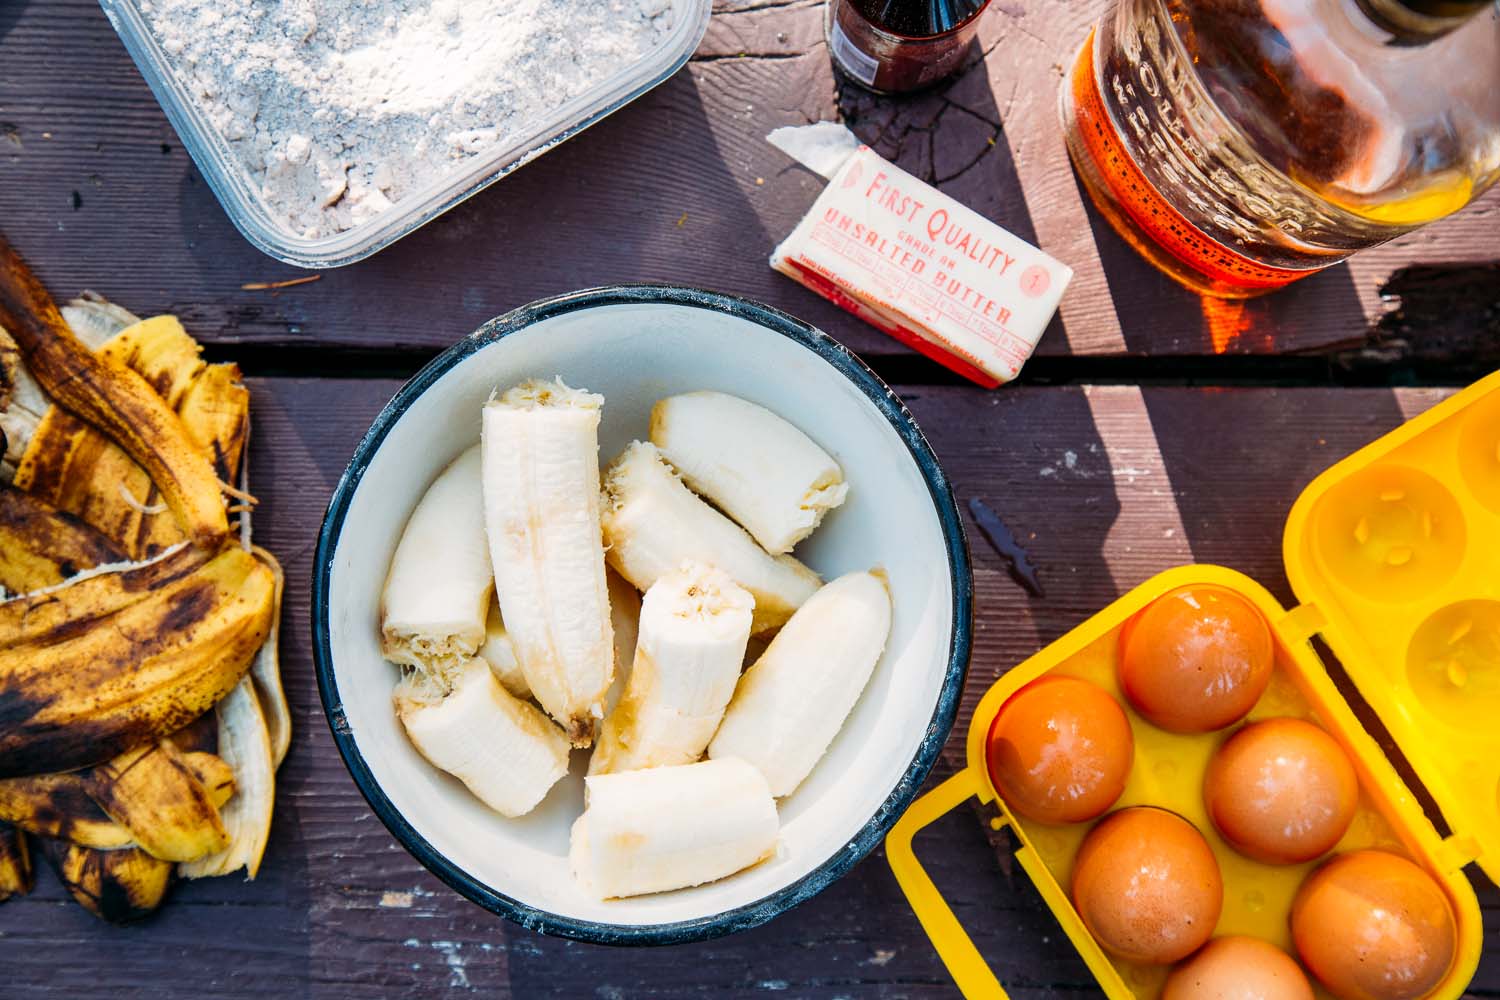
The other great part of this recipe is a lot of the ingredients can be mixed ahead of time. At home, you can whisk together the flour, brown sugar, cinnamon, salt, baking soda, and put it in a single container. Then, when you’re at the campsite, all you need to do is mix together the wet ingredients in a bowl and combine it with your dry ingredient mix. Voila! Banana Bread batter!
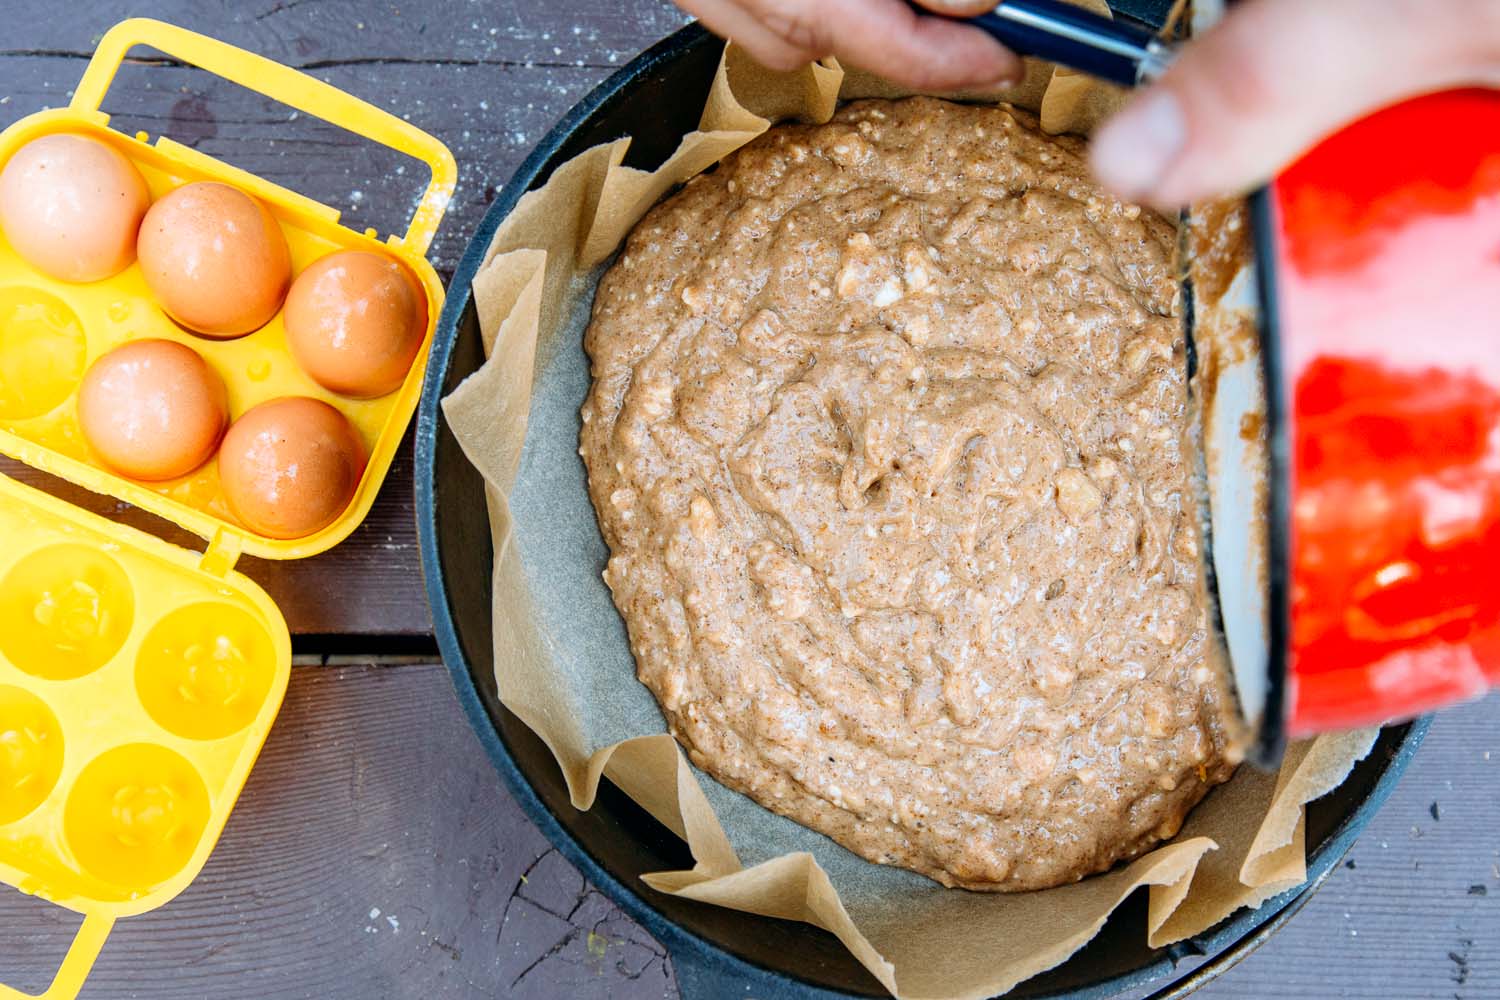
How to Cook Banana Bread in a Dutch Oven
Dutch ovens tend to trap in a lot of moisture when cooking, essentially baking and steaming at the same time. This wet heat is not ideal for traditional bread, but it’s amazing for banana bread. All the trapped steam helps keep the bread light, fluffy, and super moist.
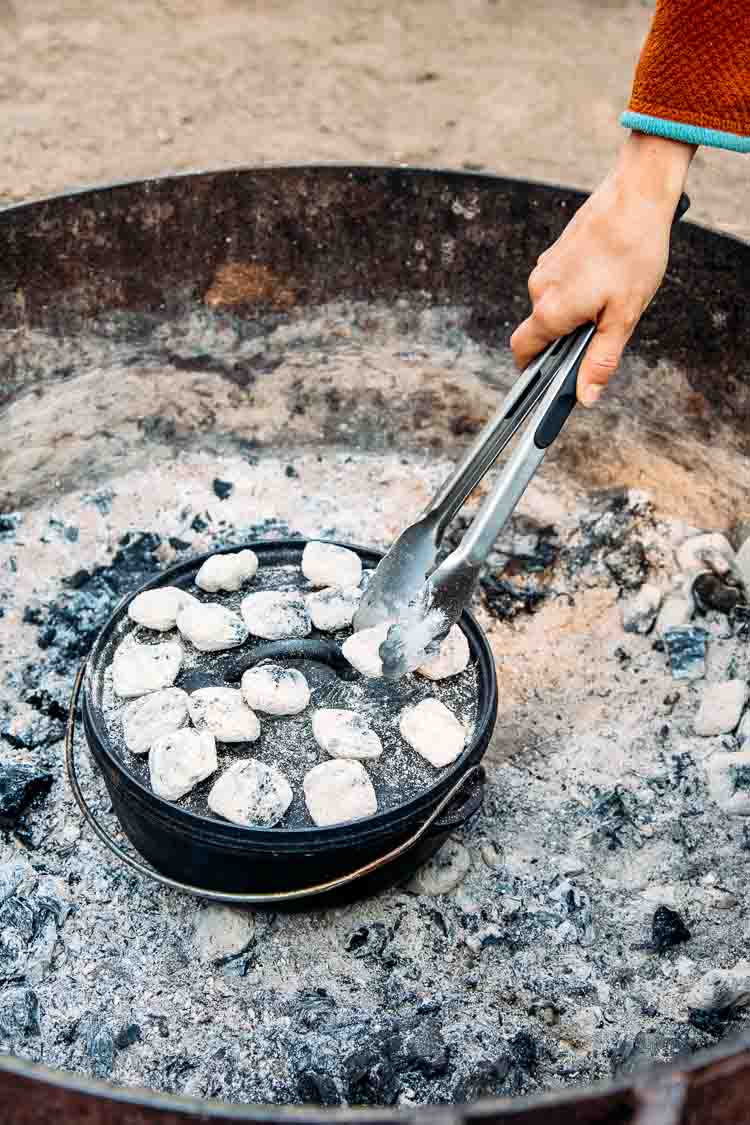
When we’re cooking banana bread, we aim for a gentle heat somewhere in the neighborhood of 350 F. Using our 10″ Dutch oven, we go for roughly 15 coals on top and 5 coals on bottom. A little crispness on the top is fine, but you want to avoid accidentally burning the bottom.
To keep the moisture inside, it’s best to keep the Dutch oven sealed for at least 30 minutes. But after that, we crack it open to check it. The smell that rushes out is pure heaven!
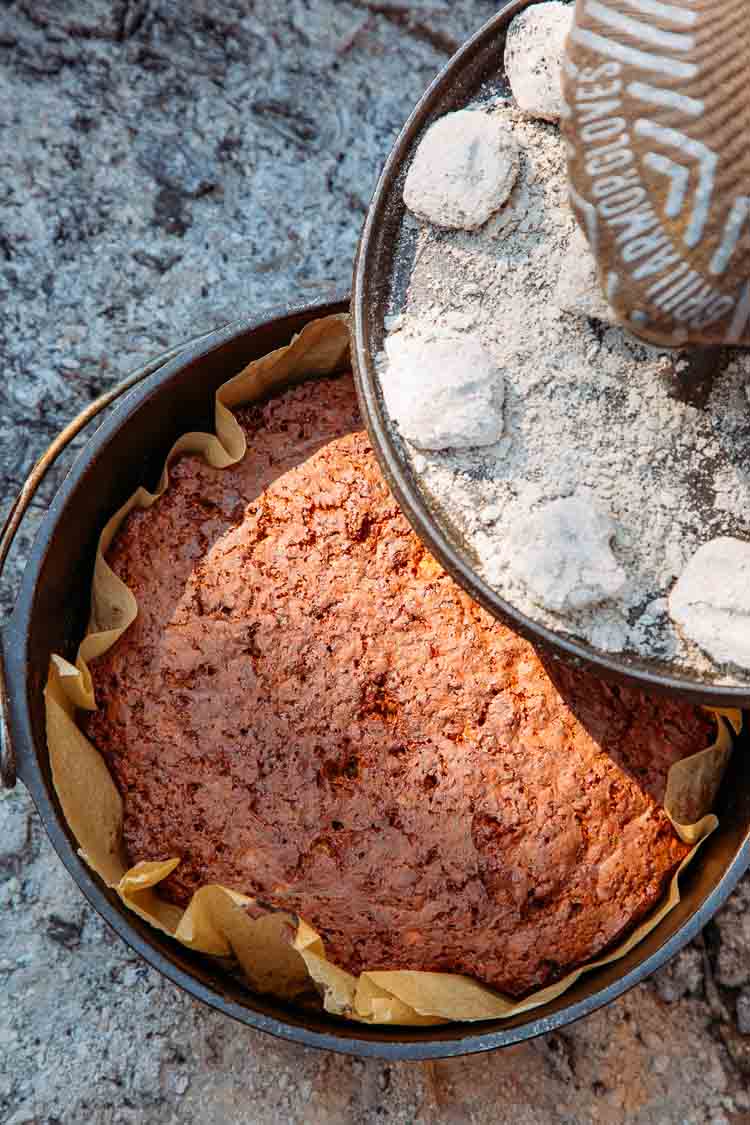
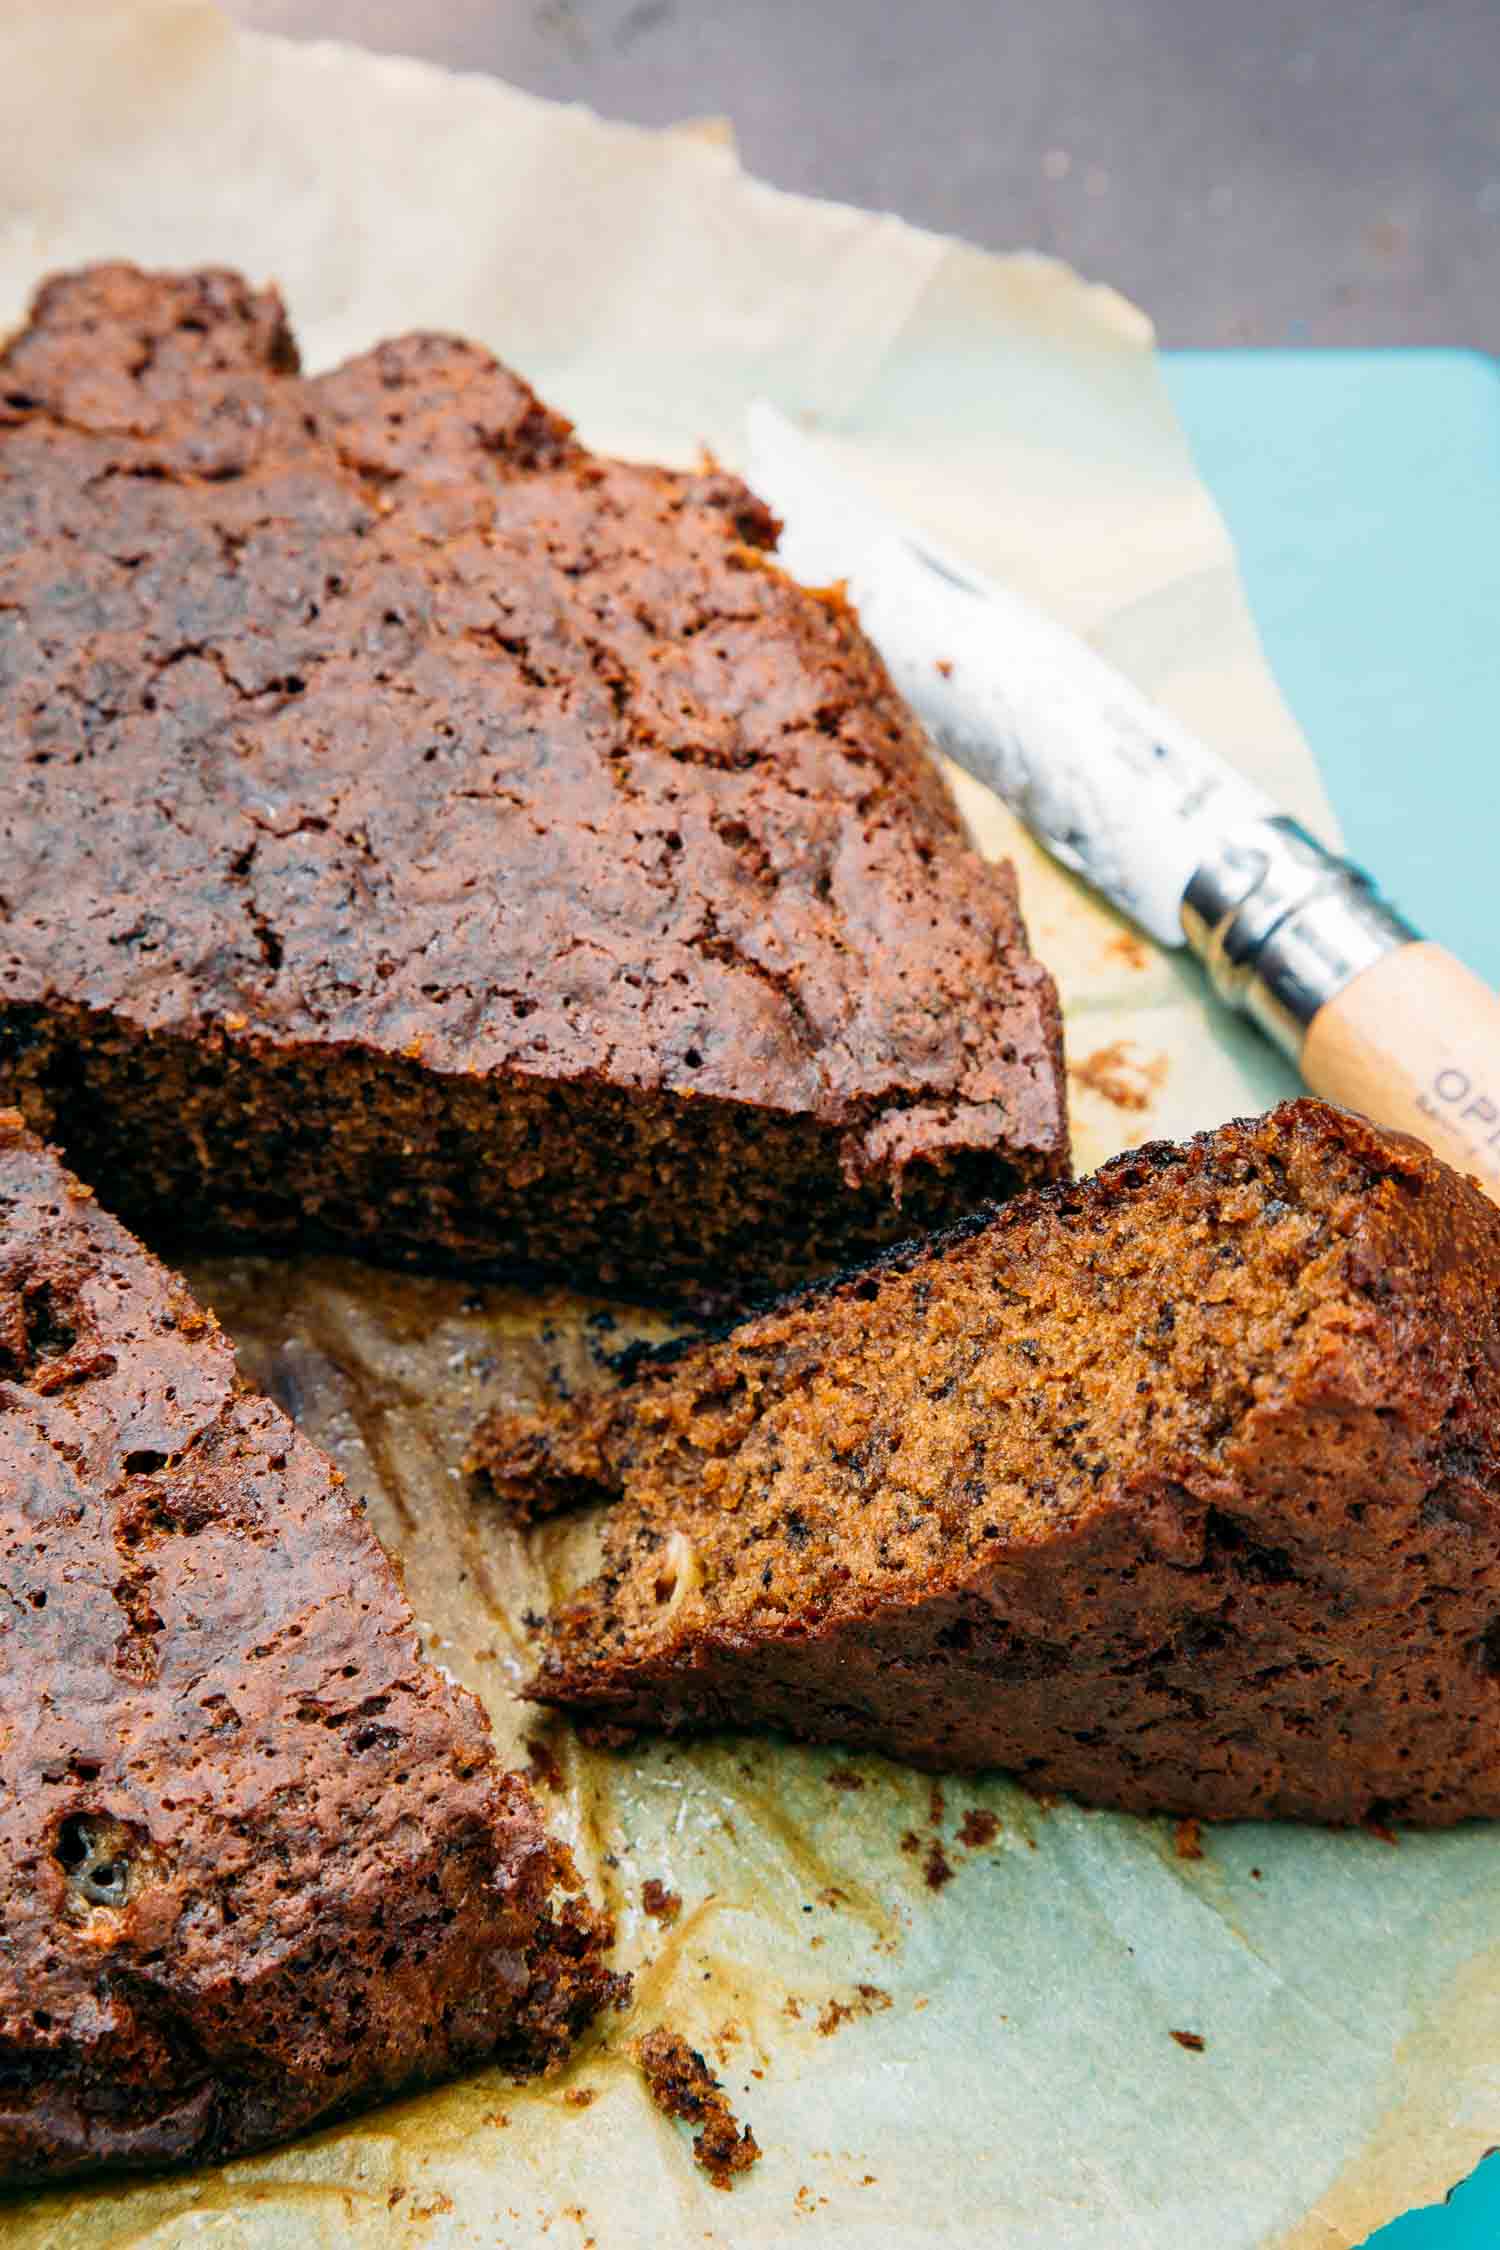
Once the bread is finished baking, remove it from the Dutch oven and let it cool for 10 minutes. This cool down process helps firm up the bread’s structure, but if we’re being honest we only have the self-restraint to let it rest for 2 minutes.
So if you’re into the idea of having a dessert for breakfast, then this Dutch oven banana bread is for you!
Helpful equipment
↠ 4 quart (10″) Dutch Oven: This recipe was developed for a 10″ Dutch oven. For more info about choosing a Dutch oven, check our our camping Dutch oven primer!
↠ Parchment Paper: Using a parchment paper liner is our best Dutch oven baking hack. This keeps your oven relatively clean and prevents food from sticking to the bottom. Usually, all we have to do is wipe it out with a damp towel at the end of the meal, and the cleanup is done!
↠ Chimney Starter: A chimney starter is super helpful when lighting your coals. We love this collapsible model because it easily packs into our camp kitchen box.
↠ Heat-resistant Gloves: Any time we’re cooking on the campfire or using hot coals, we like to wear a pair of these heat-resistant gloves to be extra safe.
↠ Egg Holder: Have you ever had an egg break in your cooler? Avoid that mess altogether by storing your eggs in one of these hard-sided egg holders.
More recipes you’ll enjoy
↠ Banana Bread Pancakes
↠ Stuffed French Toast
↠ Banana Coconut French Toast
↠ 18 Easy Camping Breakfasts
Dutch Oven Banana Bread
Ingredients
- 1 ½ cups flour
- 1 cup brown sugar
- 2 teaspoons cinnamon
- 1 teaspoon baking soda
- Pinch of salt
- 4 ripe bananas
- ½ cup softened butter
- 1 egg, beaten
- 1 tablespoon bourbon, optional
Instructions
- At home (or in camp) whisk together the flour, brown sugar, cinnamon, baking soda, and salt. Set aside.
- Prepare a campfire or a bed of about 20 coals.
- Place the bananas in a medium/large bowl and smash with a fork until fairly smooth. Add the butter, egg, and bourbon and stir until combined.
- Add the dry mixture, stirring until it’s completely incorporated with the wet ingredients.
- Line your Dutch oven with a sheet of parchment paper. This will help prevent the bread from sticking to the pot.
- Pour the batter into the Dutch oven and cover with the lid. Make a ring of 5 coals and place the Dutch oven on top. Place the remaining 15 coals on the lid.
- Bake for about 30 minutes.
- Remove from the heat and carefully lift the bread out of the oven.
- Cool for a few minutes, then slice and enjoy!

I’ve made this twice now in the Dutch oven. Turned out perfectly both times! Perfectly moist and delicious, everyone absolutely raves about it. (Note – I did add 4 extra coals to the bottom after the first 10 minutes….) thanks for the awesome recipe!
I’d love this cookbook. Taking my daughters on a big camping trip and hoping to plan food shopping and recipes ahead of time. Thanks!
(We leave August 8)
You’re going to have so much fun together! Great idea to start recipe/meal planning now.
So happy to have found this website. Going camping at the end of the week with the adult children! Food is an important component to our trips and I can’t wait to try so many of these recipes out! Thank you so much.
We’re so glad you found us! Nothing brings the family together like cooking a meal together! Especially while enjoying some time outdoors. We hope you have a great trip!
My second time using the dutch oven, I tried the banana bread recipe. It came out perfect. The family all really liked it. My husband said that I should make it like this all the time. Thanks, it was so tasty and moist.
I have a 10″, 6 qt Dutch oven. Would I need to change anything in order to make this?
The 10″ 6 quart is the deep dish version, correct? The only change you might want to make is to add some more coals/embers to the top since the lid will be further away than with a 10″ 4 quart, which is thinner.
Thanks for the tips
It was gooood!!!
Can I do this bread in the oven with a Dutch oven? I found your recipe because I wanted to use my Dutch oven to cook my banana bread, was looking for a recipe and this seems to be the only one I can fine, but it’s campfire, I’m looking to use it in my oven at home.
You can absolutely make this in your oven at home. We would suggest setting the oven to 350 F and cooking for roughly 45 minutes. Since we made this in a dutch oven at a campsite I’m not positive about the at home cook time, so just check in on it around 30 minutes and take it from there. The top should be golden and the a tooth pick should come back clean when poked.