Homemade Chewy Granola Bars
This post may contain affiliate links.
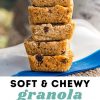
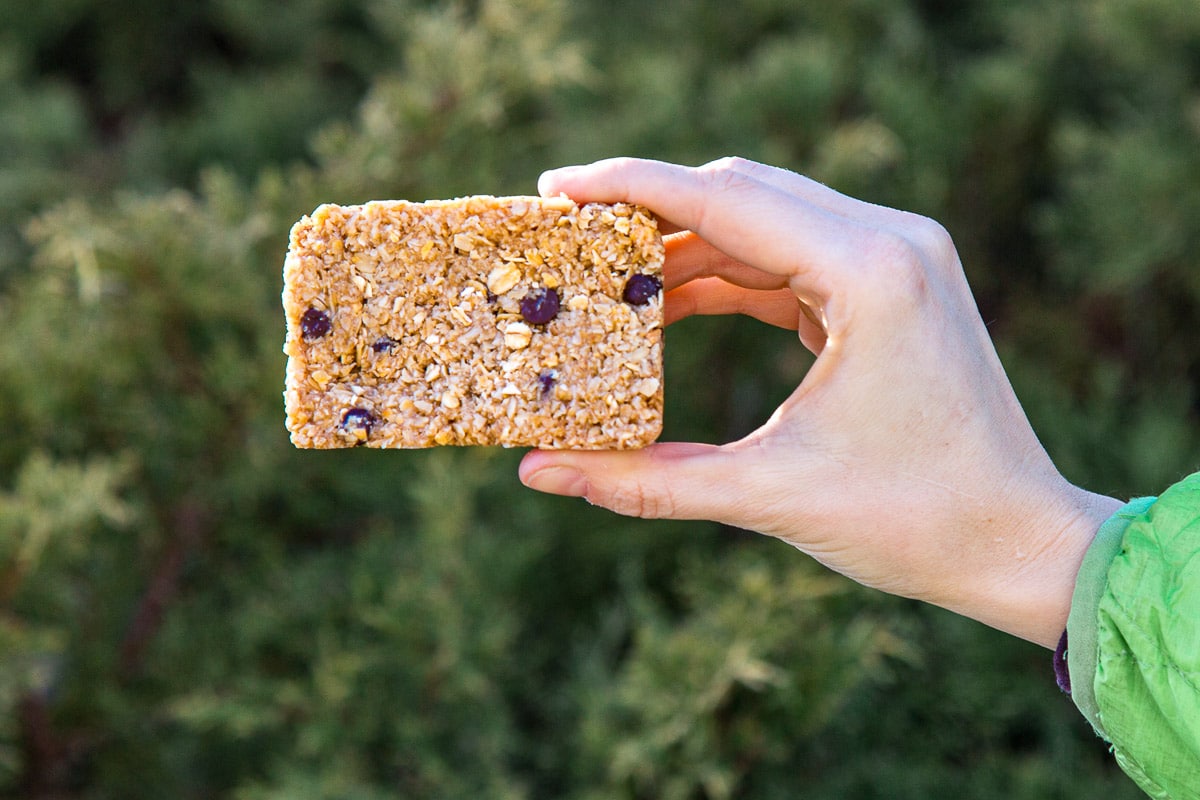
This homemade granola bar recipe is modeled off the soft and chewy texture of Bobo Oat Bars. Simple to make and endlessly customizable, these grab-and-go granola bars are a perfect snack for hiking and backpacking trips.
It’s hard to say what we enjoy more: hiking or hiking snacks.
For us, the two are so intertwined that hiking has sort of become this extended, active meal time. While we enjoy all different types of hiking snacks and trail mixes, the gold standard has always been the granola bar.
Granola bars are just so convenient for hiking. They’re compact, energy dense, and can offer a wide range of flavor combinations. The only problem is we could never get our home-made granola bars to come out right!
No matter what we tried, they were either way too hard, or they would crumble apart in our pack, or they would be too soft and turn into sad little mushy lumps. So we set out on a culinary quest to make the perfect soft and chewy granola bar. Something with the taste and texture that would rival our favorite store-bought versions.
Sometimes we can develop a recipe over a weekend. This one took us weeks to get right. A lot of research, reverse engineering, testing, and failures went into perfecting this recipe, but we ultimately landed on something we feel really works.
Finally, we had arrived at a cost-effective homemade granola bar recipe that has the taste and texture of a store-bought brand that we’ve come to love.
Why we love these granola bars:
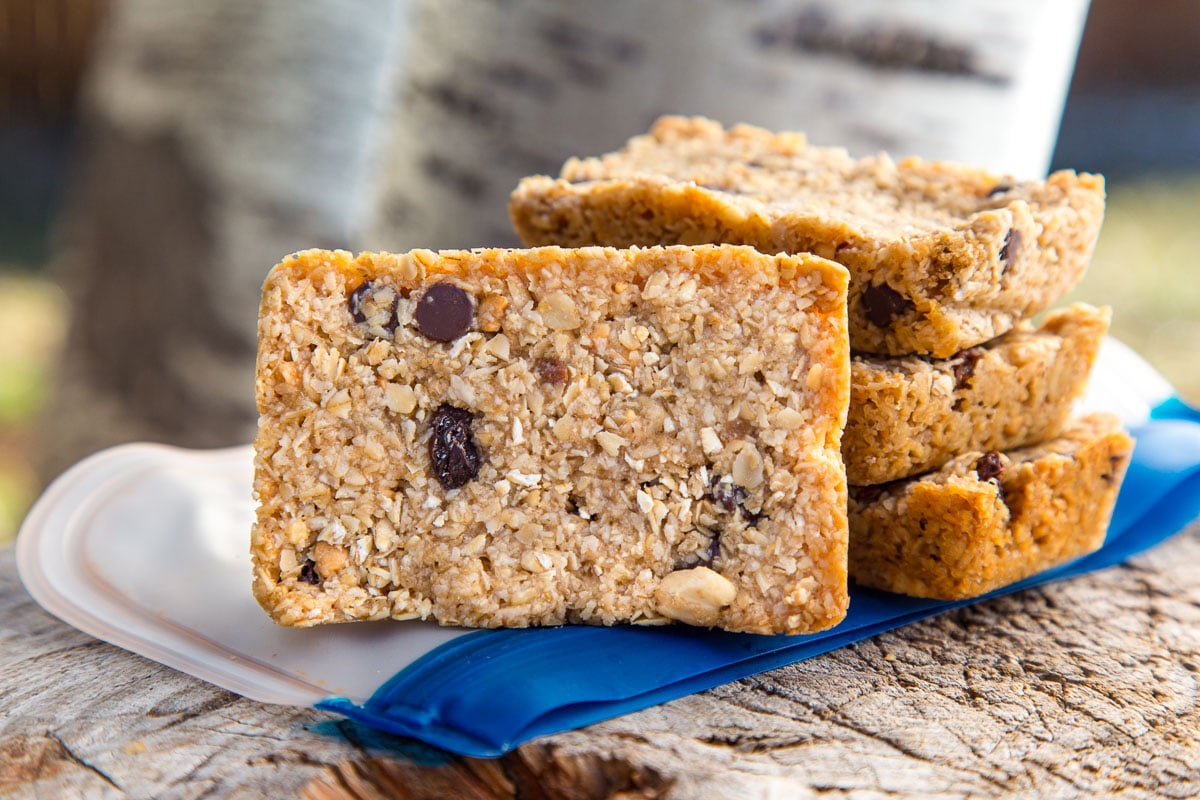
- Soft and chewy – yet firm enough to hold together. Perfect for on the trail.
- Once you master the base recipe there are an unlimited number of mix-in flavor combinations to try!
- Scaleable recipe makes it easy to double, triple, etc.
- Way more cost effective than store bought (less than 50 cents per bar!)
So if you’ve been searching for a way to make your favorite soft and chewy granola bar at home, this is the recipe for you.

Granola bar ingredients
Brown Rice Syrup: There is some sticky alchemy going on in Brown Rice Syrup that is absolutely critical to helping granola bars stick together. We’ve tried honey, we’ve tried dates, we’ve tried all kinds of nut butter. Nothing works quite the same as brown rice syrup. This is the secret ingredient. There’s a reason why nearly every energy bar on the market uses rice syrup.
Old Fashioned Rolled Oats: Choose GF if needed.
Coconut oil: This adds a mild coconut flavor and helps soften the bars. You can probably substitute with a neutral-flavored oil though we haven’t tested this recipe with any.
Sugar: We tested this with both brown sugar and regular cane sugar, and both versions work. Our final recipe uses brown sugar because we like the slightly caramel-y taste, but you can switch it out depending on what you have in your pantry.
Mix-in options
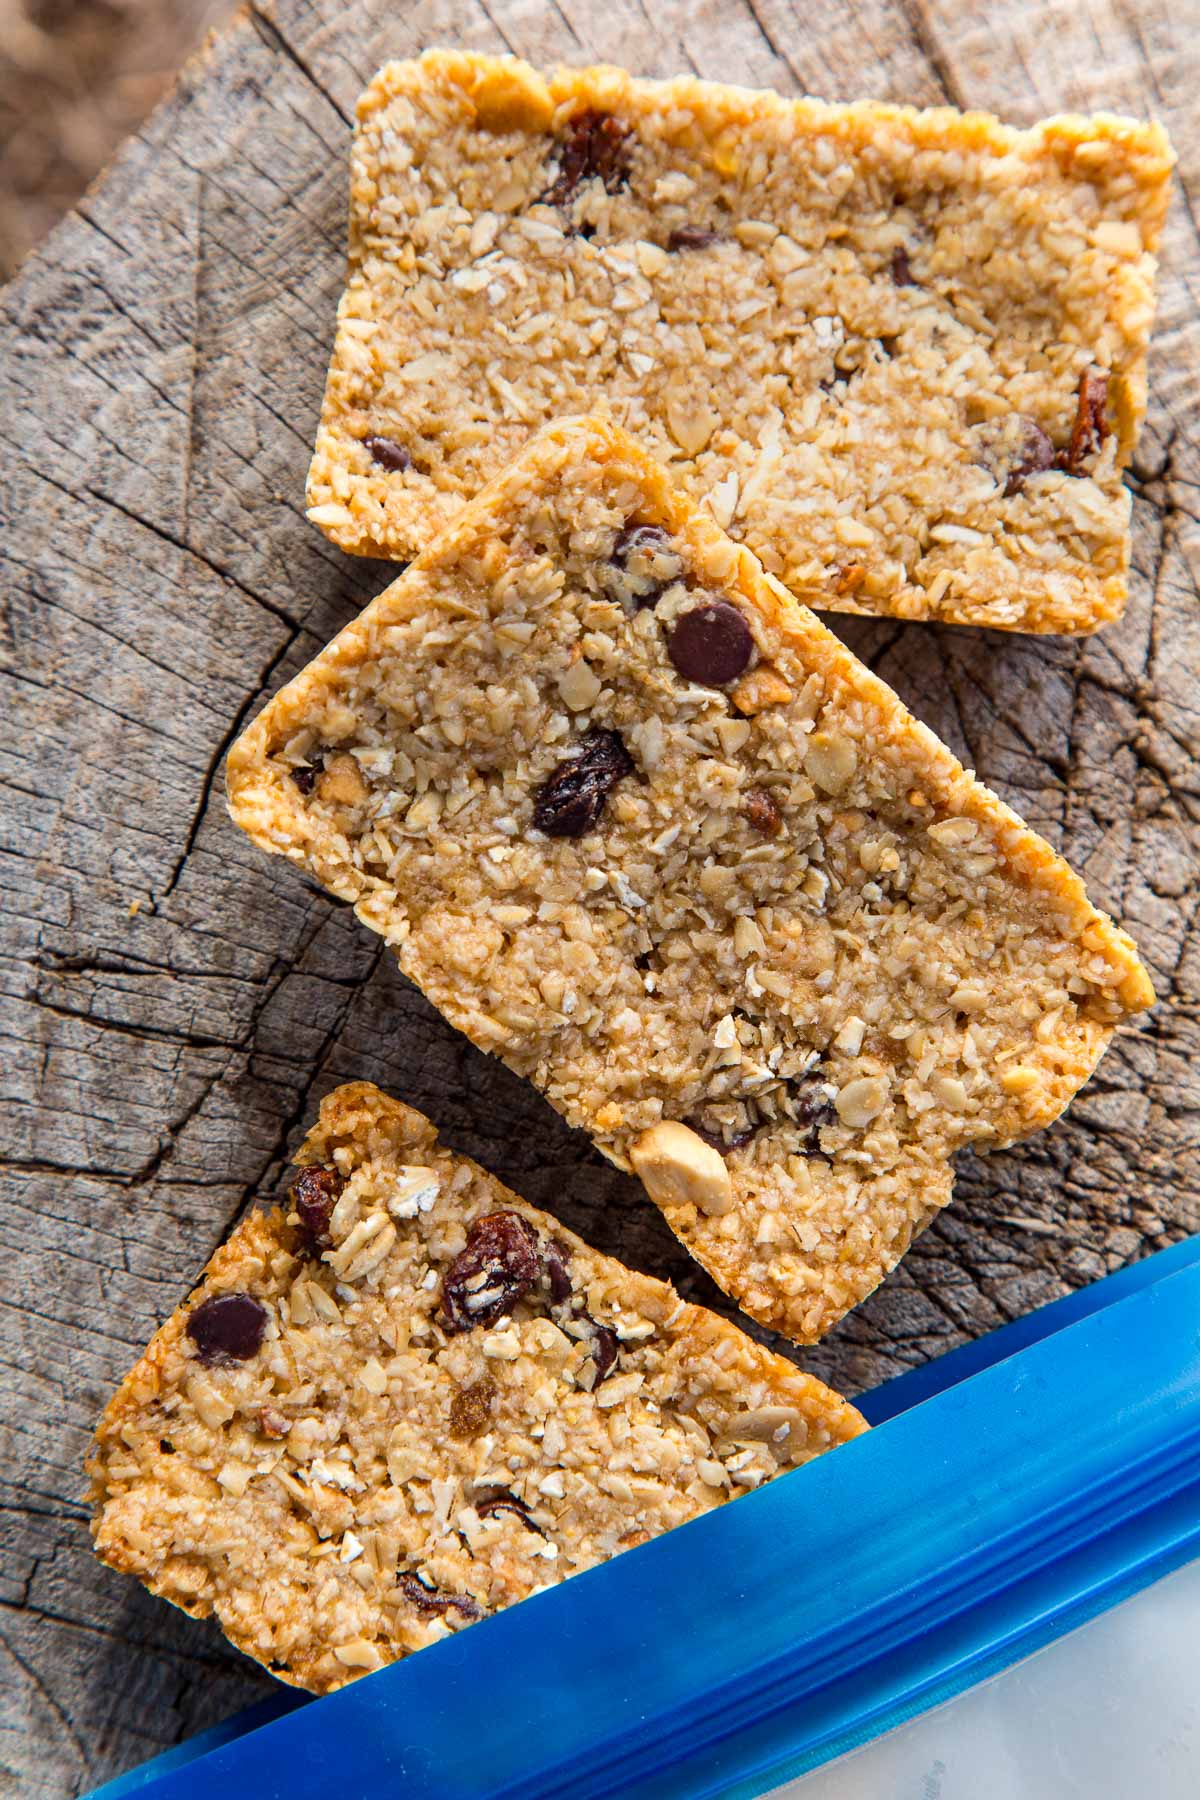
The mix-in ingredients are where you can really customize your granola bars. Try out different nuts, seeds, dried fruit, chocolate, or fruit zest to find your favorite flavor combination.
The only rule to follow is to keep the mix-ins to less than ¾ cup total so the bars will still hold together well. The recipe below is our GORP-inspired combination.
- Nuts: Peanuts, almonds, cashews, pecans, walnuts, macadamia, pistachios, etc (chop whole nuts into ~¼” pieces)
- Dried Fruit: raisins, cranberries, blueberries, cherries, apple, chopped apricots, chopped dates (chop larger fruit into ~¼” pieces)
- Seeds: Hemp, chia, sunflower
- Shredded unsweetened coconut or toasted coconut flakes
- Pretzels, broken into pieces
- Chocolate chips, M&Ms
- Spices like cinnamon or vanilla extract
Equipment for making granola bars
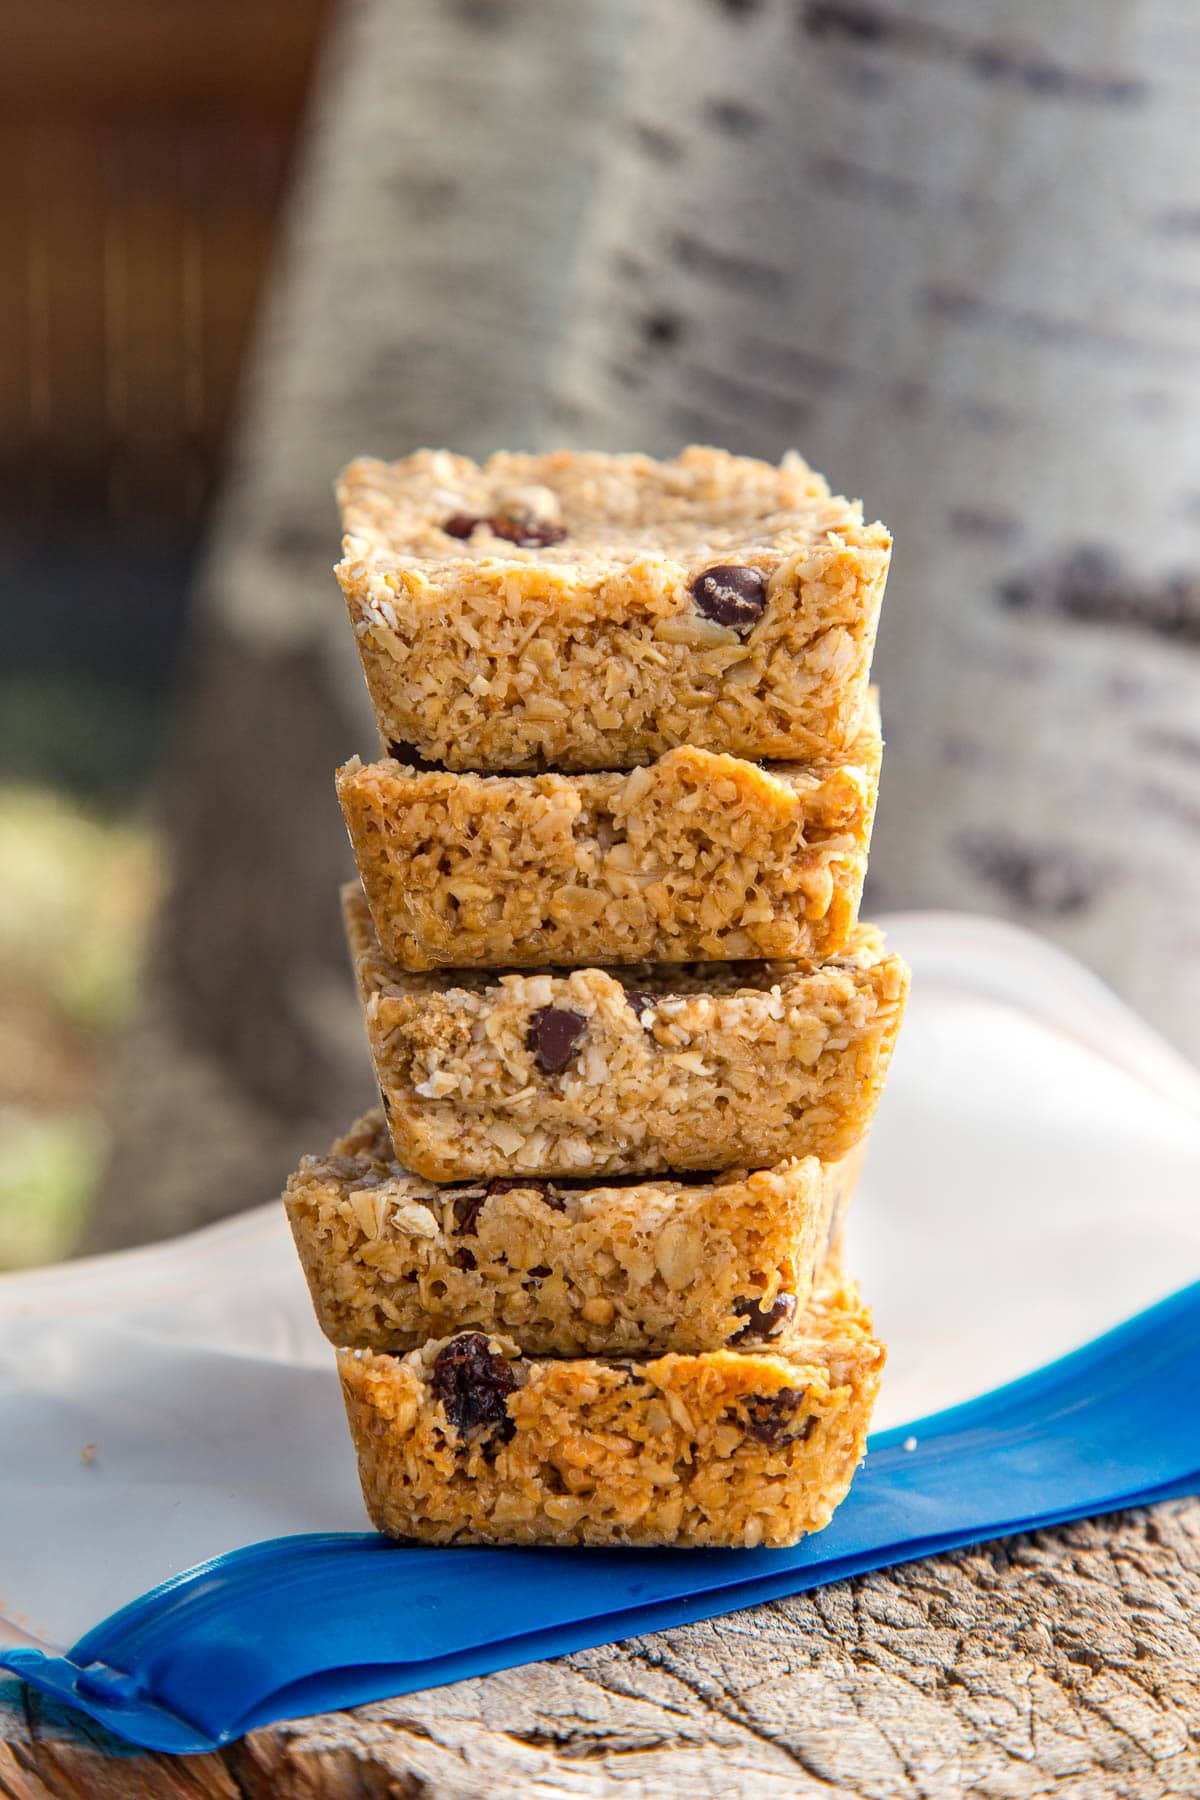
Mini Loaf Pan: This recipe works great in a mini-loaf pan like the one pictured in the photos of this post. This makes eight, 2½ x 3¼ inch bars which are the perfect size for a day hike. We have also made these using a muffin tin. This also eliminates the cutting step that many granola bar recipes call for, which in our experience, is annoying at best and can sometimes be the catalyst for the bars beginning to fall apart.
Food Processor: Any type will do; you could also use a blender in a pinch.
Silicone Spatula: The bar mixture is going to be super sticky, so mixing it all together with a silicone spatula is ideal (though a regular spoon will also work).
Mixing Bowl
Measuring Cups/Spoons
Parchment Paper (optional): To make removing the bars from the pan easier, we line the cavities with a strip of parchment. If you don’t have any on hand, just grease the pan with additional coconut oil and once the bars are cool, flip the pan upside down and give it a good whack onto a cutting board.
How do you keep granola bars from falling apart?
This recipe uses brown rice syrup to keep the granola bars from falling apart. Brown rice syrup is thick and sticky—perfect for helping the bars stick together! Additionally, we really press the ingredients together when forming the bars to eliminate air pockets, which can lead the bars to crumble.
Our biggest gripe about homemade granola bars is that they tend to be rock hard, OR they just won’t stick together well enough to last any length of time in a daypack—but we have yet to have these issues with this recipe!
We tested these bars with both Sweet Dreams and Glory Bee brands and both worked well.
How to make granola bars from scratch
Start by preheating your oven to 325F, and lining a mini loaf pan with parchment paper (or grease with a bit of coconut oil). Alternatively, you can use a muffin tin.

Place the oats into a food processor or blender and pulse until the texture is crumbly but not yet flour.

Transfer the oats to a medium bowl and add the brown rice syrup, coconut oil, brown sugar, salt, crushed peanuts, raisins, and chocolate chips. Stir to combine—the mixture will be very sticky and dense, but you want to make sure that there are no dry patches.
You can’t over-mix, so use a little elbow grease and make sure everything is really well mixed.

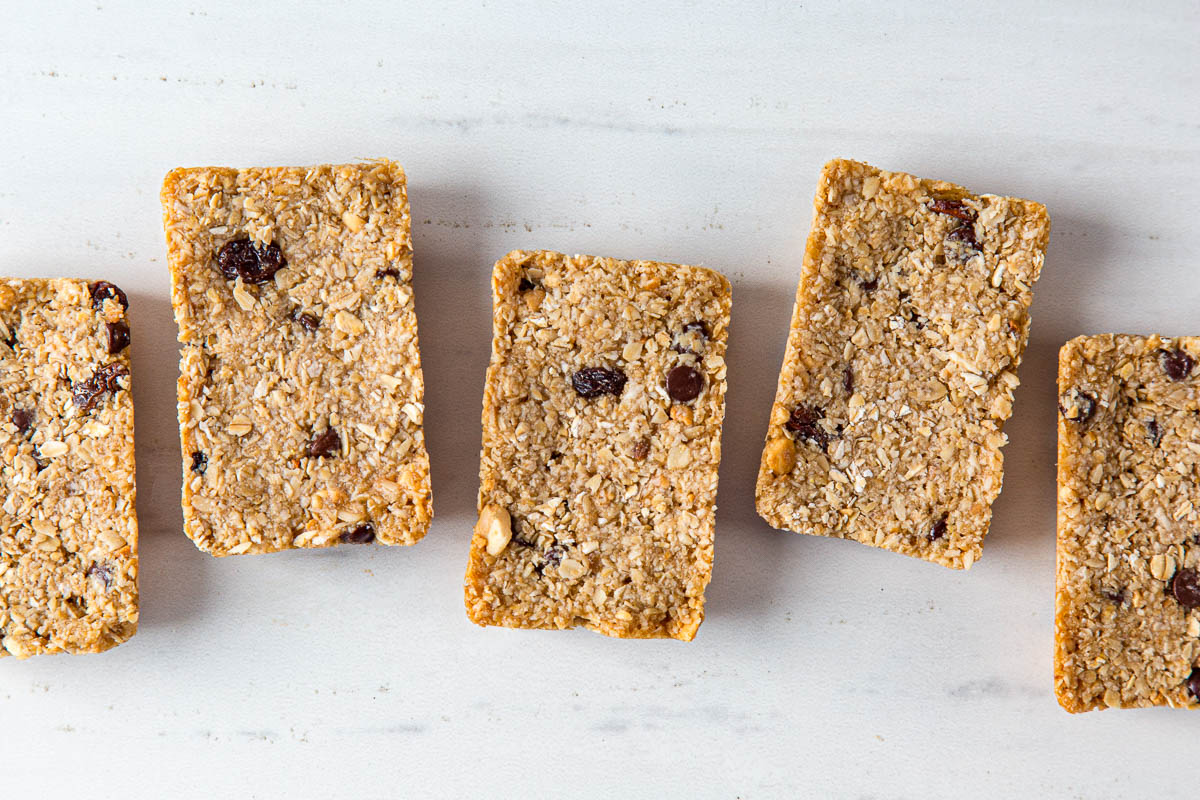
Divide the dough evenly between the cavities in your loaf pan or muffin tin, aiming for a thickness of ¾”-1” depending on the size of your pan. Press the dough firmly into the pan using your spatula, fingers, or a greased glass. This step also helps the bars stick together, so don’t skip it.
Bake for 18-20 minutes, until the tops are just starting to turn golden. Remove from the oven and let it cool on the counter for at least 30 minutes, or until they are cool to the touch.
Store in an airtight container.
Soft and Chewy Granola Bars
Ingredients
- 3 cups old fashioned rolled oats 300g
- ½ cup brown rice syrup 120mL
- ¼ cup coconut oil 60mL
- ¼ cup brown sugar, lightly packed 35g
- ½ teaspoon salt 2g
- ¼ cup peanuts roughly chopped, 35g
- ¼ cup raisins roughly chopped, 35g
- ¼ cup mini chocolate chips 40g
Instructions
- Preheat the oven to 325F.
- Place the oats into a food processor or blender and pulse until the texture is crumbly but not yet flour. Transfer to a medium bowl. Add the brown rice syrup, coconut oil, brown sugar, salt, chopped peanuts, raisins, and chocolate chips. Stir until thoroughly combined.
- Using a lined or greased mini loaf pan, divide the dough evenly between the cavities. Press the dough firmly into the pan using your fingers or a greased glass.
- Bake for 18-20 minutes, until the tops are just starting to turn golden. Remove from the oven and let it cool on the counter for at least 30 minutes, or until they are cool to the touch.
- Store in an airtight container.
Hey there, long-time reader, first-time comment! Psyched about this recipe. My girlfriend and I love Bobo’s bars, but they’re rather stupidly expensive. Looking forward to trying this out and experimenting with mix-ins! Do you know how long the bars will likely keep? I’ve got a four-day bikepacking trip coming up, and I’m wondering if I they’d stay good throughout the trip without preservatives. Thanks!
How long do you figure these will last on a backpacking trip?
It all depends on how you package them. They will definitely last a few weeks if kept in a well sealed in a baggie. Exposure to air will dry them out, so you will want to reduce that as much as possible. They’re also likely to crumble if smashed into a bear canister. If you wanted to send these to yourself in a meal drop (month or so ahead of time) we would consider vacuum sealing them.
I’m not much of a kitchen guy, but I tried this recipe because it contains some of my favorite flavors, and it seemed like the bars may work for a quick snack item while bicycling. For my first attempt, brown rice syrup was unavailable, so I used maple syrup. The taste was fantastic, but, as advised, the consistency was not good. I just made my second batch with the brown rice syrup, and they turned out great! I use fresh dates instead of raisins. Now, I’ll start playing around with other combinations of ingredients. Thanks so much for providing this recipe!
Bars were very easy to make and tasted good . I left mine in the oven a bit too long and were tough to bite into .