Campfire Baked Apples
This post may contain affiliate links.
Soft apples, brown sugar, oats, and butter—campfire baked apples are one of our favorite dessert memories from camp when we were kids.
If you’re feeling burnt out on s’mores and looking for a new camping dessert, we highly recommend giving baked apples a try! They combine an element of crafting (carving the apples), interaction with the fire (always a plus), and they have fruit in them! So it’s healthy, right?
We have really fond memories of making these at summer camp when we were younger. They were always one of the highlights of the trip. And while we loved them as kids, we’re happy to report they taste just as amazing as we remembered as adults.
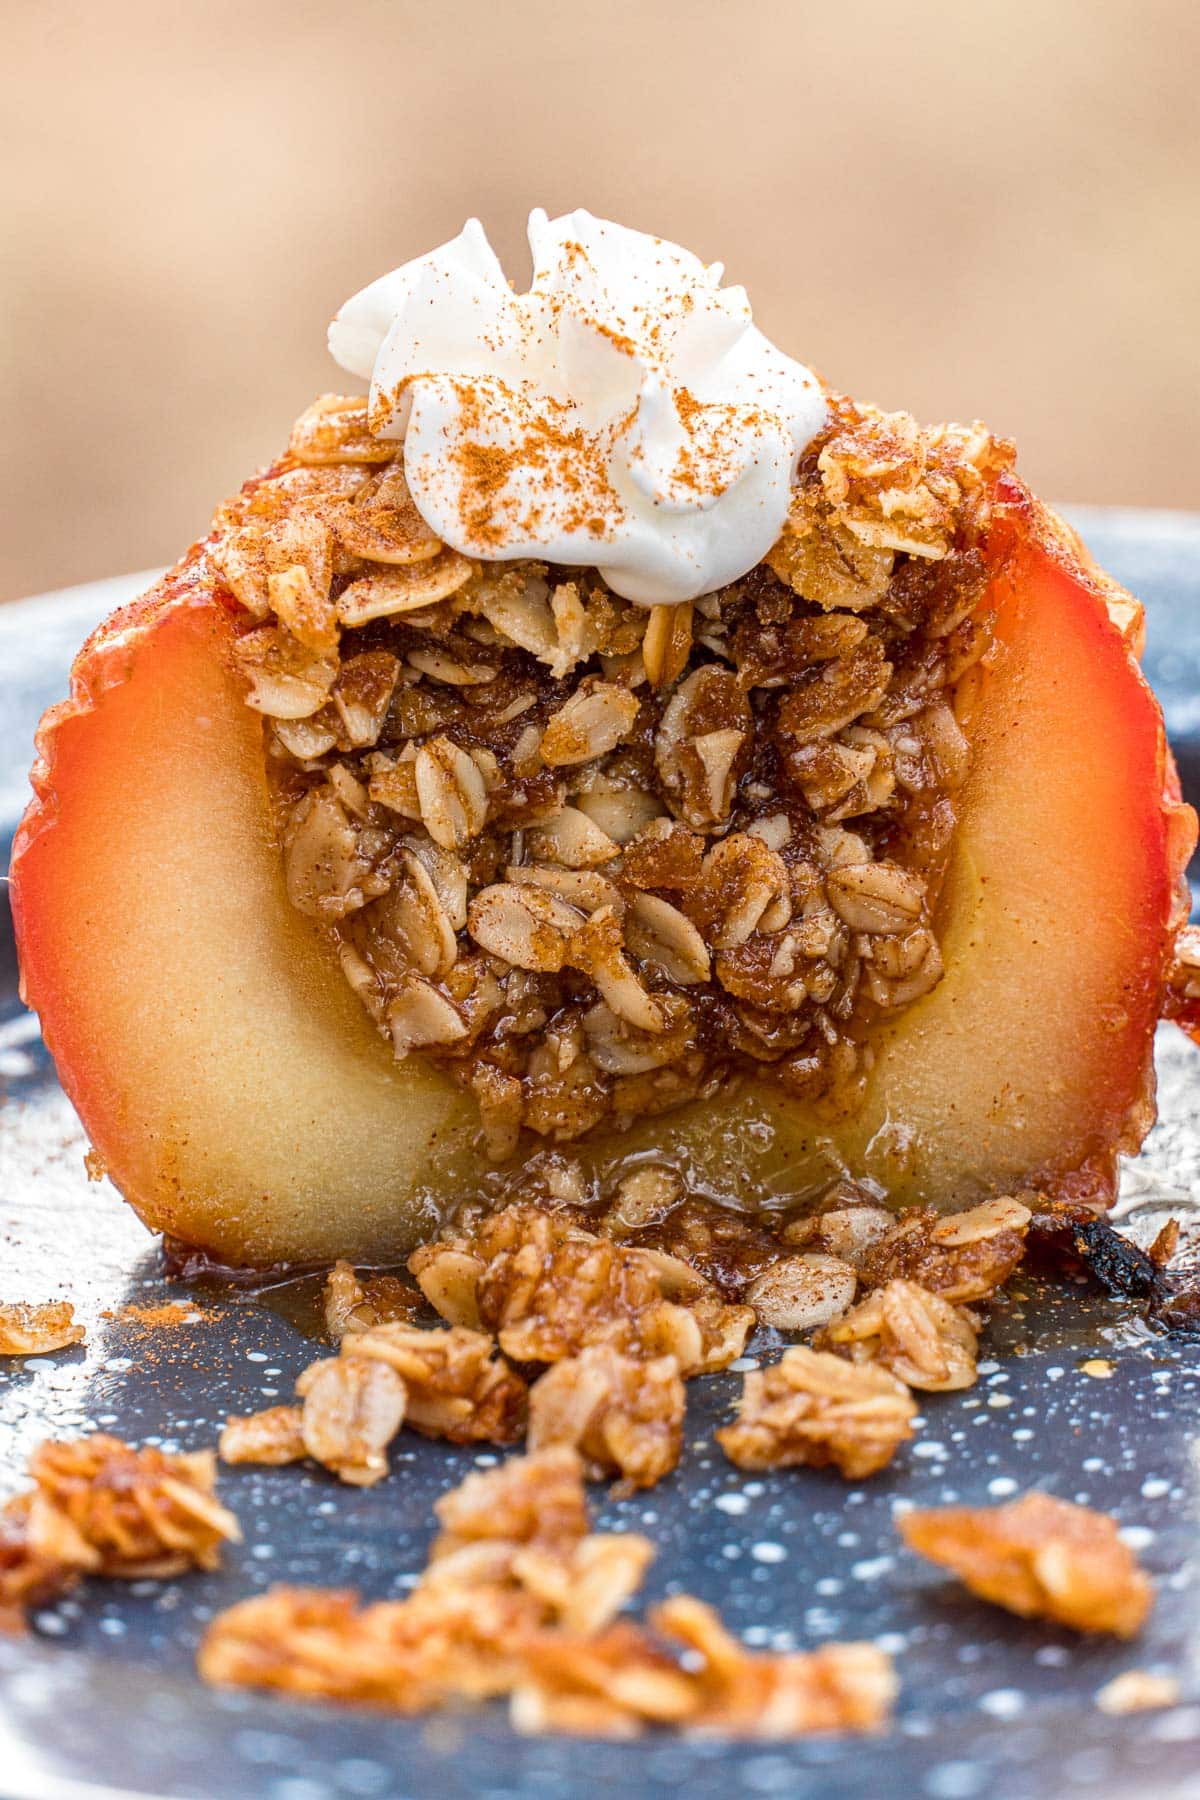
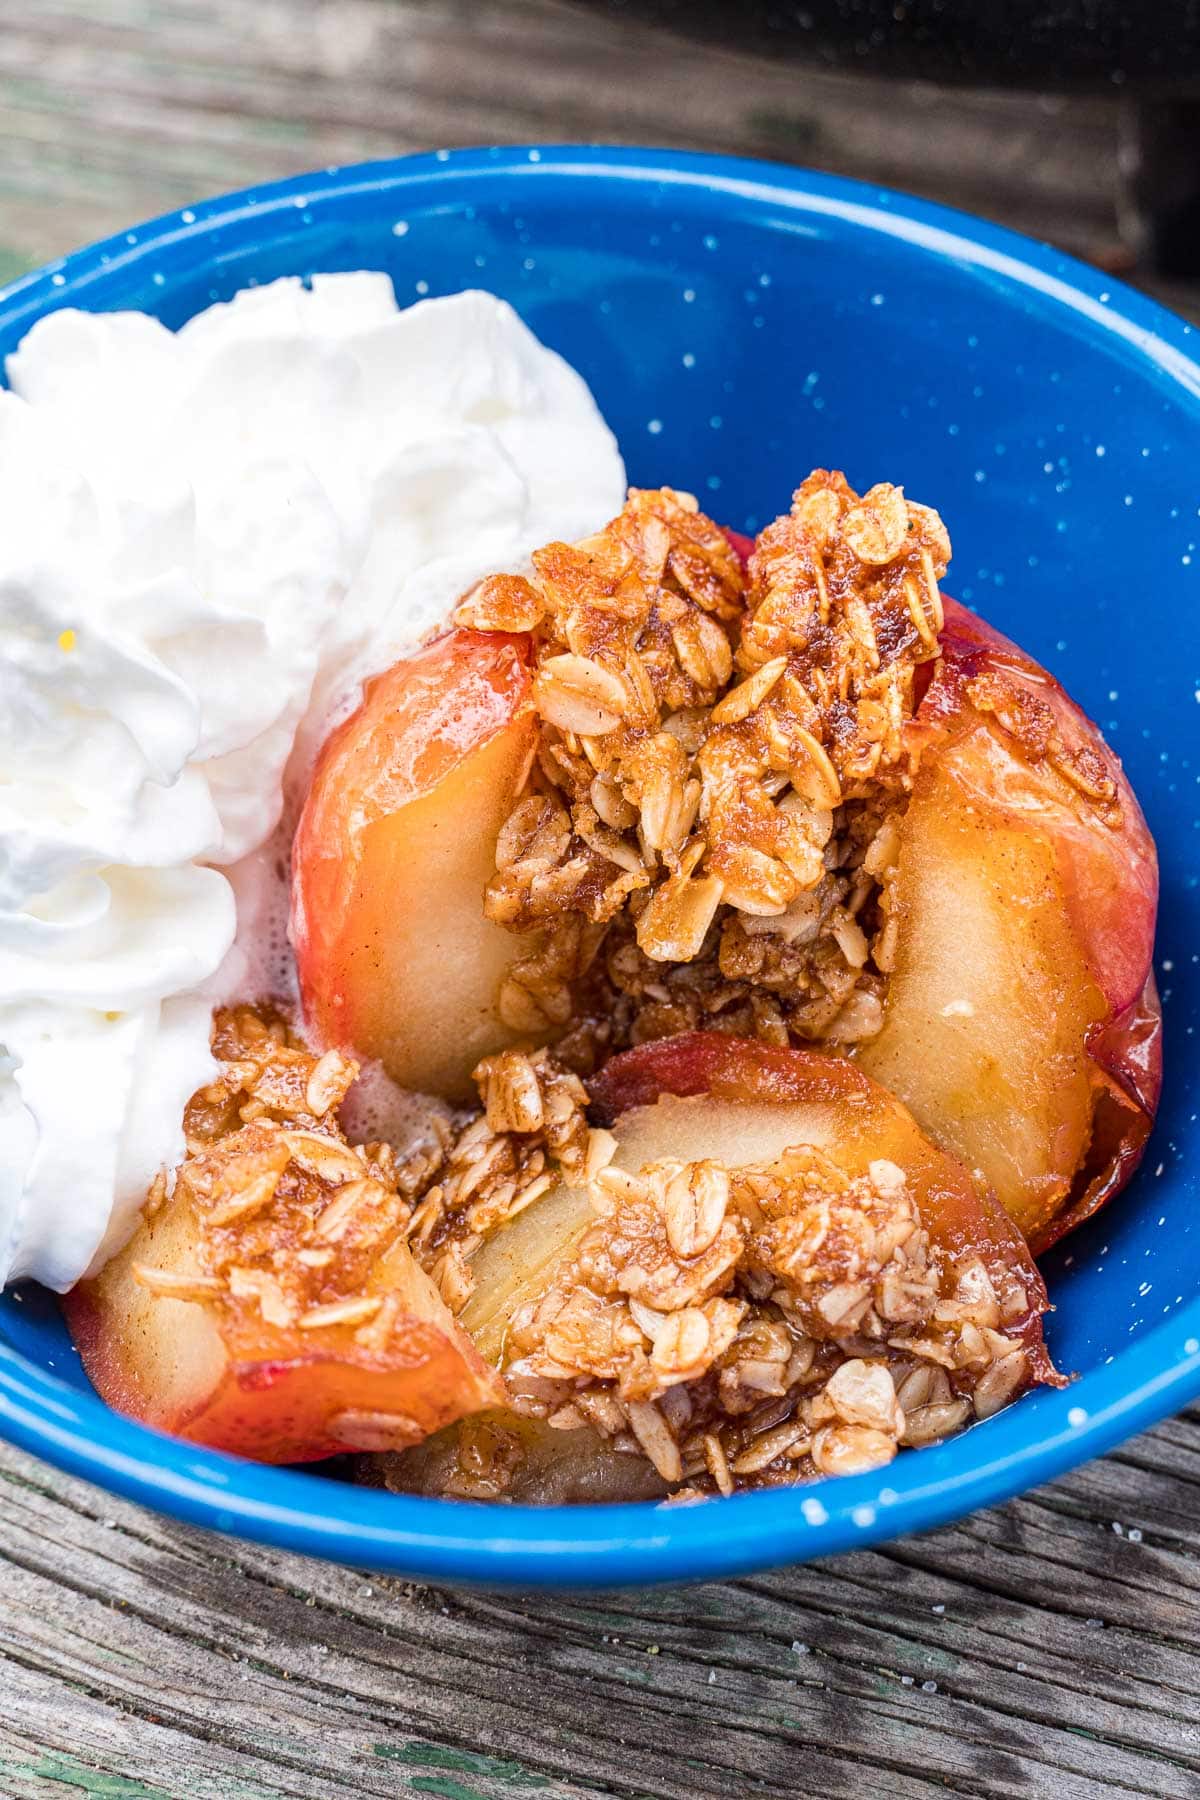
The warm and soft apple pairs perfectly with the caramelized brown sugar and buttery oats. Top all of that with a shot of whipped cream, and it’s got all the makings of a classic camping dessert!
In this recipe, we give instructions for making them in a Dutch oven as well as wrapped in foil. So no matter what equipment you have, this recipe will work for you. So let’s get to it!
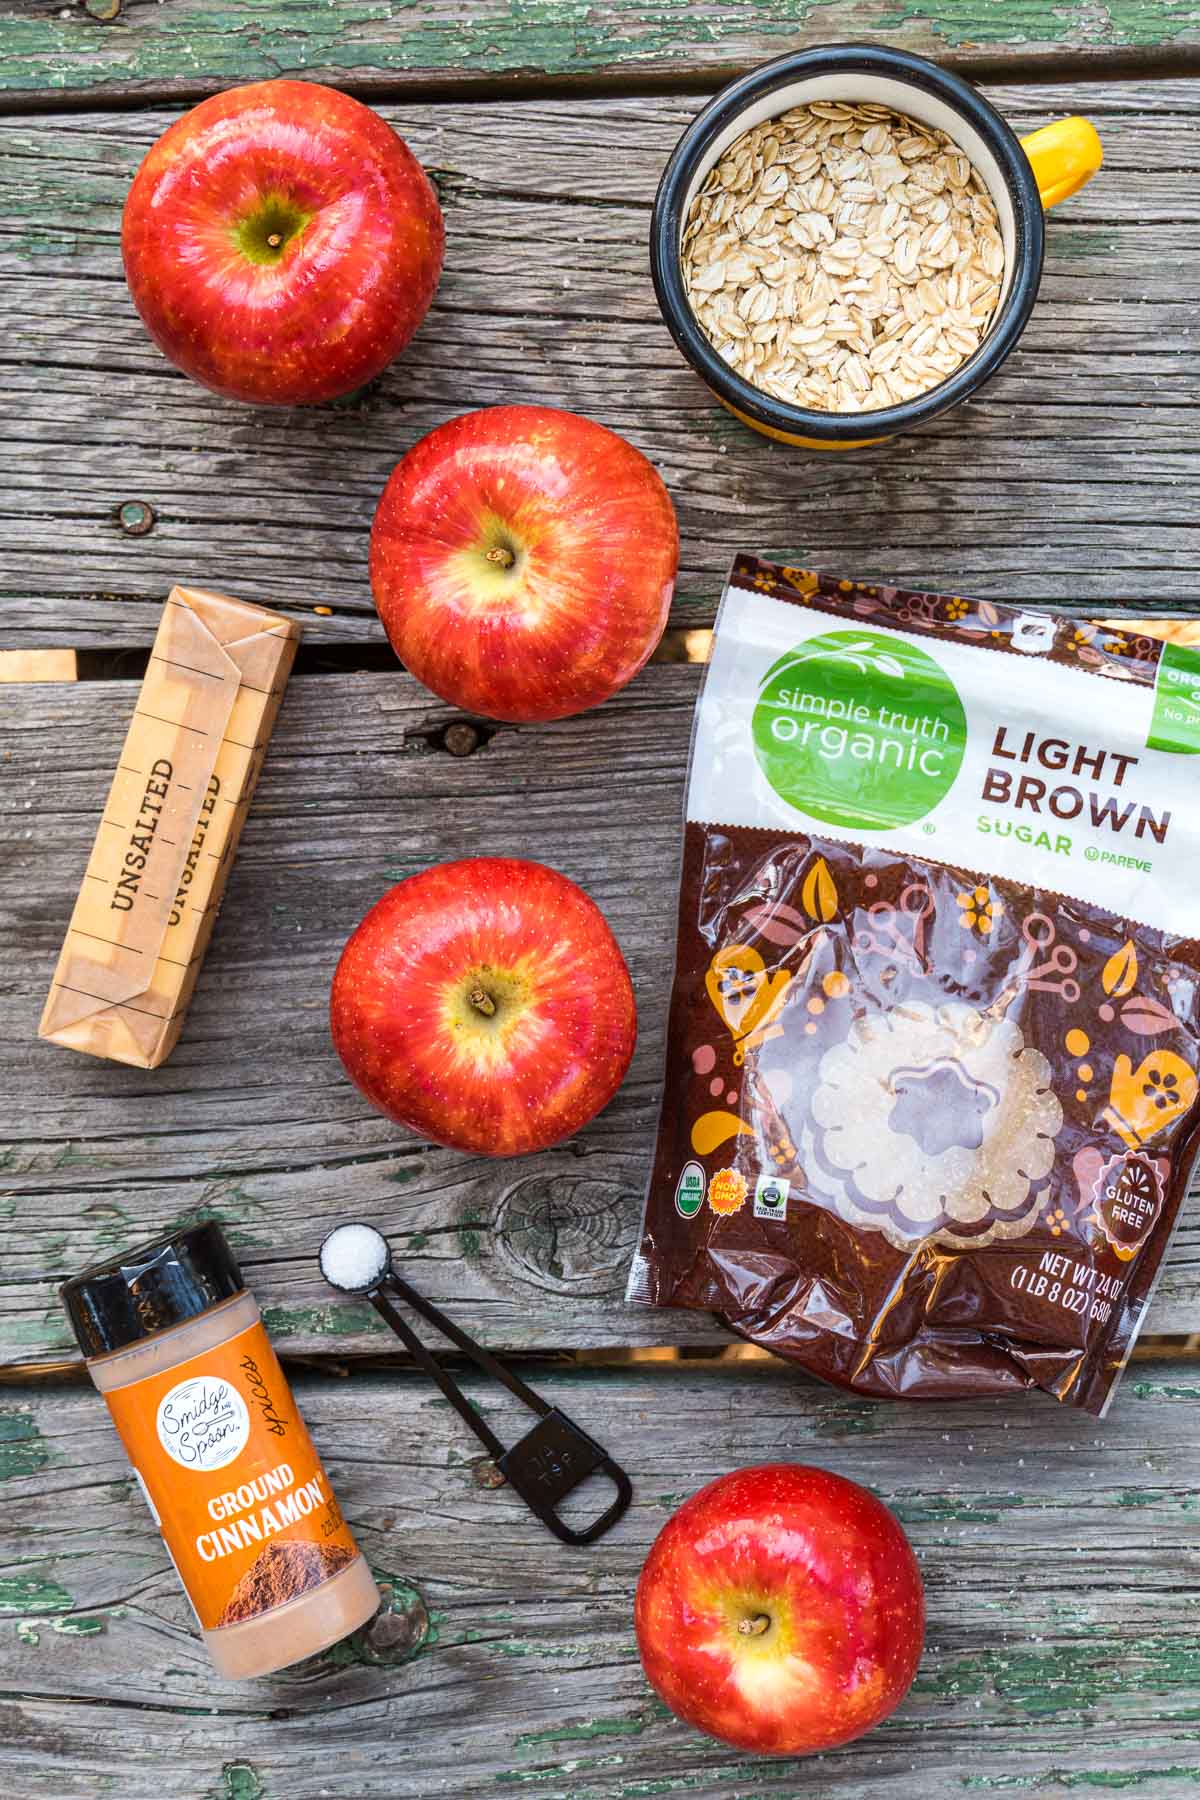
Ingredients
Apples: Any type of baking apple will work for making campfire baked apples, so you can use whatever you have available. However, we find that Honeycrisp retains its color the best, and the sweet-tart flavor is perfect in this recipe!
Rolled Oats: Avoid steel-cut or instant, and go with plain old-fashioned rolled oats.
Brown Sugar: You could also use white sugar, but we really like the flavor pairing of apple, cinnamon, and brown sugar.
Butter: You will want your butter to be fairly soft in order to mix it into the other ingredients. If it’s still hard, you can place it in an enamel camp bowl near the fire.
Cinnamon: The primary flavoring that really makes the apple flavor pop!
Salt: Just a pinch.
Whipped Cream (optional): Whipped cream is our favorite camping-friendly ice cream substitute. Adding a dollop to the top of the finished apples is an excellent idea.
Equipment
Dutch Oven: One of the ways you can make campfire baked apples is to place your stuffed apples inside a Dutch oven and cover with hot charcoals and/or embers. You can use this method to bake any number of baked apples—but it makes the most sense if you’re baking more than a few.
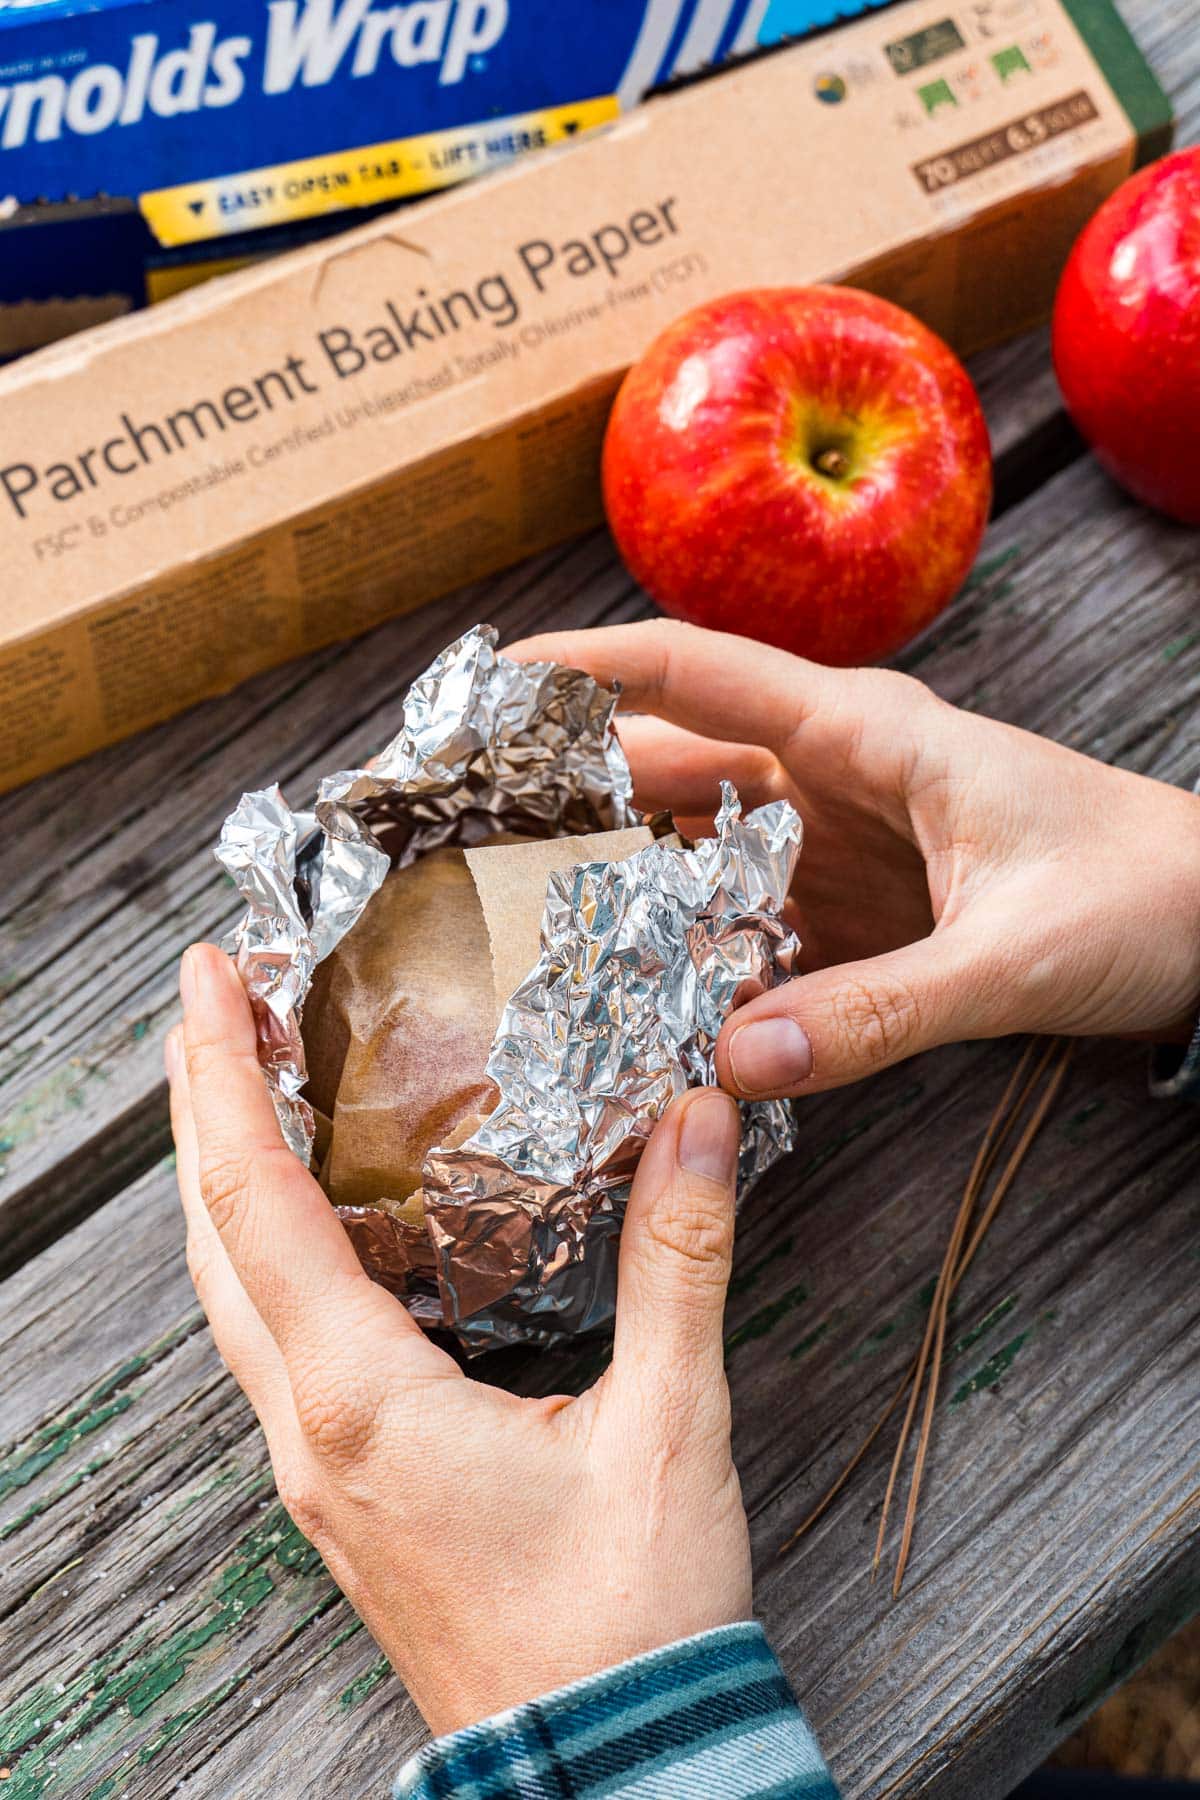
Aluminum Foil: If you are just baking a few apples, then you can also use the aluminum foil method. Just wrap the apples up first in parchment paper and then in aluminum foil (the parchment helps keep the aluminum foil clean so it can be recycled).
Heat-Resistant Gloves: Using a pair of heat-resistant gloves is a good idea for either cooking method.
Long-Handled Tongs: A pair of long-handled tongs is the best way to safely reposition individual foil-wrapped apples.
How to Make Campfire Baked Apples
Here’s an overview of the recipe with tips & tricks and step-by-step photos! The full recipe with measurements and a printable recipe card can be found at the bottom of the post.
Prepare Your Fire/Charcoals
You can make baked apples using either the embers from a wood fire or charcoal. Make sure to prepare your fire well enough in advance to allow the larger pieces of wood to burn down to usable embers. For more information on preparing a fire for cooking, check out our Campfire 101 article.
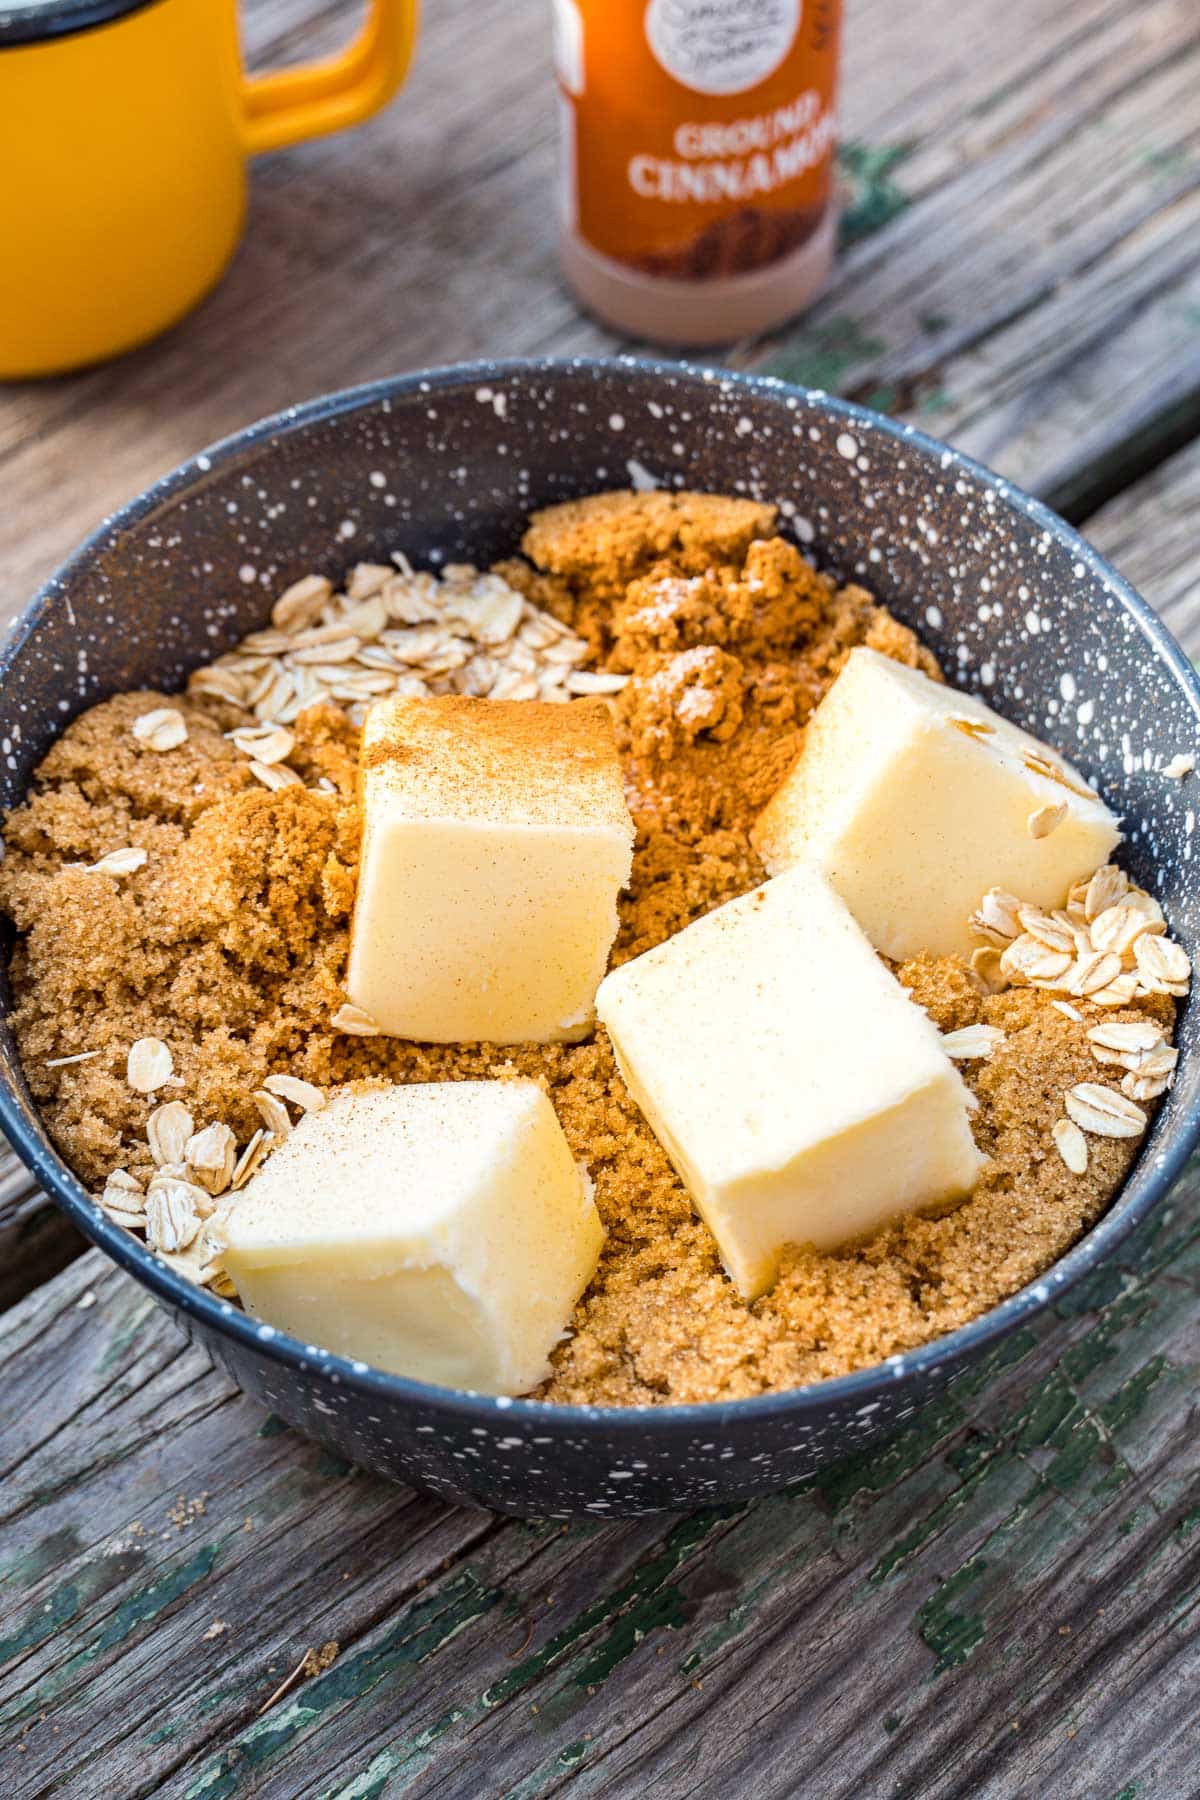
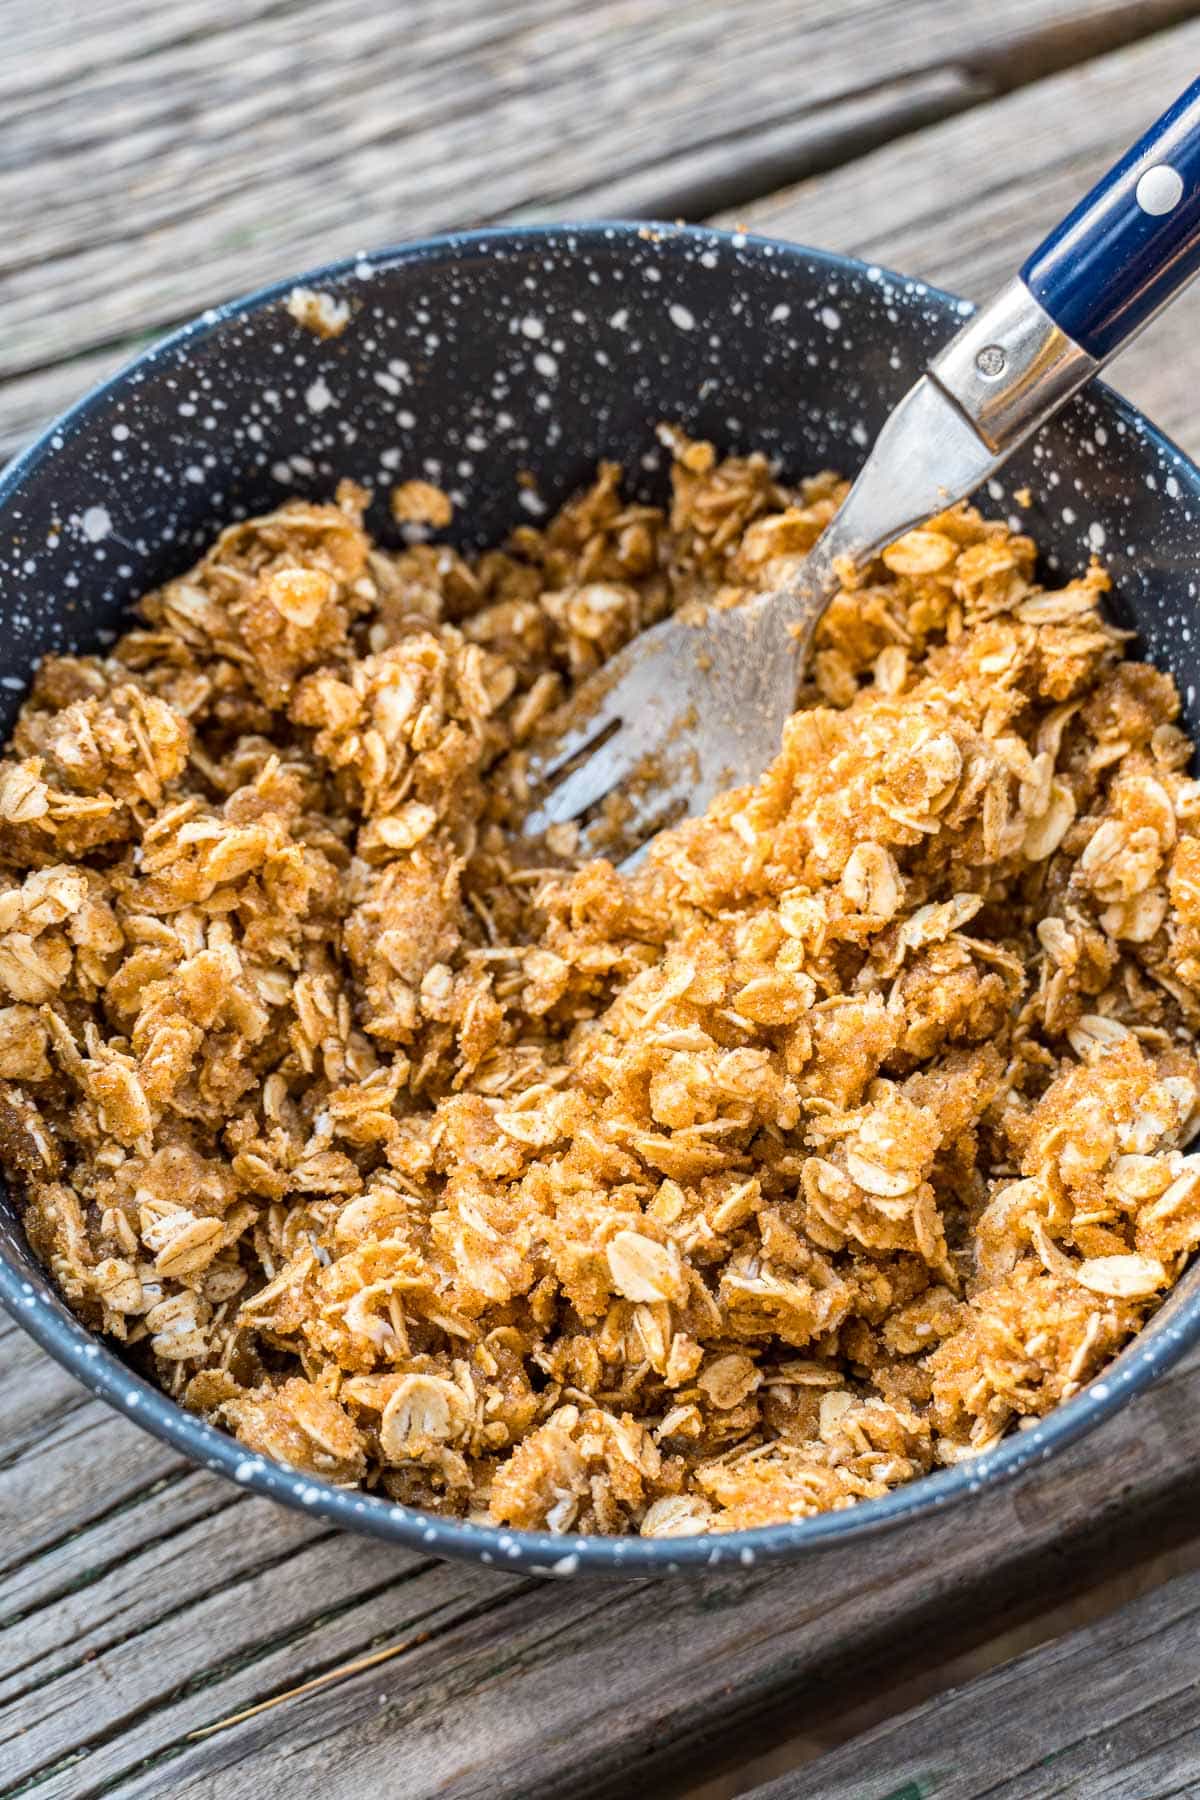
Make the Filling
While the fire and/or charcoals are getting ready, you can start to make the filling for the apples. In a small bowl, mix together the oats, brown sugar, salt, and butter.
It is best if the butter is soft, or even melted. If your butter is still too cold, you can place the bowl near the fire to warm it.
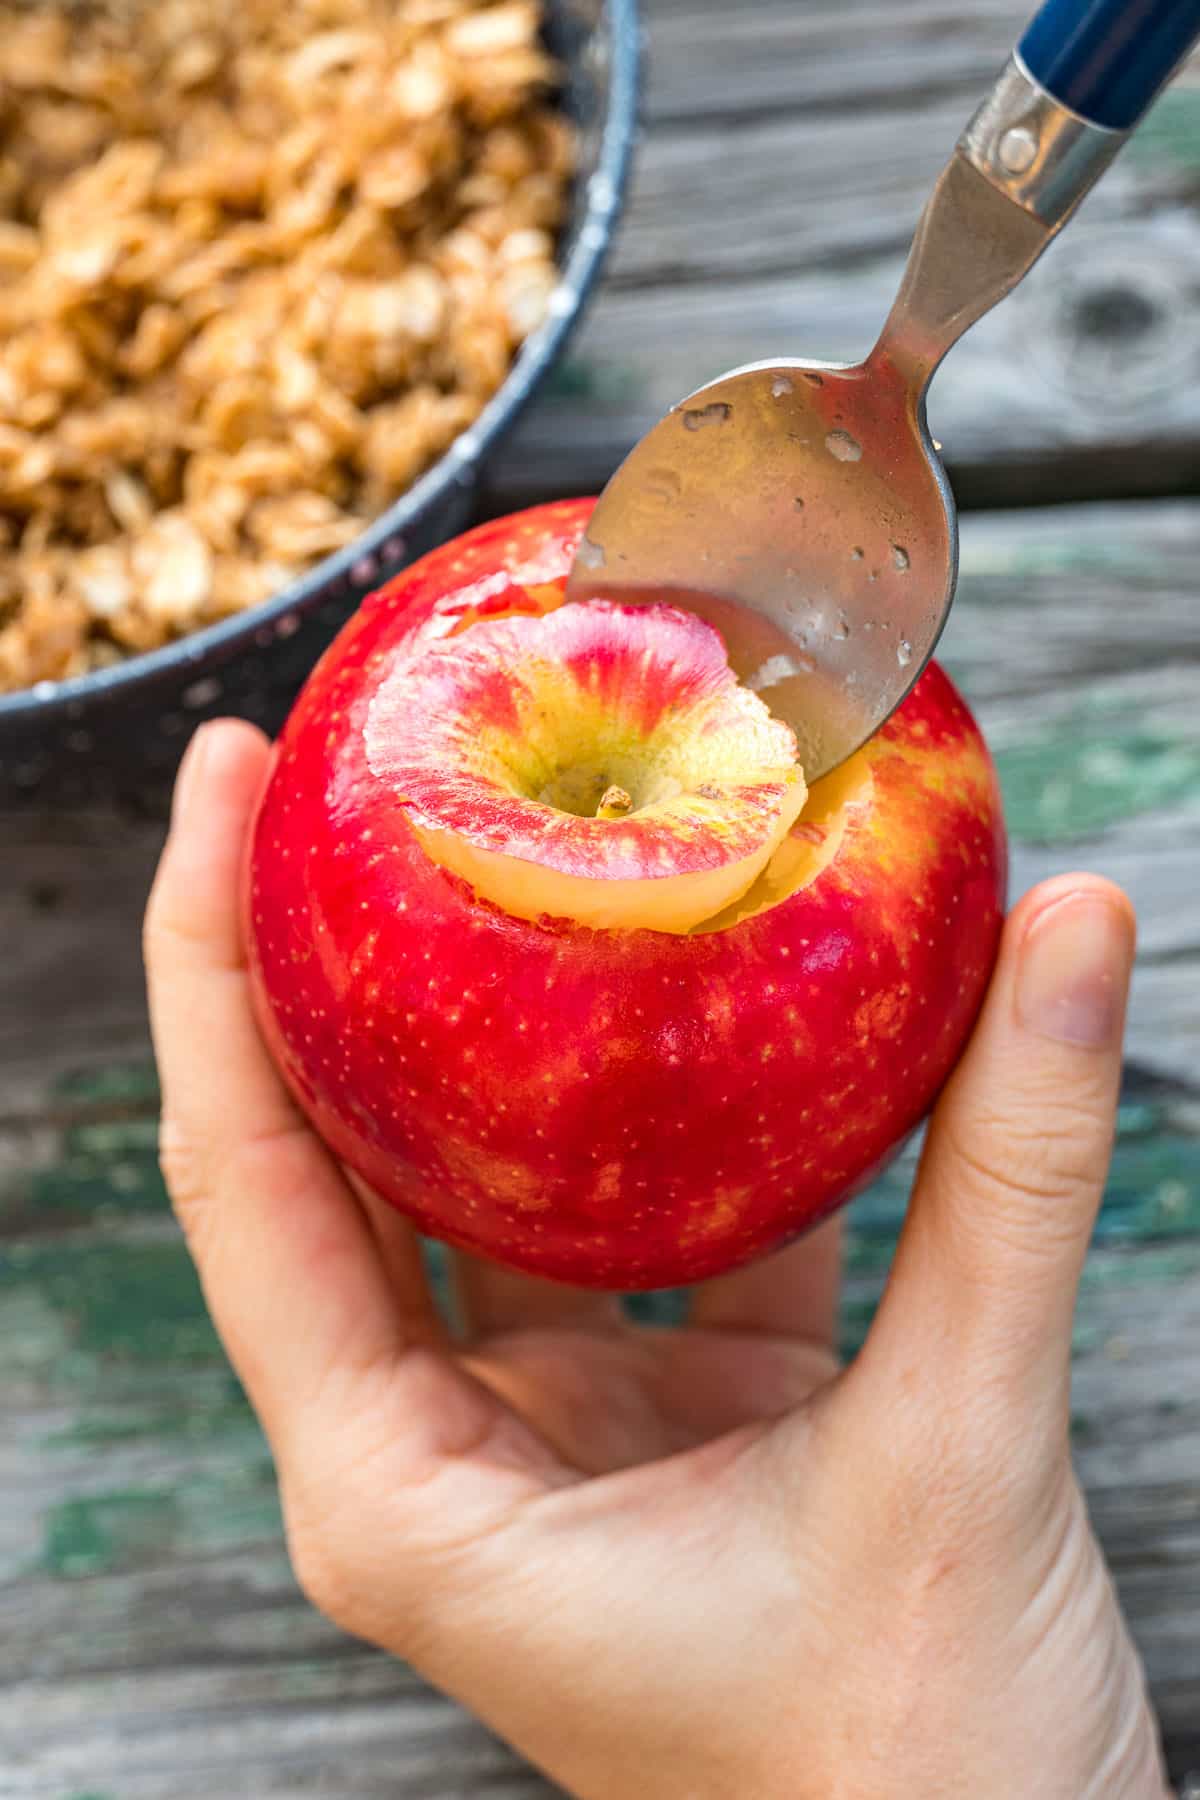
Carve Out the Apples
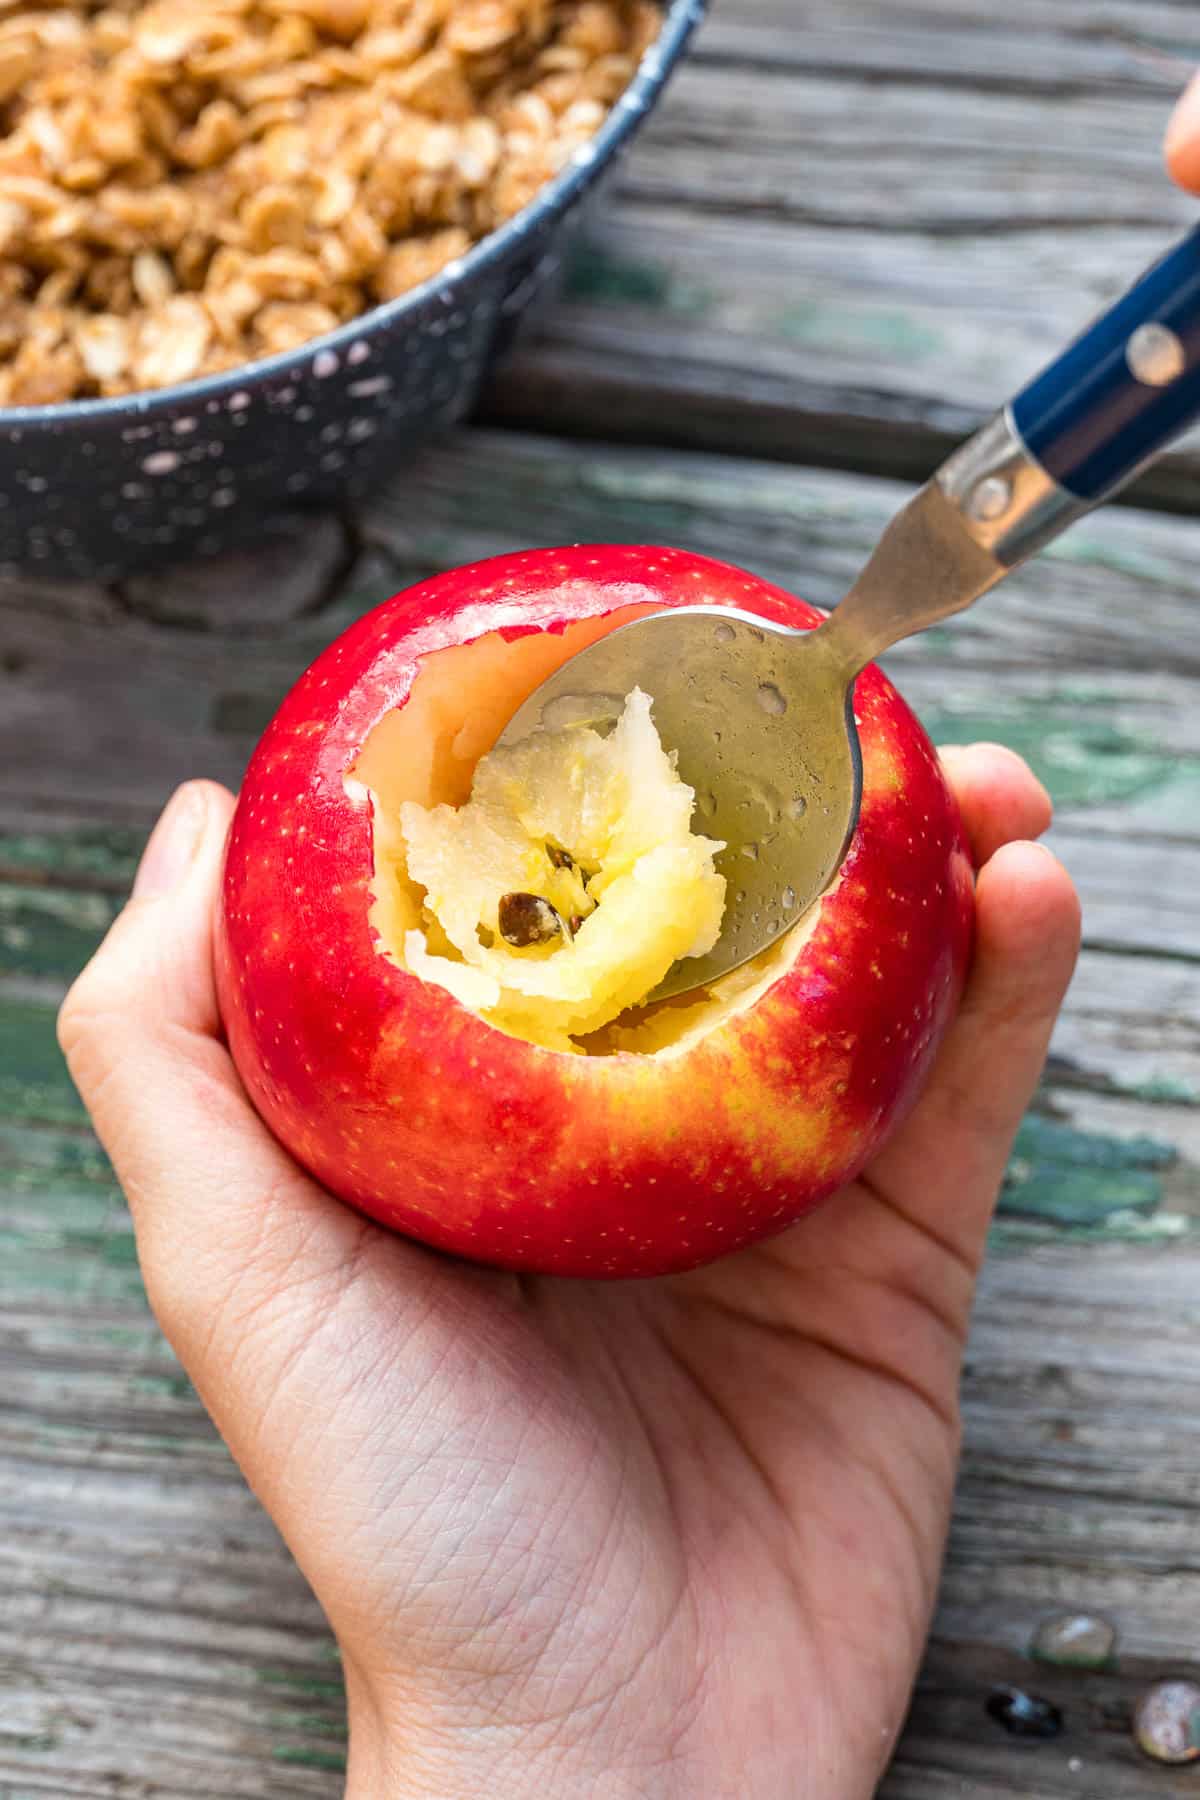
It’s time to carve out your apples! The best (and safest) method of doing this is to use a regular metal spoon. Start from the top of the apple and carve your way down into the core.
You want to remove all of the core, plus a little extra. Remember, the more you carve out, the more room there is for filling!
IMPORTANT: The most important thing to remember when carving your apple is: don’t carve through to the bottom! If you have a hole in the bottom, all the butter and brown sugar will drip out, leaving the filling dry and your Dutch oven a sticky mess.

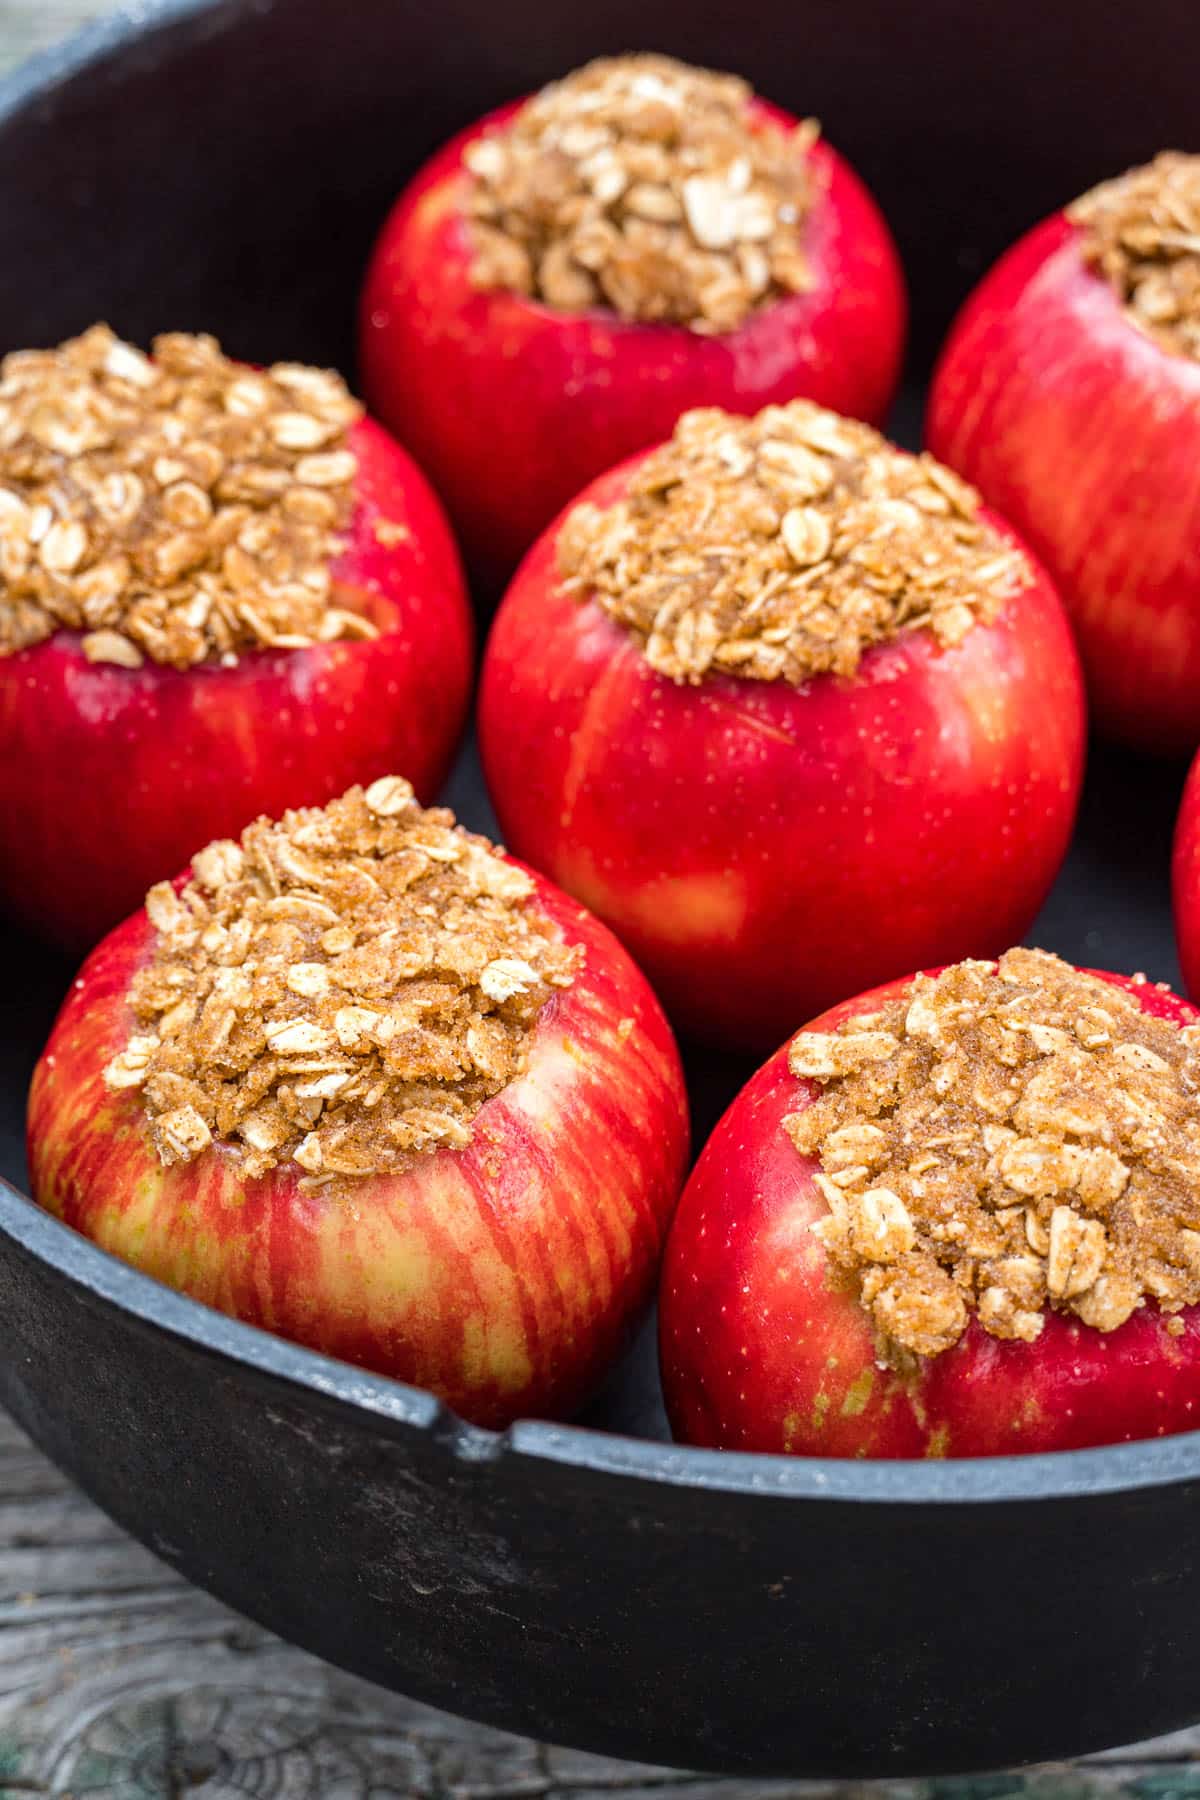
Add the filling
Fill the apples with the oats and sugar mixture. Pack in as much as you can. It’s okay to leave a bit of a mound on top.
If you sliced off the top of your apple before you started carving, resist the urge to place it back on top like a little hat. We thought it would be cute but realized that it prevents the stuffing from hardening and forming the crunchy layer on the top.
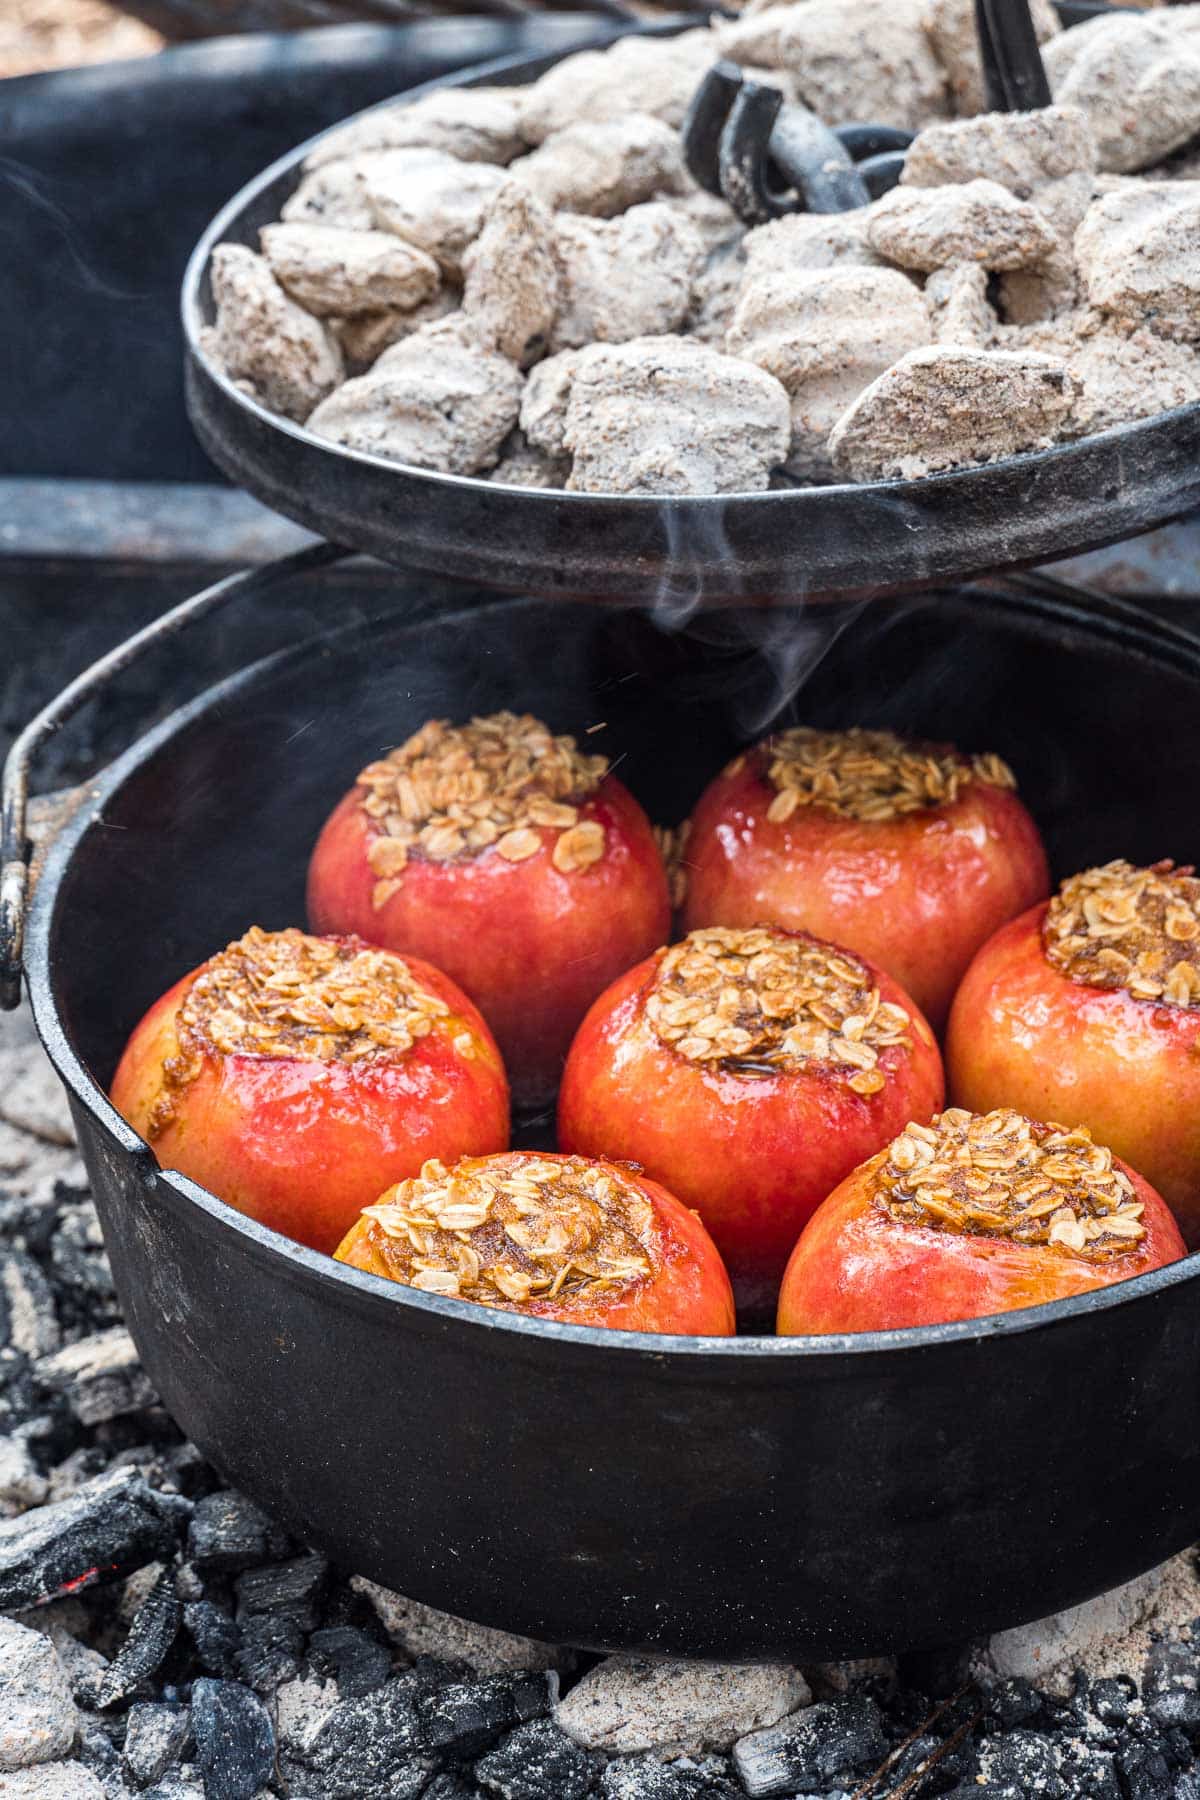
Dutch Oven Preparation (30 minutes)
Place your apples into the Dutch oven and set it over a bed of hot charcoals. Make sure all the apples are standing upright. Place the lid on top and cover it with hot charcoals.
Ideally you are aiming to bake the apples at 350°F. If you are using a 10” 4-quart Dutch oven, that would be 7 coals on the bottom and 14 on top. Depending on the coals and outside temperature, you may need to adjust this number.

Foil Preparation (20 minutes)
Tear off a square of aluminum foil and place your apple in the center. Lift the corners towards the center and wrap together. You want the seam at the top and full coverage on the bottom.
Using a pair of long-handled tongs, place the individually foil-wrapped apples, top up, into a bed of charcoal or embers. Try to nestle them down into a divot to help the top and bottom cook more evenly.
How to Serve
The apples should be soft, and the filling should be crunchy on top and soft in the middle.
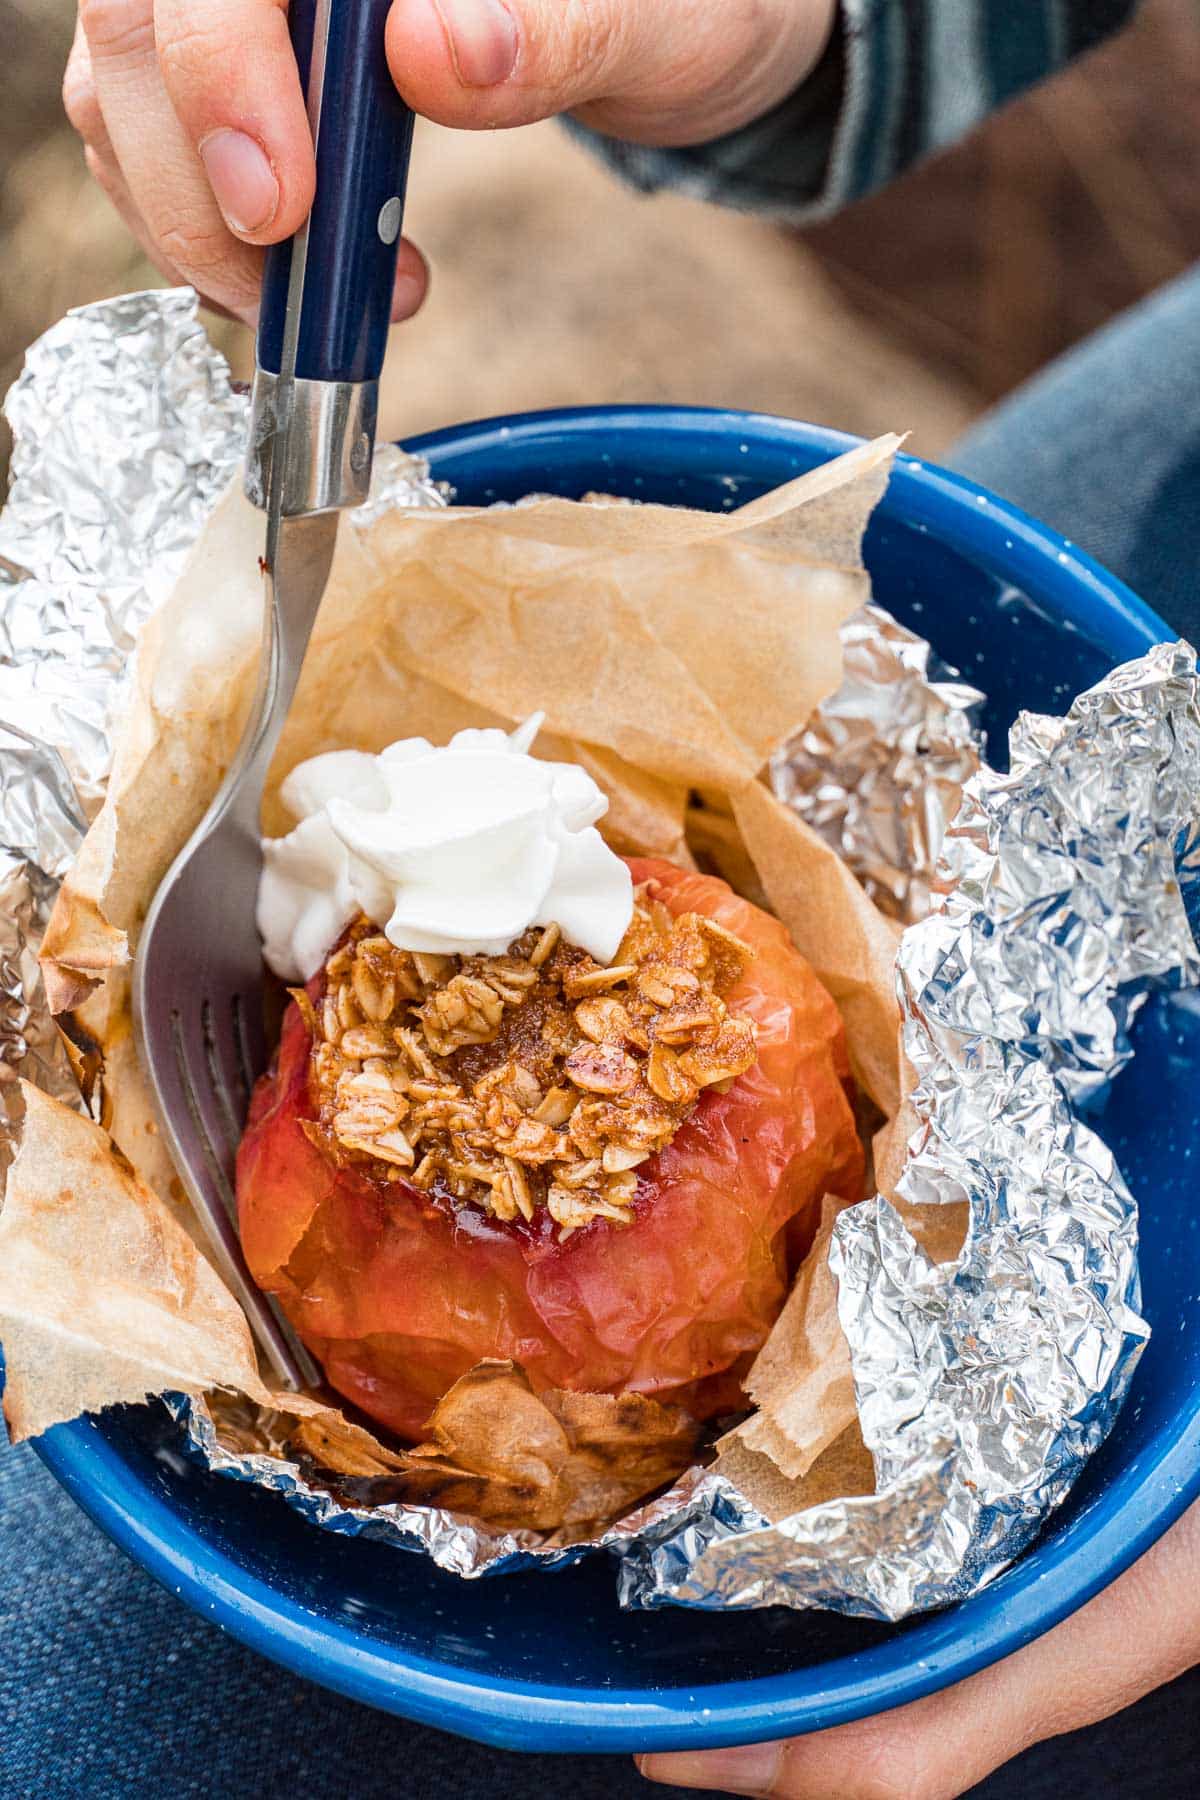
One of the best ways to serve this is by placing the apple in a bowl, since eating them can get a bit messy.
If you have kids and want to give them an activity while you’re making these, have them make a batch of ice cream in a bag to serve these apples a la mode! Or, the next best thing is to serve them with a shot or two of whipped cream.
Campfire Baked Apples
Ingredients
- 4 apples honeycrisp work best
- ½ cup rolled oats
- ½ cup brown sugar
- 4 tablespoon butter very soft or melted
- 1 teaspoon ground cinnamon
- ¼ teaspoon salt
Instructions
- Start the coals: You can make baked apples using either the embers from a wood fire or charcoal. Make sure to prepare your fire well-enough in advance to allow the larger pieces of wood to burn down to usable embers.
- Make the filling: While the fire or charcoal is getting ready, make the filling for the apples. In a small bowl, mix together the oats, brown sugar, softened butter, butter, and salt.
- Carve the apples: Carve out the middle of the apples using a small spoon. Start from the top of the apple and carve your way down into the core, removing the core and all the seeds. The most important thing here is to not carve through to the bottom! (Otherwise, all the butter and brown sugar will drip out, leaving the filling dry and your Dutch oven a sticky mess.)
- Fill the apples: Fill the apples with the oats and sugar mixture and pack it down with your spoon.
- Bake the applesDutch Oven Method: Place the apples into the Dutch oven and set over a bed of hot charcoals. Make sure all the apples are standing upright. Place the lid on top and cover it with hot charcoal. Ideally, you’re aiming to bake the apples at 350 F. If you are using a 10” 4 quart Dutch oven, that would be 7 coals on the bottom and 14 on top. Depending on the coals and outside temperature, you may need to adjust this number.Foil Method: Tear off a square of aluminum foil and place your apple in the center. Lift the corners towards the center and wrap together. You want the seam at the top and full coverage on the bottom. Using a pair of long-handled tongs, place the individually foil-wrapped apples, top up, to a bed of charcoal or embers.
- Bake the apples for about 30 minutes, until the apples are soft and the filling is crunchy on top.
- Serve in a bowl, topped with whipped cream. Enjoy!
Can they be made on a gas grill?
I haven’t tried that yet, but I really don’t see why not! Let us know how it goes 🙂
I make something similar on the gas grill! I don’t usually use oats just because that is not the way we did it when I was young, more of a apple crisp type topping, but these look good too
Loved loved this recipe. Extremely unique and so easy to make. I love a warm breakfast when camping.
This looks really nice and easy to make. I have a 2 burner gas stove, I presume I can cook these in a pot on a burner!
Does the cinnamon go in the filling mixture, or sprinkled on top? I’m assuming mixed in, but it doesn’t say in the instructions…
This recipe was so good and easy. Perfect for a firepit.
Best treat at camp. I’m taking it with me from scouts and bringing it to venturers. I’ll be running my frost night in venturers which is called “Bring a friend” and it’s people bringing their friends to experience scouting. One of the activities will be making this. I love them
I’ve been wanting try these my whole life, haha, and they were SO good! Thank you!