How to Season Cast Iron Cookware So It Lasts Forever
This post may contain affiliate links.
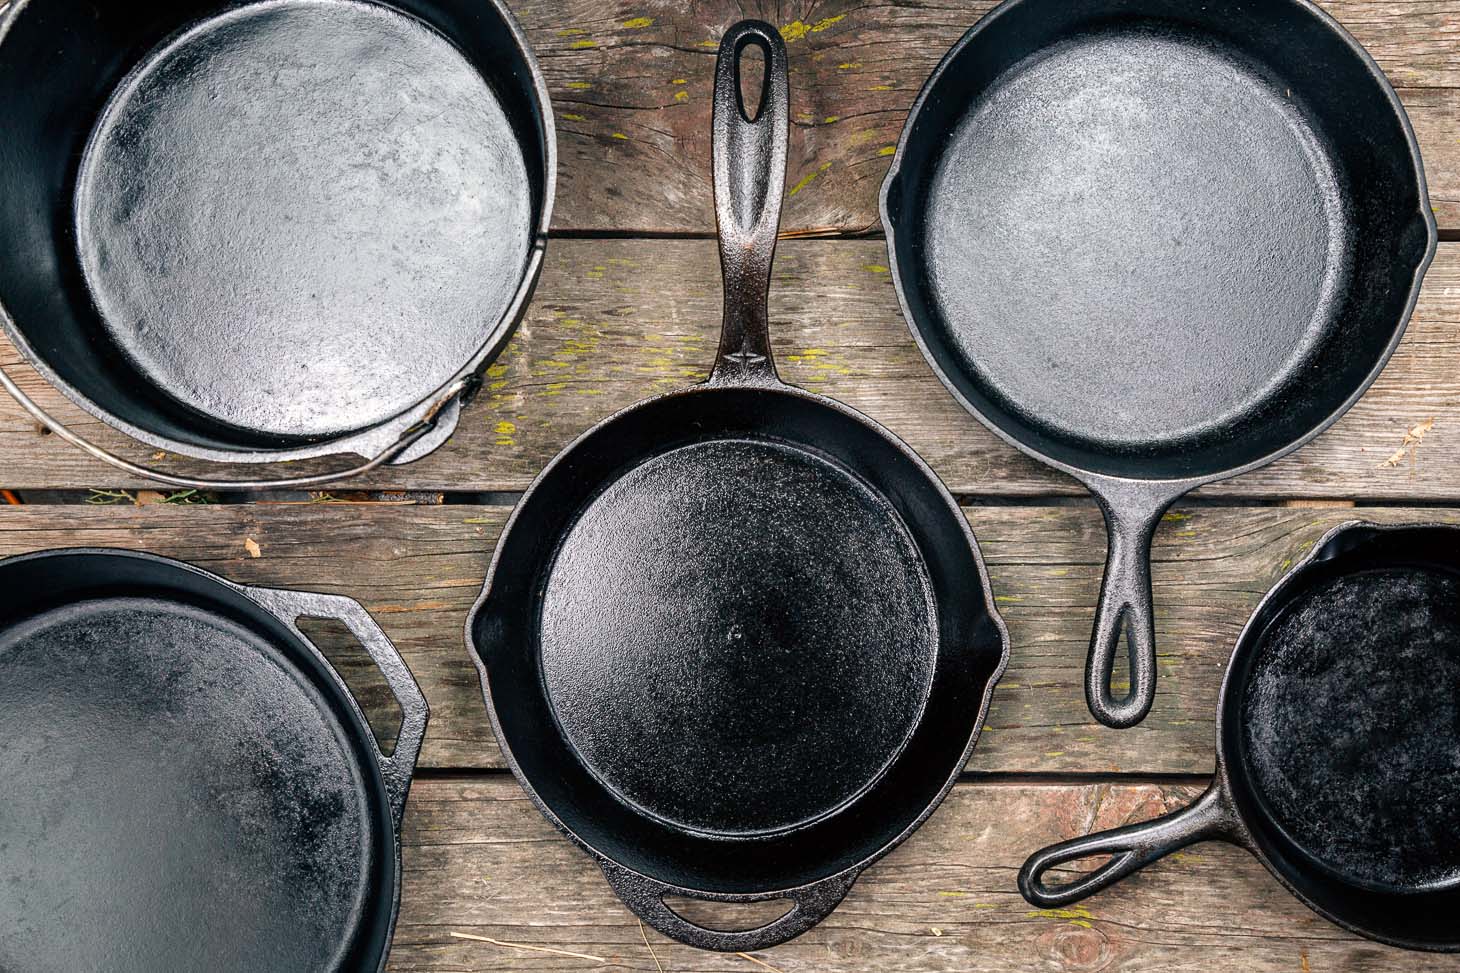
Whether at a campsite or at home, our cast iron skillet is the first pan we reach for. In this guide, we shed some light on this classic piece of camp cookware and show you how to season, cook with, clean, and maintain your cast iron. If properly cared for, cast iron can last for generations.
Why we love cast iron cookware
Whether at home or out camping, we love cooking with cast iron. Here are a few of the reasons we like cast iron so much:
↠ Super versatile – you can cook nearly anything with cast iron
↠ It’s virtually indestructible and will last for years
↠ Can be placed over an open flame, on a bed of embers, or into the oven at home
↠ Can be heated to extremely high temperatures
↠ Cast iron has great heat retention & radiation
↠ The nonstick seasoning can be endlessly restored
Seasoning: Cast iron’s secret sauce
The surface of cast iron cookware is made up of microscopic imperfections. When oils are heated on its surface, they bond to the imperfections and create a smooth, plastic-like surface.
This chemical reaction is known as polymerization, and the non-stick layer that forms is what is commonly referred to as the pan’s “seasoning.”
This seasoning can be built up or worn down over time. You’ll be able to tell if your cast iron is losing its seasoning because the glossy surface will turn matte and food will start sticking to the pan.
A few common ways cast iron cookware can lose their seasoning are:
- Excessive scouring and/or using really harsh detergents while cleaning
- Water corrosion from putting away a pan that’s still wet
- Cooking highly acidic foods for extended periods of time (the less likely reason)
But thankfully, it’s never too late to restore your seasoning! Read on to learn how to season a new pan or restore the seasoning on an older one.
How to season cast iron
Nearly every new cast iron pan you purchase will come “pre-seasoned” from the manufacturer. This is a good base layer to start with, but we always recommend putting on a few more layers of your own for good measure.
If you have an old pan where the seasoning has worn down or even rusted, don’t despair! You’ll just need to strip it down to the bare metal and start building it back up again.
In either situation: a brand new pan or a worn-out old pan, you can follow these steps. You’ll just need a few things to get started:
- A stiff brush (for new cast iron) or steel wool (if restoring an old, rusted pan)
- Mild dish soap
- Paper towels
- Aluminum foil
- Unsaturated oil
What is the best oil to season cast iron with?
Unsaturated oils are best for seasoning because their chemical structure is more reactive than saturated oils. This makes it easier for them to polymerize to the metal. Saturated oils, like bacon grease and lard, were commonly used in the past because they were cheap, readily available, and unsaturated enough to get the job done, but from a molecular perspective they’re less than ideal.
While most unsaturated oil will do, there is a growing consensus that pure, organic flaxseed oil is the best – especially for a major re-seasoning. Its most desirable quality is that it is technically a drying oil (essentially the food-grade equivalent of linseed oil). That means flaxseed oil starts to harden when exposed to air, which can help create a rock hard polymerized layer on your cast iron.
However, flaxseed oil is expensive and can be difficult to find. Because it is sold as a supplement, it’s often located in the refrigerated health/wellness section of the grocery store, rather than on the shelf with other cooking oils. It can also be found on Amazon. Make sure the oil you purchase is organic, and that the only ingredient listed is “organic flaxseed oil”.
If flaxseed oil seems a little too expensive or hard to track down, we recommend grapeseed oil.

Cast iron seasoning, step-by-step:
1. Start with a Clean Slate
Get your brush wet, and with a drop of dish soap, scrub down the entire pan: top, bottom, sides, and handle – the whole thing.
If the pan has any rusty spots, be sure to scrub them down to the bare metal (you may need to use steel wool to do this). When you’re finished, there should be zero rust on the pan.
A quick note to the anti-soap fanatics: The whole anti-soap mantra is a holdover from when soap used to be really harsh. Today’s dish soap is far gentler and a little bit will not ruin your cast iron. More on this later, but for now, a little bit of mild dish soap to prep your cast iron for re-seasoning is fine.
2. Rinse & Dry
Rinse the pan off and dry it. It’s important to get the pan as dry as possible. If it’s humid out or you’re just having a hard time getting the pan completely dry, place it on a burner over medium heat until all the water evaporates off.
3. Oil Rub
Once the pan is dry (and cooled), rub a small drop of your oil into the pan with a paper towel. You’re looking to coat the entire pan with a thin layer of oil: the top, bottom, sides, and handle. Take care to wipe away any excess – extra oil lingering on the pan will end up being sticky after the heating process, which is not the result we’re going for! The pan should look nearly dry once you’re done with this step.
4. Bake
Once covered in oil, place your cast iron upside down on the middle rack of your oven and turn it on to 450-500F. It can be helpful to put a sheet of aluminum foil on the bottom rack to catch any drips. (However, if you only put down a thin layer of oil there shouldn’t be any.) Bake for 1 hour.
5. Cool
Turn the oven off and let the cool with the oven door closed. This can take a while, so be patient! Once the pan has cooled completely, remove.
6. Repeat
Repeat steps 3-5 for at least another two times (more if you have time for it!).
At the end of the process, the seasoning on your cast iron should be a glossy, nonstick black.
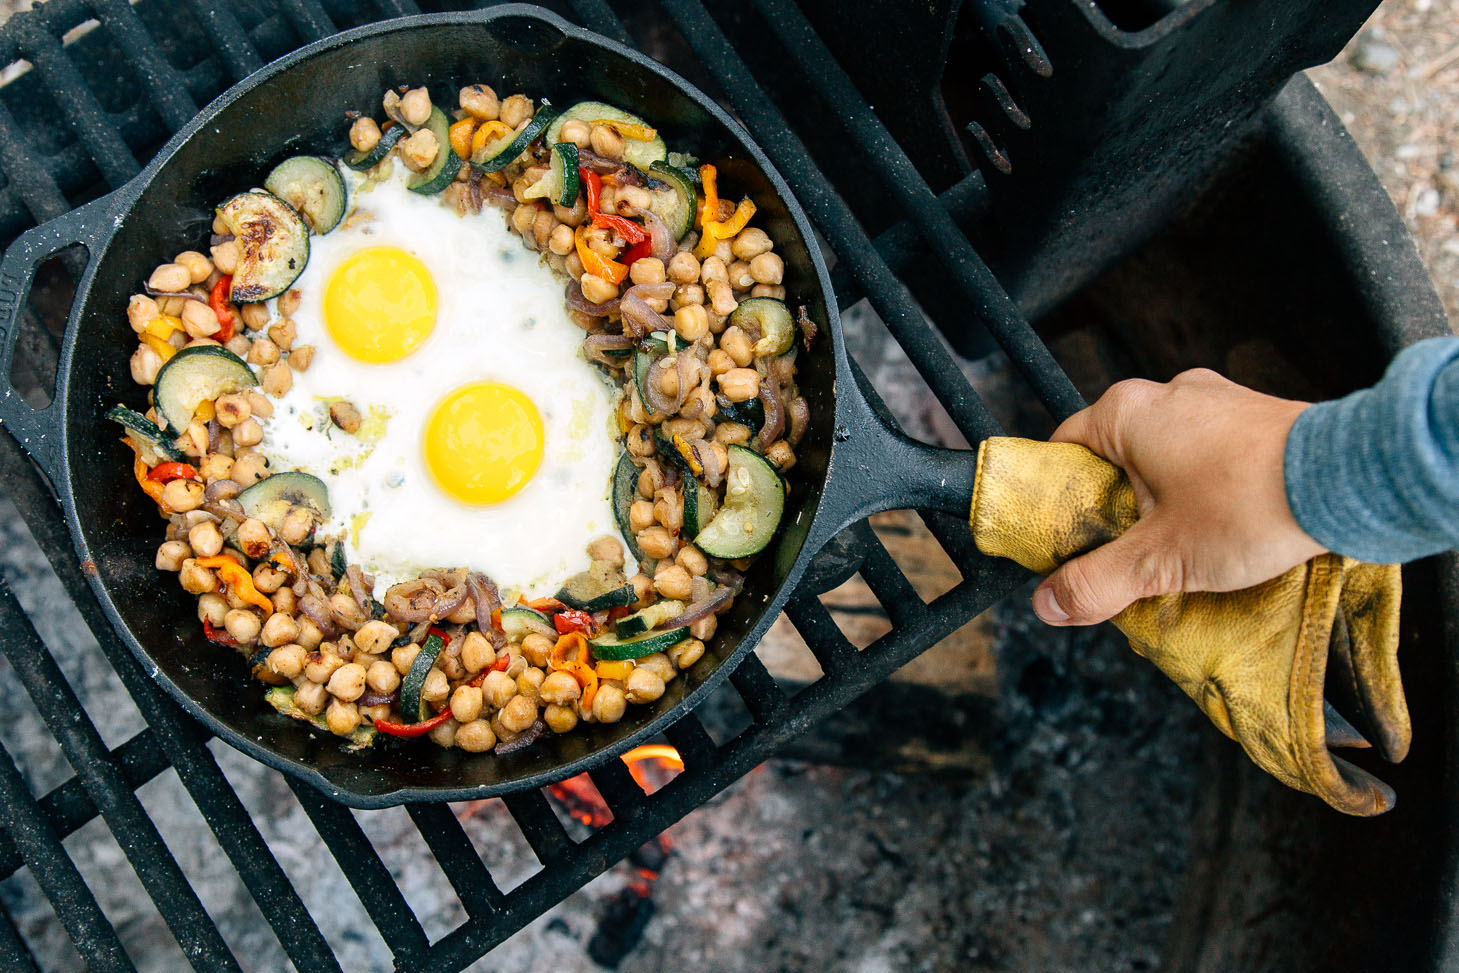
Cooking with cast iron
One of the easiest ways to maintain the seasoning on your cast iron is to cook with it regularly!
Using your pan to saute, fry, or sear is a great way to continually add to your seasoning. But before you start cooking, there are a few things you want to know about first.
- Preheat: Cast iron takes longer to heat up than other types of cookware. So before you start cooking, it’s a good idea to preheat your pan for a little bit. Additionally, preheating your pan will help prevent food from sticking to it while you cook.
- Use cooking oil: Using a little cooking oil never hurts when sauteeing. Depending on what we’re cooking, we usually add a little bit of oil into the pan, particularly for dishes like eggs.
- Avoid super acidic foods: While it’s fine to cook a quick tomato sauce or occasionally deglaze with some white wine, you’ll want to avoid cooking really acidic foods for an extended period of time. Over time those acids will start to break down the pan’s seasoning.
- Metal spatulas are fine: Unless you are really gouging at it, using a metal spatula to flip pancakes or gently saute vegetables will not damage the seasoning of your cast iron if you have a good layer.
How to clean your cast iron
The best time to wash your cast iron is after it has cooled down enough to handle, but not completely.
There are a lot of myths and misconceptions when it comes to washing your cast iron. So let’s set the record straight:
- Soap, in moderation, is fine. Some people have worked themselves into hysterics over this, but mild soap will not adversely affect your pan’s seasoning. That’s because the seasoning isn’t oil anymore: It has undergone a chemical reaction and is now a polymerized plasticized coating. So a little bit of soapy water isn’t going to wash it away. Plus, as mentioned above, dish soap is far gentler now. They are not going to rip through your seasoning like lye soaps of the past.
- While soapy water won’t hurt, it’s not necessary either. Hot water is often all we use when we’re out camping.
- Pick up a pan scraper. We use a pan scraper to scrape off anything that’s stuck to the pan (while it’s still warm is best!). The scraper is plastic, so it’s still gentle enough even if you have to put some elbow grease into it! Alternatively, you can use a bristle brush, cast iron chainmail, or coarse kosher salt. The goal is to remove 100% of the food particles stuck to the pan.
- Don’t over scour. Avoid using an actual scour pad or steel wool, which can be a too aggressive and will wear away the seasoning.
- Rinse & dry completely. It is critical to ensure the pan is completely dry. Even a small amount of water can result in rust.
How to store cast iron
If your cast iron has a really great seasoning on it already, then it is fine to store it after washing and drying it. But if you want to add to the seasoning (or are very protective of the season you’ve built) then you will want to do the following:
- Wipe the inside of your pan with a very thin layer of oil. If you have flaxseed oil laying around, great. If not, a little grapeseed oil will do the trick just as well. Place your pan on a burner and heat until it starts to smoke. Turn off the heat and let cool. This will process prevents the oil from turning rancid.
- Once it has cooled down, store your cast iron someplace dry.
So, there you have it! Treat your cast iron well, and it will treat you well for years to come.
Sources & further reading:
A Science Based Technique for Seasoning Cast Iron by Sheryl Canter
Cast iron has got to be my favourite camp cookware. I had an amazing pan and pot (in Australia we call the pots ‘campfire ovens’, but when I moved interstate they were too heavy to fly with me. This post has reminded me I need to replace them soon! Definitely before my winter camping on this side of the globe!
THANK YOU! I was having trouble with my cast iron skillet and was not enjoying using it. I realized it was the seasoning – I don’t think it was done correctly to begin with. Used your info here and yesterday worked on it. Used it this evening and it was fun to use again.
Avoid using the dishwasher, soap, or steel wool, as these may strip the pan’s seasoning. Scrub off stuck-on bits: To remove stuck-on food, scrub the pan with a paste of coarse kosher salt and water.
For routine cleaning, we agree. But if we are stripping down an old cast iron and starting the seasoning process from beginning (picking up a used cast iron from a thrift store), we will use soap and steel wool to get us back down to a clean slate and then start from there.
This morning I’m re-seasoning two skillets from a garage sale, that were C-R-U-S-T-E-D a quarter-inch thick in places, and basement-for-years grubby. We cleaned them by including them in an oven heat cleaning cycle. Our smoke alarm went off, but they were bare iron when it finished! I scrubbed the clean of ash and rust and quickly coated them with oil. They look brand new, and they’re cooling from the first seasoning cycle right now.
Awesome! You can find some really great cast iron pieces at garage sales, thrift stores. Even if they are totally rusted or crusted up, you can usually rescue them. Deep pitting is the only thing to watch for that might be more trouble to grind out then it’s worth. Sounds like you picked up a couple of real winners!
So I have a stupid question. If u have to repeat the steps on seasoning it 3 to 5 times why do u have to shut ur oven off? Since your supposed to repeat the steps why can’t u just leave ur oven on and sit it on the counter or something to cool down. Just curious. Thank u
If you think you are going to need to repeat the steps again, you can leave the oven on and carefully remove the pan to let it cool. The reason we suggest letting it cool in the oven is the cast iron can get unbelievably hot. Hotter than our oven mitts can handle. So we err on the of caution and let it cool down in the oven.
Does one have to season it after each time it’s used? Or can I season it, then just wash it in between after a couple uses? I seem to have tiny black flakes after I wash mine – unfortunately I haven’t been good at seasoning it in general.
It’s important to scrape out all the carbonized food particles after cooking (using a chain mail, plastic/bamboo scraper). Once it has been cleaned out, wipe it with a paper towel to make sure the surface is actually clean. Then lightly rub it with oil, wipe it down, and then store it for next time.
I left too much oil on my pan when I put it into the oven and now it has a splotchy, sticky finish to it. What should I do to get it off and start over!! Help!!
You can heat the skillet up again on the stove-top and try to liquefy the oil and pad it dry. If the stickiness remains, I would try heating up some water in the bottom of your skillet, dumping it, and wiping out the bottom with a paper towl.