Chocolate Peanut Butter & Banana Granola Bites
This post may contain affiliate links.
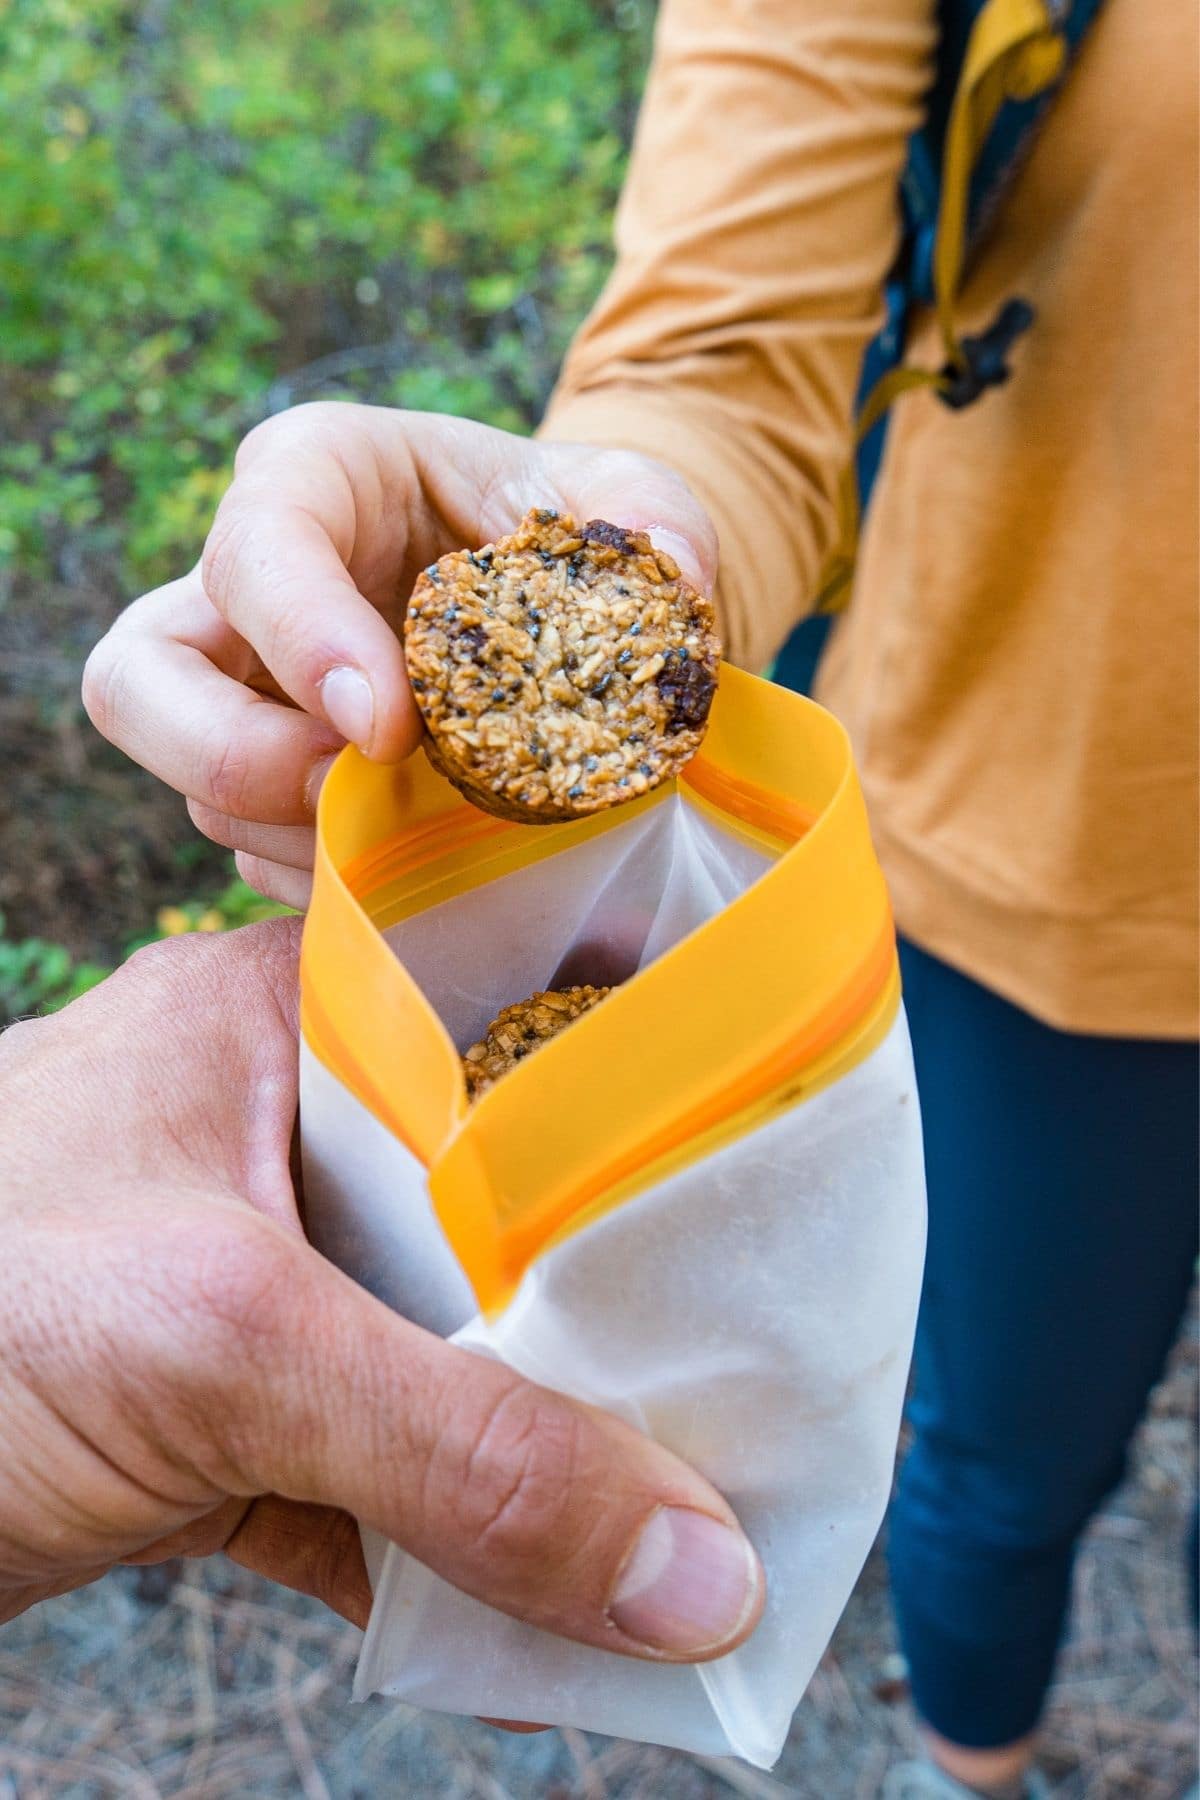
Loaded with chocolate chips, peanut butter, and banana, these baked granola bites are the perfect grab-and-go snack to take on your next outdoor adventure.

The recipe was developed in partnership with Endangered Species Chocolate
Looking for a hiking snack to replace those expensive store-bought energy bars? These homemade granola bites are a great place to start!
We spent a lot of time developing the texture for these trail bites. (We tried over a dozen different iterations!) We wanted them to be soft and chewy, but firm enough to hold together when packed into our daypacks. After spending way too much time tinkering with the ratios, we finally landed on a version that is perfect for a trail snack.
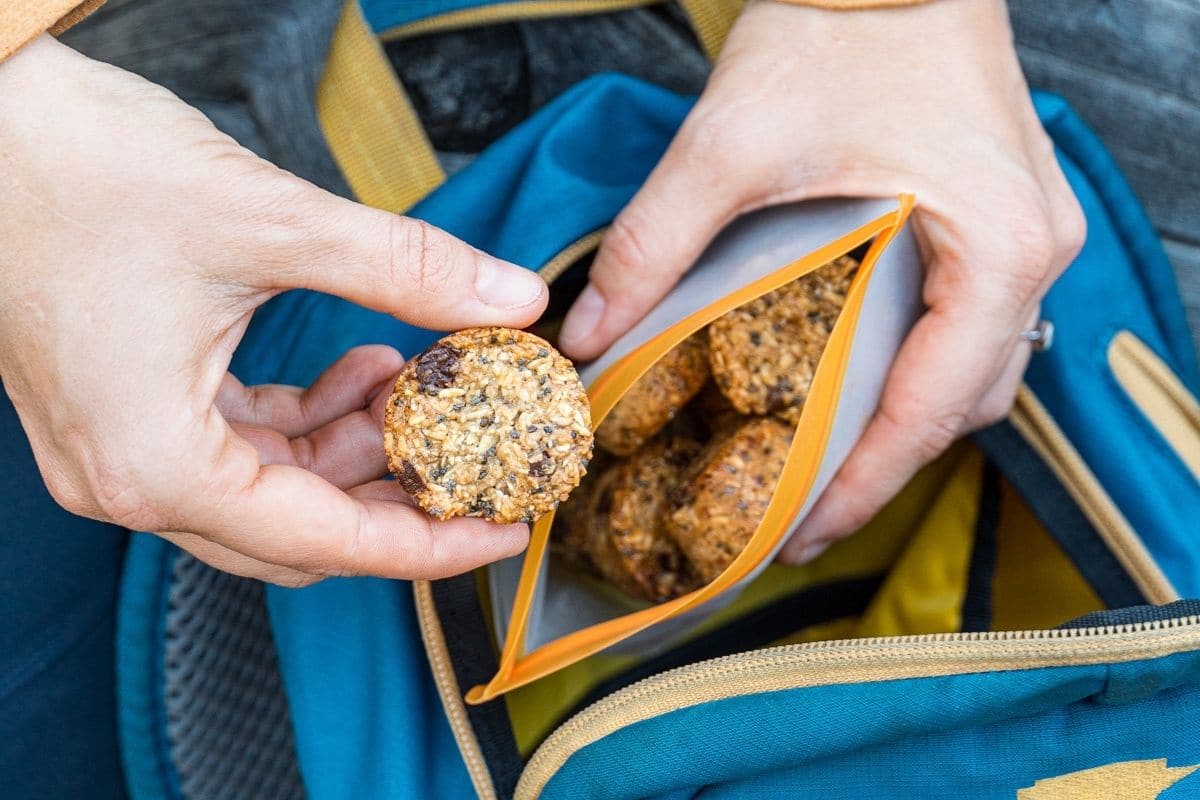
While you can also make these as a granola bar as well, we personally like the mini bite-sized portion. Not only do they hold together really well when they are this size, but when they are really easy to store and convenient to grab a few at a time.
These granola bites also feature one of our favorite flavor trifectas: chocolate, peanut butter, and banana. Each of these ingredients tastes rich and luxurious, but in its own distinctly unique way. When this power trio is combined together, whether in a smoothie, banana boat, or in these granola bites—something magical happens.
So if you want to start making your own hiking snacks, this is a great recipe to start with. With just a handful of ingredients, you can replicate the taste and texture of a store-bought energy bar.
Why we love these Granola Bites
- Soft and chewy, yet firm enough to hold together in your backpack. The texture of these granola bite was developed specifically for the rough-and-tumble life on the trail.
- Versatile, once you master the base recipe, there are an unlimited number of mix-in flavors.
- Scalable recipe, so it’s easy to make a big batch.

Granola Bite Ingredients
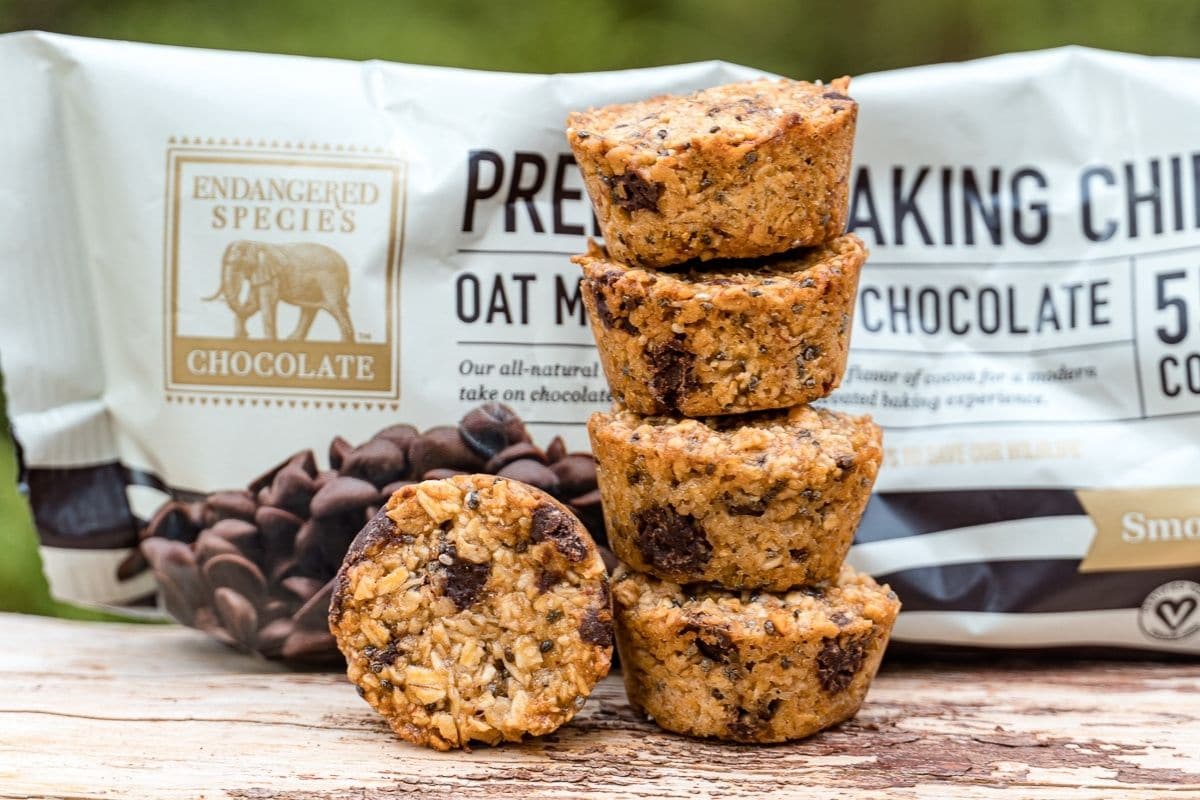
Dark Chocolate Chips: For this recipe, we used Endangered Species Chocolate’s Oat Milk + Dark Chocolate Premium Baking Chips, which are made from a blend of dark chocolate and oat milk. These chocolate chips are vegan, fair trade, and taste absolutely incredible! On top of that, Endangered Species donates 10% of net profits to charities that focus on wildlife conservation. What’s not to like?
Peanut butter: We prefer all-natural peanut butter, slightly salty, and extra chunky. In addition to its distinctive flavor, peanut butter also introduces a bit of oil into the mix, which is needed to soften the texture of the bites.
Banana: In terms of flavor, a little banana goes a long way. This recipe actually only calls for half a banana. While it might be tempting to just add the whole thing, we found that the added moisture of a whole banana makes the bites less chewy and have a more crumbly cake-like texture.
Chia Seeds: We love the additional texture and nutrition that chia seeds add to these bars. They also absorb any of the extra water from the banana and help bind the bites together.
Brown Rice Syrup: There is some sticky magic going on in brown rice syrup that is absolutely critical to helping these granola bites stick together. We’ve tried honey, we’ve tried dates, we’ve tried all kinds of nut butter. Nothing works quite the same as brown rice syrup. There’s a reason why nearly every energy bar on the market uses rice syrup.
Old Fashioned Rolled Oats: Choose GF if needed.
Sugar: We tested this with both brown sugar and regular cane sugar, and both versions work. Our final recipe uses brown sugar because we like the slightly caramel-y taste, but you can switch it out depending on what you have in your pantry.
Salt: A critical, yet occasionally forgotten baking ingredient. Make sure you don’t leave out the salt.
Granola Bites Tips & Tricks
- Mind the rice syrup: Rice syrup is some seriously sticky stuff! Try pouring it out of a measuring cup and half will likely stick to the bottom. Use a mini silicone spatula to coax the rest of it out, so you are getting the full measurement.
- Tamp ‘em down: When loading the mixture into the baking tin, be sure to tamp each bit down completely. You want to avoid air pockets, which will cause the end result to be flaky and fall apart. Use a mini spatula or a lightly greased finger.
- Aim for ½” – ¾” height: Shorter bites will be harder, taller bits will tend to break apart easier.
- Avoid sticking to the bottom: A silicone mini cupcake pan works best (here’s the one we use). The flexible nature of silicone means you can pop the bites out after baking without any sticking. But if you are using any sort of hard-sided muffin or baking pan, it will be necessary to line the pan with muffin/cupcake liners, or parchment paper.
- Let them cool: Once you remove the granola bites from the oven let them cool completely in the pan. During this period of time, the sugars are “setting” and trying to remove them before they are cool will disrupt that process.
- Store in airtight container: If left out on the counter, these bites will steadily grow harder as their moisture slowly evaporates. But if stored in a sealable container, they will stay soft-and-chewy for much, muchlonger.
Granola Bites vs Bars
You can bake this recipe in whatever size baking tin you prefer. During our testing, we tried these as bites, balls (which flattened out into cookies), and bars. So feel free to use a mini cupcake, full cupcake, mini-loaf pan, or a full loaf pan, however you want it to come out.
However, keep in mind, the height of your mixture will affect the structure. This is true whether you’re making a bite or a bar. When you’re packing them into the baking tin prior to putting them in the oven, try to keep the height somewhere between ½ inch and ¾ inch. Shorter, and it will get really hard. Taller and it will crumble easier.

Equipment
Food Processor: A food processor is a great way to turn inexpensive old-fashioned rolled oats into fancy oat flour – which is sold in stores, but costs a lot more.
Mini cupcake pan: This is the mini cupcake baking pan we used. We like it because the cups are made from silicone, so after the granola bites have cooled, we can pop them out from the bottom without any sticking.
Mini spatula: This is just a really useful utensil to have if you plan on doing any amount of baking. It’s great for scrapping out measuring cups, food processors, and any other space that a full-size silicone spatula might not fit.
How to Make Granola Bites, Step-by-step
Start by preheating the oven to 325 F. Oven temperature is actually really important when making bars, because you will be partially caramelizing the sugars. So resist the temptations to add the bars prior to the oven being at the right temperature. We actually like to let the oven sit at temperature for 10 minutes before adding anything, to ensure it really is at the temperature it’s reading.
While the oven is doing its thing, you can process your rolled oats in the food processor. We like to do short, quick bursts with the blade until we get to a coarse rough-ground flour consistency. Don’t go all the way to powder—it should have little texture to it. Transfer the pulverized oats to a large bowl.

You can now begin to add the rest of the dry ingredients: chocolate chips, sugar, chia seeds, and salt. Mix these together with a spoon or spatula until everything is well integrated.
Add the banana. Resist the temptation to put more than the recipe calls for.
Now add the peanut butter and rice syrup. Both of these ingredients are insanely sticky and viscous, so be prepared. After measuring out your amount with a teaspoon or measuring cup, use a mini spatula to scoop it out into the bowl to ensure you get the complete measurement.
Pro tip: To deal with the inevitable dribbles of rice syrup dripping down the side of the jar, don’t try to wipe it with a paper towel—it will just stick & rip. Put the lid back on tight, and wash the jar under the warm water in the sink.

Using a fork, mix all the ingredients together in the bowl. This will take a minute. In the beginning, it will look like there are not enough wet ingredients. Keep going. The rice syrup, peanut butter, and mashed-up banana will eventually coat all the oats.
It’s important that all the ingredients are completely integrated because any dry patches will affect the structure of the bites.
If you are using a silicone mini cupcake pan, as we did, you can go ahead and start filling the slots. If you are using a metal non-stick pan, you will want to cut out strips of parchment paper for the bottoms or use paper cupcake liners.
When packing the mixture into your pans, you want to tamp it down using a fork, spoon, or the bottom of a glass (a shot glass works great).

Once all your bites are packed and ready, place them in the oven for 25 minutes.
They are done when the edges are starting to look golden brown. The middle will still look soft and perhaps sugars will be bubbling, that’s perfect. Remove from the oven and let rest in the pan until they are completely cooled.
This cooling process is what will “set” the sugars and give the granola bites their distinct texture.
After they have cooled, store them in a sealed, air-tight container. This will ensure they retain their moisture and keep their soft-and-chewy texture.
Chocolate Chip Granola Bites
Ingredients
- 1 ½ cups oats
- ¼ cup Endangered Species Chocolate Oat Milk & Dark Chocolate Chips
- 2 tablespoons brown sugar
- 1 tablespoon chia seeds
- ¼ teaspoon salt
- 2 tablespoons peanut butter
- ½ banana (40 grams)
- ⅓ cup brown rice syrup
Equipment
Instructions
- Preheat the oven to 325F.
- Place the oats into a food processor or blender and pulse until the texture is crumbly but not yet flour. Transfer to a medium bowl. Add the chocolate chops, brown sugar, chia seeds, salt, banana, peanut butter, and brown rice syrup. Stir until thoroughly combined.
- Using a silicone mini muffin tin (or a metal mini muffin tin lined with cupcake liners), divide the dough evenly between the cavities. Press the dough firmly into the pan using your fingers or a greased glass.
- Bake for about 25 minutes, until the tops are just starting to turn golden. Remove from the oven and let it cool on the counter for at least 30 minutes, or until they are cool to the touch.
- Remove bites from the tin and store in an airtight container for up to five days.