How to Make Campfire Pizza from Scratch
This post may contain affiliate links.
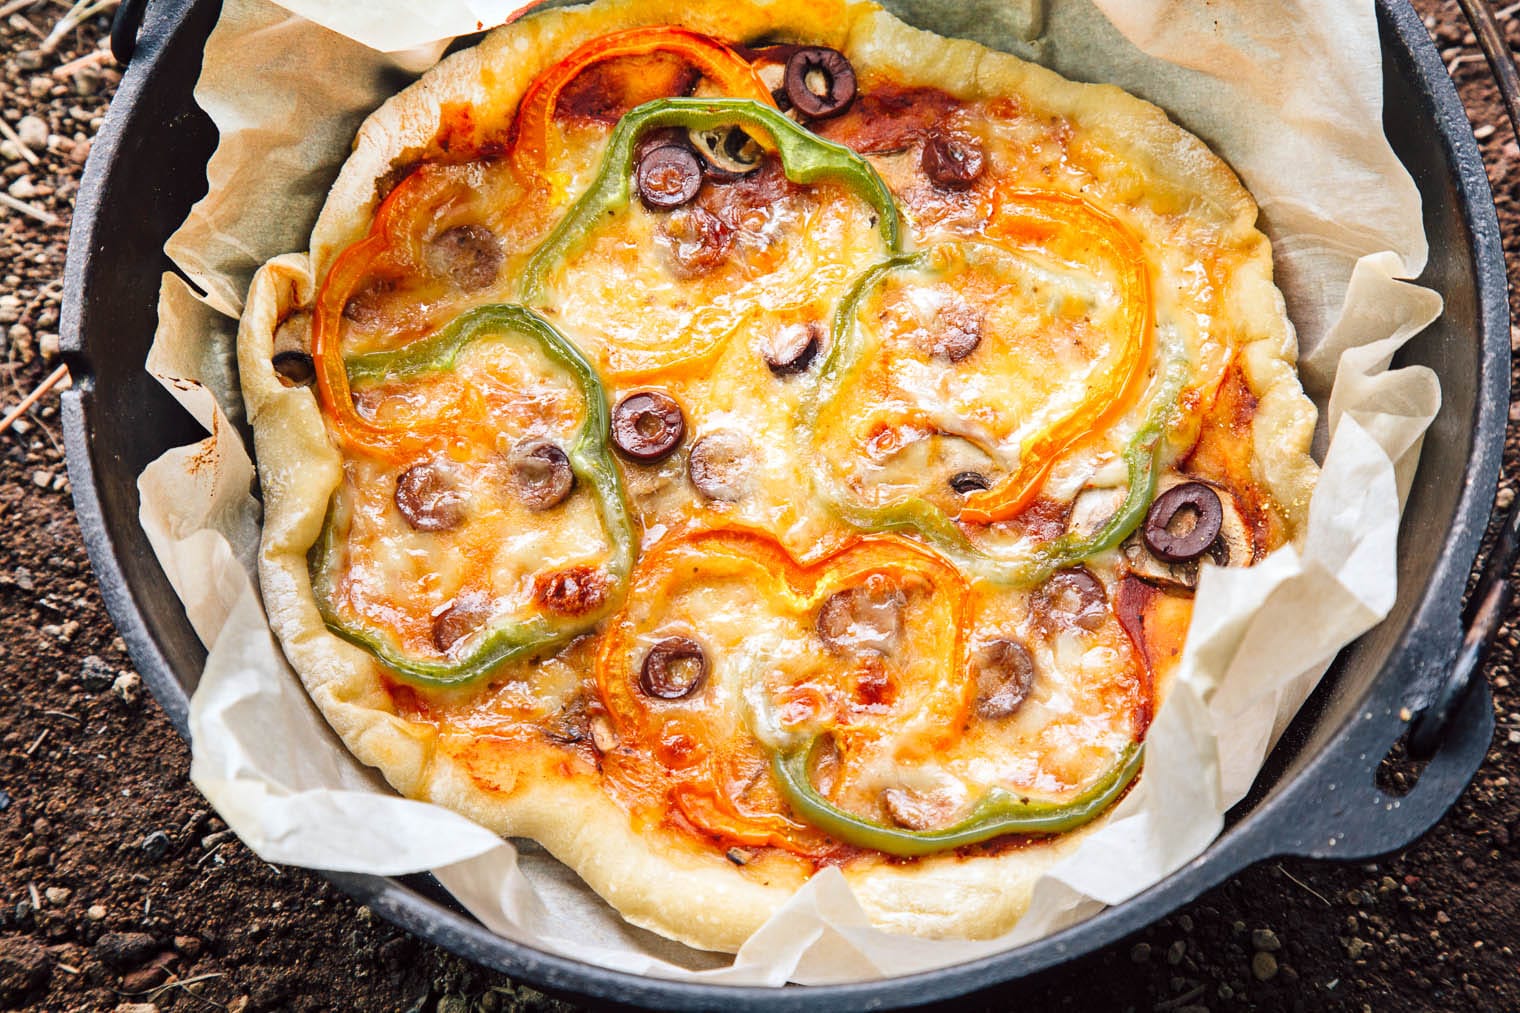
Make pizza night a new camping tradition! Take your camp cooking skills to the next level with this campfire pizza recipe.
We used to think pizza was completely incompatible with camp cooking. Despite being one of the foods we find ourselves constantly craving, just the concept of trying to make pizza at a campsite seemed entirely impossible to us. You had to make the dough, you needed to have an oven, it just didn’t seem like it was going to work.
But Michael’s East Coast love for pizza runs deep, and where there is a will, there is a way. So we set out to make a camping-friendly pizza recipe that would allow us to achieve our dream of enjoying hot pizza and cold beer at a campsite. (Can you possibly imagine anything more perfect? Of course you can’t!)
However, our quest was fraught with challenges. Not only were we trying to develop a way to make pizza from scratch… at a campsite…. without an oven, but the process had to be simple enough for us to actually want to make it. (Nothing deters us from a recipe like overly-complicated instruction or specialty single-use pieces of equipment!) This had to be simple, easy, and delicious.
 |
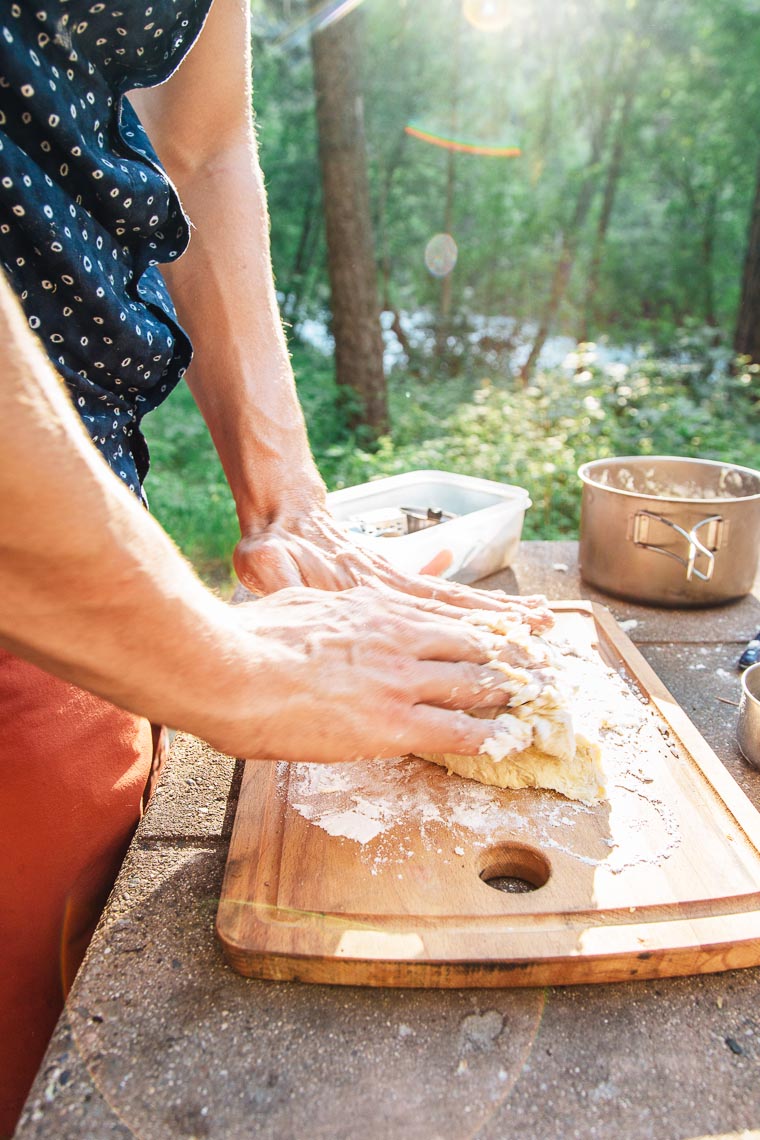 |
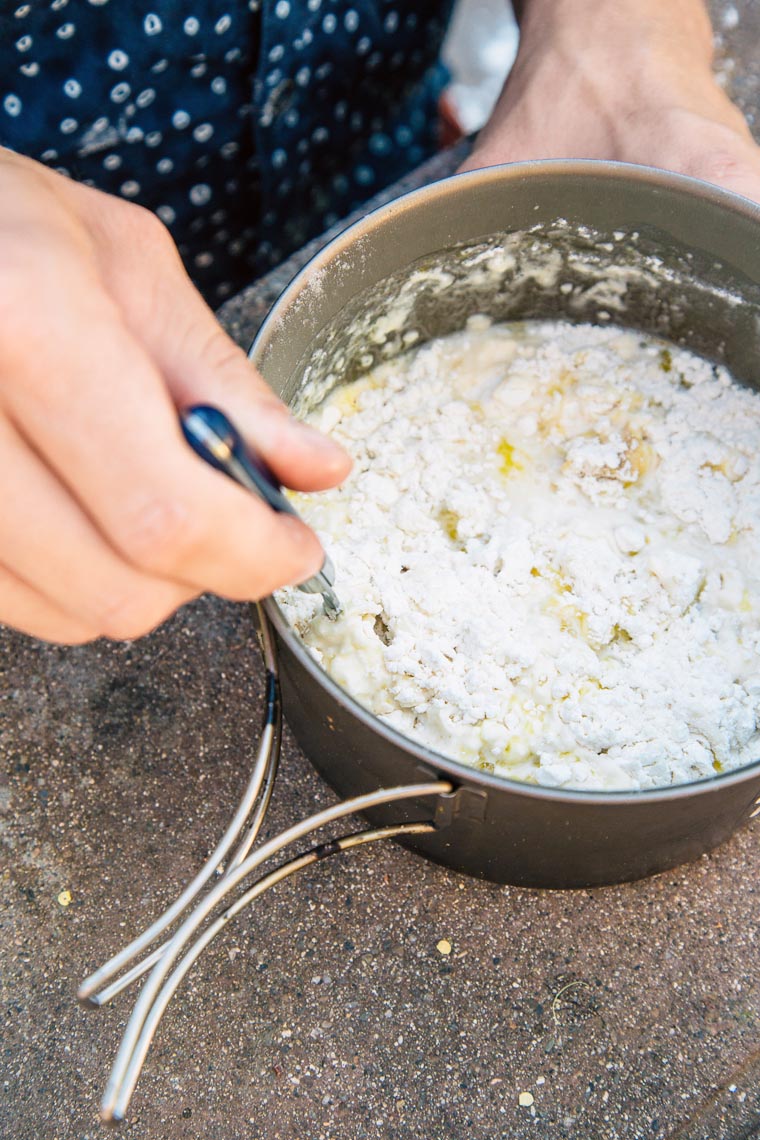
The first major hurdle was the dough. We are wary of baking and when we see recipes that call for yeast, we usually run away and hide. But we decided to face our fears on this one, and to our surprise, it was a lot easier than we could have ever imagined. All we had to do was combine some flour, water and a packet of rapid yeast into a pot. Knead it around a couple of times and then leave it alone for 20 minutes. We can totally do that, and we guarantee you can too!
The next challenge was the actual cooking process. Obviously, every pizza recipe calls for an oven – which most people don’t carry with them while camping. But perhaps we could figure out a way to grill it? Back when we lived in LA, we would make grilled pizzas on a small hibachi stove outside to avoid overheating our apartment (we didn’t have A/C). The only problem with this approach at a campsite is fire ring needs to have a proper grate on it, which, in our experience, is far from a guarantee.
So we developed this recipe to be done in a cast iron skillet instead. By using cast iron, it allows us to cook over a campfire if there’s a grate, or, cook using our propane-powered camp stove.
Now there are a couple tricks to cooking an amazing pizza in a cast iron skillet (which we will outline thoroughly in the recipe below), but here’s general overview.
 |
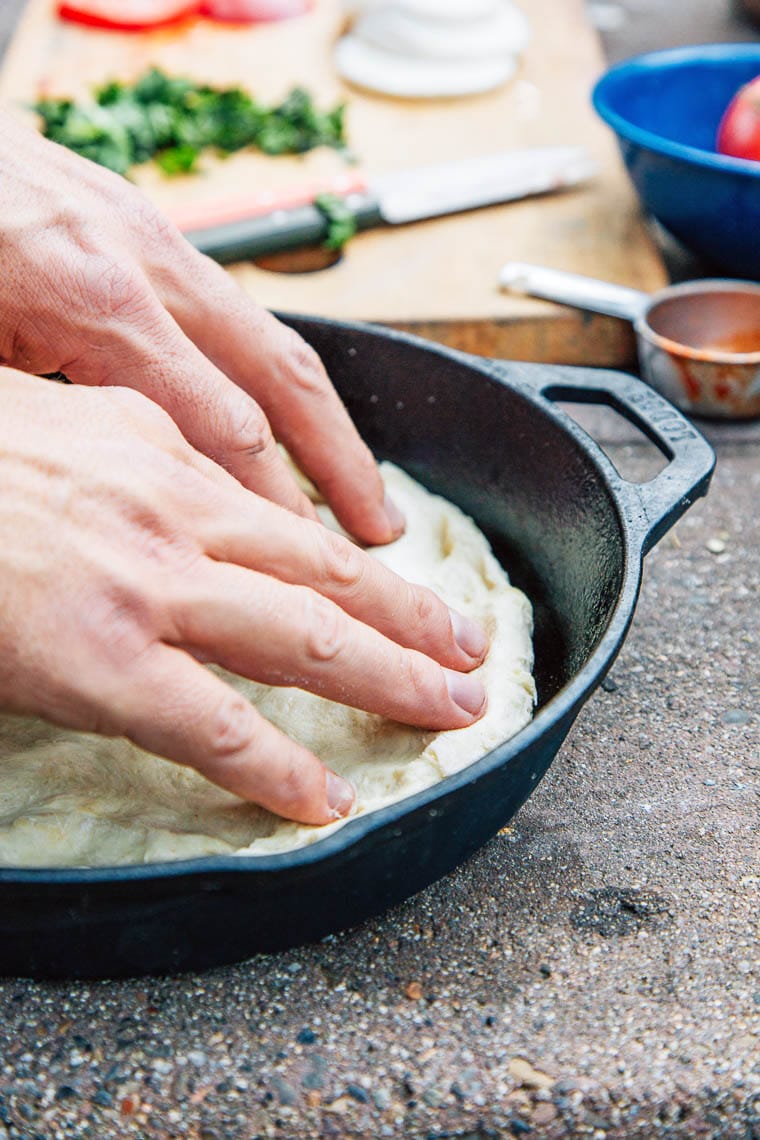 |
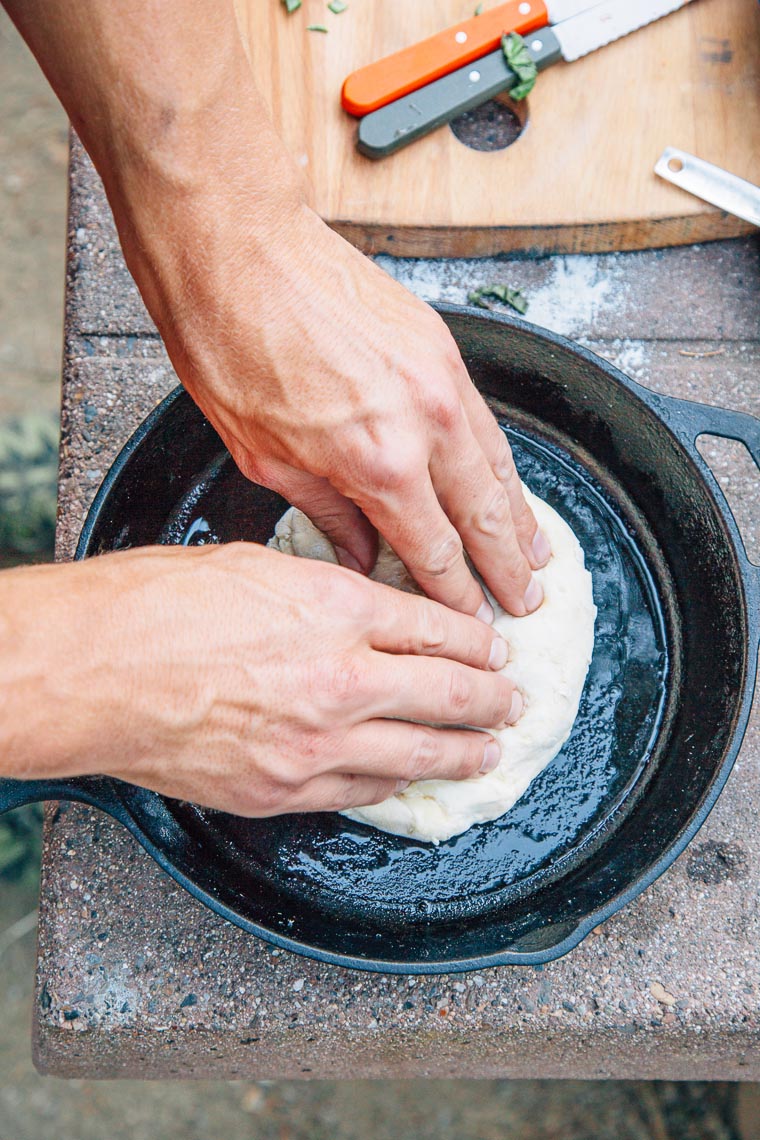
To shape the dough in the pan, place one of the dough halves into the pan and then press the dough outwards to form the crust. Once you’ve formed your dough in the pan, you’ll want to generate even heat across the entire surface of the pan. This is easy if you’re sticking your cast iron over a campfire because the broad heat coming off the fire encompasses the whole skillet. If you’re cooking over propane camp stove, you’ll want to move the pan around over the heat source so all sides are hot. (Cast iron retains heat like crazy, so rotate the edges of the pan over the heat source to let the whole thing heat up.)
 |
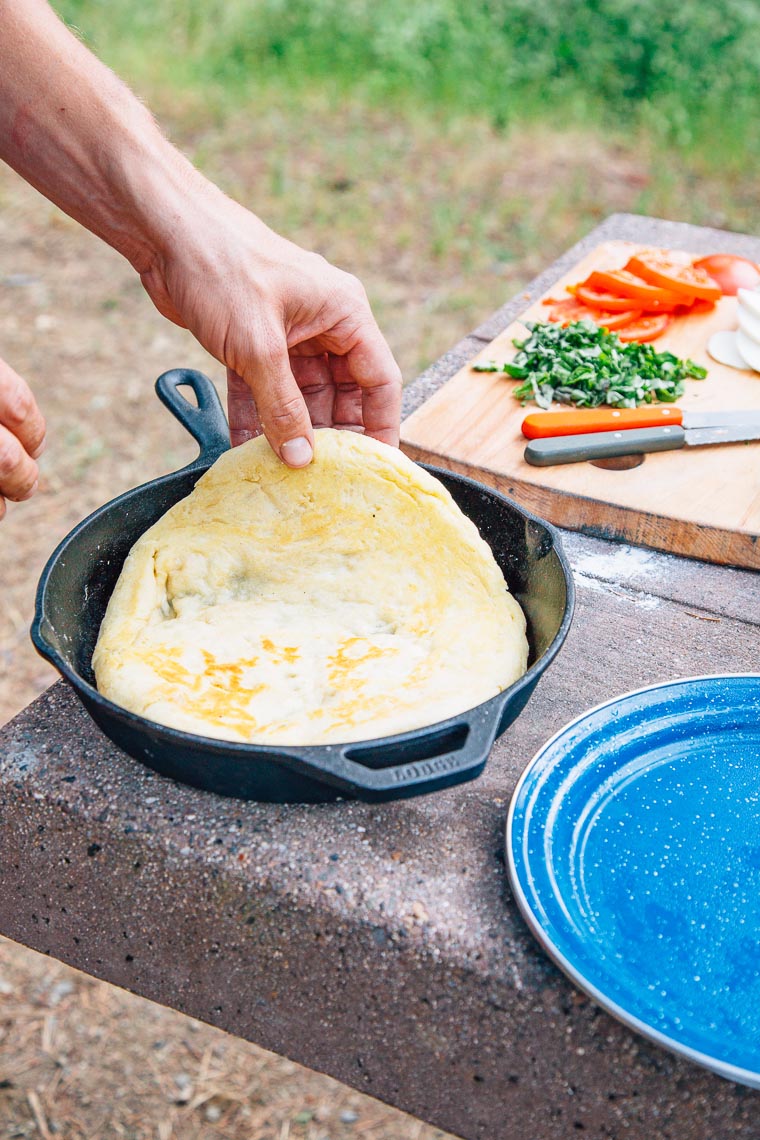 |
Once the bottom of your dough starts to toast up and turn golden brown, you’ll want to remove the entire pan from the heat. The reason we suggest taking it off the heat is that things start moving very quickly at this point and if you’re not careful you can end up burning the dough. Removing the pan from the heat buys you some time to get your toppings in order.
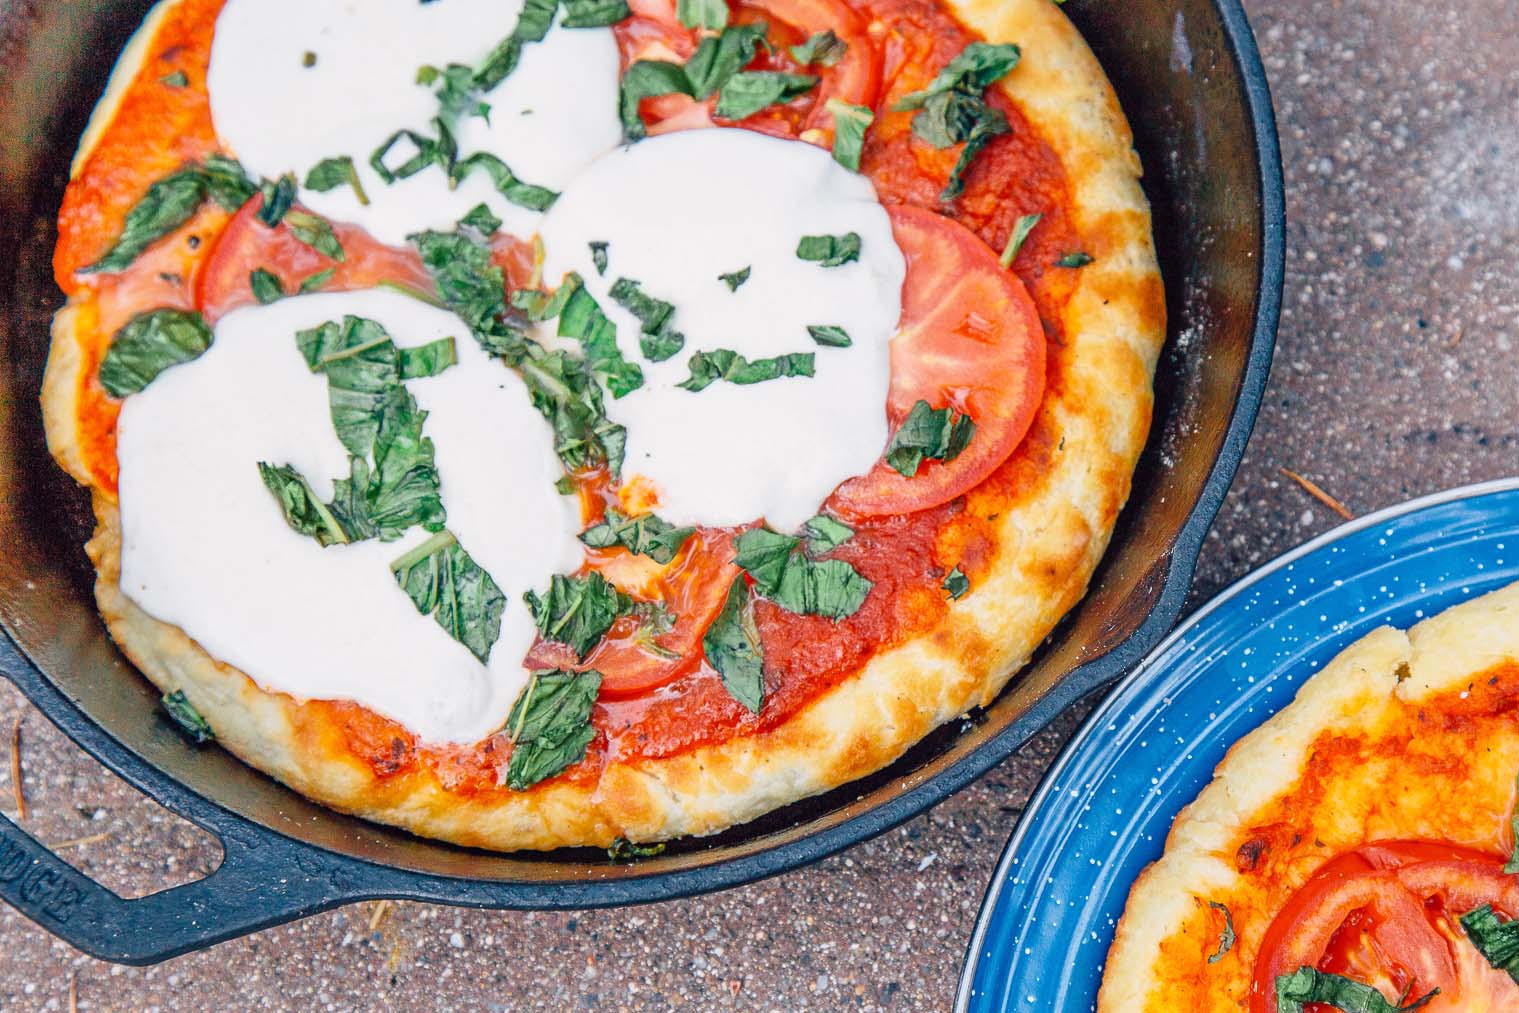
Flip the dough, so the toasted side is facing up and the uncooked side is facing down, and then lay down your sauce, cheese, and toppings. Once everything is set, return to the heat and cover with a cast iron lid or aluminum foil. By covering the dough, you’re trapping the heat and allowing the cheese to melt.
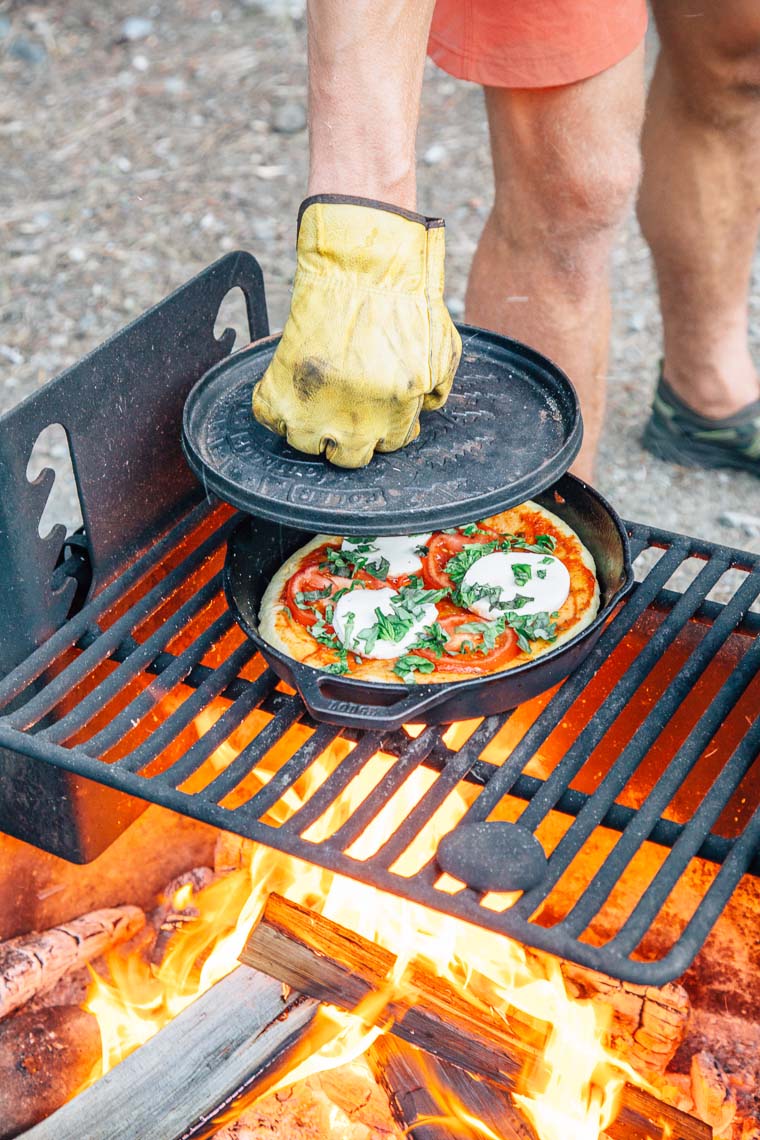 |
 |
If your toppings have a lot of moisture (i.e. mozzarella, heirloom tomatoes, spinach, etc) you’ll want to remove the cover half way through so the steam can escape. Basically, you’re just trying to melt the cheese, so once that’s done, you can remove the cover, so you’re not left with soggy a soggy pizza.
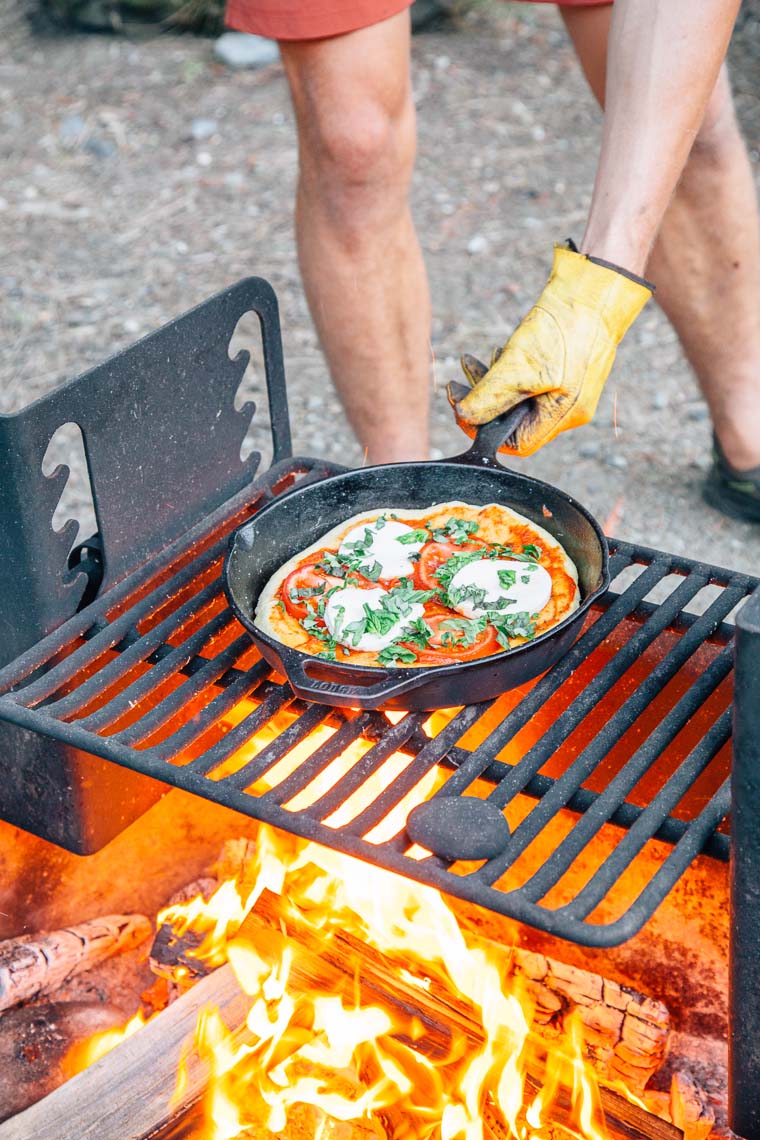
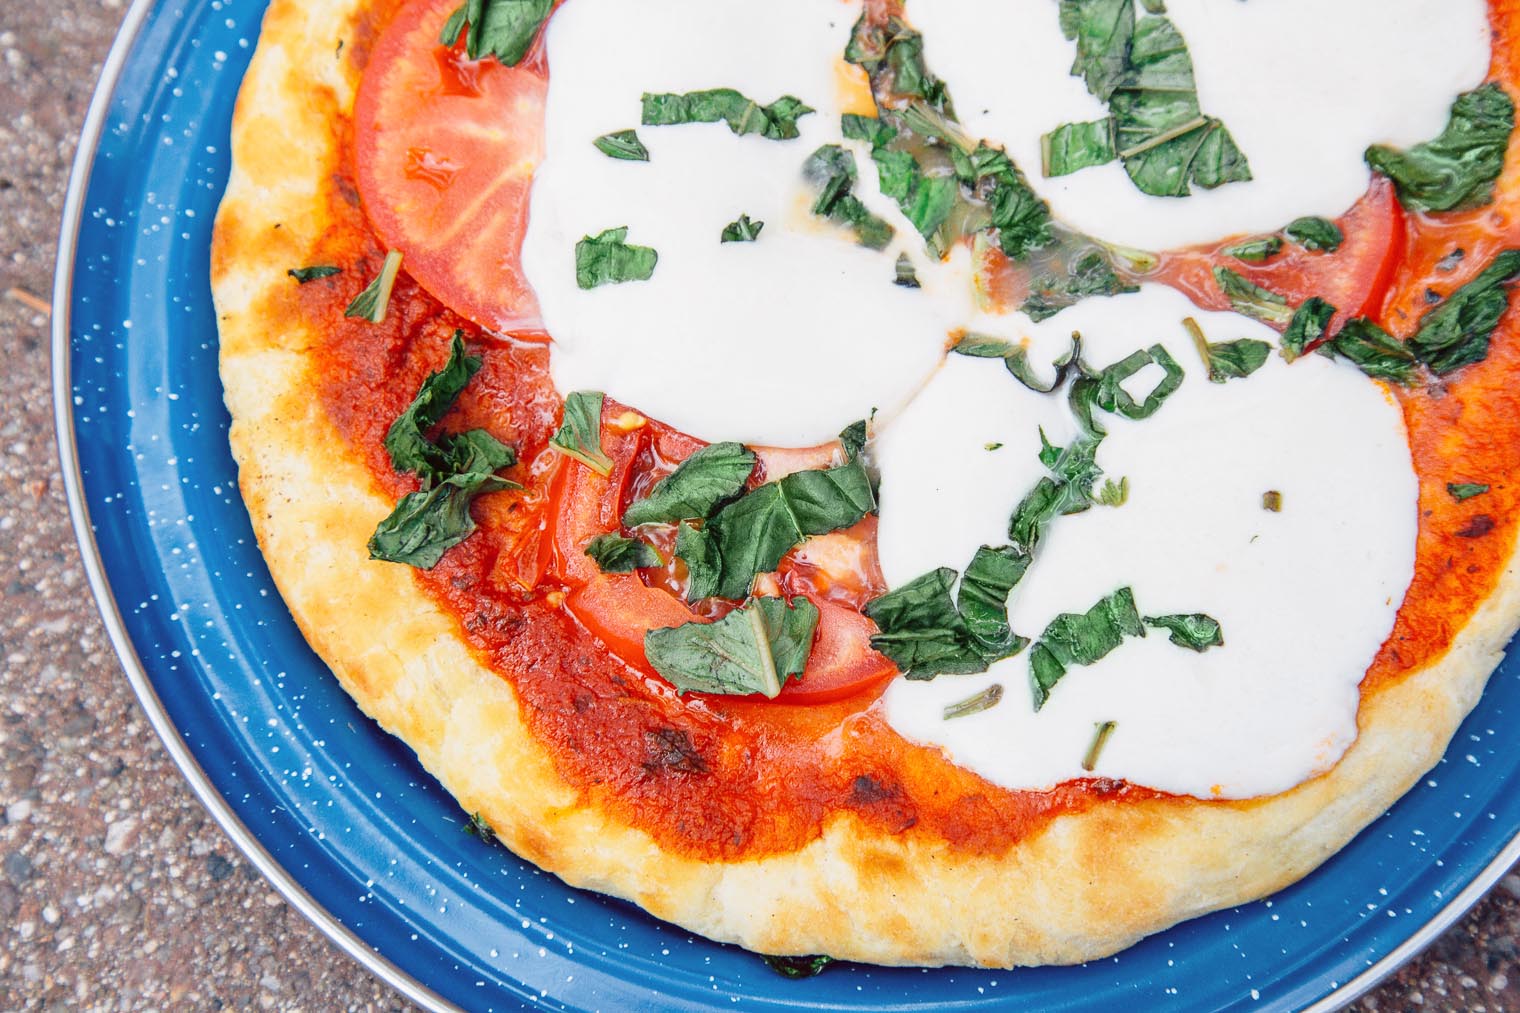
Once the bottom is toasted to your liking, remove the skillet from heat and transfer to a plate. It’s that simple! At this point, we’re usually torn between eating the first pizza and reloading for the second pizza. Repeat, repeat, repeat.
You don’t need a $300 portable pizza oven to make great pizza while camping. If you follow this recipe, all you will need is a good cast iron skillet. So what are you waiting for? It’s pizza time!
Campfire Pizza
Ingredients
- 2 ½ cups all purpose flour
- 1 packet rapid rise yeast
- 2 teaspoons salt
- 1 cup warm water
- 5 tablespoons olive oil divided (2 tbsp + 3 tbsp)
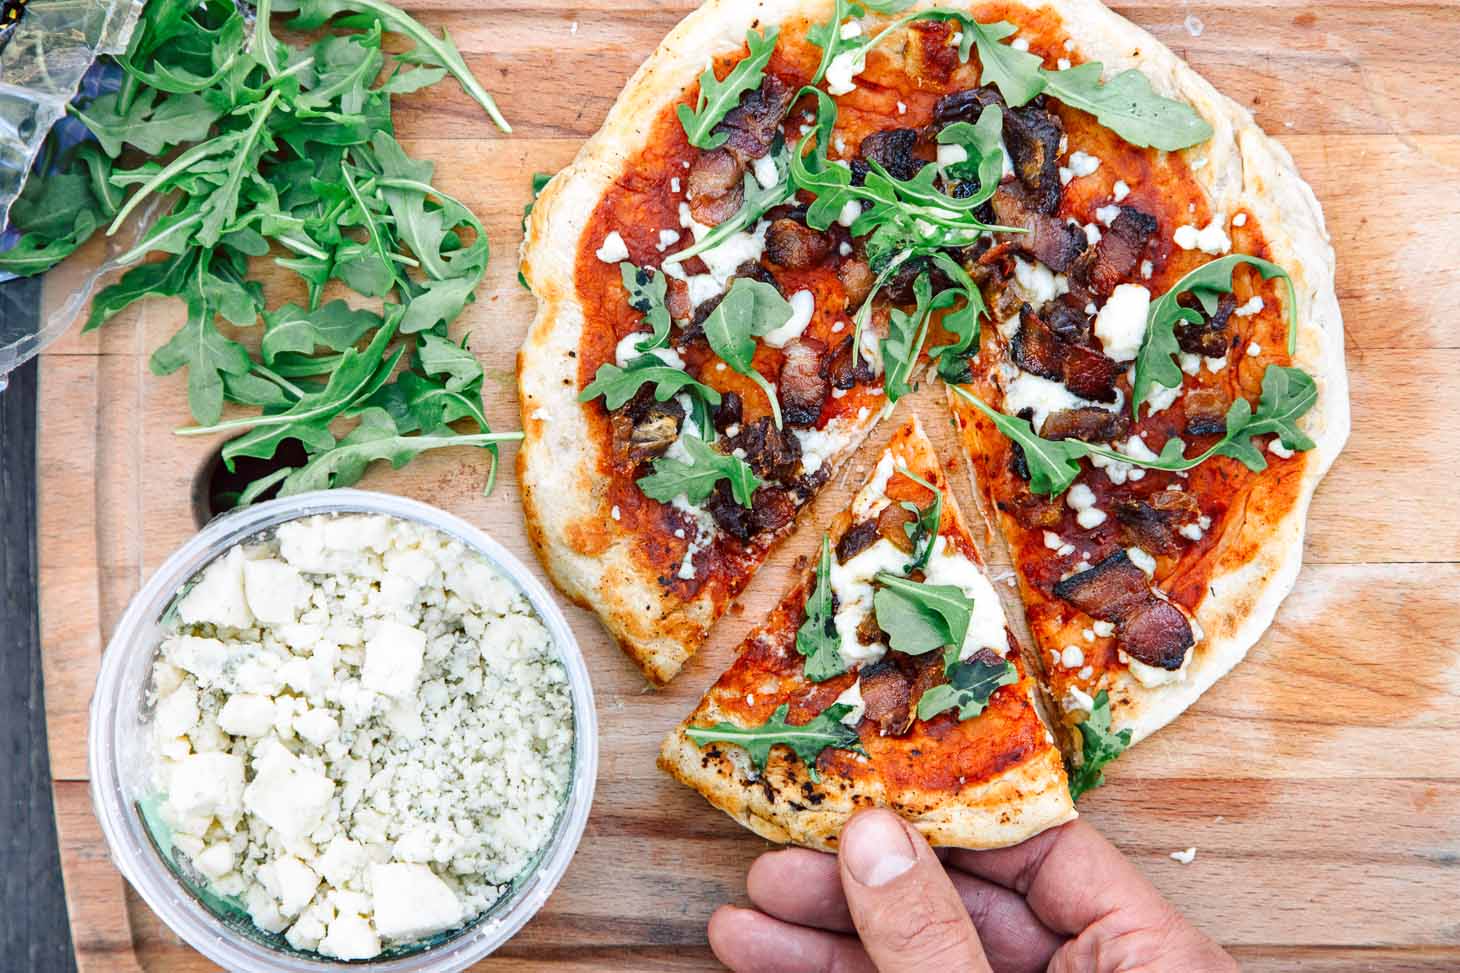
- Any combo of toppings!
Instructions
- In a mixing bowl or pot, add the flour, yeast, and salt. Briefly mix with a fork to distribute the ingredients.
- Add the warm water and 2 tablespoons oil to the dry ingredients and mix with a fork until the ingredients begin to form a dough.
- Knead the dough a few times (you can do this in the bowl or on a lightly floured surface) so that all the ingredients are well incorporated and the dough comes together.
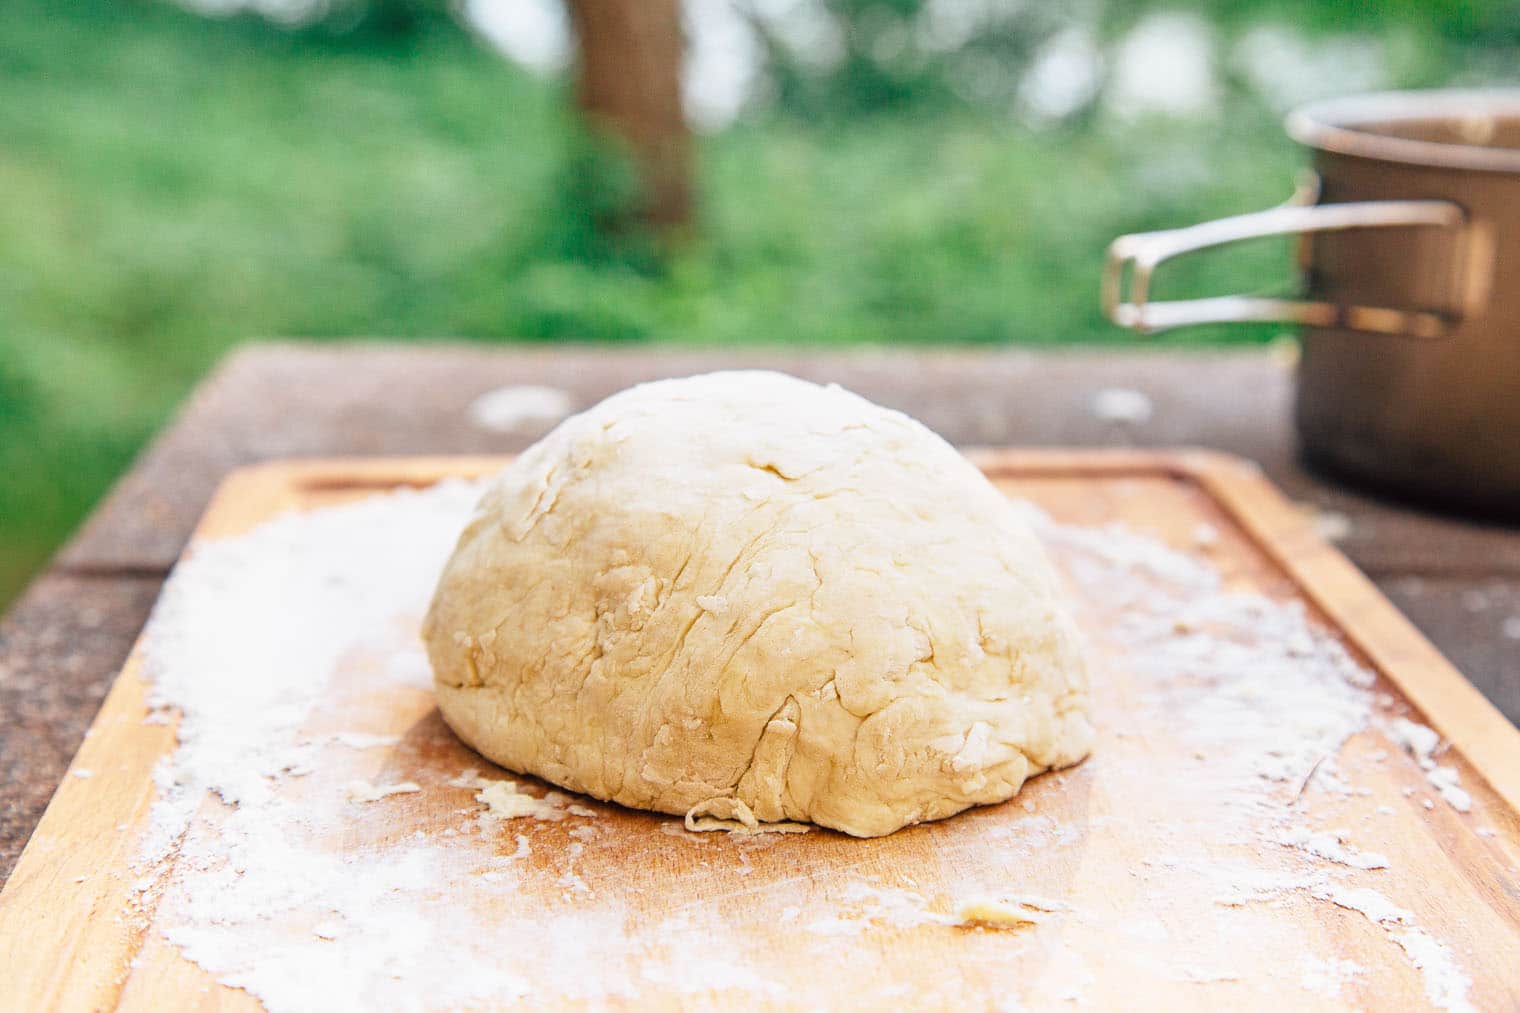
- Cover the dough and let it rise for 20 minutes.
- After the dough has risen, turn it out onto a cutting board and divide the dough into two equal pieces.
- To form the crust, add 1 tablespoon oil into a preheated 10" (for a thicker crust) or 12" (for a thinner crust) cast iron skillet and swirl to coat the surface. Place one of the dough halves in the skillet, and using your fingers, press and push the dough towards the edges of the skillet. Drizzle 1/2 tablespoon oil along the edge of the skillet.
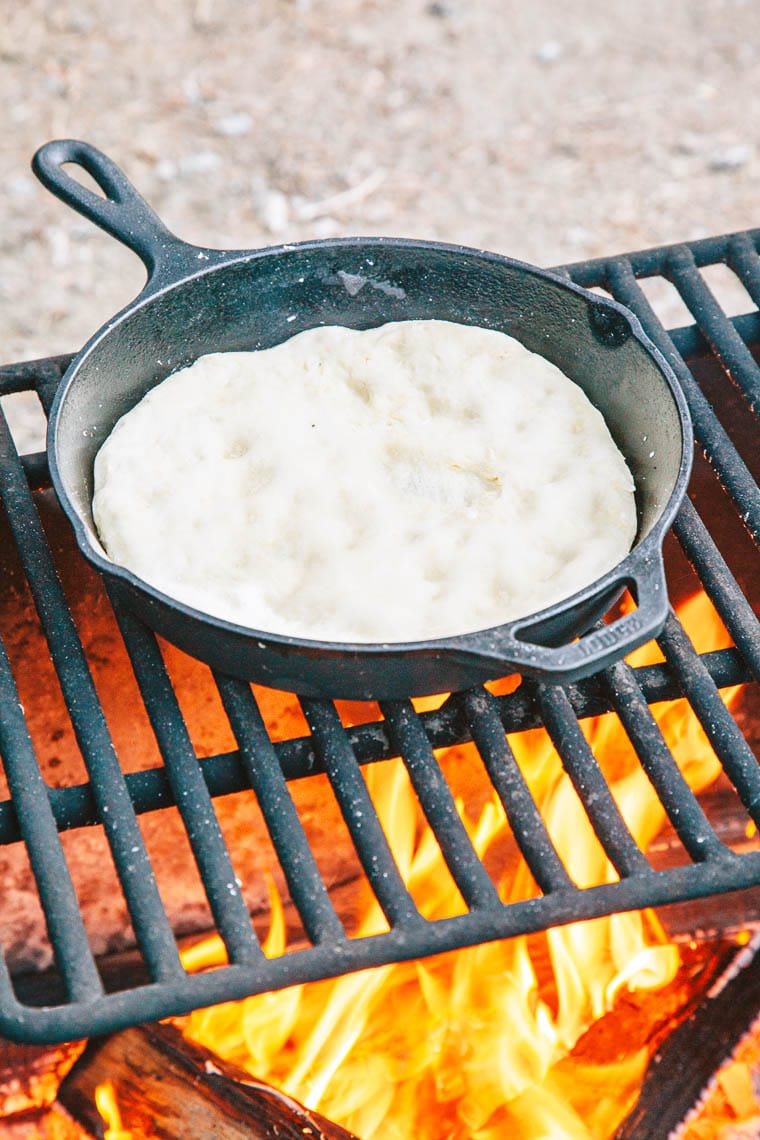
- Place the skillet on a grate over your campfire, or on your camp stove at fairly high heat. Cook for 3-5 minutes, until the bottom has firmed up and begins to turn golden brown (you'll want to lift the side up around the 3 minute mark to see how it's doing and determine how much longer it should remain on the heat).
- Pull the skillet off the fire and place on a heat-safe surface. The skillet will be HOT, so take care with the next few steps.
- Using a pair of tongs, lift the crust out of the skillet and flip it so the uncooked side is face down in the skillet. Add your toppings, cover the pizza with a cast iron lid if you have one or a sheet of foil, and return the skillet to your campfire or stove.
- Cook the pizza for an additional 3-5 minutes until the bottom is golden brown. Remove the lid/foil after a few minutes, once the cheese has melted, to let the steam escape for the remainder of the cooking time.
- Remove the skillet from the heat, carefully transfer the pizza to a plate, and repeat with the second half of the dough.
Notes
EQUIPMENT NEEDED
Mixing bowlFork
10″ or 12" cast iron skillet
Tongs
Chef’s knife
Cutting board
Quick & simple recipe!!! Some very picky kids loved it! I usually do fresh crust recipes at home that have a smoother dough & longer rise, but even though this was a bit sticky & shaggy, it turned out well. It was pretty thick & kid pleasing in a 10″, nice & hand-tossed style thickness in a 12″. Tried in Yellowstone just before a big storm! Followed directions = no problems, (oh, would be nice to pre-heat cast iron lid to speed melting).
Thanks for the feedback, JK! Glad to hear it worked well in the 12″ – we only have a 10″ pan so it’s hard for us to test in other sizes. Good tip about the preheating – I’m going to update the recipe with that info! Hope you enjoyed Yellowstone, it’s such a magnificent park.
We can’t wait to try this on our labor day weekend camping trip to Lake Geneva! Thank you!
My son and his friends were set a challenge by their Explorer Scout leader to cook pizza on a camp fire, I had just received an 8″ skillet free with a 2 year subscription to Bushcraft and Survival Skills magazine so we gave your method a go.
We tried it at home splitting the dough into 4 pizzas for the smaller pan and used a metal plate as a lid and heaped some embers on top. It worked really nicely and was a huge success with the Explorers also.
We are now on the look out for a larger skillet as this is set to become a regular camp favourite
Thank you so much for sharing. That’s wonderful your son got to share this with his scout troop. Sounds like it was a hit. Happy camping and happy pizza making!
Sounds good and I will try this……however, I am thinking that I will pre-press BOTH balls of dough in a cold pan (separately) and keep one out of the pan, because if you try to put the 2nd ball of dough into an already hot cast iron pan, you would risk burning the dough AND your fingers !
That might be a good idea. It depends if you’re eating the pizzas between making them. The time it takes us to eat a pizza is roughly the time it takes for our cast iron pan to cool down enough to handle. But yeah, if you’re making a bunch of pizzas back to back with the same pan, then it’s probably a better idea to shape the dough in a second, cool pan.
Is the cooking time any different using store-bought pizza crust dough?
Are we talking the stuff from a can? Like Bisquick? Or a Boboli pizza crust?
For Bisquick the cook time should be the same-ish as the by scratch recipe we have here. No clue for Boboli.
I FUCKEN LOVE THIS PIZZA ON THE FIRE ITS SO GOOD AND I MADE IT LAST NIGHT
This recipe is soooo good and will be a camping tradition for us. There were five of us, so I doubled the recipe, and it made 3 pizzas with nice thick crusts in my 12 inch cast iron. We slid the pizzas out of the pan and got the new one started while kids were eating–hand stretched the dough first, pizzeria style, and it was no problem pushing it to the edges of the hot pan–though the pan was off the fire long enough at that point anyway to avoid burnt fingers. Took a little time for the cheese to melt, so I will try the tip on heating the lid.