Apple & Brie Grilled Cheese with Baby Greens
This post may contain affiliate links.
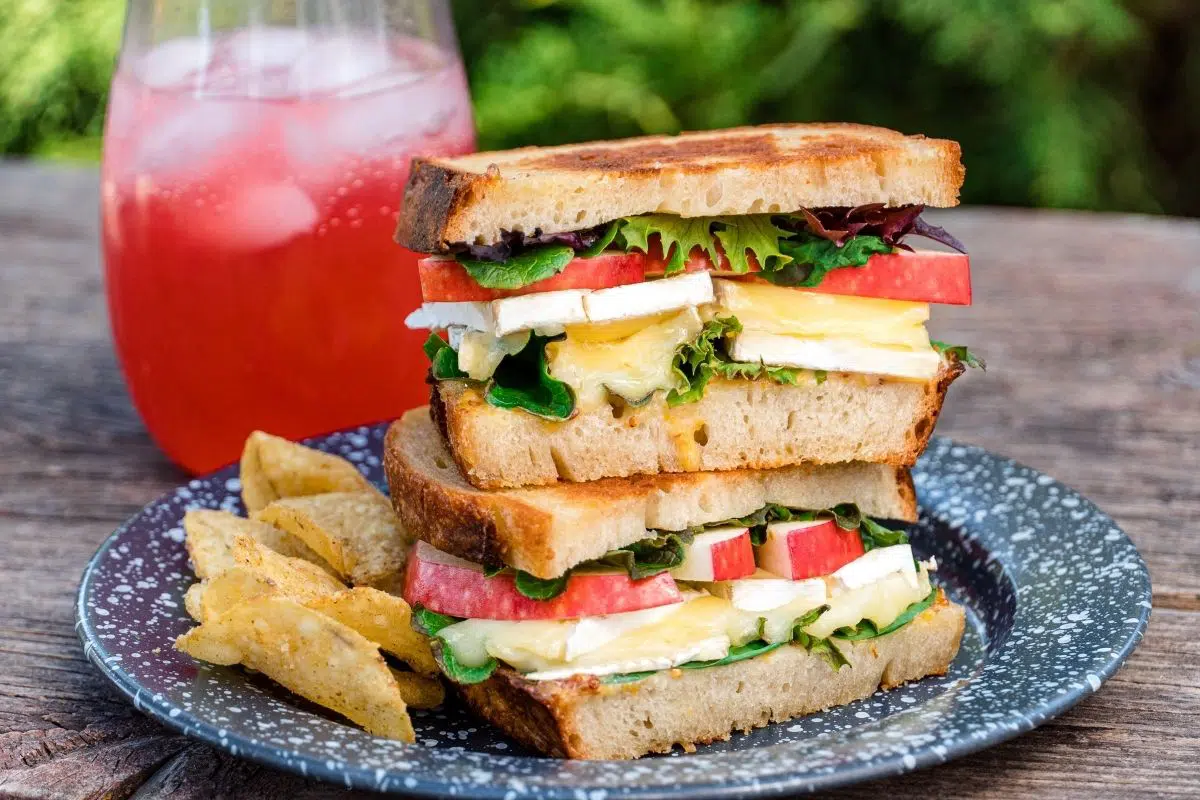
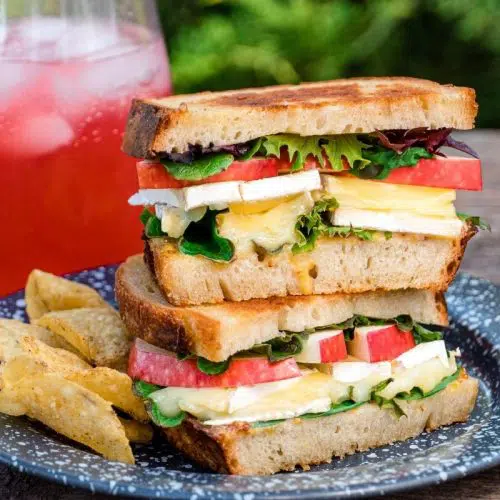
This fall-inspired grilled cheese features luxurious brie cheese, crisp apple slices, fresh baby greens, and a honey-mustard dressing. We can’t imagine a more satisfying camping lunch!
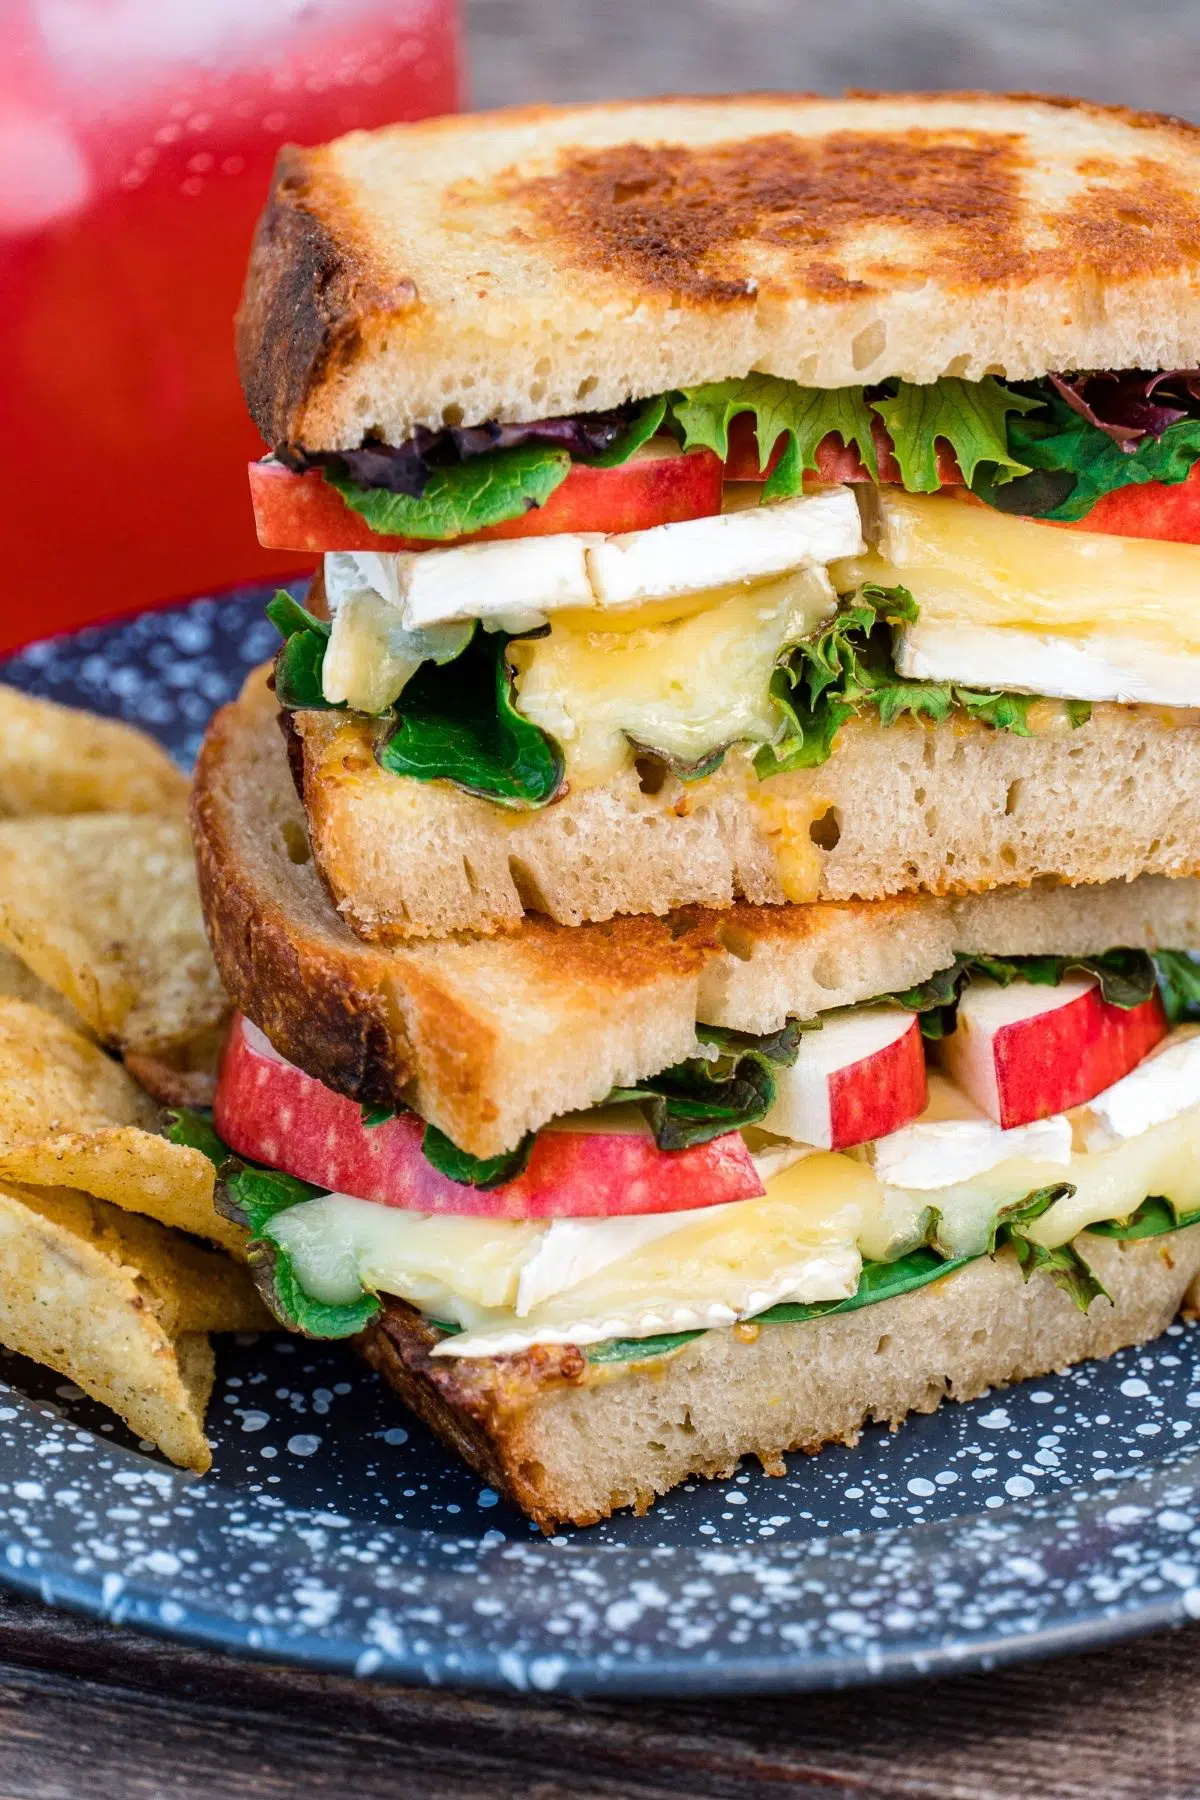
We prefer cold sandwiches in the summer, but during the cooler shoulder season we can’t resist the allure of a warm lunch! And for us, nothing hits the spot like a grilled cheese sandwich!
While the concept of grilled cheese is fairly basic, it only takes a few upscale ingredients to really take it to the next level. Swap out the American cheese for some creamy brie. Add in some thinly sliced apples for a delightful crunch and some fresh baby greens. Top the whole thing off with a drizzle of honey-mustard dressing and you’ve got a bistro-quality sandwich that’s worth at least $16 on the open market.
While we feel this particular combination of ingredients really connects with the autumn season, each one can be easily substituted as needed. Want sharp Vermont cheddar instead of brie, no problem. Kids won’t eat greens in their sandwiches, leave them out. It’s very customizable.
There are also a lot of ways to cook these grilled cheeses. Camp stove or campfire, skillet, griddle, or pie iron, there are lots of options. Whatever is most convenient for you.
Why We Love It:
- Perfect “warm” lunch for cool weather camping trips
- Upscale ingredients elevate a tried-and-true classic
- Customizable to suit your (and others) dietary preferences
So if you’re looking for a quick and easy fall lunch, why not make it a grilled cheese!
Ingredients
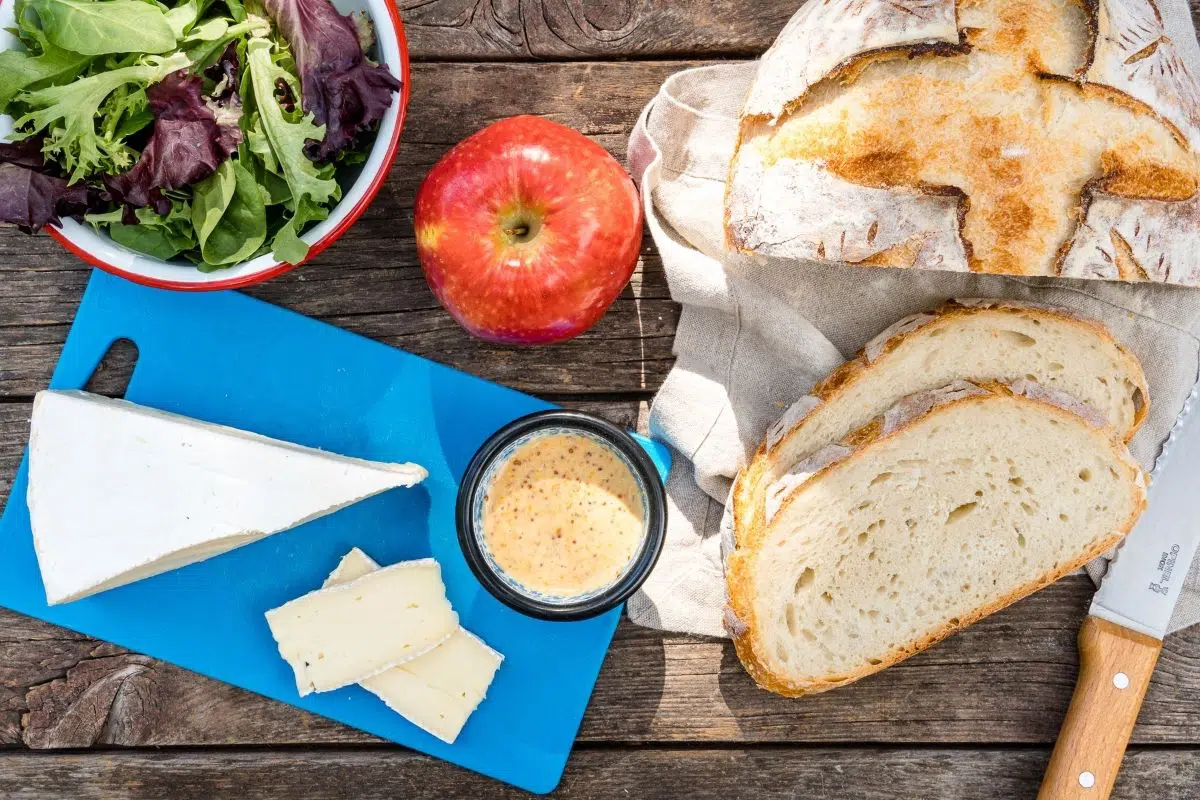
Bread: We used homemade bread for this recipe, but nearly any type of crusty bread will work great. Sliced bread also has its place – especially if you are planning on making these sandwiches later in a trip and are worried about the bread going stale.
Cheese: We used a tripled-creamed for its rich, creamy taste and high melt-ability. A sharp white cheddar would also be a great substitute. If you’re making this sandwich vegetarian, double-check to select a rennet-free cheese.
Apples: Thinly sliced apples add a nice crisp crunch that contrasts well with the otherwise soft and creamy texture.
Baby Greens: A salad mix, baby spinach, or peppery arugula. Really any leafy green (not you kale) will work.
Dressing / Spread: The secret sauce! A mix of stone-ground mustard, honey, and mayonnaise makes a luxurious dressing/spread that gives this sandwich a truly upscale taste.
Mayonaise: While butter is the usual go-to for toasting up grilled cheese, we often use mayonnaise instead. It produces the same golden-brown effect while being infinitely more spreadable than butter
Tips for Making Grilled Cheese
- Look for a meltable cheese. Really thick-cut, hard cheeses will take much longer to melt than thinly sliced, soft(er) cheese.
- Use mayonnaise instead of butter to fry the bread. It works just as wel and is much more spreadable.
- Whether you’re doing a single or double layer, you want the cheese to be right up against the bread. The closer it is to the heat, the easier it will melt.
- If you are having trouble getting your cheese to melt before the bread browns, try reducing the heat and covering the skillet with a lid (or foil). This will trap the steam, and help the cheese to melt quicker.
Methods for Making Grilled Cheese While Camping
Pan-Fried: This is how we make grilled cheese most of the time. A large cast-iron skillet, square skillet, or griddle does wonders here. Cast iron radiates heat upwards, helping to melt the cheese.
Pie Iron: Such a fun way to make sandwiches over a campfire. Just build your sandwich, spread mayonnaise on both sides, load it up.
Foil Packet: Want to make a lot of grilled cheese over a campfire? Consider wrapping them into foil packets and placing them on the grill grate over the fire. You can use a parchment paper lining to separate the sandwich from the aluminum foil to prevent sticking.
How to Make Brie Grilled Cheese – Step by Step
In a small container at home (or at camp), mix together the mustard, honey, and mayonnaise until it forms a creamy spread.
Preheat your skillet to medium-low heat. Feel free to add a small amount of cooking oil. Just enough to coat the bottom as a little insurance against sticking. While that’s coming up to temperature, it’s time to build your sandwiches.
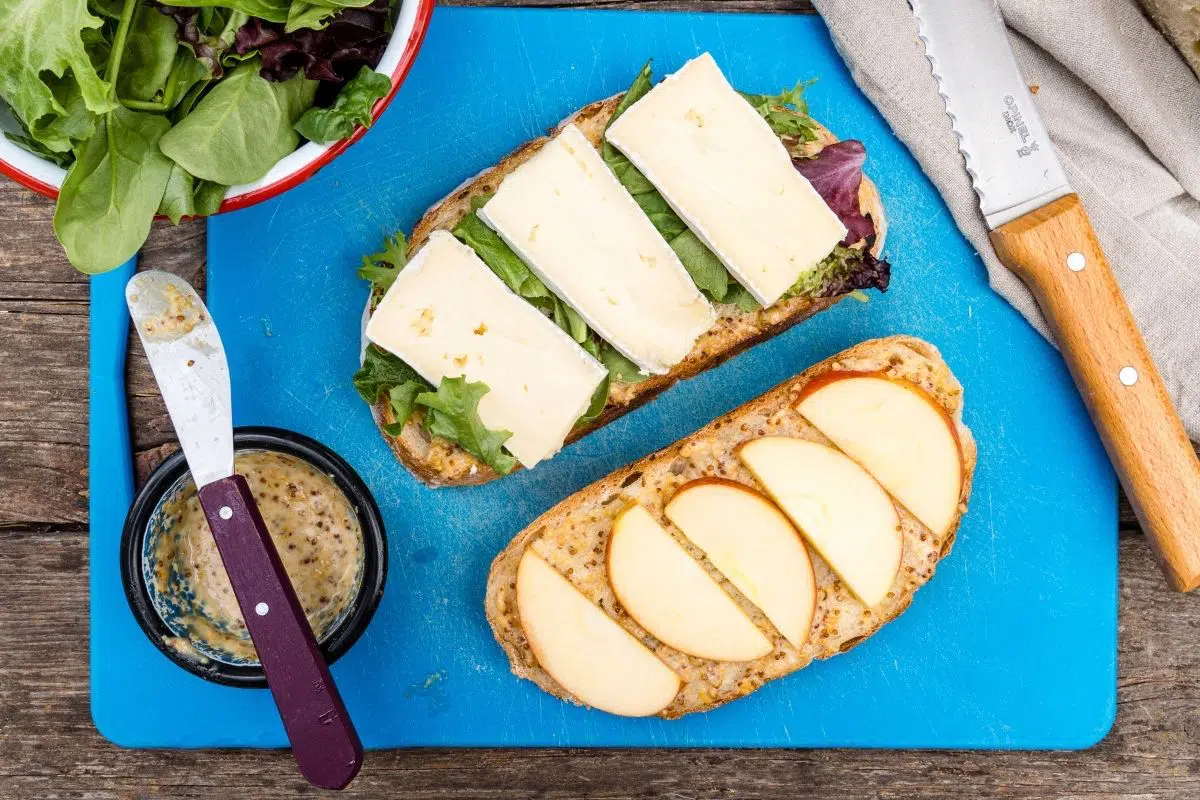
Butter or spread mayonnaise on one side of two pieces of bread. Place one of them face down on a plate or cutting board (there is no way to avoid this). Spread your honey mustard on the inside, then layer the cheese, apples, baby greens, another layer of cheese (optional). Spread honey mustard on the other slice of bread and then place on top.
Using a spatula, transfer the sandwich to the pre-warmed skillet. Keep the heat in the medium-low to medium range, as you want to melt the cheese without burning the bread. If the first side of your bread browned way before the cheese even had a chance to get soft, lower the heat. Flip the sandwich over to the other side and cover with a lid or foil. This will trap steam inside and help melt the cheese.
Serve immediately, or transfer to a plate and cover with aluminum foil to keep warm until the rest of the sandwiches you are making are done.
Ingredients
- 4 slices bread
- 2 tablespoons butter
- ¼ cup honey mustard, recipe follows
- 4 oz. brie, sliced
- 1 small apple, recommended: Pink Lady, Honeycrisp, Ambrosia
- 1 cup baby greens, loosely packed
Honey Mustard
- 2 tablespoons stone ground mustard
- 1 tablespoon mayo
- 1 tablespoon honey
Instructions
- Spread butter or mayonnaise on one side of each slice of bread. On the other sides, spread the honey mustard. Layer the brie, apples, and baby greens on two slices, then top with the remaining slices (buttered side up).
- Place the sandwiches in a skillet over medium heat. Cook until the bottom slice of bread is beginning to turn golden, then carefully flip and toast the other side.
- Remove from the heat and serve with your favorite chips or a side salad.


