Quinoa Chili
This post may contain affiliate links.
Lightweight and protein-packed, this homemade dehydrated chili is vegan and gluten-free. Fresh Off the Grid contributors Kira & Brendon Hak of Adventure Haks share how to make one of their favorite backpacking meals.
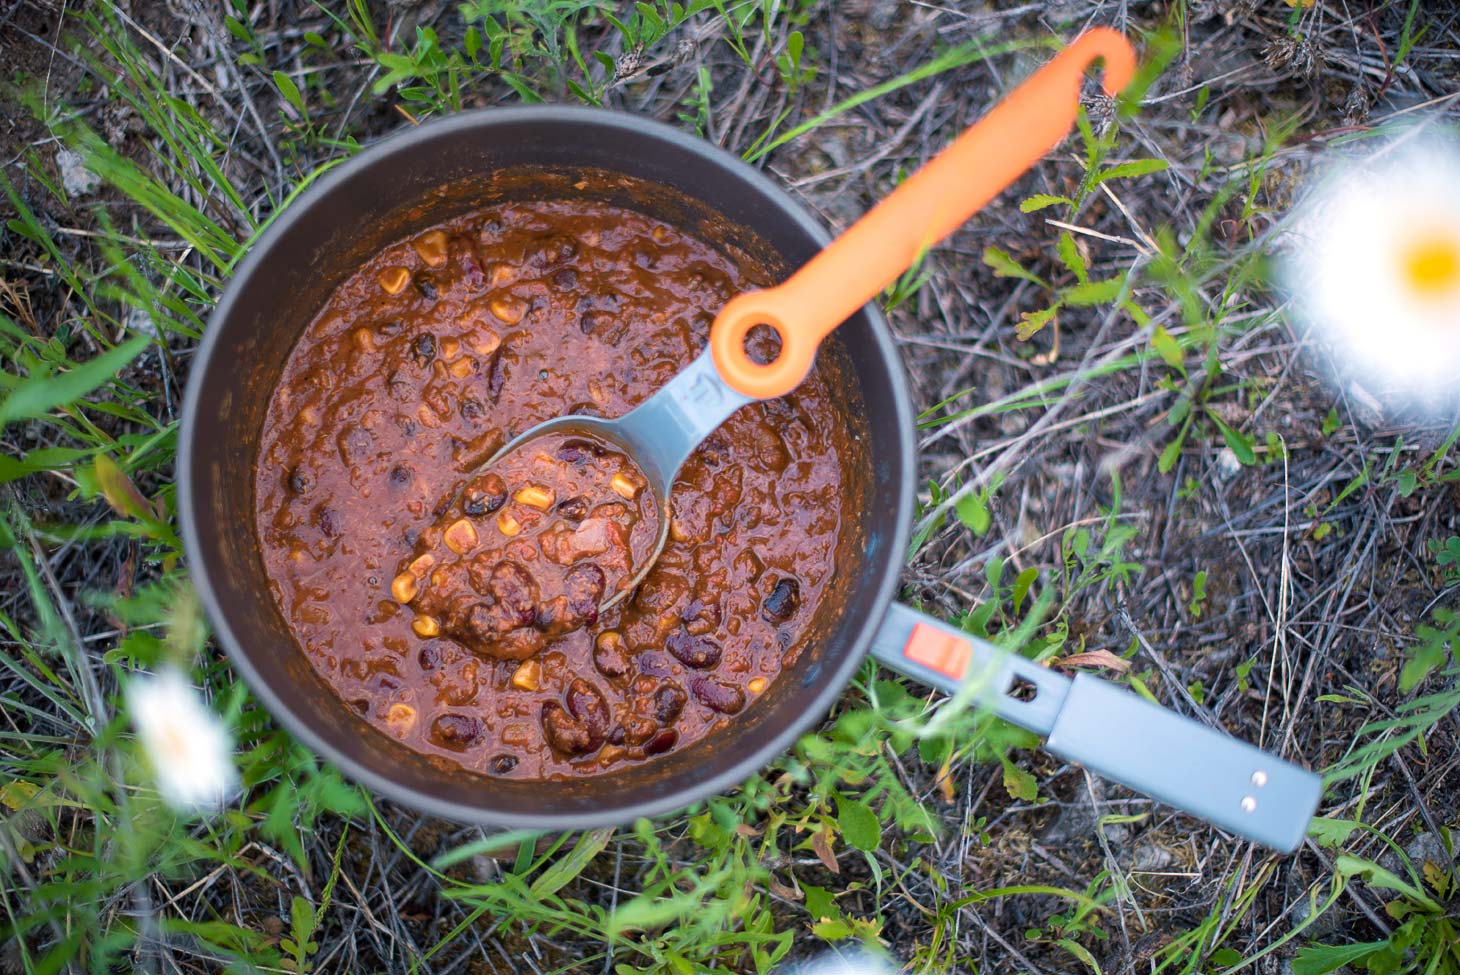
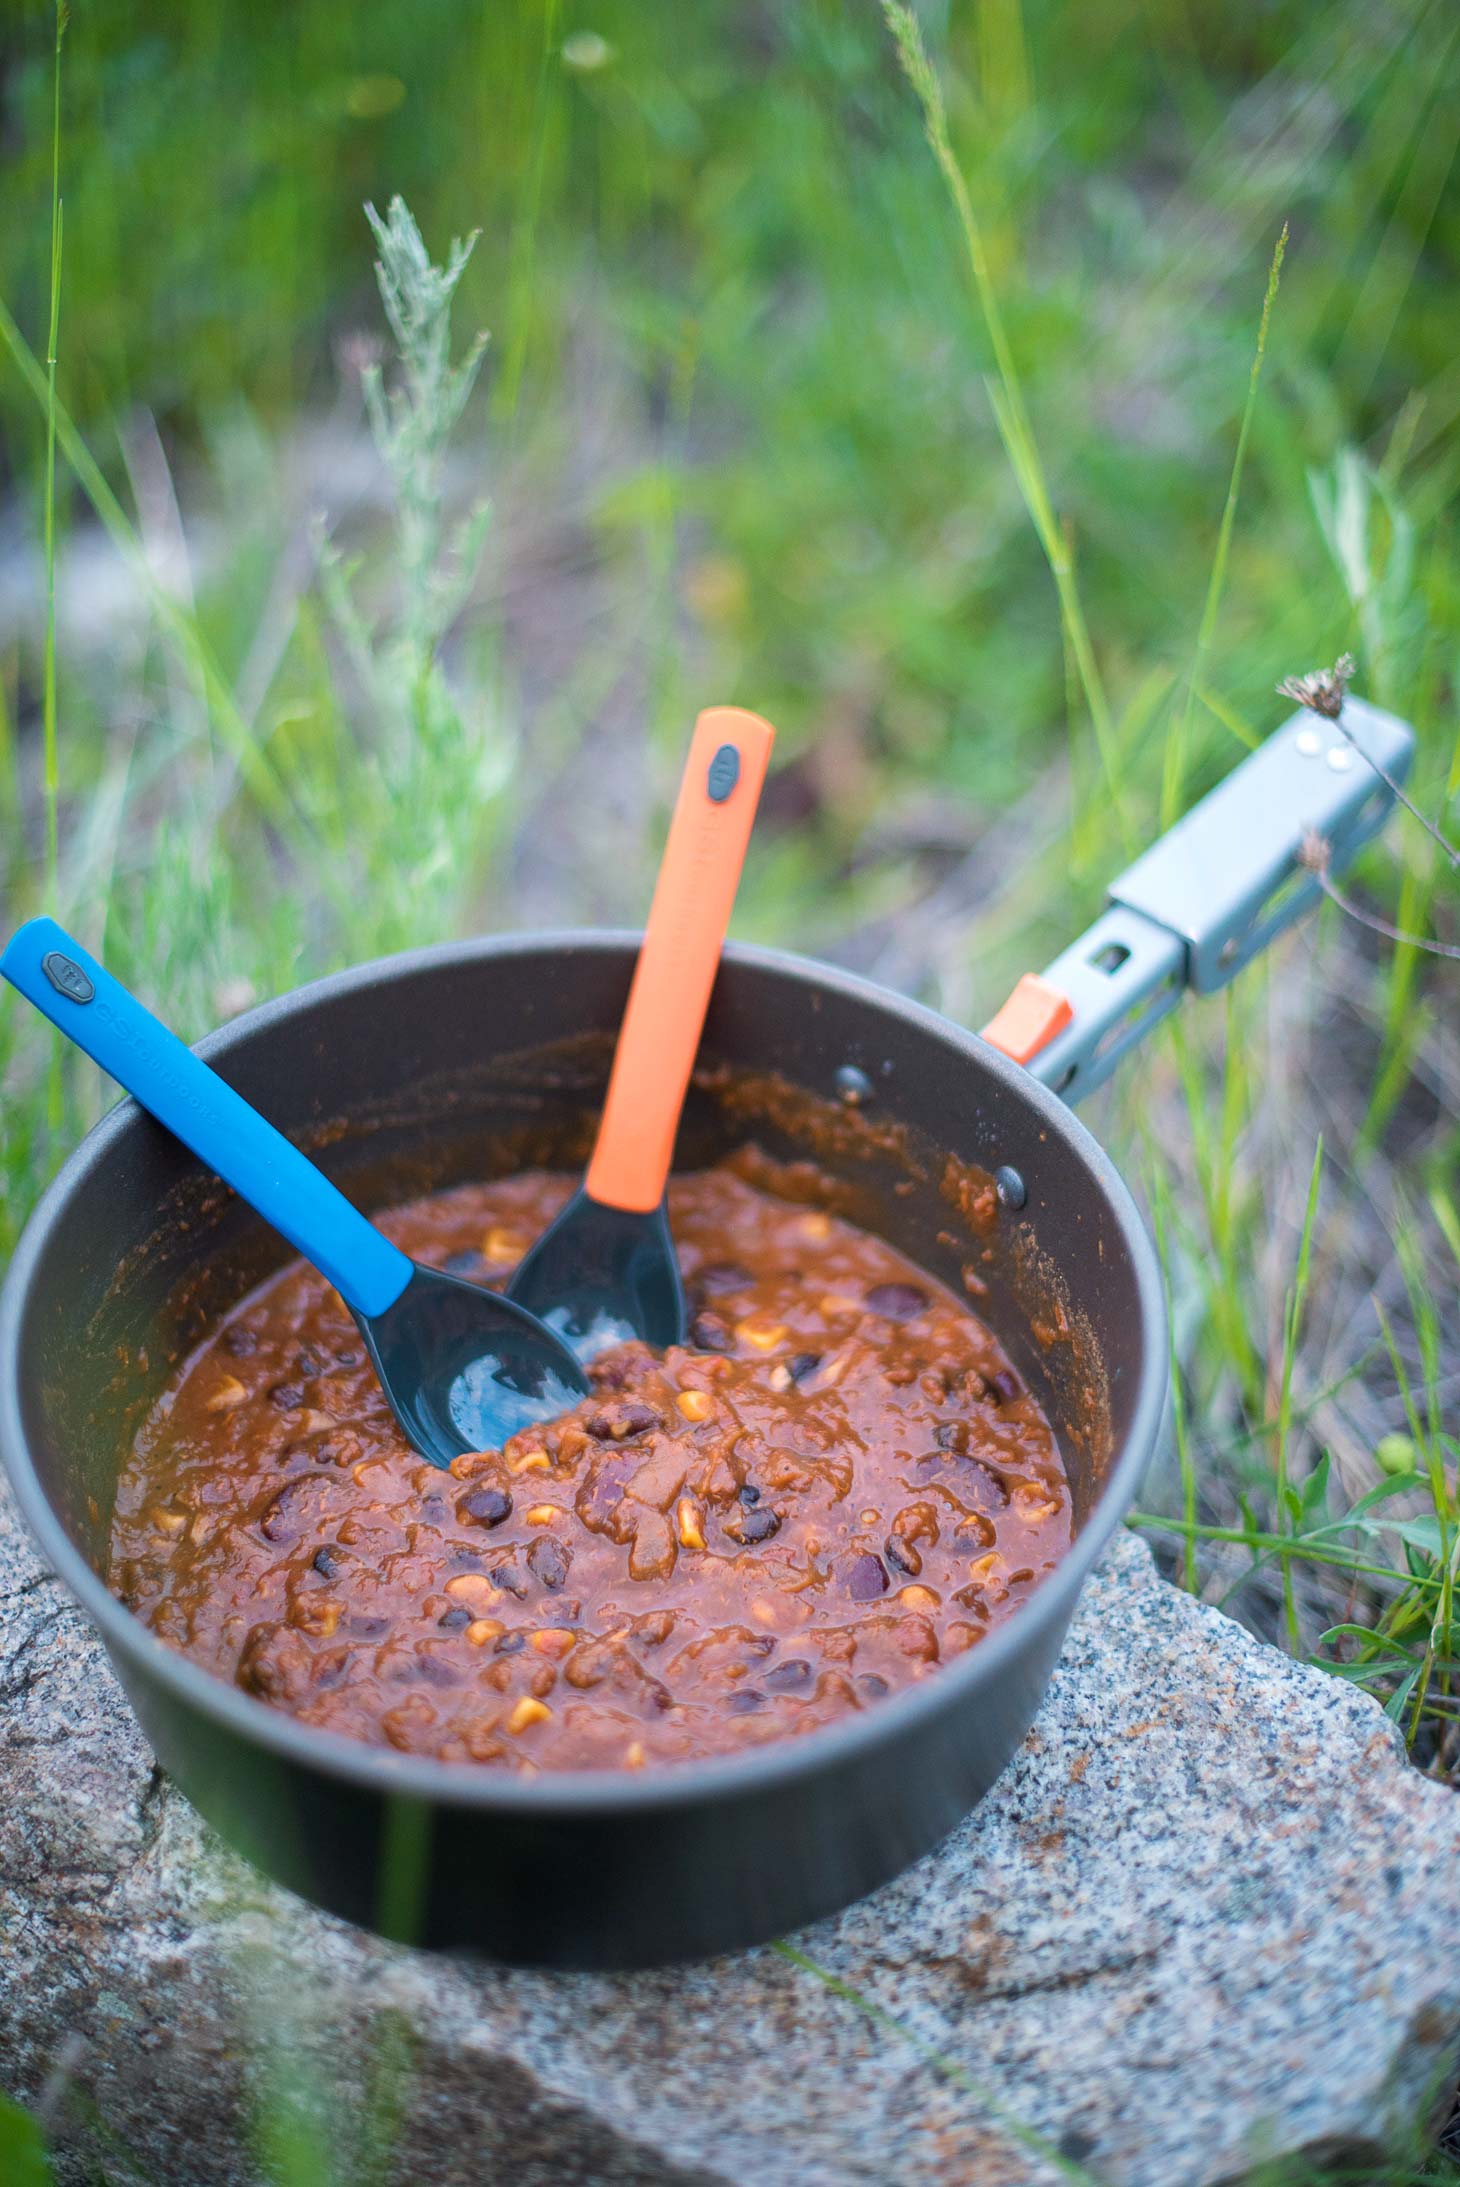
Life on the road or in the backcountry can use up a lot of energy so it is essential for any adventurer to eat meals packed full of nutrients for restoration. At the end of a full day of adventures, when the sun is setting, and the air begins to cool, nothing beats a hearty and warm bowl of chili.

This has been our go-to vegetarian chili recipe for years, so when we decided to try dehydrating our own meals, this was one of the first recipes in the line-up. A healthy, convenient, and quality meal for anyone on the go!
Have your own favorite chili recipe? Perfect! Throw all of the ingredients into a pot, but omit the water and/or broth. Heat & Cool. Dehydrate. Package and plan your next adventure!
GEAR SPOTLIGHT: Choosing a Dehydrator
From making homemade jerky and fruit leathers, to drying fresh fruits and vegetables for longer term storage, or even creating dehydrated just-add-boiling-water for backpacking trips or emergencies, there are dozens of ways to use a dehydrator.
As with most kitchen appliances, there are a number of options to choose from. There are two that we see over and over again. If you’re budget-conscious, the Nesco Snackmaster Pro is probably your best bet. If you will be doing a lot of dehydrating, you’ll likely be able to recoup the cost of one of the Excalibur model dehydrators, which has long held the position of best-of-the-best in the dehydrating community.

Ingredients
- 2 cups cooked quinoa
- 1 tablespoon olive oil
- 1 large onion diced
- 6 cloves garlic minced
- 2 (28 oz) cans diced tomatoes
- 1 (398 mL / 14oz) can tomato sauce
- 1 can diced green chiles *Optional
- 2 ½ tablespoons chili powder
- 2 teaspoons cumin
- 2 teaspoons cacao powder (cocoa works too)
- 1 ½ teaspoons smoked paprika
- 1 teaspoon cane sugar (or any sugar you have on hand)
- ½ teaspoon coriander
- ½ teaspoon cayenne pepper *Optional
- salt and pepper to taste
- 1 (12 fl oz) can corn drained & rinsed
- 2 (19 fl oz) cans kidney beans drained & rinsed
- 1 (19 fl oz) can black beans drained & rinsed
Instructions
PREPARE THE CHILI
- Cook 1/2 cup quinoa as per directions on bag & set aside (makes 2 cups cooked).
- Heat olive oil in a large pot over medium-high heat. Once the oil is hot add the onion and cook until tender, add garlic for the last few seconds.
- Add diced tomatoes, tomato sauce, cooked quinoa, chili powder, cumin, cacao, paprika, sugar, coriander, salt, and pepper. Add the chiles & cayenne if you like it spicy.
- Bring to a boil and then reduce to a simmer for 30 minutes.
- Add in corn and beans, cook until heated through.
- Remove from heat and let the chili cool.
DEHYDRATE & PACKAGE
- Spread evenly onto dehydrator trays. Dry at 145F/63C for 8-10 hours. Chili is done when the beans are dry.
- Evenly package into 6 servings, in air-tight containers (like ziplock bags) or vacuum seal. Store in a cool, dark & dry place.
ON THE TRAIL
- Pour dry chili into the pot; add 1 cup water per serving and stir well. Bring to a boil. Simmer, stirring occasionally, for about 20 minutes.
Notes
NUTRITION
525 calories9g fat
82g carbohydrates
22g protein *this information is an estimate based on myfitnesspal.com – actual values may be different based on your ingredient selection.
About The Author
Meet Brendon & Kira – The Adventure Haks. We are avid outdoor enthusiasts who enjoy any activity that will take us outside. Most of our time is spent motorcycle touring, where we can combine the freedom to explore new places with our love for hiking, fishing, and camping. We are currently living & adventuring in British Columbia, Canada. Follow along @adventurehaks and at adventurehaks.com
That’s a great idea to dehydrate the whole chili. Definitely going to try making this on the next trip. Thanks for the idea!
You are welcome! Let us know how it turns out 🙂
Hey! I stumbled upon a podcast and discovered your site. Love all your backpacker meal recepies. I’m always afraid to use oil when dehydrating due to a higher chance of the item getting rancid. Any thoughts on this ? Short term storage – less that’s 6 months would this be okay ? I live in British Columbia in chilliwack if your ever up this way !! Cheers ????
Hi Izabella,
We have not had any issues with using oil in this recipe. However, we have never stored passed 6 months, or even 3 months, for that matter. That being said, you can omit the oil in this recipe and it will not affect the end product. Hope this helps.
Hello! I’ve made this recipe twice now — once for backpacking and once for eating @ home, it is my favorite vegetarian chili recipe! I think the spices combo is what makes it so good. I also make it with rice instead of quinoa. Quick note for anyone dehydrating: if you are dehydrating this, I would not recommend dehydrating the rice in the chili, as they take different amounts of time to rehydrate, and I had an issue (the rice never really rehydrated fully) when I took this backpacking. Instead, boil the rice separately (highly recommend minute rice just for time savings, and then rehydrate chili and mix them in your bowl.
Mel – thank you so much for the feedback and the tips regarding better rice rehydration!
I haven’t made it yet, but I was wondering if I could dehydrate it in the oven (the lowest temp on my oven is 170 degrees F).
The recipe also says to add 1 cup of water to rehydrate. Is that 1 cup for the whole batch or for one serving?
So 170 F is definitely too hot for this recipe. You can attempt to crack the oven door open, but the heat will probably be uneven. Unfortunately, I think a dehydrator is going to be required for this one.
This recipe makes 6 servings. For each serving you rehydrate in the field, you would add 1 cup of water.
The whole family loved this. I used a slightly different mix of beans with what I had in the pantry. Based on the comments, I decided to pulse them a few tines in the food processor to help with rehydration. I tested the finished product using cook bags in a cozy for 20 min to save fuel on the trail and it worked great.
I made this and dehydrated per directions.
I keep my measured Ziploc serving bags in the freezer to store.
I rehydrated a bag at home last night and it tasted great! I appreciate that. I did need to simmer it 15-20 min. though.
Is there a bean or recipe that rehydrates without such a long simmer time? I’m trying to save fuel on the trail.
I’ll go back any try a lentil recipe with fewer black beans and see how that turns out.
But I appreciate any ideas you have.
And @Gina – did you run the cooked/dehydrated product through a food processor?
I’ve heard you can pour in water at the start of the day and let it rehydrate until you want to eat it then heat it on the stove as usual.
I agree that a 20 minute cook time seems like a huge fuel suck. I am going to try this at home with a pre-soak time similar to soaking it once I get to my campsite, well in advance of dinner time.
Made this for backpacking but also enjoyed at home. A really excellent recipe!
I used this for backpacking a couple times (turned out great) but its actually become my go-to chili recipe at home and for potlucks, too! Fun fact: I once won a chili cookoff against several meat based chilis with this recipe.