How to Make Amazing Camp Coffee with an Aeropress Coffee Maker
This post may contain affiliate links.
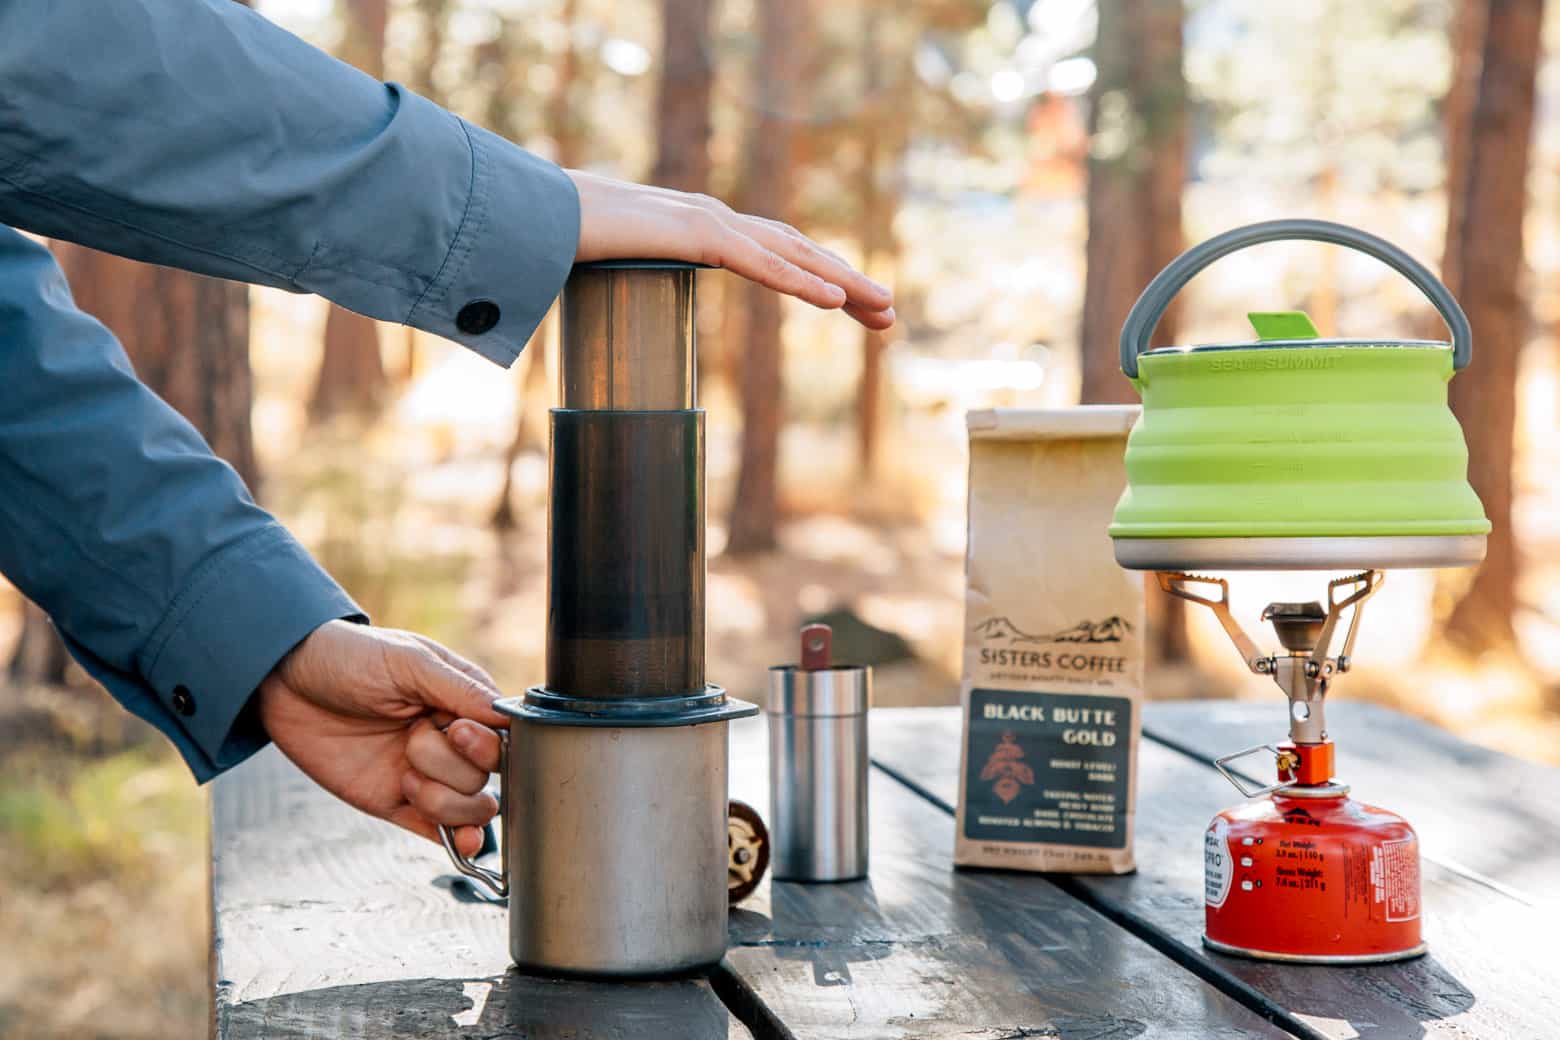
The easiest way to enjoy an incredible cup of coffee while on the road, the AeroPress is our go-to camping coffee maker.
Why use an AeroPress Coffee Maker?
We’ve tried a lot of different ways of making coffee for camping, but the AeroPress is our favorite by far. Here are some of the reasons why we love it.
1. Durable—The Aeropress is made by Aerobie, the same company that developed the record-breaking “super disc.” Aerobie used its advanced knowledge of plastics to make the AeroPress, which can be knocked down, dropped, and tossed without so much as a ding.
2. Lightweight—Without a filter, the AeroPress weighs 175 grams. It may not be light enough to take on an ultralight backpacking trip, but it’s our go-to for just about everything else.
3. Grounds are Easy to Discard—After use, the used coffee grounds are pressed into a dense puck. They can then be “popped” out the bottom so you can quickly reload for a second cup.
4. Fast Clean Up—The Aeropress’s simple and smooth design means that there is hardly anything that needs to be cleaned.
5. Damn Good Coffee, Every Time—There are a lot of ways to make great coffee, but the Aeropress is remarkably consistent. It has even developed such a cult following that there is a national AeroPress coffee-making contest every year.
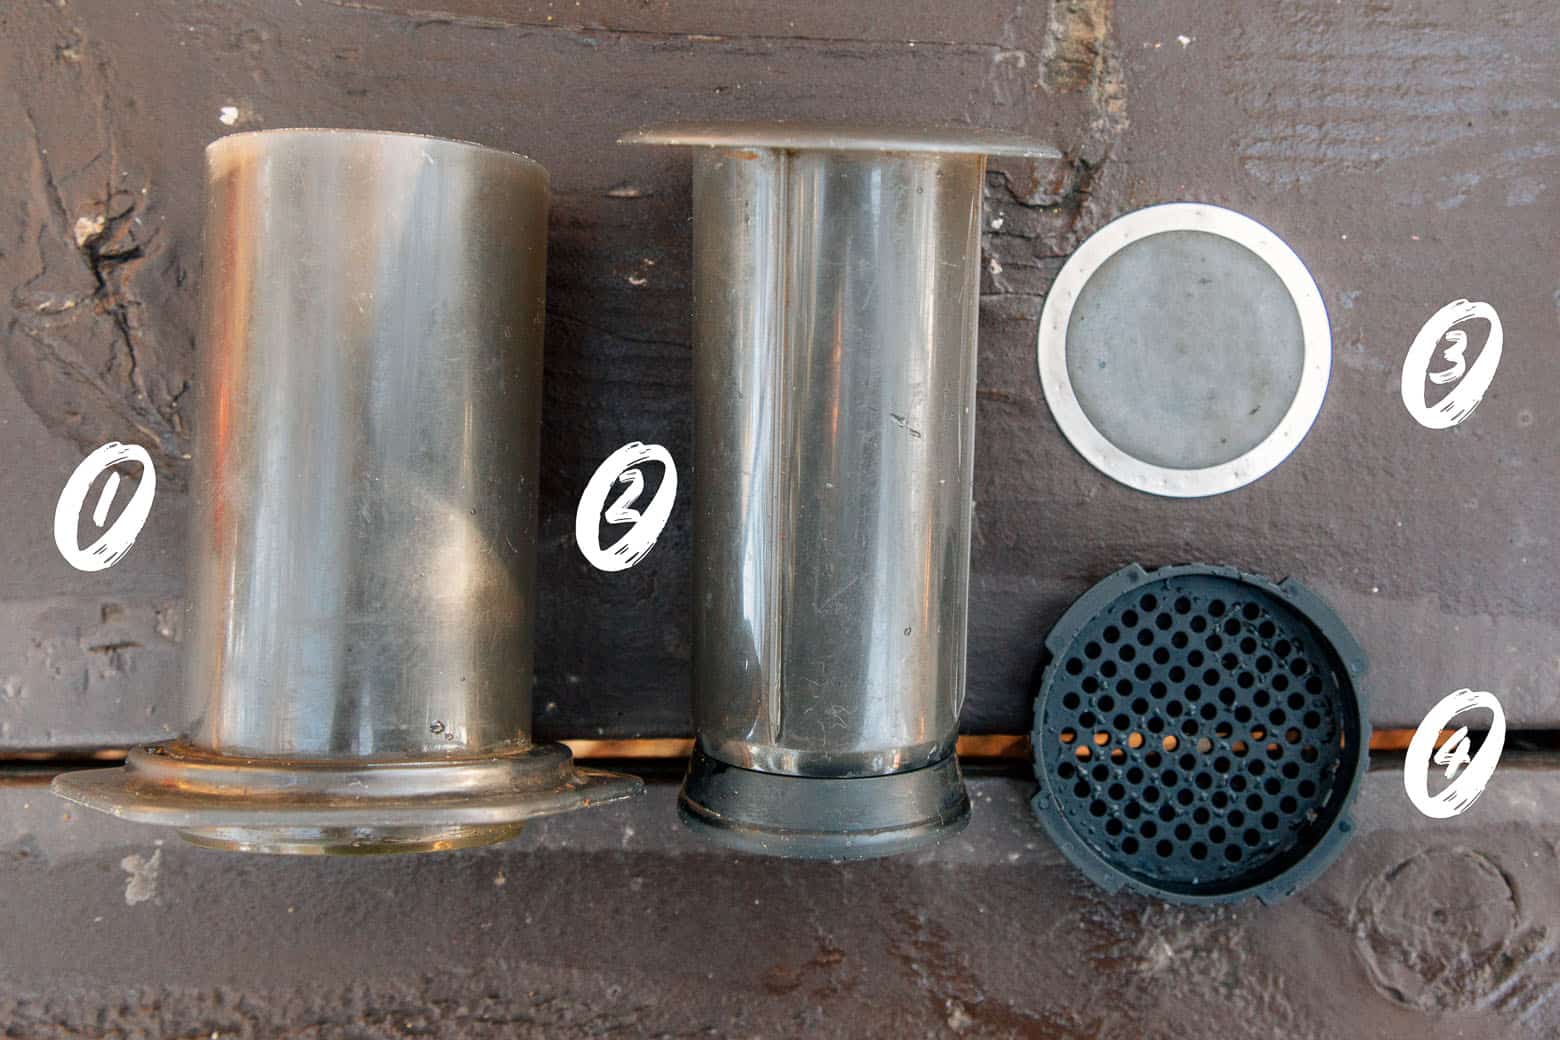
AeroPress Assembly
The Aeropress consists of four main parts:
1. Brew Chamber
2. Plunger
3. Filter
4. Filter Cap
How to use the AeroPress
There are two different brew methods: Traditional and Inverted. There are pros and cons to both, so we’ll give you recipes for both approaches.
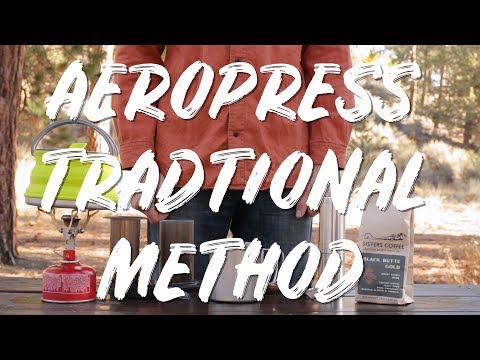
Traditional Method
1. Place the filter inside the filter cap and affix it to the brew chamber. Place the brew chamber on top of your coffee mug, with the filter cap facing down and the opening facing up.
2. Finely grind 16 grams (approximately 5 tablespoons) of coffee beans and dump them into the bottom of the brew chamber.
3. Boil water and remove from heat. Slowly pour a small amount of water into the chamber, just enough to wet all the grounds but no more. Wait 10 seconds. This bloom phase releases CO2 gas from the coffee.
4. Slowly pour in the rest of the water until you nearly fill the brew chamber. Wait 90 seconds. Gravity will start to slowly pull some water through the filter (this is fine).
5. After about 60 seconds, insert the plunger into the top of the brew chamber and slowly begin to press down. As you depress, the water will be forced through the filter. The depression process should take roughly 30 seconds. Slow and steady. Once you reach the bottom, you’re done.
Pros: If you have a larger camp mug (bigger than 8 oz), this method will allow you to make a full cup of coffee. In theory, you can run as much water through the AeroPress as you like.
Cons: Since some water drips through the filter before you depress the plunger (due to gravity), some under-extracted coffee makes its way into your cup. This is mitigated by using more coffee and a finer grind, which speeds up the extraction process, but when using the traditional method, under-extraction is unavoidable.

Inverted Method
1. Lightly insert the plunger into the back of the brew chamber (no more than a ½ inch) and set down with the plunger handle facing down and the bottom of the brew chamber facing up. Leave the filter cap off for now. This creates a sealed brew chamber.
2. Grind 16 grams of coffee (~ 5 tablespoons) into a semi-fine consistency, a little finer than sea salt. Pour grounds into the brew chamber.
3. Boil water and remove from heat. Slowly pour a small amount of water into the chamber, just enough to wet all the grounds but no more. Wait 10 seconds. This bloom phase releases CO2 gas from the coffee.
4. Slowly pour in the rest of the water, until you fill the brew chamber. Since this chamber is sealed, no under-extracted coffee can escape. Wait 60 seconds.
5. If you are using a paper filter, place it inside the filter cap and wet it slightly to help it stick. If you are using a metal filter, lightly place it over the top of the brew chamber. Screw on the filter basket.
6. Place your mug upside down on top of the filter basket. Holding the brew chamber and plunger with one hand and your mug with your other, flip the entire assembly upside down – so the mug is on the bottom and the plunger handle is now facing up. Slowly depress the plunger for 30 seconds. When you’ve reached the bottom, you’re done!
Pros: The inverted method allows you to maintain complete control of the brewing process. No amount of under-extracted coffee can escape.
Cons: The sealed brew chamber can only hold so much water, which means you are only able to brew roughly 8oz of coffee at a time.
How to Clean and Store Your AeroPress
Discard the Grounds – Once you have pressed your coffee, the used grounds are compacted into a dense puck. Remove the filter basket and press down on the plunger to “eject” the puck of grounds into the trash.
Rinse – If you’re using a paper filter, it gets ejected with the grounds. If you’re using a metal filter, it will need to be rinsed off along with the filter basket. There usually isn’t that much of a mess to clean up, but feel free to rinse off any part of the AeroPress that has wet grounds on it. Do NOT run through the dishwasher.
Store Separate – For short trips, it is fine to store your AeroPress with the plunger depressed into the brew chamber. This way takes up the least amount of space. But once you get home, take the two pieces apart and store them separately. The rubber ring at the end of the plunger shouldn’t be compressed inside the brew chamber for extended periods of time.
How to Deal with a Filter Blowout
Nobody really talks about this, but it can happen to the best of us. An AeroPress blowout happens when the paper filter isn’t properly inserted, or the metal filter is misaligned slightly. This RARELY happens, but when it does, you’ll know because coffee grounds get around the filter and into your coffee. It’s pretty obvious because there will be ZERO resistance on the plunger when you depress, and all the water will just rocket through. But don’t worry, you can still recover!
First, remove the plunger, take off the filter basket, and rinse everything thoroughly.
Then start the inverted sequence from the beginning. Insert the plunger slightly into the brew chamber. Then pour your mug of coffee water and ground into the brew chamber. Place a new filter into the filter basket and attach it to the brew chamber. Rinse your mug out, place it on top, flip, and then depress again.
Yes!! I just recently converted to the aeropress and I’m loving it. Haven’t tried it on a hike yet, but it’s gunna be a heck of a lot better than taking a little bag of instant coffee, which is what we’ve always done in the past. Bring on the summer camping!
These look great, I’ve never used one before but it seems simple enough and anything to get a decent brew. I admit when I’m camping I usually take my stovetop (moka pot) but it doesn’t pack that well for backpacking so this might be the better option.
Aeropress solved all of my camp coffee problems! Never liked to deal with the grounds from a French press or pour over method, so typically used Starbucks Vias. Aeropress gives us GREAT coffee and super easy clean up without wasting water for cleaning and a neat little package for disposing of grinds. LOVE.
Could not agree with you more! The clean up was always our biggest hang-up with makeing “good” coffee while camping. The Aeropress solves that issue entirely. So glad we converted over.
Get the best of both worlds: I find that placing the plunger just slightly into place while using the “traditional method” will quickly form a partial vacuum inside and nothing drips into the cup — you can then choose how long to let it steep before plunging.
Also, instead of storing the parts separately, you can certainly keep the plunger in the chamber if you’re diligent about pressing the plunger all the way down until the seal “pops” free. At that point it’s fully expanded and you’ll have no worries about unwanted gasket compression. I even verified this with Aeropress support.
Thank you for all you do!! I LOVE your recipes and recommendations. What a gift you are to the camping and backpacking community.
Thanks Mark! We just learned about the vacuum trick recently and have been meaning to update this post with it. Hopefully, we can get around to that soon. Also, good to know about the fully-depressed storage option. Thank you for sharing.