Pull Apart Garlic Bread
This post may contain affiliate links.
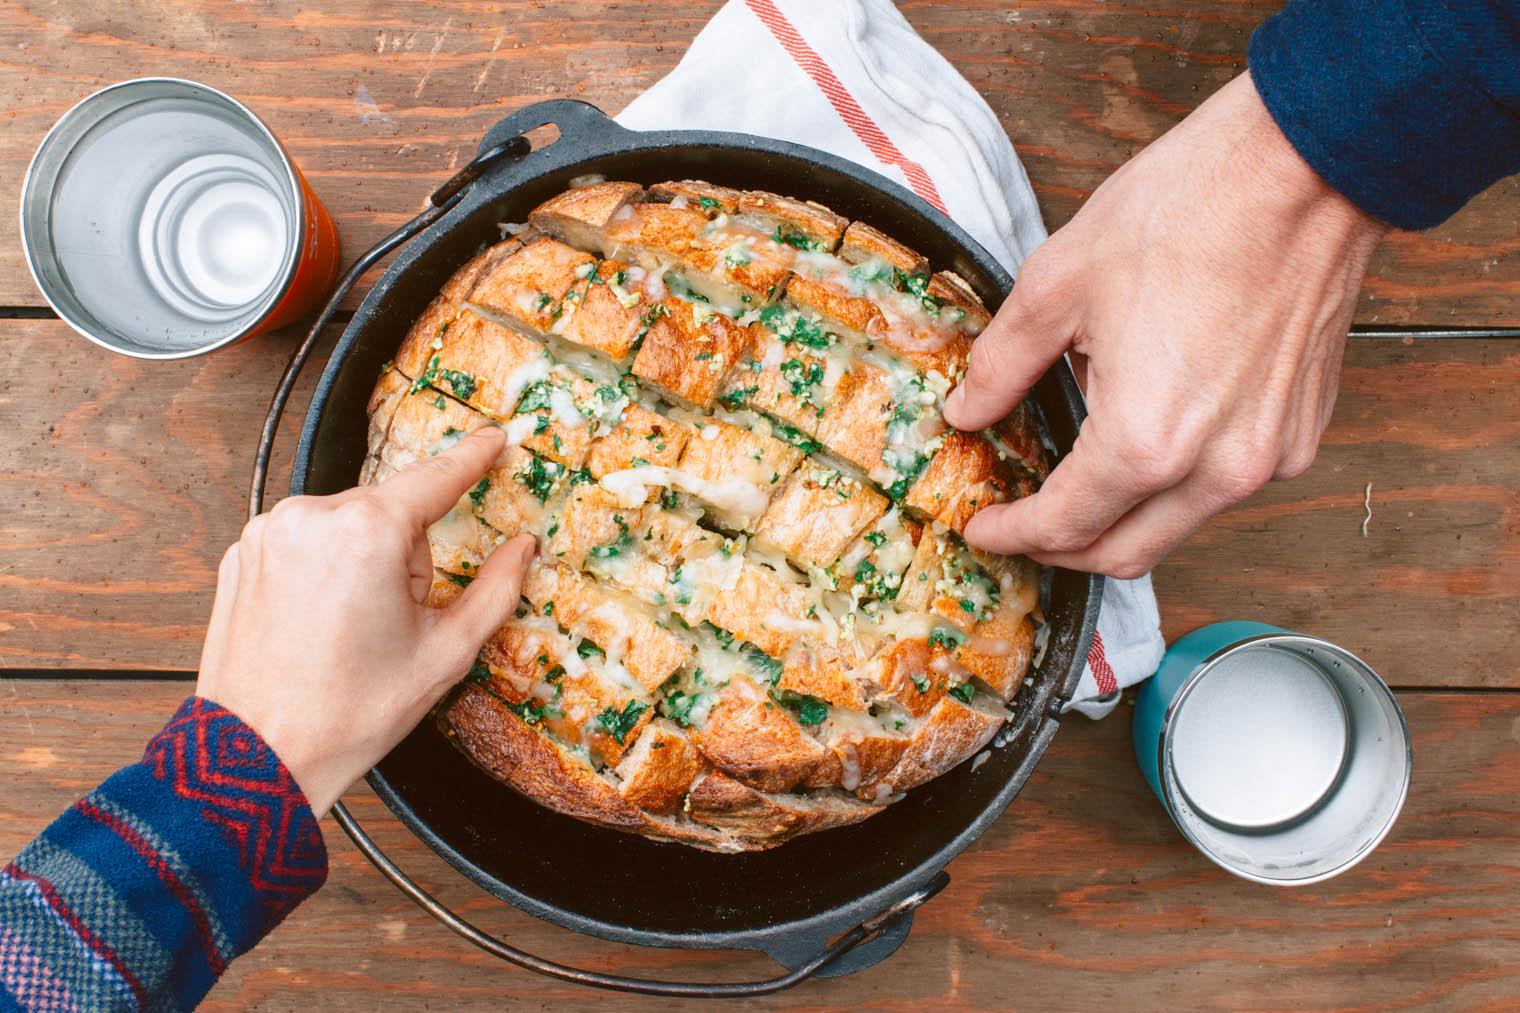
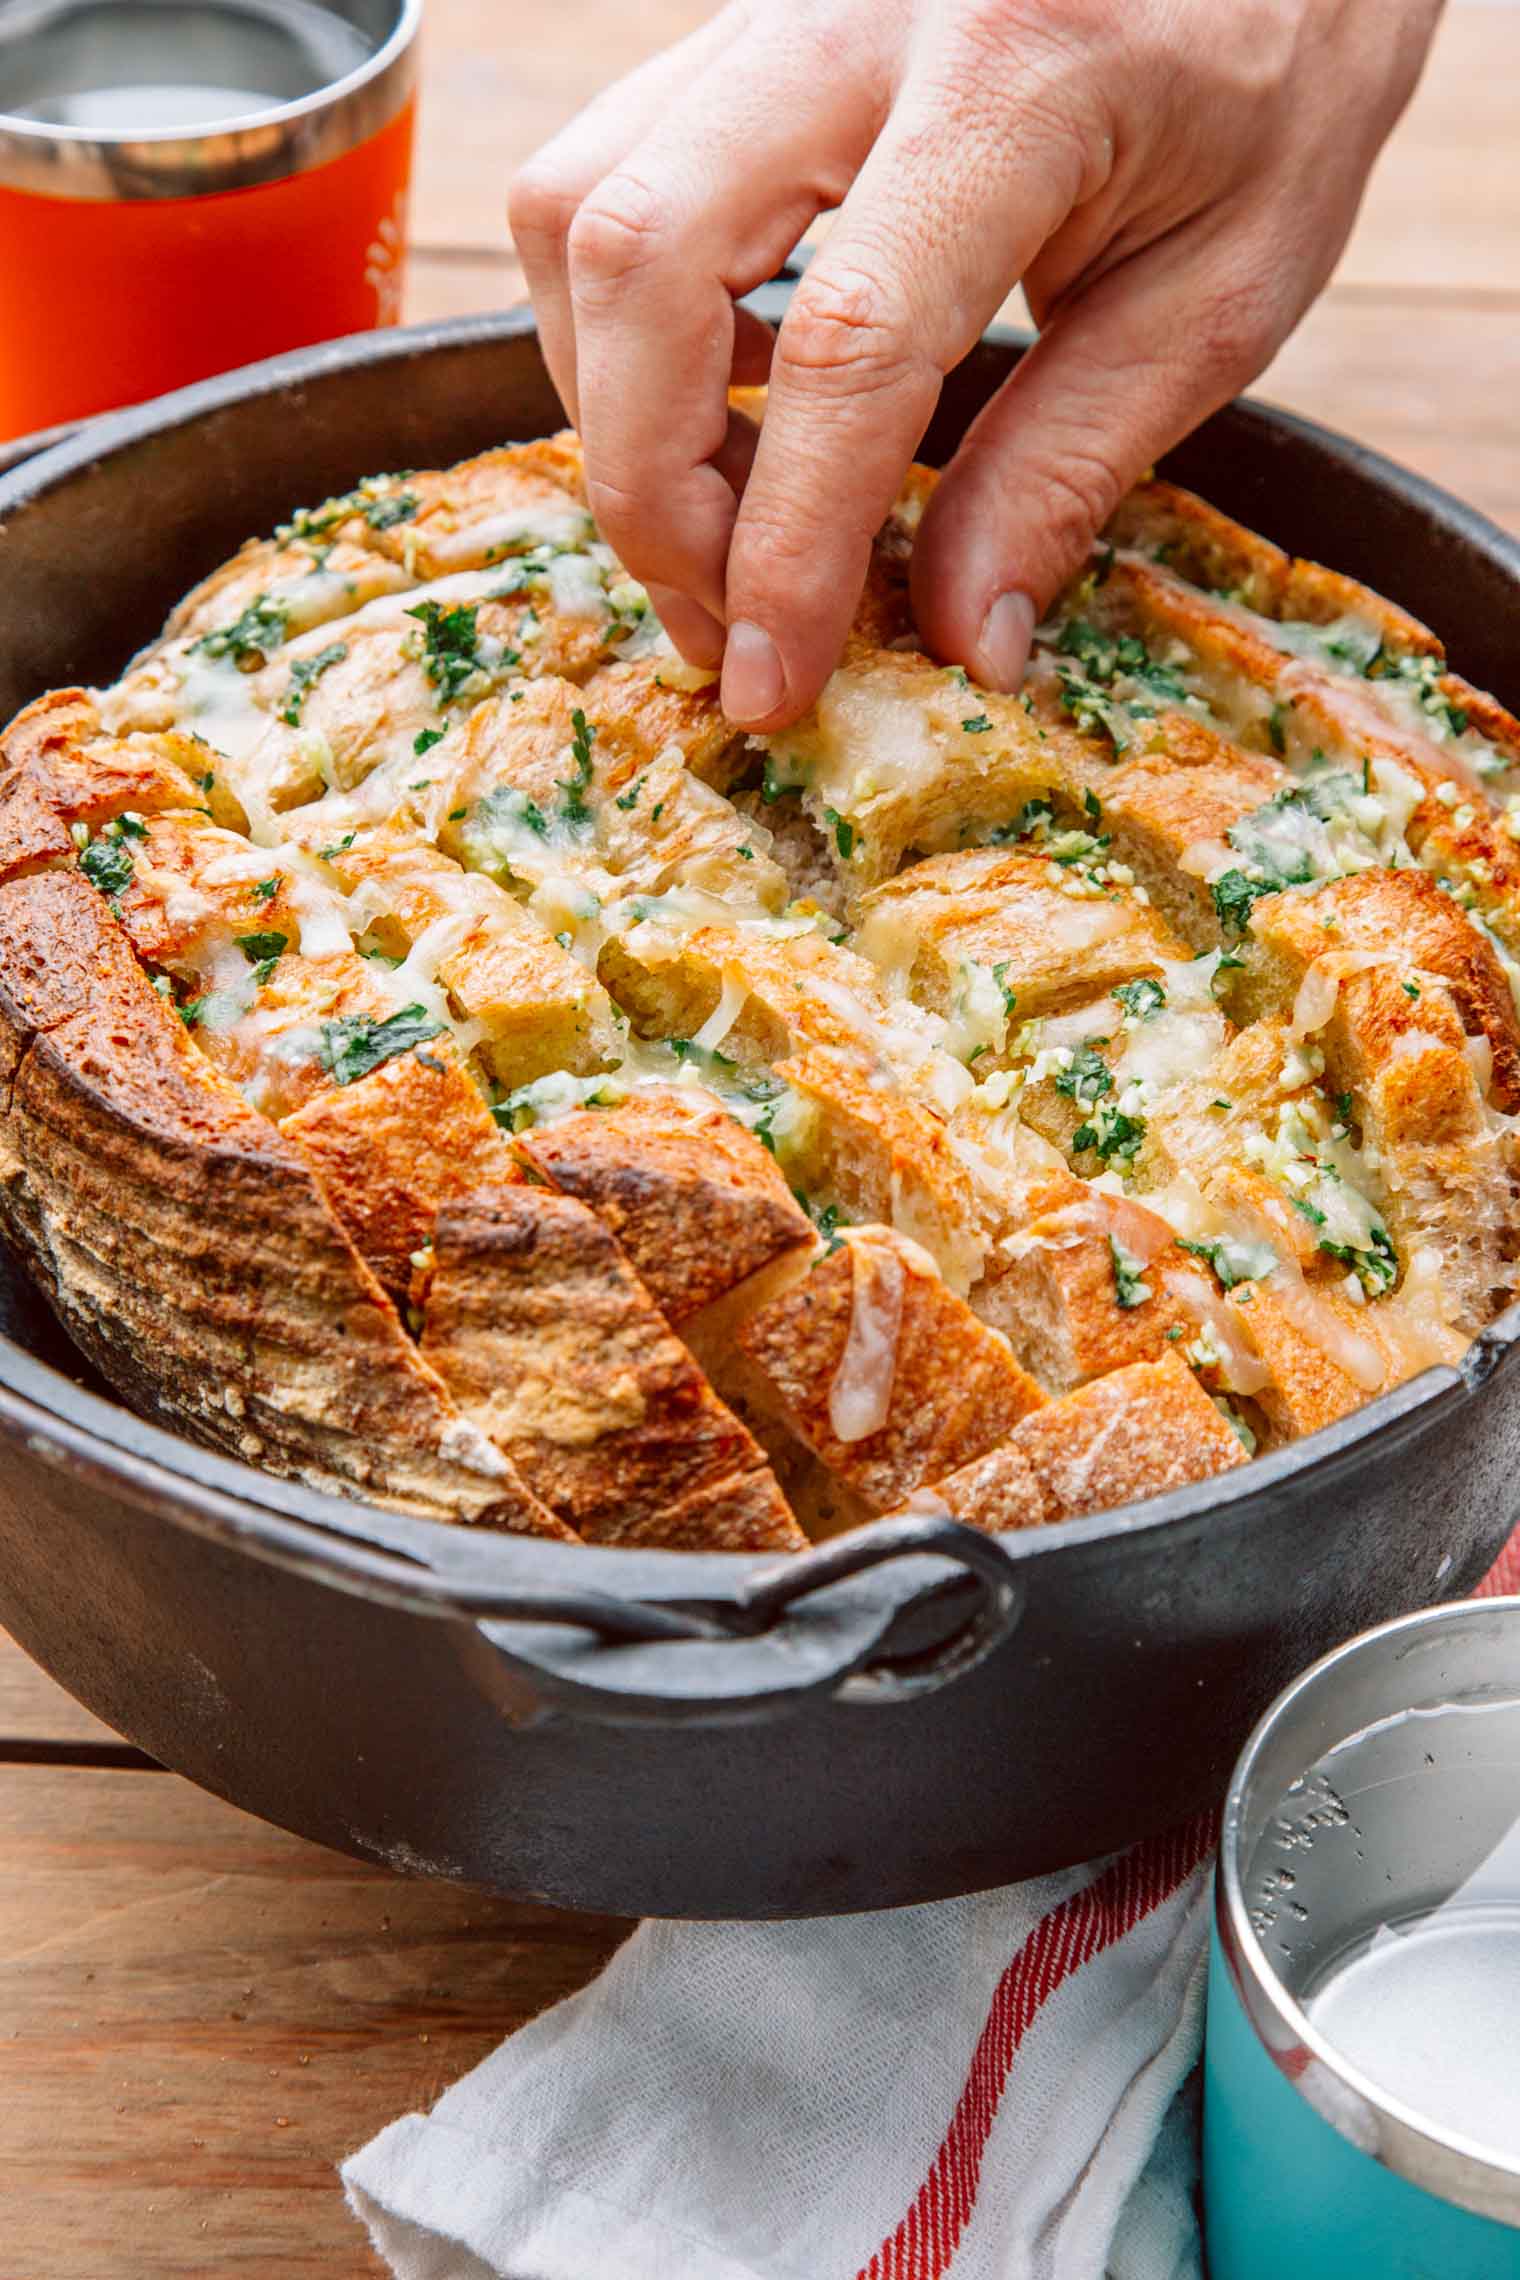
Basically the garlic bread equivalent of a Bloomin’ Onion, this pull-apart bread is loaded with minced garlic, parsley, and shredded cheese. When it comes to camping appetizers, it doesn’t get much better than this.

While there are lots of ways to make garlic bread, this variation places the emphasis on the communal experience. Fun and interactive, this pull-apart bread is a centerpiece appetizer that can bring people together in a way a bowl of chips and dip can only dream about. But the best part of this crowd pleaser is how simple it is to make. With only a loaf of bread and a handful of ingredients, this is an appetizer that can be thrown together in virtually no time.
If you have never cooked in a Dutch oven before, this a great place to start. While some Dutch oven recipes can be a little more involved, this one is pretty straight-forward and intuitive. You’re pretty much just warming the bread and melting cheese. So even if your charcoal measurements aren’t perfect, this recipe should still turn out great.
So the next time you’re going camping with a group of friends or the whole family, give this pull apart garlic bread a try. It might just become your favorite outdoor appetizer.
Why it Works for Camping
‣ At the end of the day, this is just a fun recipe. It’s fun to make, it’s fun to eat, and it’s a blast to enjoy with friends. Which is why it’s perfectly suited for a group camping trip.
‣ This recipe can also feed a bunch of people without a lot of effort or ingredients.
Mastering the Technique
‣ There are some Dutch oven recipes that require exact precision in terms of charcoal placement/ratios. This recipe is not one of them. In fact, since you’re just warming the bread and melting the cheese, this recipe is very forgiving. Depending on the size of your Dutch oven you’re looking for roughly 3:1 top to bottom coal distribution. For our 10” / 4 qt Dutch oven, we used 15 on top and 5 coals on the bottom.
Equipment Notes
‣ If you want to minimize clean up afterward, we suggest lining your Dutch oven with aluminum foil. This will also make it much easier to remove the bread from the Dutch oven if you would like to plate it. We opted to eat straight out of the Dutch oven, but if you have kids, putting the bread on a plate might prevent a hand from accidentally touching the hot cast iron.
Ingredient Notes
‣ It’s really important that your loaf of bread is shorter than the walls of your Dutch oven. If the bread touches the inside of the lid, the cheese will atomically fuse to it and make a total mess. (Don’t ask us how we learned this). So when selecting your bread, make sure it fits inside your Dutch oven with room to close the lid.
‣ We really went to town with the garlic on this recipe. Unless you really want to be able to kill vampires with your breath, feel free to dial it back a little bit.
Recipe Assistant
Have a question, need an ingredient substitution, or want to create a complete meal or menu around this recipe? Chat with our automated recipe assistant to dive deeper.

Ingredients
Instructions
- SLICE THE BREAD: Cut 1/2 - 1 inch slices horizontally and vertically to create squares, making sure not to slice all the way through the bread - you want the pieces to remain attached to the base of the loaf. Place the loaf into your Dutch oven.
- PREP THE TOPPINGS: Mince the garlic and parsley, then mix with the salt, red pepper flakes, and olive oil.
- STUFF THE BREAD: Using a spoon, drizzle the garlic-herb mixture into the cracks, followed by the cheese.
- COOK 10-20 MINUTES: Place the lid onto the Dutch oven and set over 5 prepared coals. Place 15 coals onto the lid. Bake until the bread is warmed through and the cheese is melted.(If making this at home instead of at your campsite, simply bake in a 350 oven for 10-20 minutes.)
- SERVE & ENJOY!
Notes
EQUIPMENT NEEDED
Sharp knifeCutting board
Spoon
Dutch oven
Tongs
Heat resistant gloves or a Dutch oven lid lifter

