Homemade Apple Cider
Servings: 12 cups
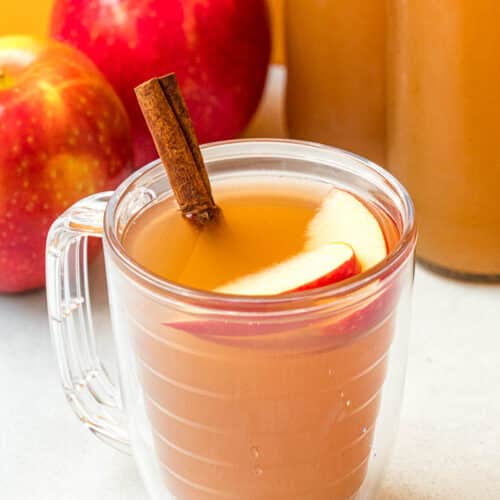
Making your own Homemade Apple Cider is a great way to celebrate the arrival of fall and take advantage of the abundance of in-season apples! Enjoy warm or cold, on its own, or in your favorite fall cocktail.
Ingredients
- 12 apples a mix of sweet & tart is ideal, see note*
- 2 oranges
- 1 inch piece fresh ginger sliced into 1/4” rounds
- 4 cinnamon sticks
- 1 tablespoon whole cloves optional
- 1 teaspoon whole allspice optional
- 20 cups water less is OK to accommodate smaller pot size
- ¼-½ cup maple syrup or to taste
Instructions
- Wash produce: Soak the apples and oranges for 10 minutes in water mixed with some baking soda or fruit & vegetable rinse, and then thoroughly rinse them with fresh water.
- Prep the fruit: Core the apples and cut into quarters (leaving the skin on is OK). Slice the oranges into quarters.
- Add everything to stock pot: In a large stock pot, add all the apples, oranges, sliced ginger, cinnamon sticks, and other spices. Start adding water until water starts to reach the top of the ingredients—roughly 20 cups of water. It’s OK if you need to use less water due the the size of your stock pot.
- Simmer: Place the stock pot over the high heat until it begins to boil, then cover and reduce the heat to a simmer for about 2 hours, or until the apples becomes extremely soft and tender.Using a large wooden spoon, mash the apples against the side of the pot, then continue simmering for another 30 minutes.
- Strain: Working in batches and using a fine mesh strainer or cheesecloth over a large pot or bowl, ladle out the apples, oranges, and spices into the strainer and press to release all their liquid. Discard solids.
- Sweeten: Stir the maple syrup into the cider until the sweetness suits your taste. Start with ¼ cup and increase from there.
- Bottle or serve: The cider can be served warm immediately, or transfered to bottles/jars to store in the fridge. Homemade apple cider will keep in the fridge for about a week, and enjoyed cold or reheated on the stove in a small pot.
Notes
Note: Any apples you have available will work although, if possible, we suggest using a few different varietals to mix things up. For this recipe we blend the tartness of Granny Smiths and Pink Ladies with the sweetness of Honeycrisps and Fujis.