Apple Crisp Backpacking Dessert
This post may contain affiliate links.
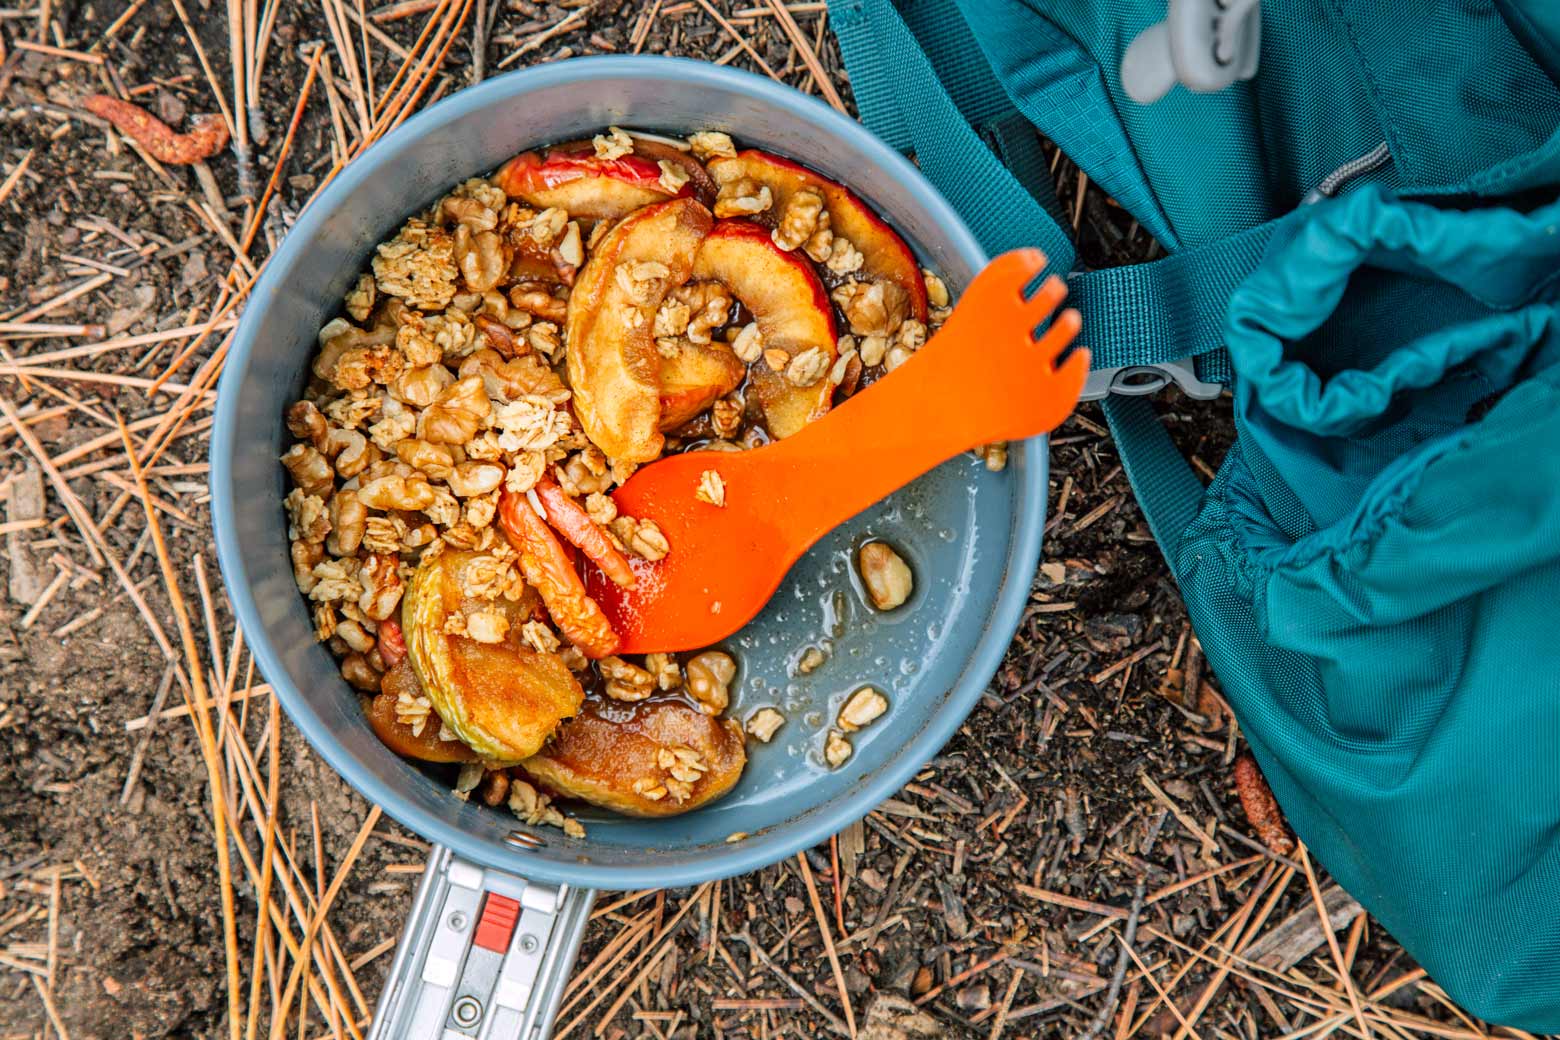
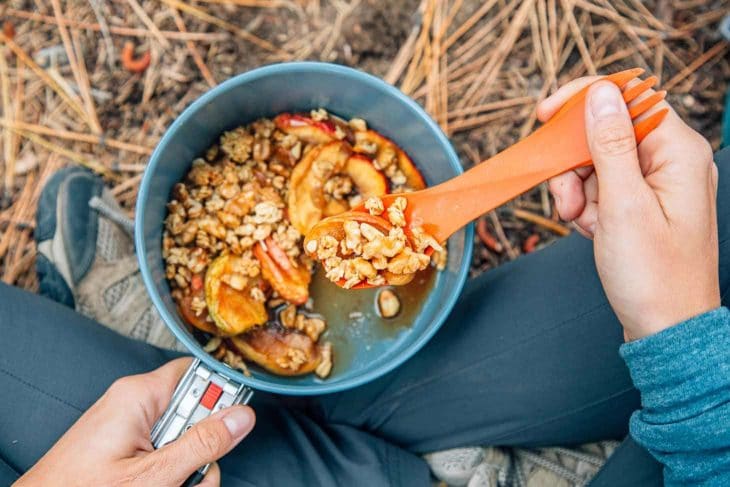
After a long day of backpacking, nothing hits the spot quite like a sweet treat! This DIY apple crisp is lightweight and quick cooking in camp.
When it comes to backpacking, it’s all about the small things: a fresh pair of socks, switching into a new t-shirt or preparing our favorite meal at the end of the day.
And one thing, in particular, can really pick us up after a long day: dessert!
Most hikers tend to overlook dessert as a meal because they don’t want to carry any more weight than absolutely necessary.
Especially for gram counting ultralight hikers – who look at food exclusively as fuel – dessert just doesn’t factor into the equation.
Additionally, prepackaged freeze-dried meals can be expensive, so including desserts into the meal plan just isn’t in the budget for many.
However, this apple crisp is both cheap, lightweight, and—in our opinion—totally worth it.
By using ingredients we found at the grocery store—dried apples, granola, brown sugar, and spices—this two person dessert came out to about $2 a serving. You could do it for less if you dehydrate your own apples!
As for weight, it came in around 5.2 ounces total. Now, it might not be a trade everyone is willing to make, but at the end of a long, hard day, we would happily carry extra 5.2 ounces and pay a few bucks for the chance to enjoy a warm, cozy dessert like this.
So for your next overnight trip, consider treating yourself to this quick and easy dessert. It’s cheap to make, light to carry, and takes less than 5 minutes to cook on site. Life’s short, eat dessert!
More DIY backpacking recipes
↠ Backpacking Chicken Marbella
↠ Dehydrated Red Lentil Marinara
↠ Dehydrated Tortilla Soup
↠ Backpacking Fried Rice
↠ even more great backpacking meal ideas
Ingredients
- 1 ½ cup (1 oz) freeze-dried apples
- 3 tablespoons brown sugar
- 1 teaspoon ground cinnamon
- ¼ teaspoon ground cloves
- ⅓ cup granola
- ¼ cup chopped walnuts
Instructions
AT HOME
- Place the freeze-dried apples, brown sugar, cinnamon, and cloves in a sealable bag. In a second bag, place the granola and the walnuts.
IN CAMP
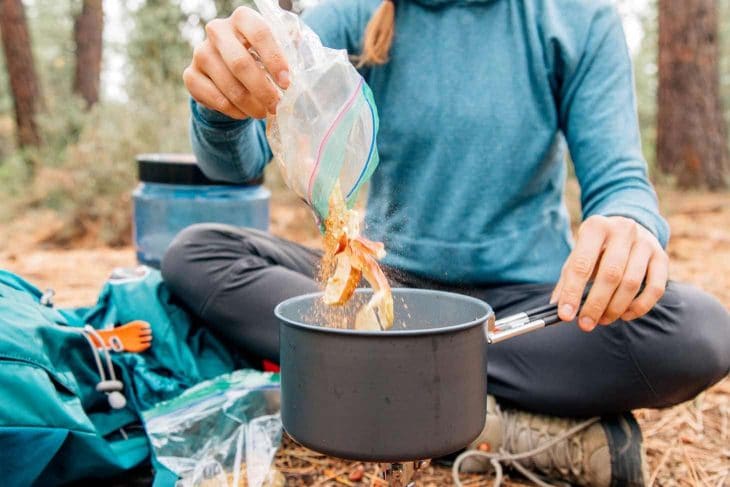
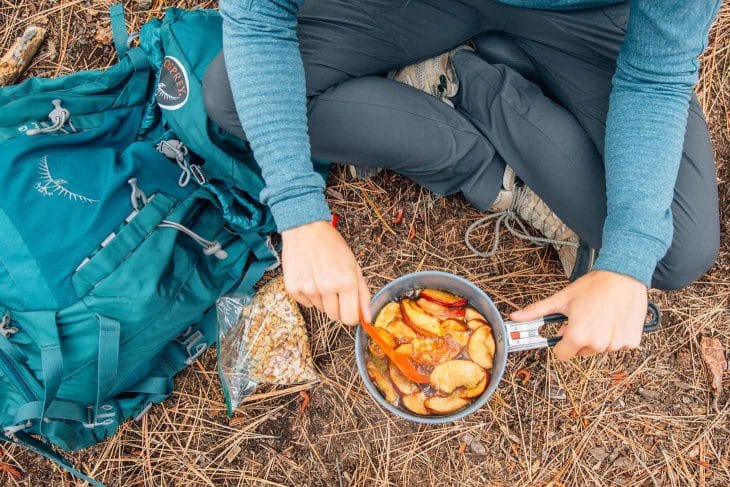
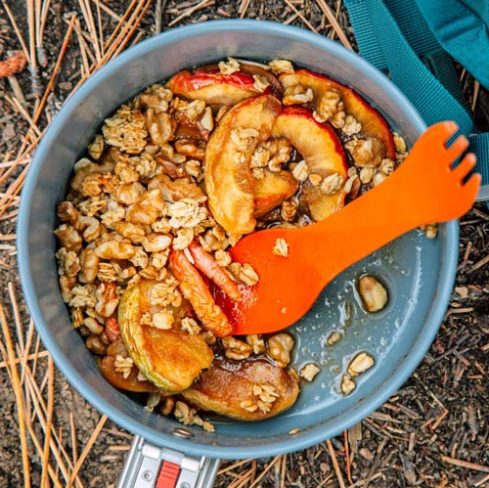
- Empty the apple mix into your cookpot. Add about 3 oz water to the pot and stir. Light your stove, then cook over a medium-low flame until the apples have softened, the sugar dissolves, and the liquid thickens a bit, stirring often and adding more water if needed.
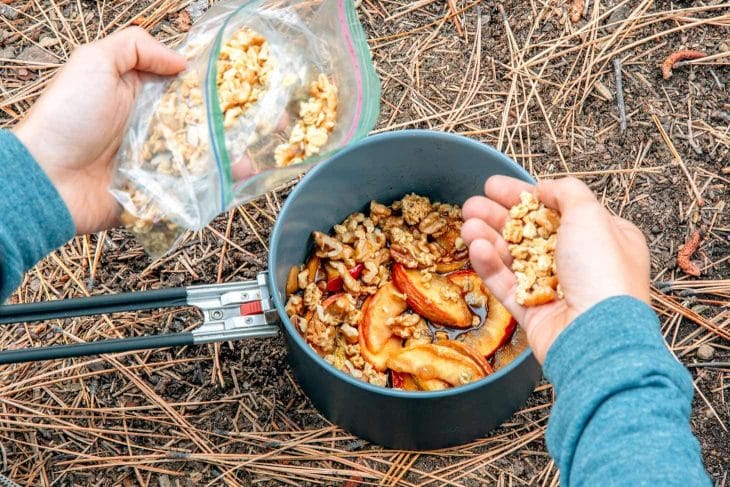
- Once the apple mixture is ready, remove the pot from the heat and sprinkle the granola and walnuts over the top. Grab your spork and dig in!
Notes
INGREDIENT NOTES
We used a package of freeze-dried Fuji apples from Trader Joe's for this recipe. If you don't have access to a Trader Joe's, you could sub with oven dried apples (just reduce the water a bit when cooking).EQUIPMENT NEEDED
2 zip top baggies (check out these compostable baggies)Cook pot
Spoon
Backpacking stove
Thanks for sharing guys! I’m a solo traveler, so I always prefer quick and nutritious foods. Will try this recipe for next trip.
Cheers,
Sebastian
Is it possible to make it in a backpacking pan or is there too much liquid?
It will work just fine in a backpacking pan. A little more of the liquid might evaporate off due the increased surface area, but you can always add a little more if necessary.
We are pack trippers, not backpackers, which does affect how willing we are to being along some extra weight. But this is GOOD. It has become a go-to for every trip. We do freezer bag “cooking”, and this recipe works well.
I was wondering if this could be done freezer bag style… did you make any modifications to make it work?